
Welcome to part two of our bombshell swimsuit sewing! In part one, we got comfortable with sewing stretch stitches, gathered the correct tools, then got about half of the construction done. Today we will finish all the construction, so pull up a chair, pour yourself a cup of tea and get ready to look bombshell beautiful!
Keep following along with part two of our step-by-step tutorial on making your own swimsuit!
Missed the first post? Check out part one of how to sew a swimsuit here!

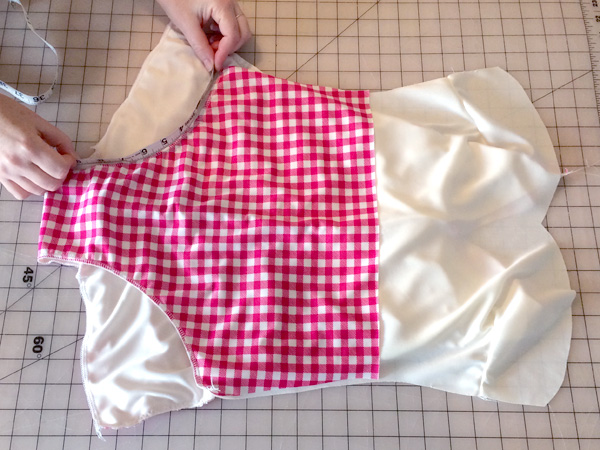
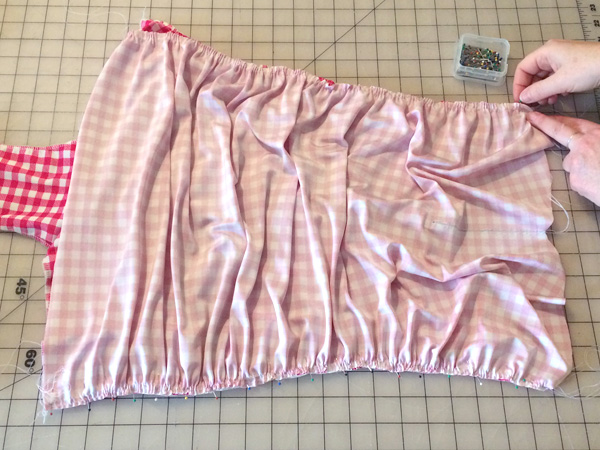
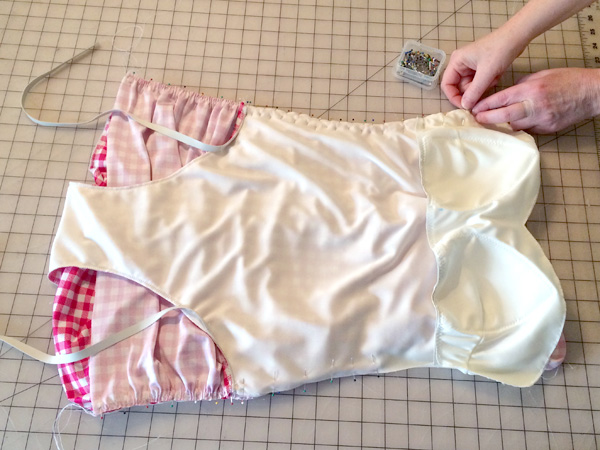
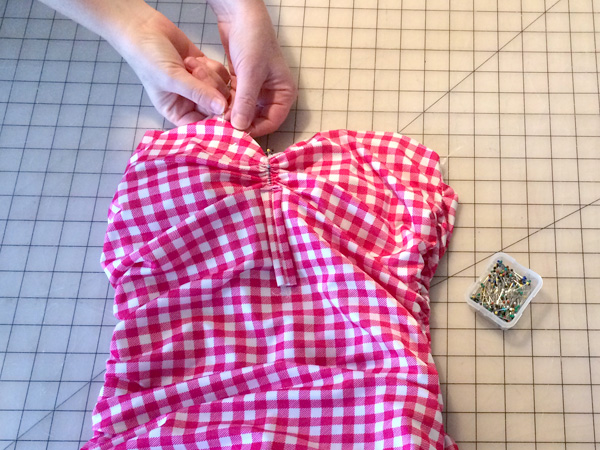
Step 18: Gather the front.
In step one, we sewed baste stitches along the sides of the front. Now it is time to gather those sides. Pull on the baste stitches to gather the front side seams to match the side seams of the back piece. This is where they will be sewn together, so they need to be the same size. Once they are the same length, even out the gathers and lock the stitches in place by winding the baste threads around a pin in a figure-eight so they cannot move. Set the front piece aside for the moment.
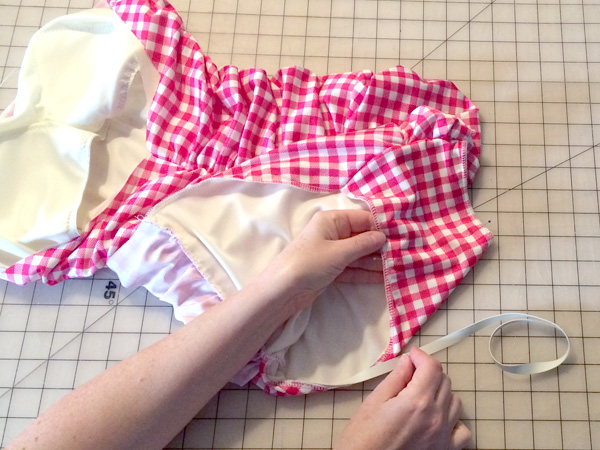
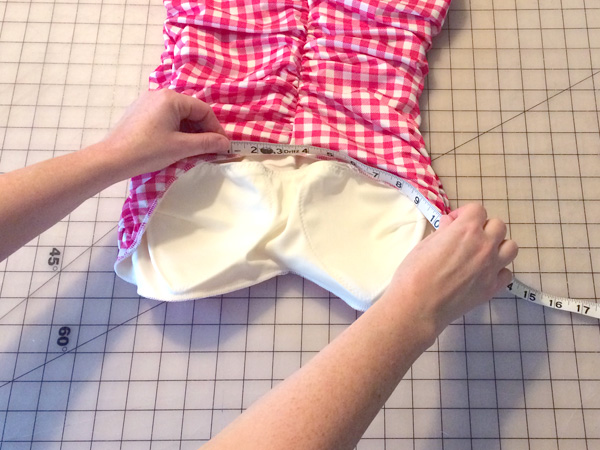
Step 19: Leg elastic.
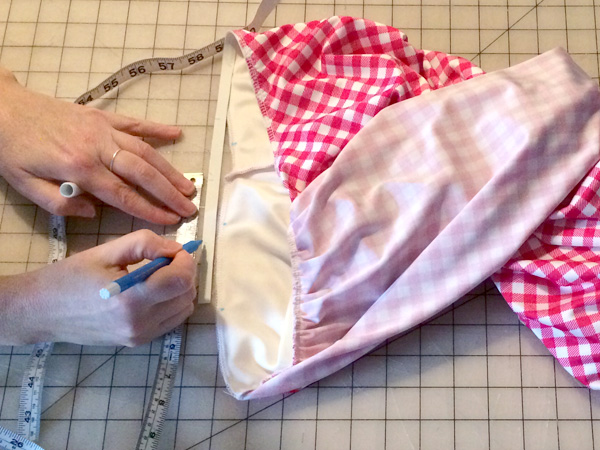
Measure around the opening for the legs from the side seam of the back lining, around the crotch, to the side seam on the back. Cut a piece of elastic to this length. Make sure to use rubber elastic, so it performs correctly in the elements.
Pin the elastic in place on the wrong side of the fabric at the side seam on the front lining along the crotch. Only pin a couple of inches, lining up the elastic with the raw edge of the fabric. Mark a spot 3″ from the side seam where the elastic is pinned. This is your stopping point. We are only going to sew that little bit.

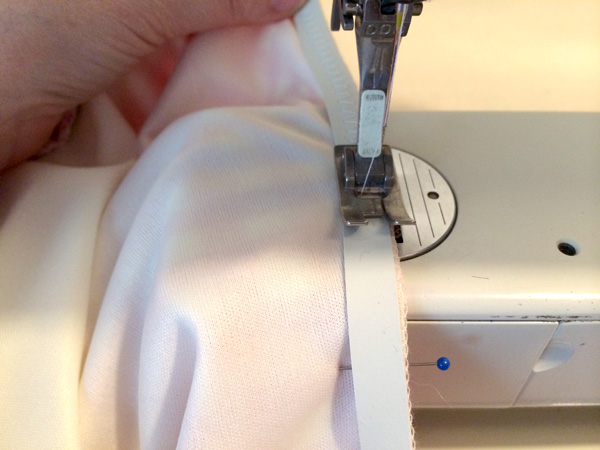
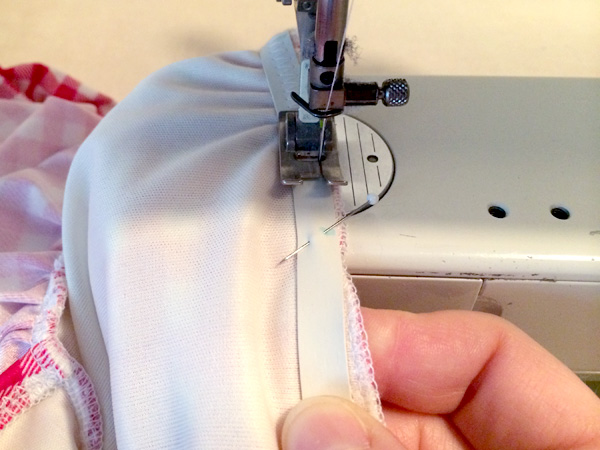
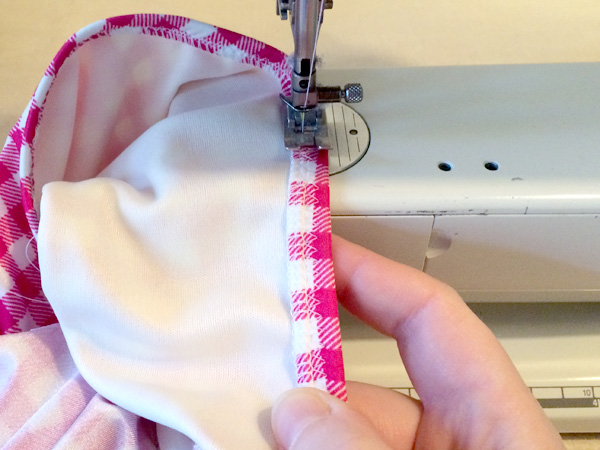
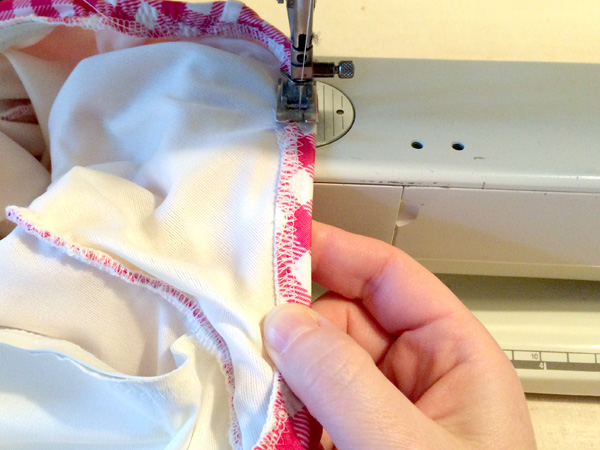
Before you sew, test the stitch on a scrap of two layers of fabric and a layer of elastic since this is the first time we are sewing through the elastic. For this step you want to use a wider zigzag stitch. For reference, I used a 4.0 width and 3.0 length for this stitch in the image above. Once you are happy with the stitch, sew the elastic to the edge from the side seam to the 3″ stopping point.
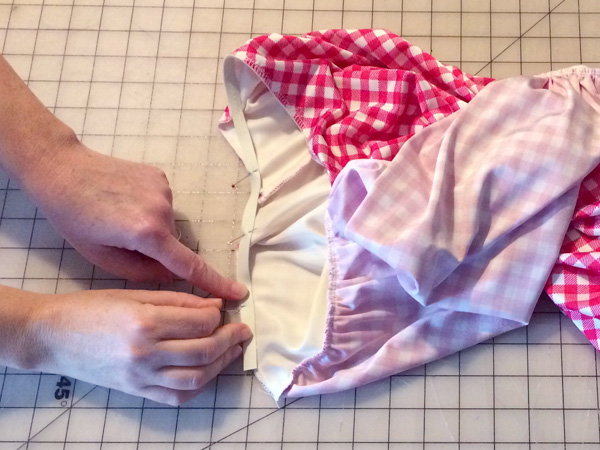
Roll the elastic to the wrong side of the suit so the elastic is sandwiched in the lining. Change to a medium zigzag stitch and sew from the side seam to 1.5″ onto the elastic. Mark the stopping point before starting — make sure to keep your stitch near the edge of the fabric to the inside of the suit. I used a 2.0 width and a 2.5 length for my stitch. Repeat on the other leg opening side seam. Set this aside for the moment.
Step 20: Optional bra cups.
The suit has no support in the bust other than the fabric itself, so I knew I wanted to include bra cups in mine as all my favorite suits have this kind of support. I’ve seen many other bloggers use these and it seems like they worked quite well. Make sure to purchase bra cups meant for swimsuits or else they will possibly absorb the water in a weird way, making your bust area soaked with water. Not good!
I wanted to insert my cups into its own shelf bra to include like its own layer on the inside of the suit. If you’d prefer to insert them into the suit lining on its own, you can do that too. But, this is a good time to consider this option since we are about to assemble all the elements together.
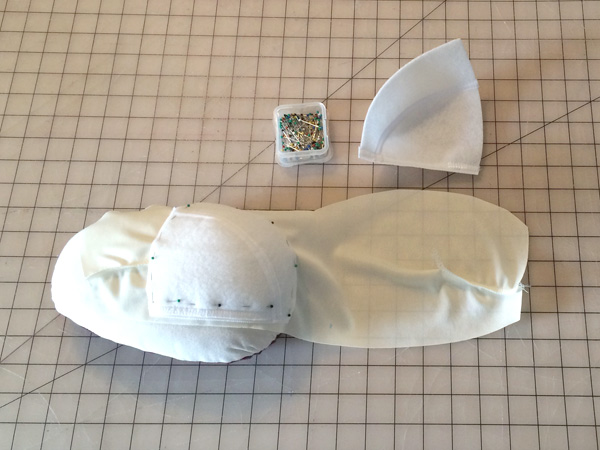
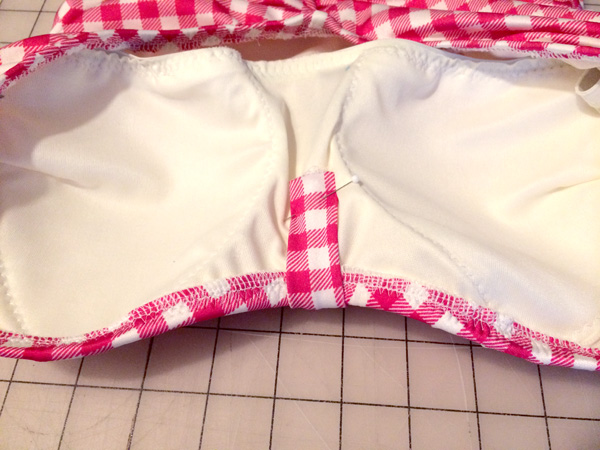
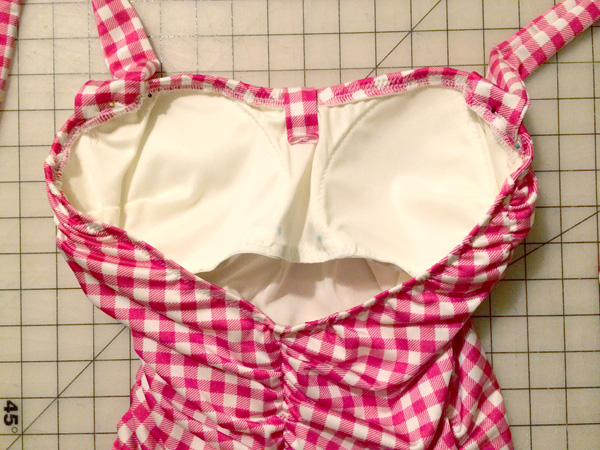
For my shelf bra, I cut 7″ from the top of the sweetheart bust down the front lining piece then across to the side seams. Sew the bust darts the same way you did on the lining so they match. Place one of the cups on the lining piece. To aid with this, I used a pressing ham under the cup so it could lay in correct position during the pinning. Pin around the cup and repeat on the other side. Before sewing them on, try the lining onto your body to ensure the cup placement is correct.
Note: Remember that the lining side of the shelf bra will be up against your body, not the cups themselves.
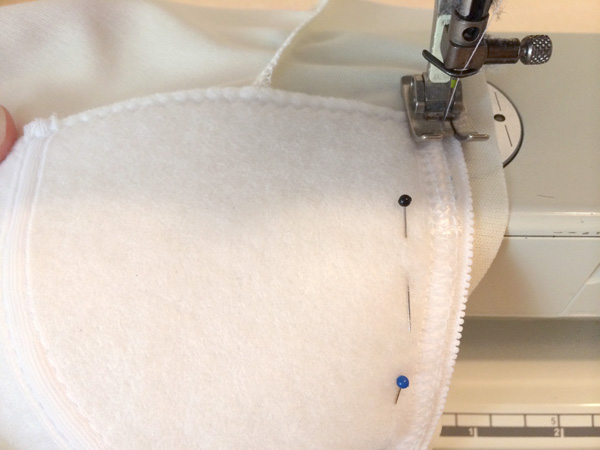
Using a medium zigzag stitch, sew around the cups, securing them to the shelf bra.
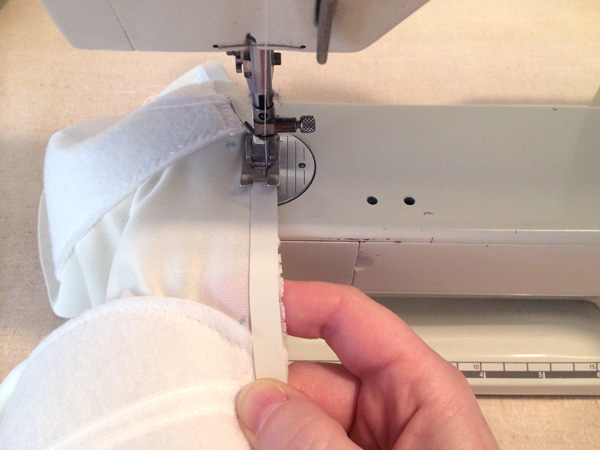
Cut a piece of elastic that will go along the bottom of the shelf bra. I held the elastic up to my body where my bra ends and stretched it very slightly around my chest then cut it there. You don’t want this to be tight, but if it is loose it will create wrinkles under the lining of your suit which might be uncomfortable and visible.
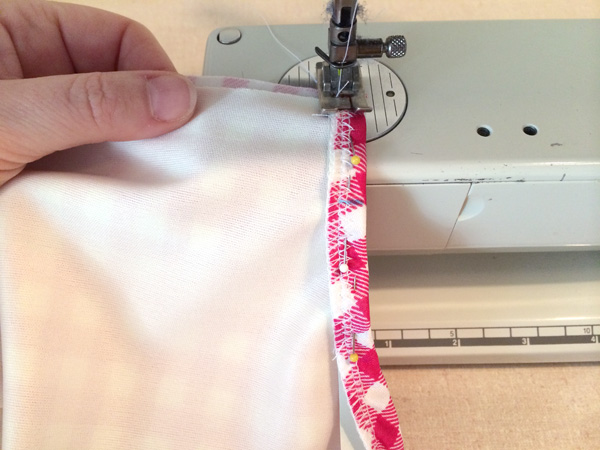
Sew the elastic to the wrong side (the side with the cups) of the shelf bra along the lower edge. Use the same wide zigzag stitch you used in step 19 to sew the elastic to the leg opening. The elastic doesn’t need to be folded and top stitched as the elastic will not be facing the body but rather will be facing the lining.
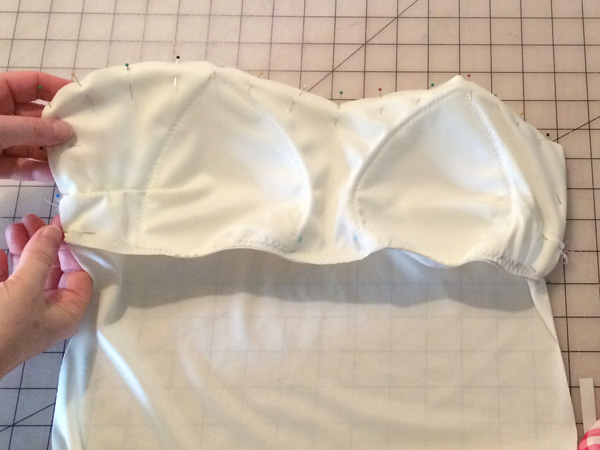
Pin the shelf bra to the front lining along the top and sides with the wrong side of the shelf bra facing the wrong side of the lining (the side without the lower front sewn to it). Stitch the bra in place along the pinned edges with a long and narrow zigzag stitch inside the 1/4″ seam allowance. This will now just be part of the lining from this point forward.
Step 21: The side seams.
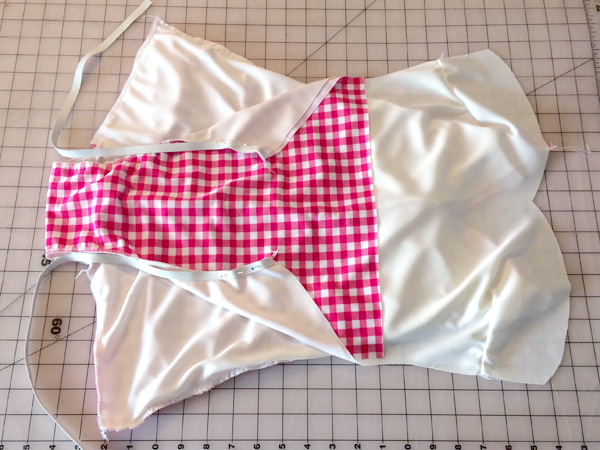
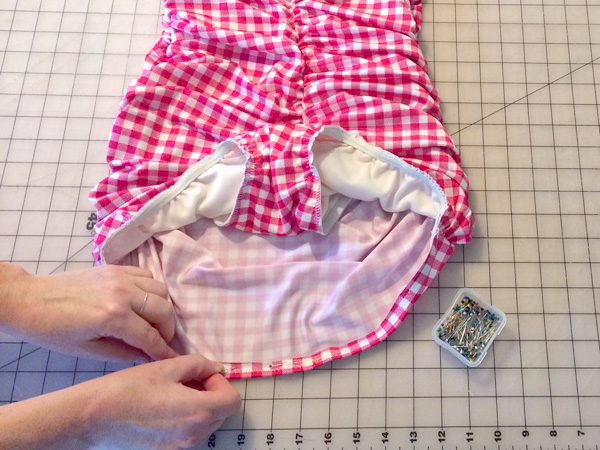
Place the back down flat, right side up. Lay the front piece down on top of it, right side down. Line up the side seams and pin together along the gathered edges.
Next, fold the front lining (that is attached to the back at the crotch) on top of the wrong side of the front. Match the notches along the side seams so the top of the suit lines up at the side seams and ends higher than the lower part of the front (that part is the skirt-like area at the lower front and is longer than the suit front which will be under the skirt). Pin the lining in place along the side seams through all the layers.
Sew along the side seams through the lining, front, and back. Before doing this, I would suggest testing that many layers on your machine to make sure the settings are correct for that thickness. Also, use a serger for this step if possible. Otherwise use a zigzag stitch on a regular machine.
Step 22: The leg openings.
In step 19 we attached the elastic at the leg so it could be sewn into the side seam in the last step. Now we need to continue the stitching for the rest of the leg opening. As pointed out in the pattern’s instructions, the elastic shouldn’t be distributed equally around the leg opening since we need it gathered in some spots but not others. These steps might seem odd, but follow along and it will work!
Measure the distance around the leg opening from where the elastic is already sewn to the other side seam. Mark a spot 2/3rds of the way along that measurement. Sew to that point with the same wide zigzag used previously and stop.
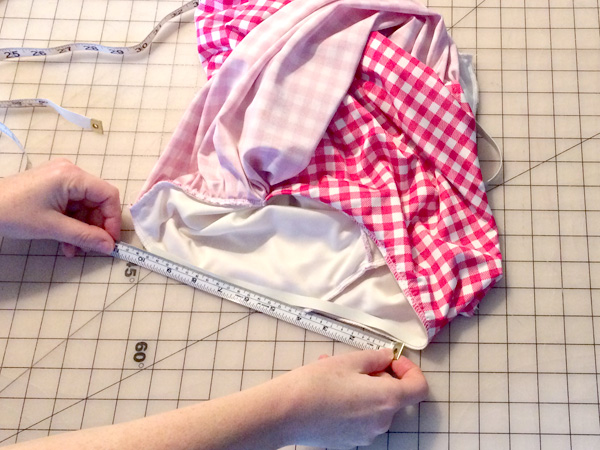
Measure the remaining distance from where you just stopped to the side seam. Calculate 70% of that measurement by multiplying the number by .7. This is your new length. Cut the remaining elastic to this measurement.
Divide the unsewn elastic into fourths and mark with a water soluble pen. Do the same with the leg opening left to be sewn.
Pin the elastic to the leg opening, at the four market spots.
Using the same wide zigzag stitch, sew the elastic to the leg opening, stretching the elastic to fit the distance as it is now 30% shorter after cutting, which will gather the suit to our bum. Repeat on the other side so both legs are sewn with elastic.
Step 23: Lower front.
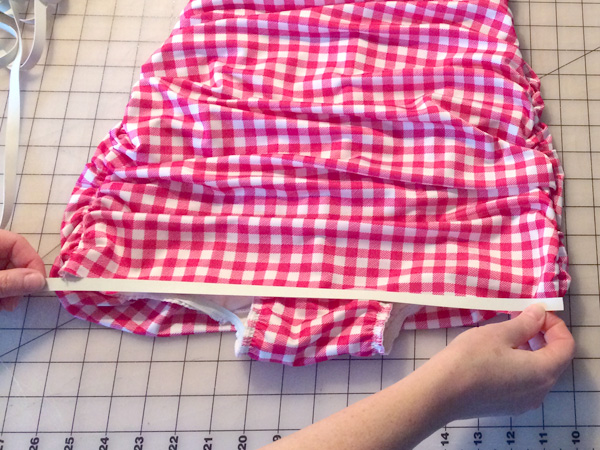
We now need to add elastic to the lower front edge of the suit. This will be cut the same length as the fabric, so simply lay the elastic (or a tape measure) along the lower front edge and cut to match. Pin in place close to the raw edge of the fabric, overlapping the ends of the elastic with the ends of the elastic on the leg openings. Sew in place with the same wide zigzag stitch used in the last step.
Step 24: Finish the lower edge.
The lower front and the leg openings are now all sewn with elastic and one long continuos seam. The elastic now needs to be folded to the inside as we did in step 19. Fold the elastic to the wrong side so it is sandwiched in the lining and pin in place all along the lower opening and leg holes.
Sew the fold in place with a medium zigzag stitch, sewing close to the inside edge. When sewing around the area that is gathered with elastic, pull the elastic to prevent puckers from being stitched into the seam.
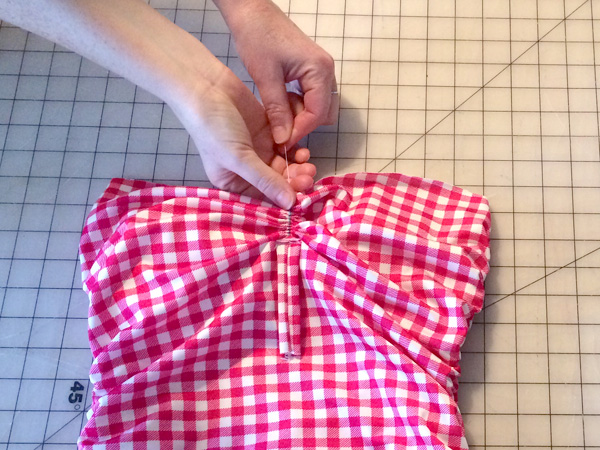
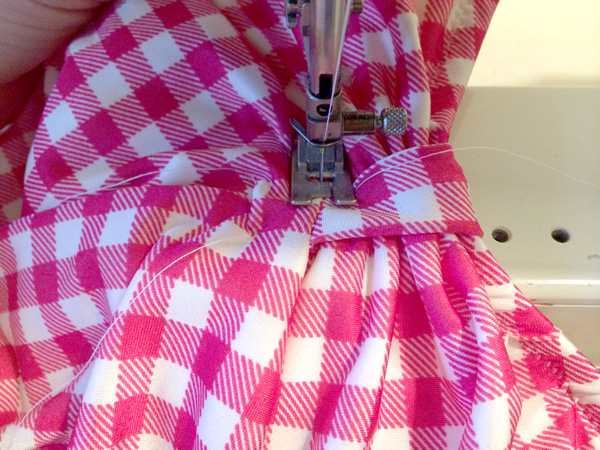
Step 25: Front gathering.
Pull on the baste threads at the center front until the area is gathered as much as possible. Tie the threads into a knot to hold them in place.
Step 26: Upper elastic.
Pin around the upper opening, pinning the front to the front lining and the back to the back lining. Sew the layers together by stitching around the upper edge. Use a serger for this stitch if possible. Otherwise use a zigzag stitch.
Measure around the upper opening and cut your elastic to match that distance. This is a good moment to try on the suit to see if there is any gaping along the top edge. If so, you can cut the elastic slightly shorter so the top edge is gathered in slightly.
As with the other steps, stitch the elastic to the edge of the fabric with a wide zigzag stitch, overlapping the ends slightly. Fold the elastic to the inside, pin in place, then sew with a medium zigzag stitch all around the top opening edge.
Step 27: The tab.
Fold the tab at the center front to the inside of the suit. The bottom of the tab on the inside should pass the end of the tab on the right side. Pin and baste the tab in place using a regular machine baste stitch.
On the right side of the suit, use a regular straight stitch and stitch the tab in place by stitching in the ditch just under where the tab was sewn. Make sure to catch the inside of the tab at the same time. Remove the baste stitch and trim the tab if necessary on the inside of the suit.

Step 28: The straps.
First off, take a sigh of relief, as this is the last step! Well done! Okay, all we have to do is fold the straps along the long edge, right sides facing. Pin along the long side as well as the shorter (more narrow) of the two ends. Stitch the short end and the long side with a serger if possible, or a zigzag stitch, using the 1/4″ seam allowance.
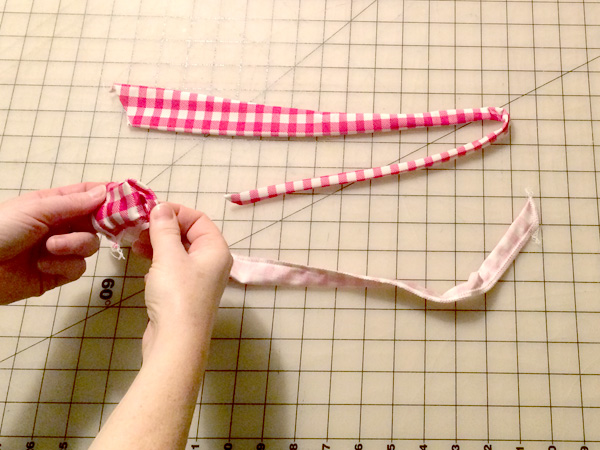
Carefully turn the straps right side out. Poke out the ends using something pointy but not sharp. Sew the open end of each strap with a serger or zigzag stitch.
Pin the straps to the suit on the inside of the top with the notches matching. Sew in place with a medium zigzag stitch in line with the stitching already present from sewing the elastic.
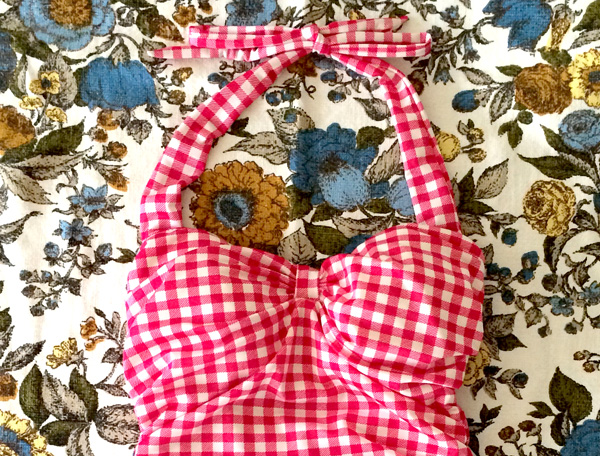
Well done! That’s it! Try your new suit on and tell me if you don’t feel like a bombshell goddess?! Everyone online raved about how flattering this suit is, and for me, I can hands down agree with this. I hope you feel the same and that this two-part tutorial was helpful! Share your projects in the gallery, so I can see your beautiful handiwork!
Can you add a tutorial that changes the one piece swimsuit to a one piece swim dress?