
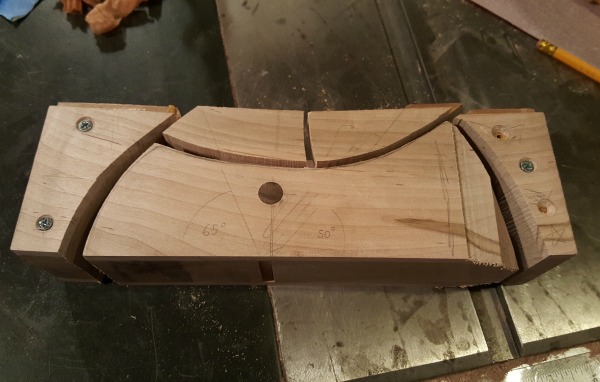
Wood-bodied hand planes can do as good a job as metal planes but you can customize them however you want. There are just a few more steps left to do before my Krenov-style smoother plane is ready to go. The hard part of setting the bed and ramp angles is over, and the next steps bring out the plane’s character. Let’s finish this plane and put it to work.
If you’re just joining us or have missed any previous installments of this theory, check out part one, part two, and part three.
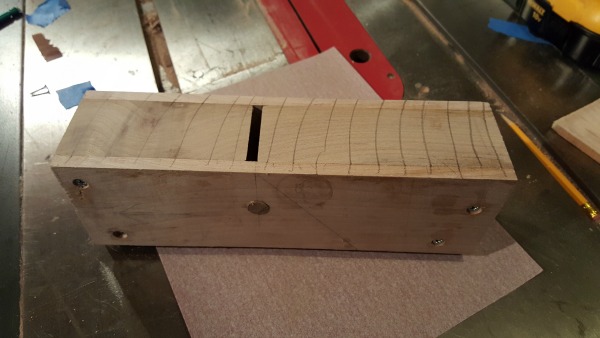
True the sole
In order to work properly, a plane’s sole has to be perfectly flat. With the plane out of its clamps, start by cleaning off dried glue with a chisel or scraper. Once you are down to the bare wood, put a piece of sandpaper on a flat surface like a table saw. I started with 150 grit, then moved on to 220 grit. To make sure the sole is perfectly flat, I drew lines across the whole sole with a pencil, then pushed it back and forth on the sand paper until the lines were gone.
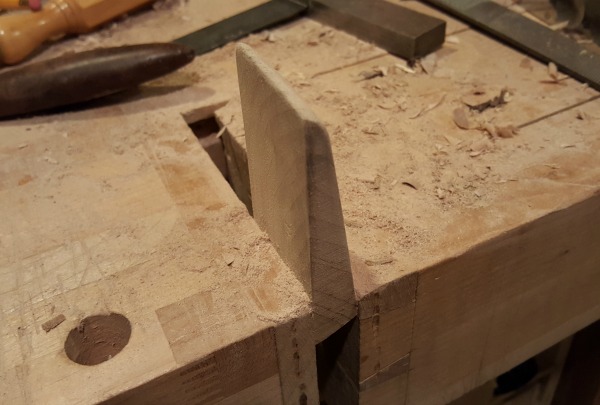
Make a wedge
The wedge is what holds the blade and chipbreaker in position when you use the plane. Using the triangle-shaped cut-off from earlier, pick an area with straight grain and draw the shape of the wedge. You can get the shape from the drawing on the side of the plane that shows the location of the chipbreaker and the crosspin.
Cut out the wedge on the bandsaw and go back over it with some sandpaper to make sure the faces are parallel to each other. If they aren’t, the wedge might not have enough contact area to register against the chipbreaker. Leave the wedge long for now, you can always make it shorter if you need to.
Give it a trial run
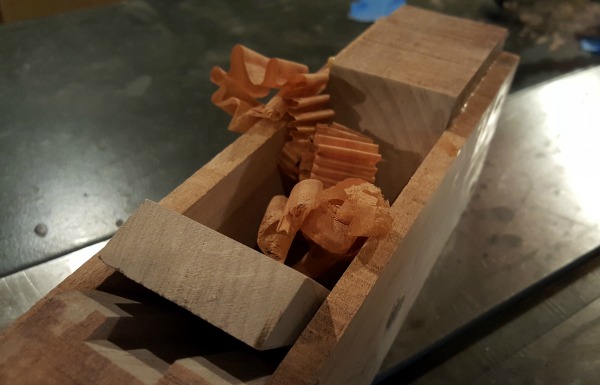
The plane is totally functional at this point, though it would be difficult to use in this shape. Put the crosspin in place, then load the chipbreaker and blade into the plane. Firmly insert the wedge between the crosspin and the chipbreaker so it holds. If the wedge doesn’t go in easily and almost reaches down to the end of the chipbreaker, sand it a bit until it fits. Now, gently tap the wedge home with a hammer. Try it out on piece of scrap wood and see if you can make shavings. Don’t worry about fine tuning at this point. If it makes shavings, you’re good to go.
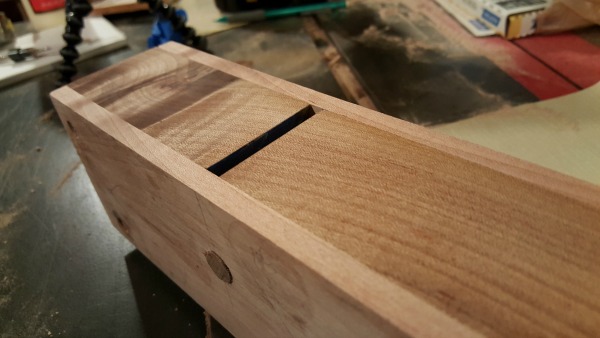
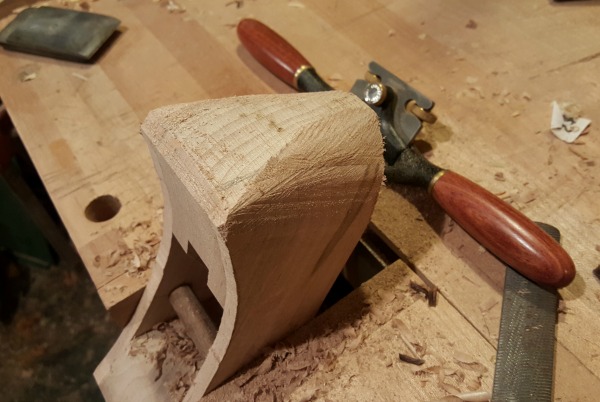
Shape the plane
The great part about these Krenov-style planes is that you can shape them however you want. I chose a shape with some nice curves that I could hold easily and comfortably. Cut out the outline on the bandsaw. You can use a crosscut saw to take off the corners if you want your plane rounded. I used a spokeshave, files and sandpaper to make the plane the shape I wanted and as smooth as possible.
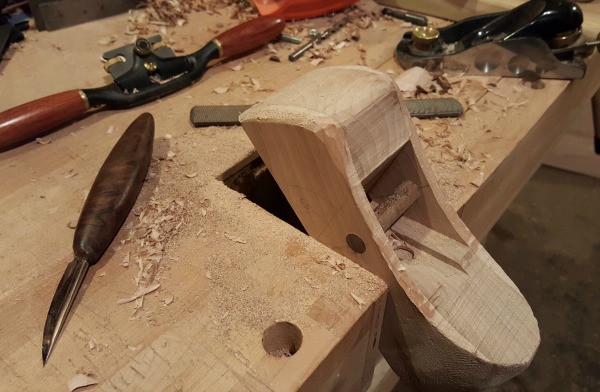
Cut off the wedge so that when it is in the plane, the top ends up just under the top of the blade. Clean up the wedge with sandpaper and files.
To finish the plane, I used a wipe-on polyurethane thinned with some mineral spirits. When that dries, put a coat of wax on the sole of the plane. That will help it slide easily over the wood.

In a future post, I’ll describe how to adjust the plane with a hammer. It takes practice and patience to get the blade perpendicular and the correct depth, but you will get the hang of it. It’s amazing how you can make the slightest adjustments with something as blunt as a hammer. That’s part of the charm of using these planes. Whenever you use it, you’re holding the history of woodworking in your hands.
Share tips, start a discussion or ask one of our experts or other students a question.
No Responses to “Finishing Your Krenov-style Wooden Hand Plane: Part 4”