
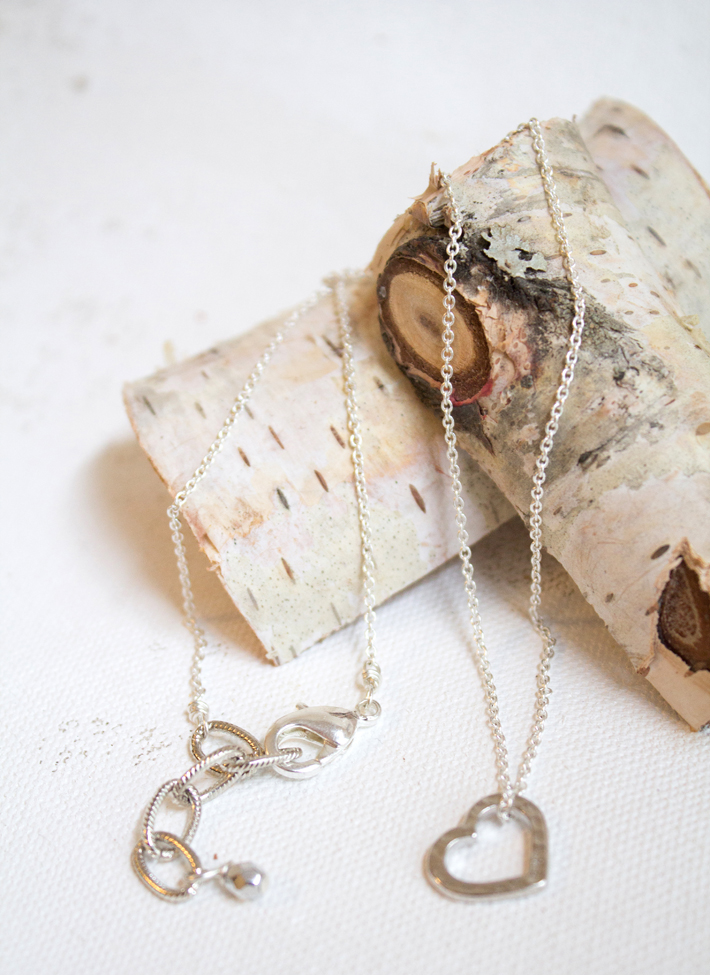
Delicate necklaces are popular this season and layering two or three together creates an even more dynamic look. But if your jump ring doesn’t fit in the chain, how do you add a clasp? Making delicate necklaces are not difficult if you know these few tricks.
 Photos via Karen Roark of I Always Pick the Thimble
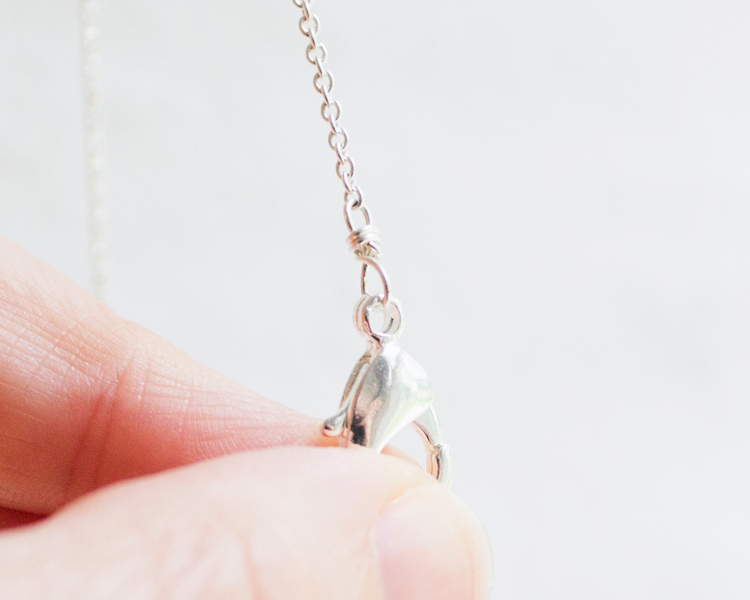
This wire-wrapping technique of adding clasp to tiny chain is actually stronger than using a jump ring because jump rings can separate, causing the chain to fall out. And by adding larger chain at the opposite end of the necklace, the necklace is now adjustable, which is an added bonus.
How to make delicate necklaces
Here’s what you will need:
- Delicate or fine chain for your necklace
- Two headpins, 2 1/2″ or 3″ long (use the largest headpins that will still fit into the chain)
- Lobster claw clasp
- About 1″ of chain big enough for the lobster claw clasp to fit into
- Round nose pliers, chain nose pliers, side cutters
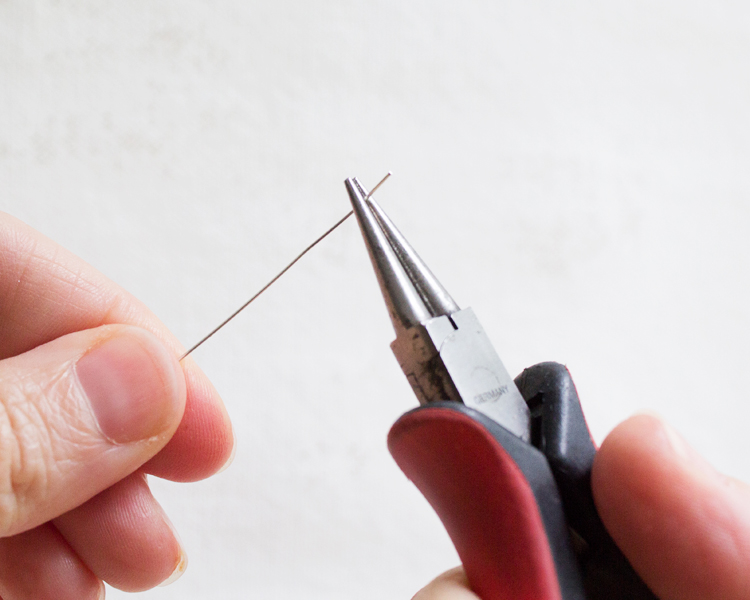 Step 1:
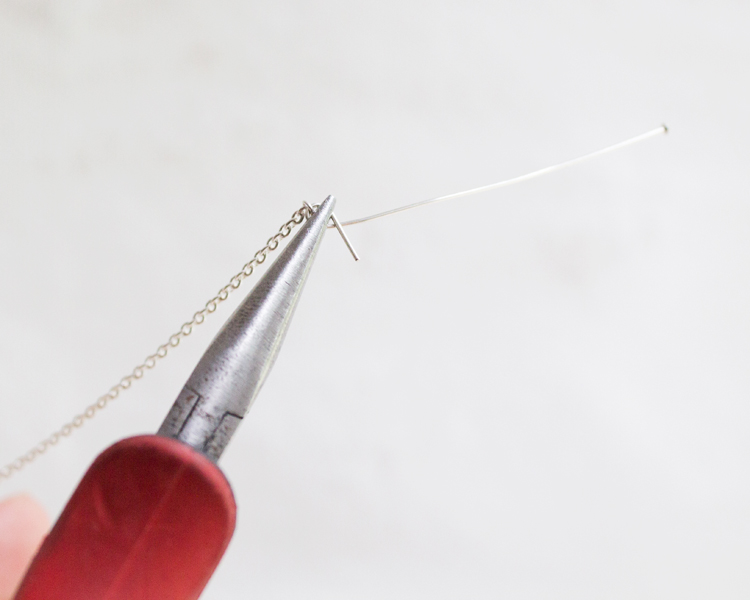
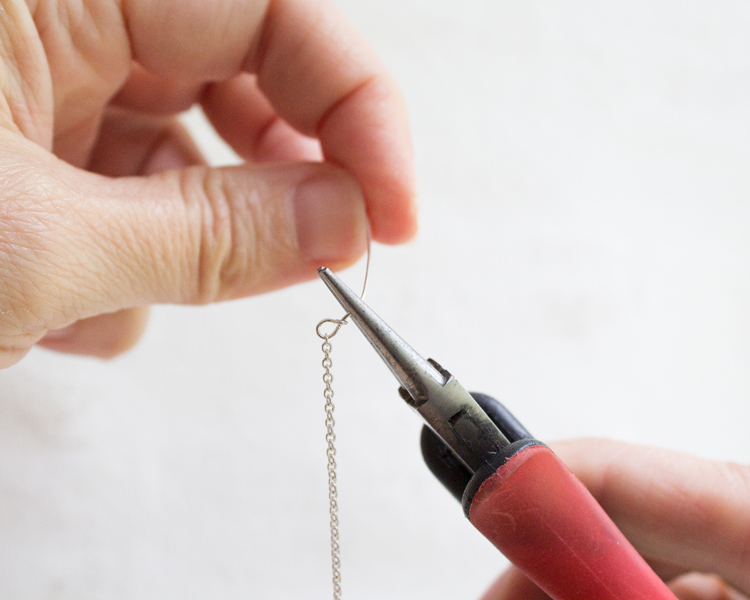
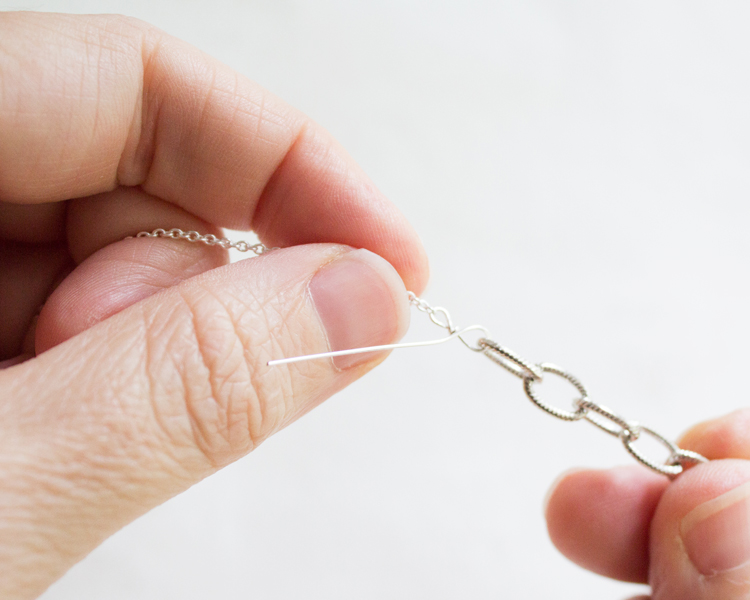
Position your round nose pliers about 1/2″ down from the tip of the headpin.
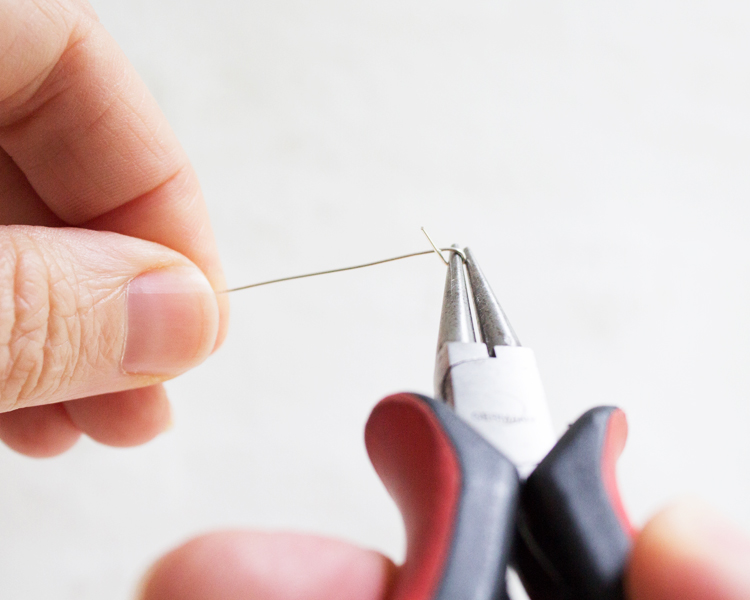 Step 2:
Rotate the round nose pliers to form a teardrop shape loop in the headpin, with the end crossed as shown.
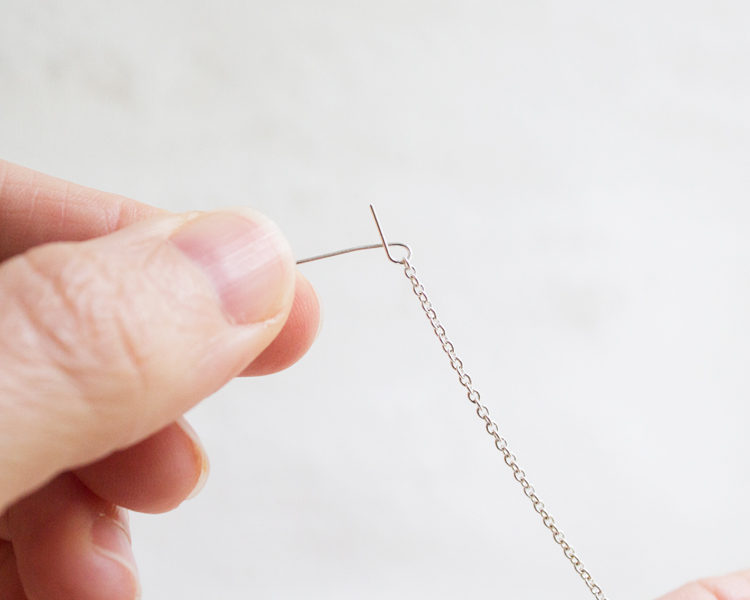 Step 3:
Cut your chain to the length you want. Slide the chain into the loop at the end of the headpin.
 Step 4:
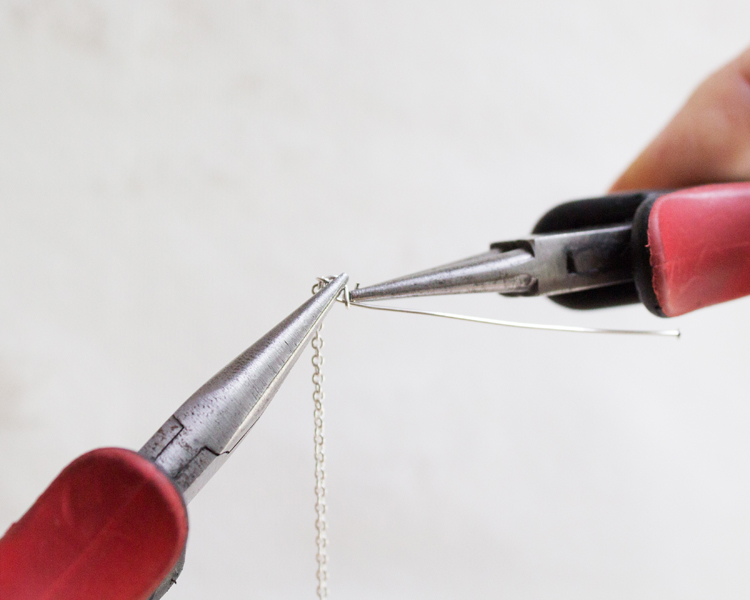
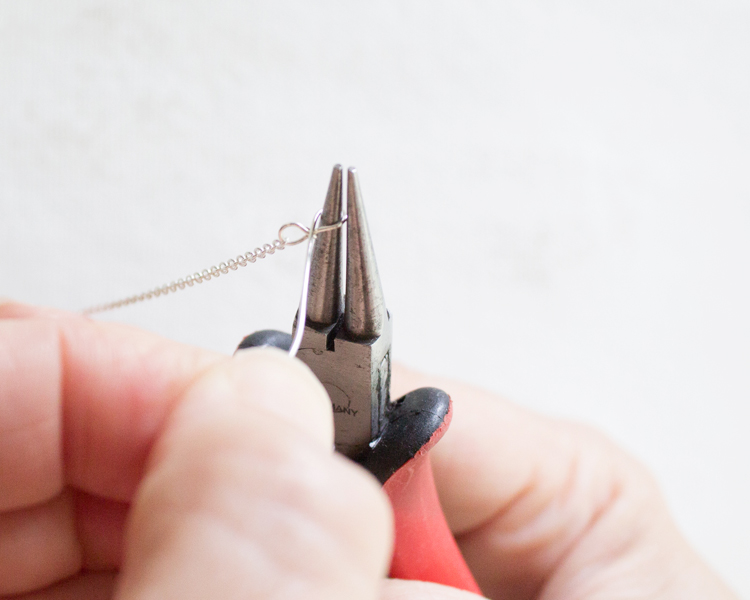
Hold the loop firmly with the chain nose pliers.
 Step 5:
With the round nose pliers in your opposite hand, grasp the end of the shorter wire.
 Step 6:
Wrap the short end of the wire around the headpin.
 Step 7:
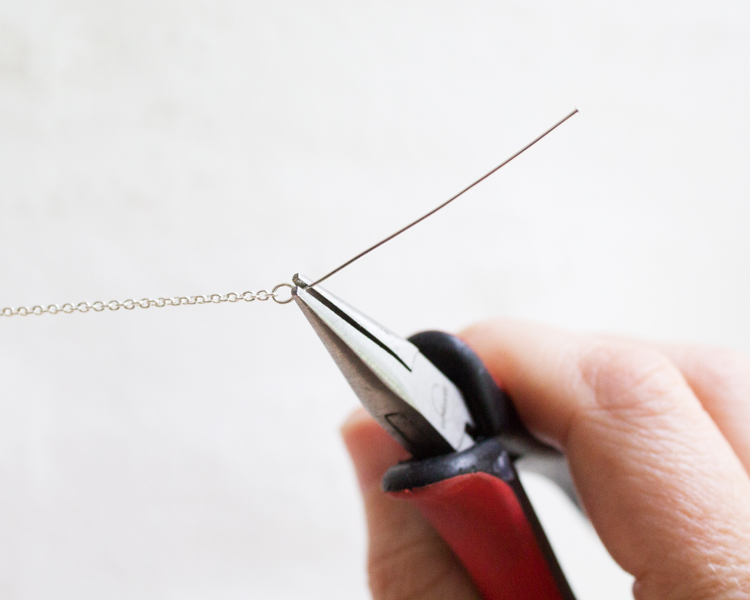
Trim off any unused portion of the wire with your side cutters. Trim off the top of the headpin on the opposite end.
 Step 8:
Using your chain nose pliers, pinch the end of the wire just cut so it lays close to the headpin to prevent it from sticking out.
 Step 9:
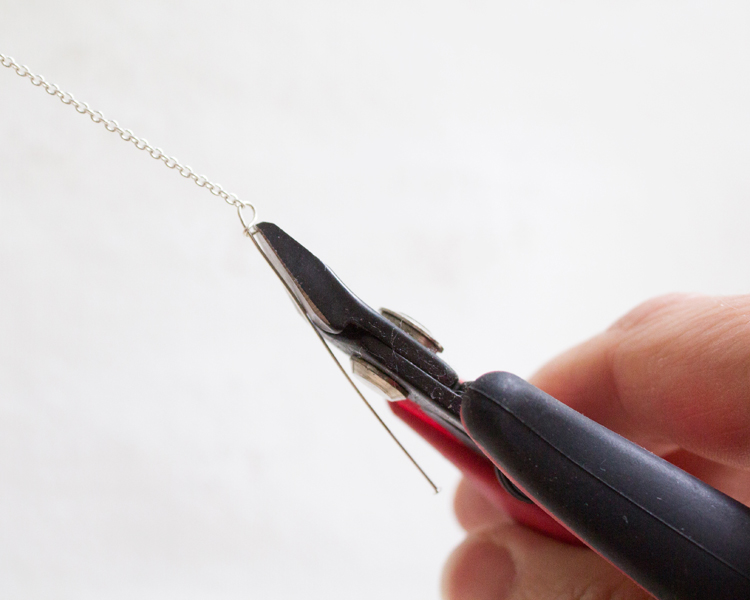
Using your round nose pliers, grasp the headpin just above the wrap just made. Hold on to the long end of the head pin with your fingers or your chain nose pliers.
 Step 10:
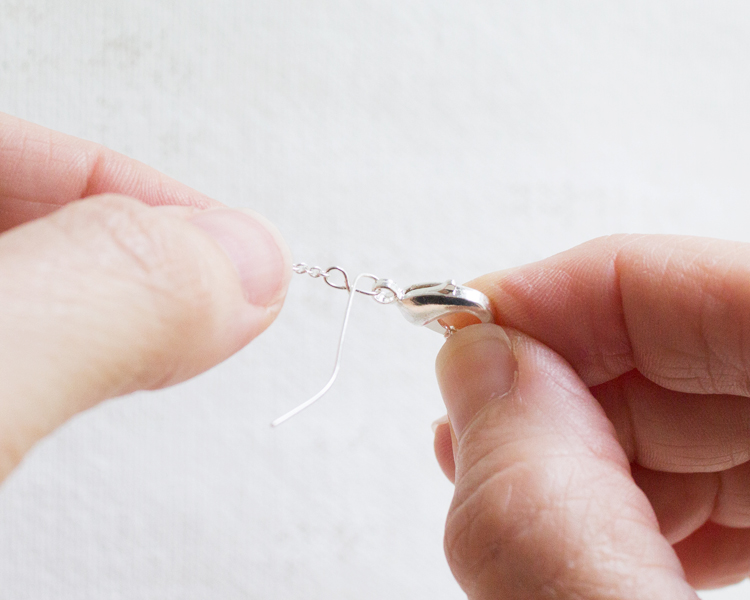
Bend the wire around the round nose pliers to form a teardrop shape loop in the wire.
 Step 11:
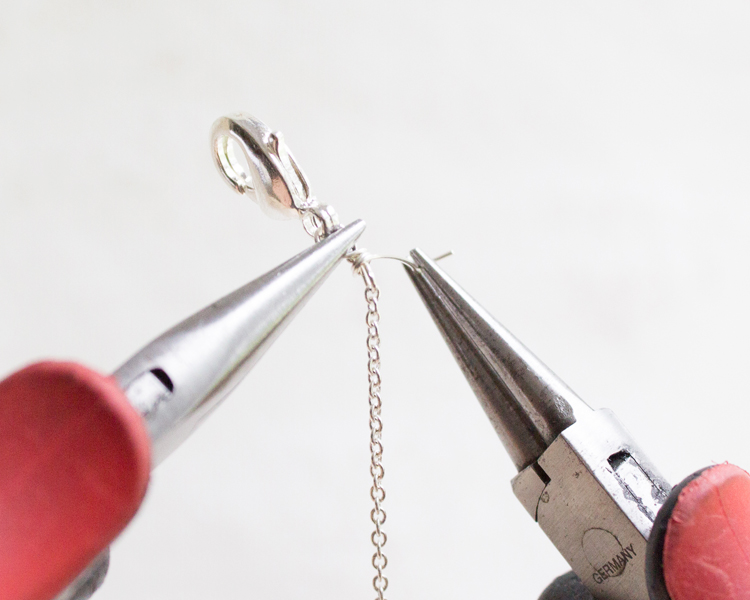
Slide the end of the lobster claw into the loop just made.
 Step 12:
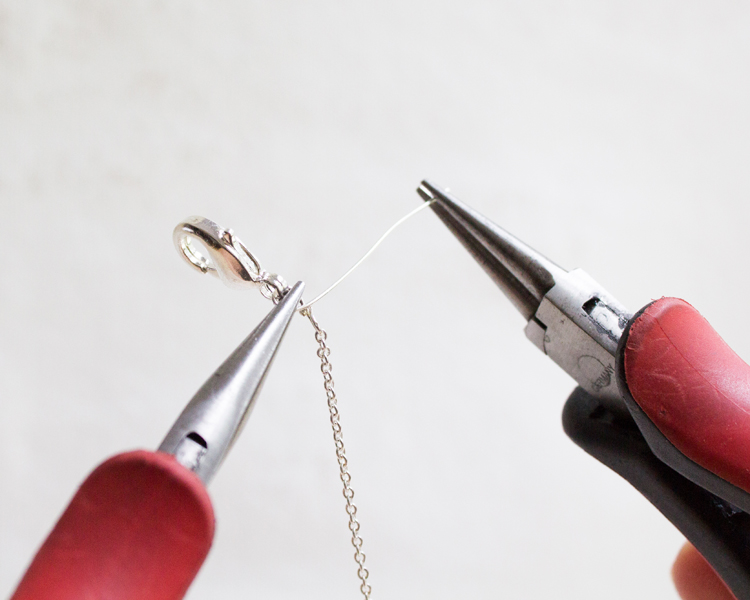
With the chain nose pliers in one hand, grasp the loop just made firmly. With the round nose pliers in your opposite hand, grasp the end of the wire.
 Step 13:
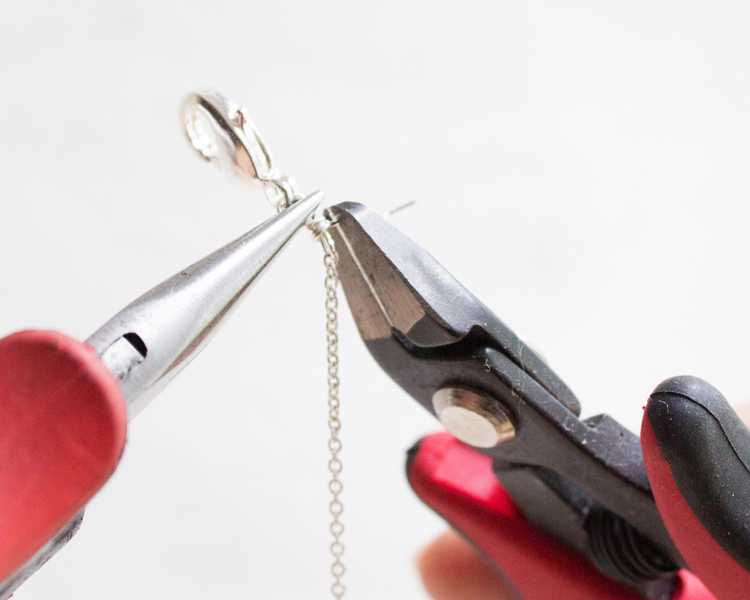
Begin to wrap the long end around the area between to two teardrop shaped loops. Wrap this four to five times for a secure hold.
 Step 14:
Using your side cutters, cut off any remaining unused wire close to the wraps. Use your chain nose cutters to pinch the end in close to the wraps so it does not stick out.
 Step 15:
Use your chain nose cutters to pinch the end of the trimmed wire close to the middle wraps so it does not stick out.
 Step 16:
Slide on your charms or beads before adding the other end of the clasp.
 Step 17:
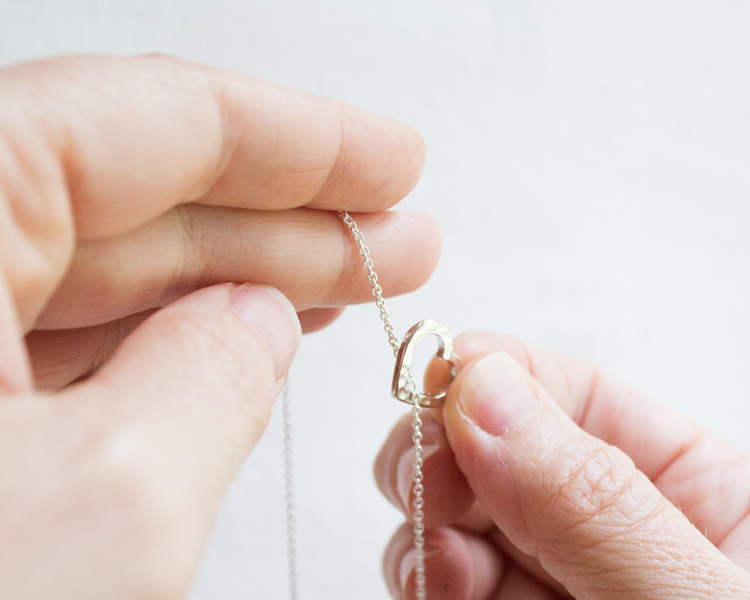
Repeat Steps 1-9 for the opposite end of the chain. Slide the short piece of chain into the loop to create an adjustable closure for the lobster claw to fit into.
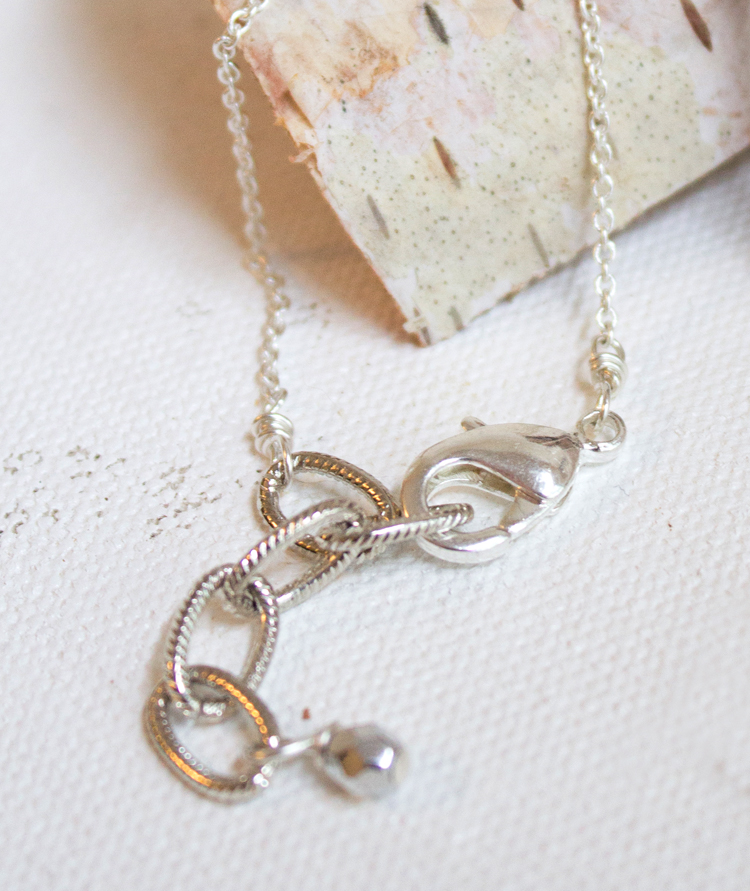 When a jump ring is too big or would look strange and cumbersome, you can also use this technique to transition to a chain. So don’t be afraid to work with tiny chains because making delicate necklaces are a snap!
Share tips, start a discussion or ask one of our experts or other students a question.
No Responses to “A Simple Trick for Making Trendy Delicate Necklaces”