For kids who want to sew — but may not be ready for a sharp needle or complex sewing machine — this personalized piece of wall decor is a great starter project. Not only will they be proud to gift it or hang it in their room, but working the stitches helps them practice an even, repeating pattern that builds fine motor skills. It's a win all around!
Initials Wall Hanging
Level: Easy
What You Need
Instructions
1. Make the Shape of the Wall Hanging
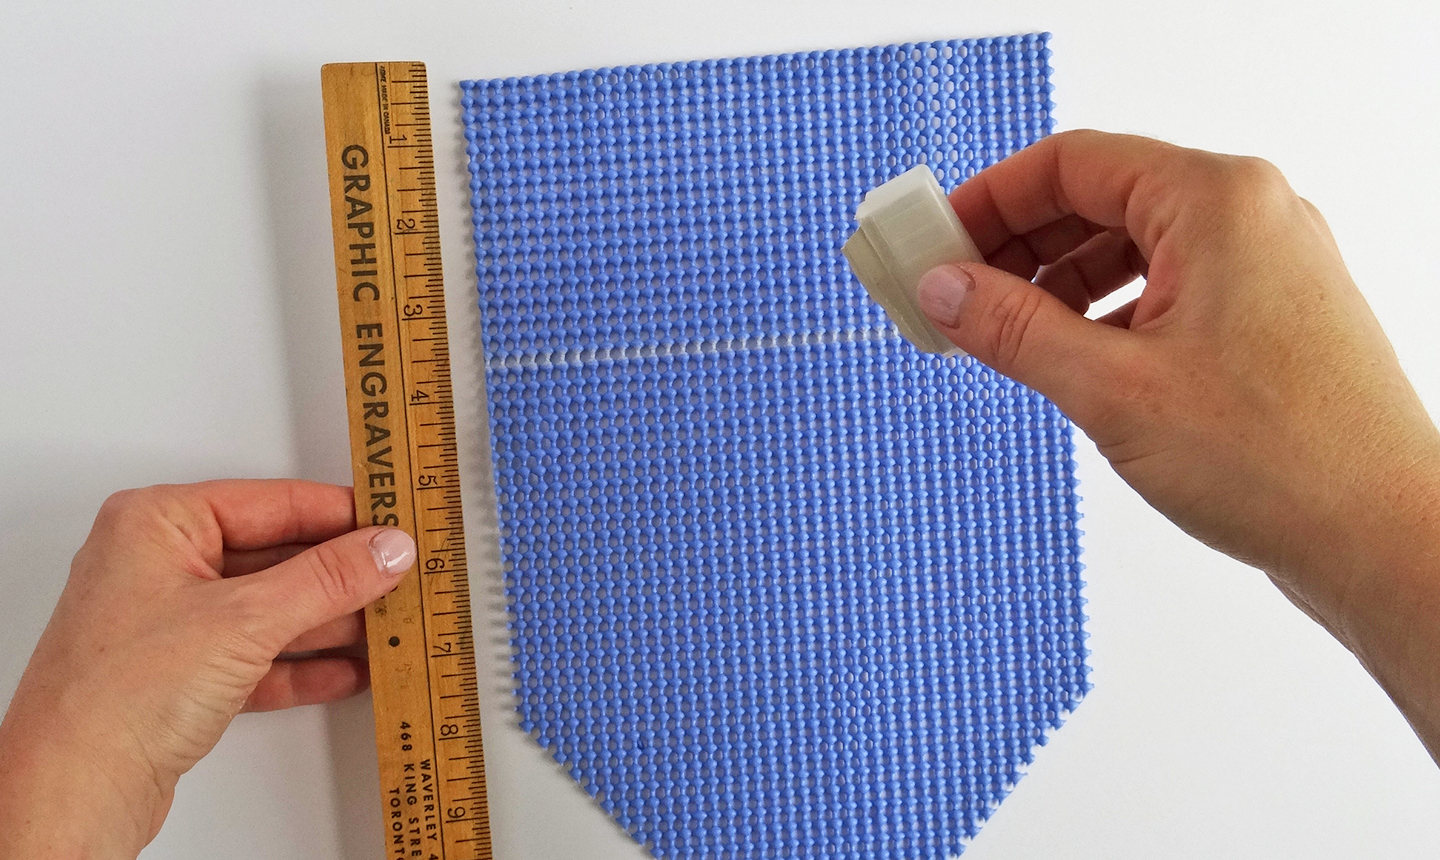
Before handing the gear over to your kiddo, cut the non-slip liner to the shape they'd like for their hanging. We made a bunting shape, but you can create any shape they like as long as it has a straight edge at the top.
When measuring out your design, add an extra 3½" to the top to hold the dowel. Once your shape is cut, draw a horizontal line to mark the 3½" length — this is where you will eventually fold the liner to hold the dowel, but don’t sew anything into it just yet.
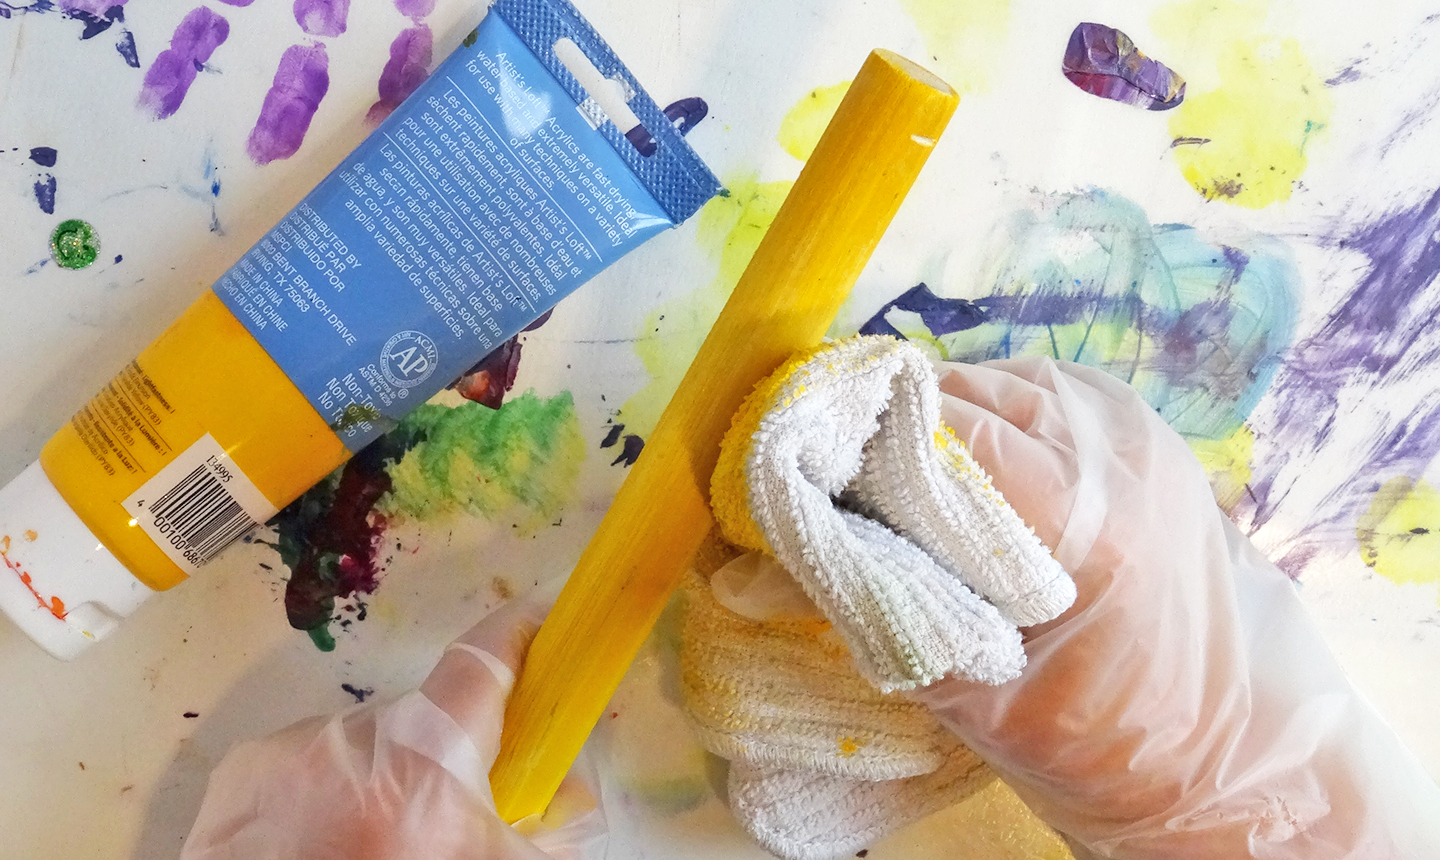
2. Prep Your Dowel
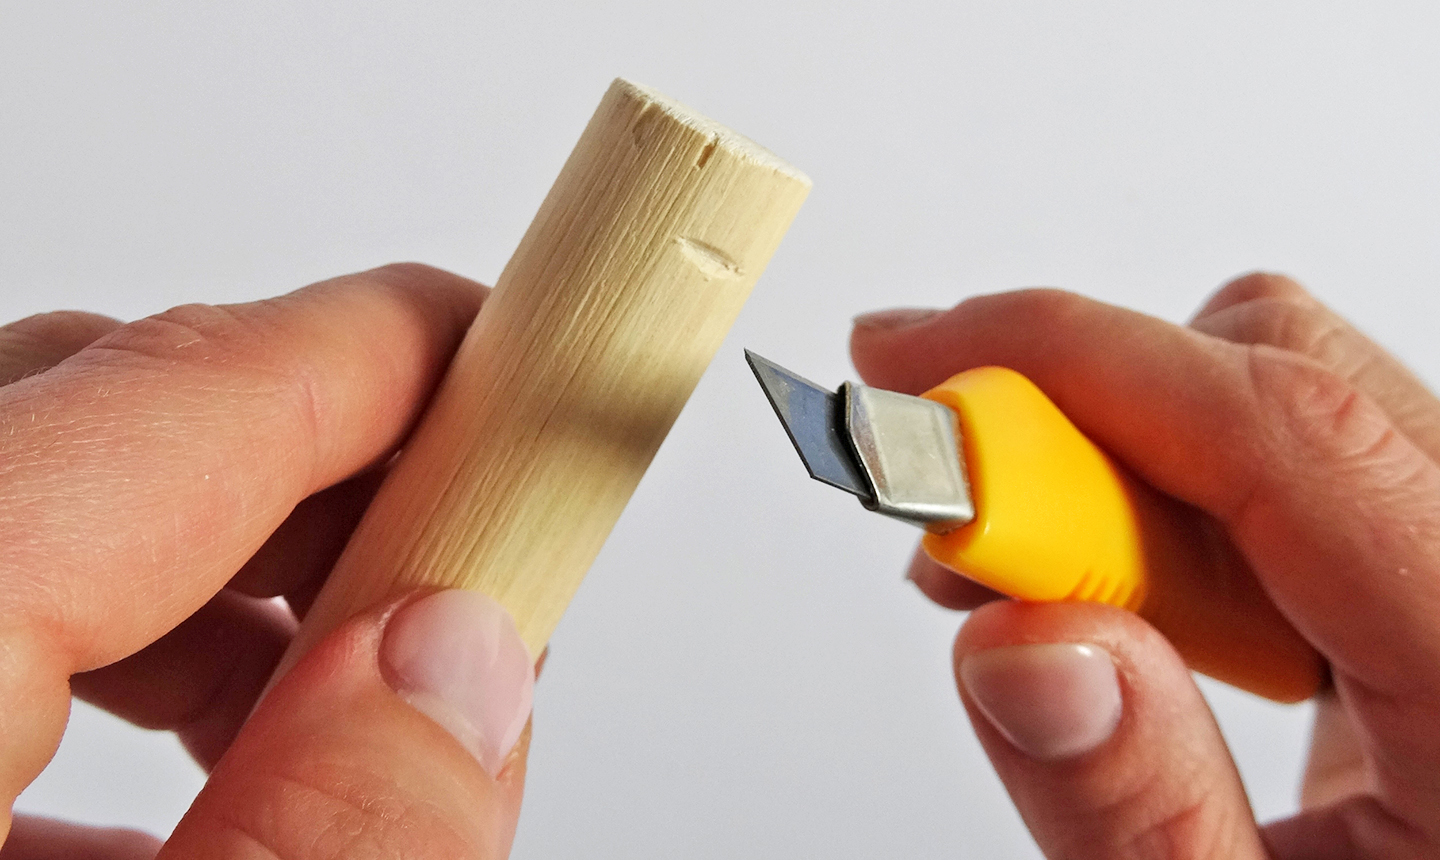
Use a blade to cut small Vs in the sides of the dowel. This helps when hanging the pendant.
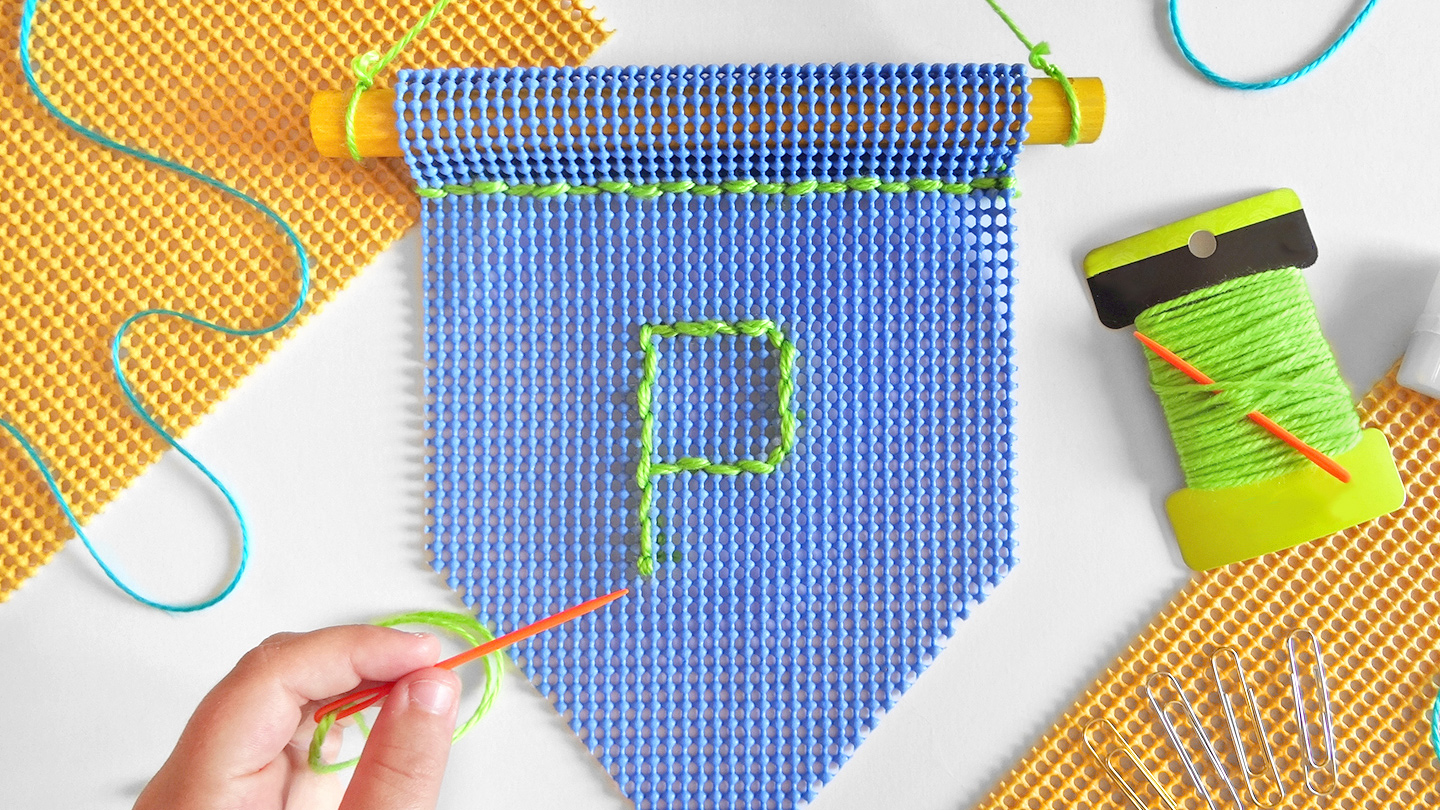
3. Draw Your Child's Initials
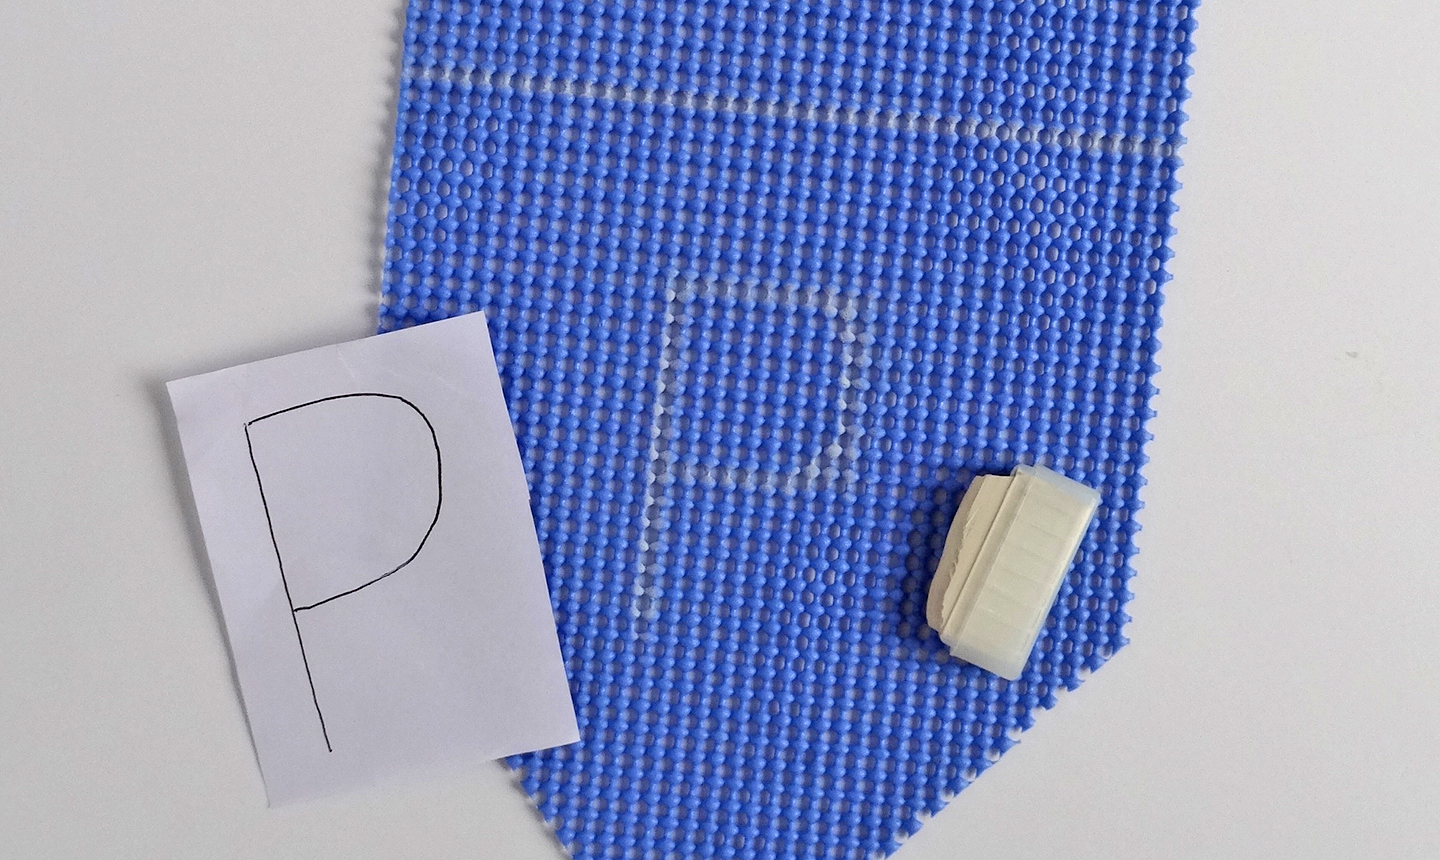
Use fabric marker or a sewing chalk to draw your child’s initial in the center of the space below the marked line.
4. Stitch the Letter

Cut a piece of yarn double the length of your child's arm and thread the needle, matching the ends. Tie a knot, leaving a 4” tail.
Now its your kiddo's turn to work! Starting at the top or bottom left corner of the letter (either is fine), push the needle from the back to the front and pull until the knot is almost through the hole. On the next hole over, push the needle down to the back. Loop the needle through the doubled yarn, right before the knot, and pull to secure it.
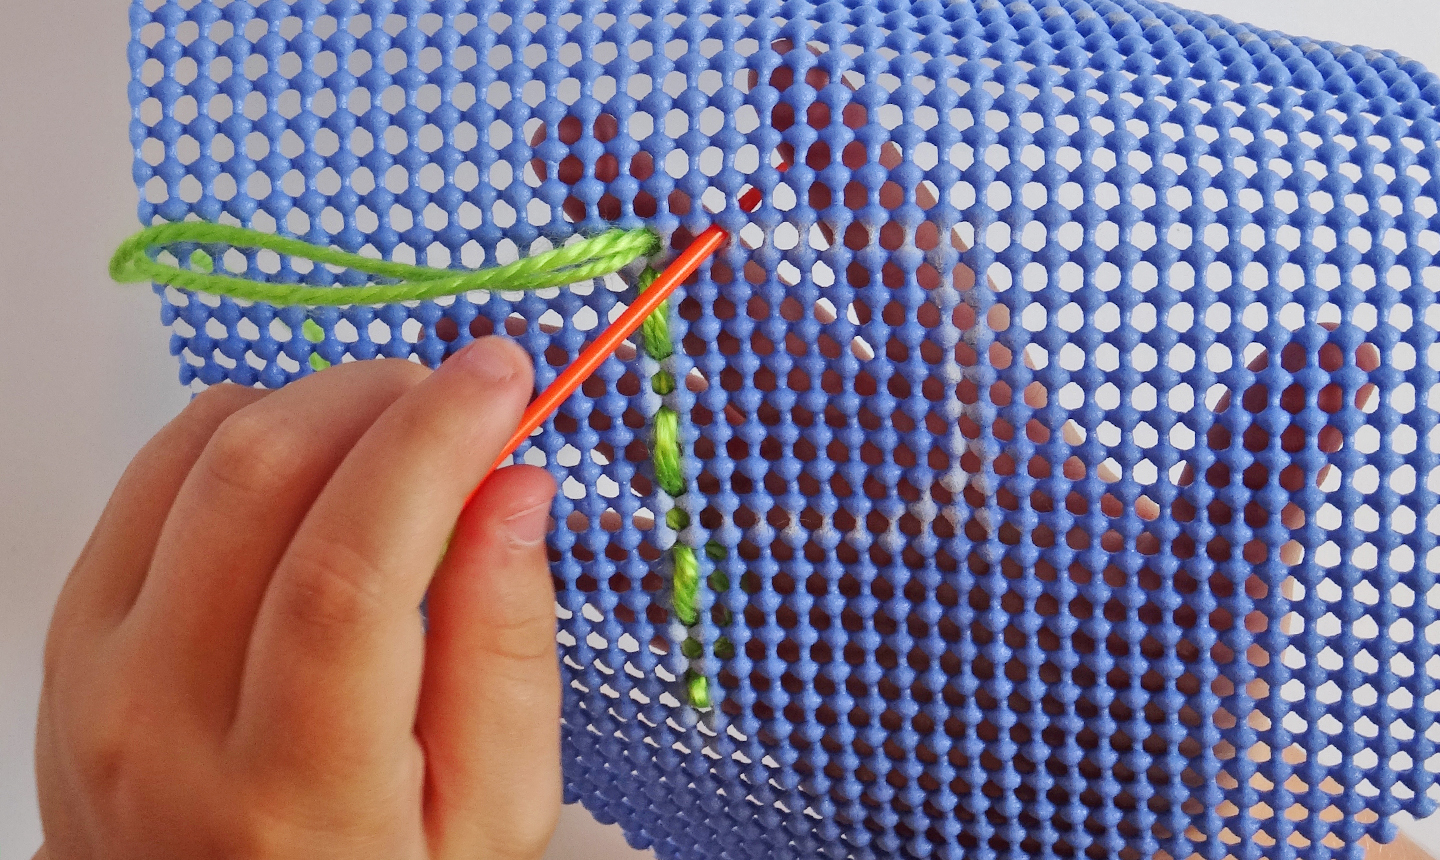
Continue sewing the design in the same manner, skipping every other hole.
Pro Tip: Continue sewing the design in the same manner, skipping every other hole.
5. Reverse It
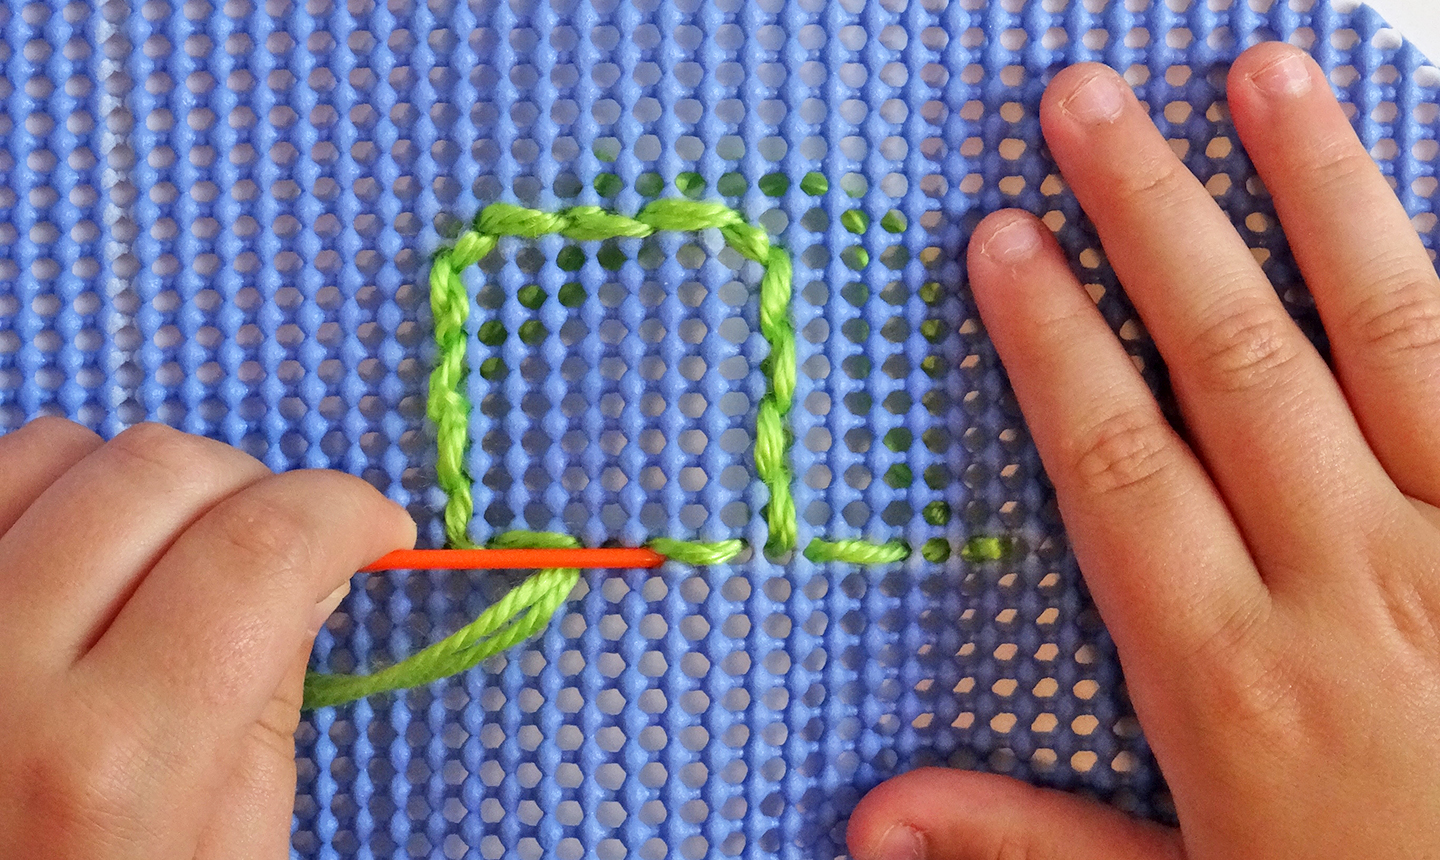
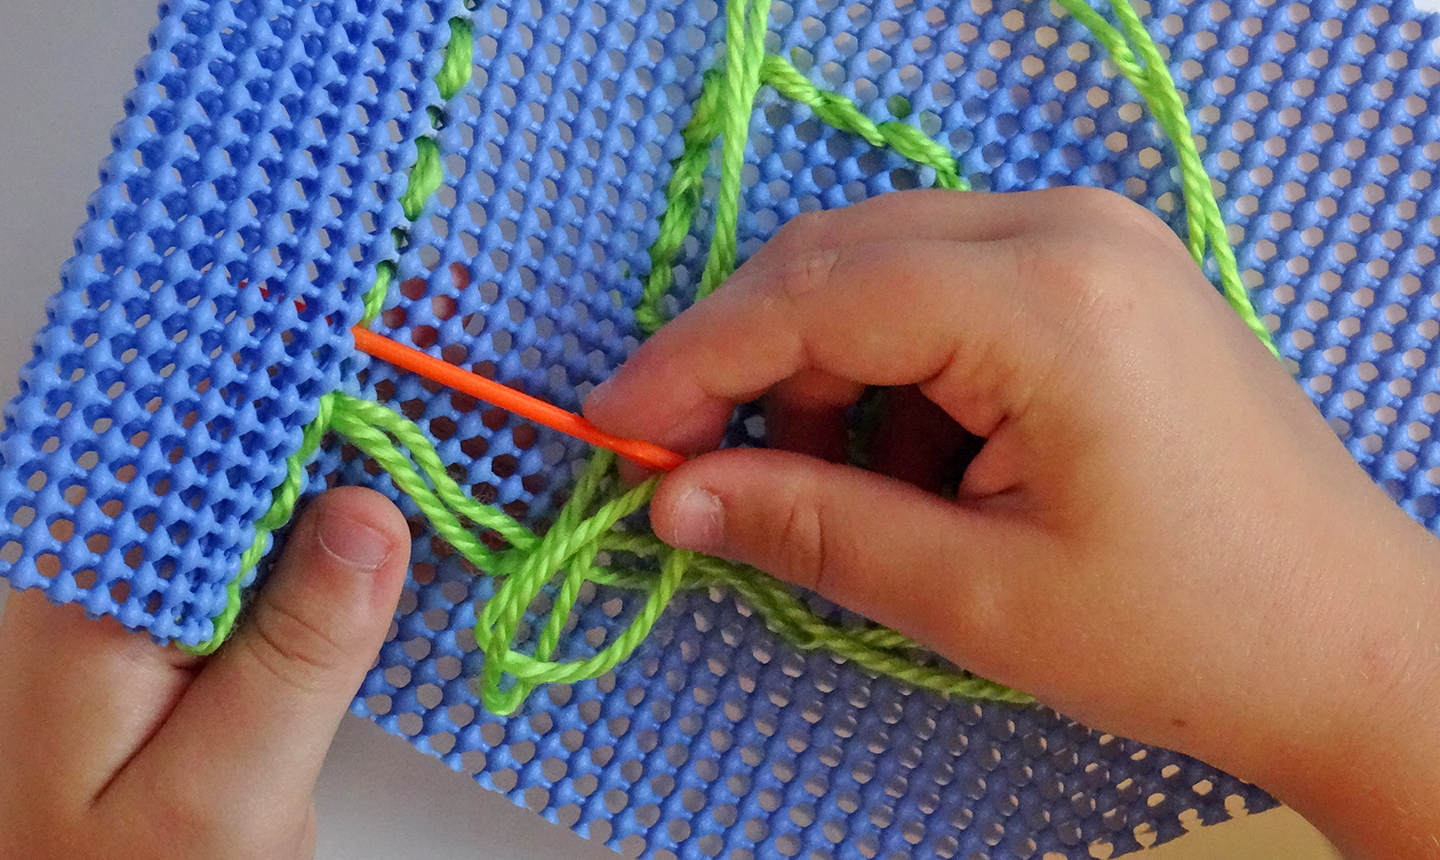
Once you reach the end of the letter, stitch back over the same lines in reverse, using the holes left empty, until you're back at the beginning.
Pro Tip: If you run out of yarn before you're done stitching, knot the yarn around the nearest stitch on the back of the hanging and start again as before, but don't leave a 4” tail.
When finished, make sure the needle is at the back and tie the leftover yarn to the 4” thread tail to secure it. Trim the yarn.
6. Fold and Stitch the Top
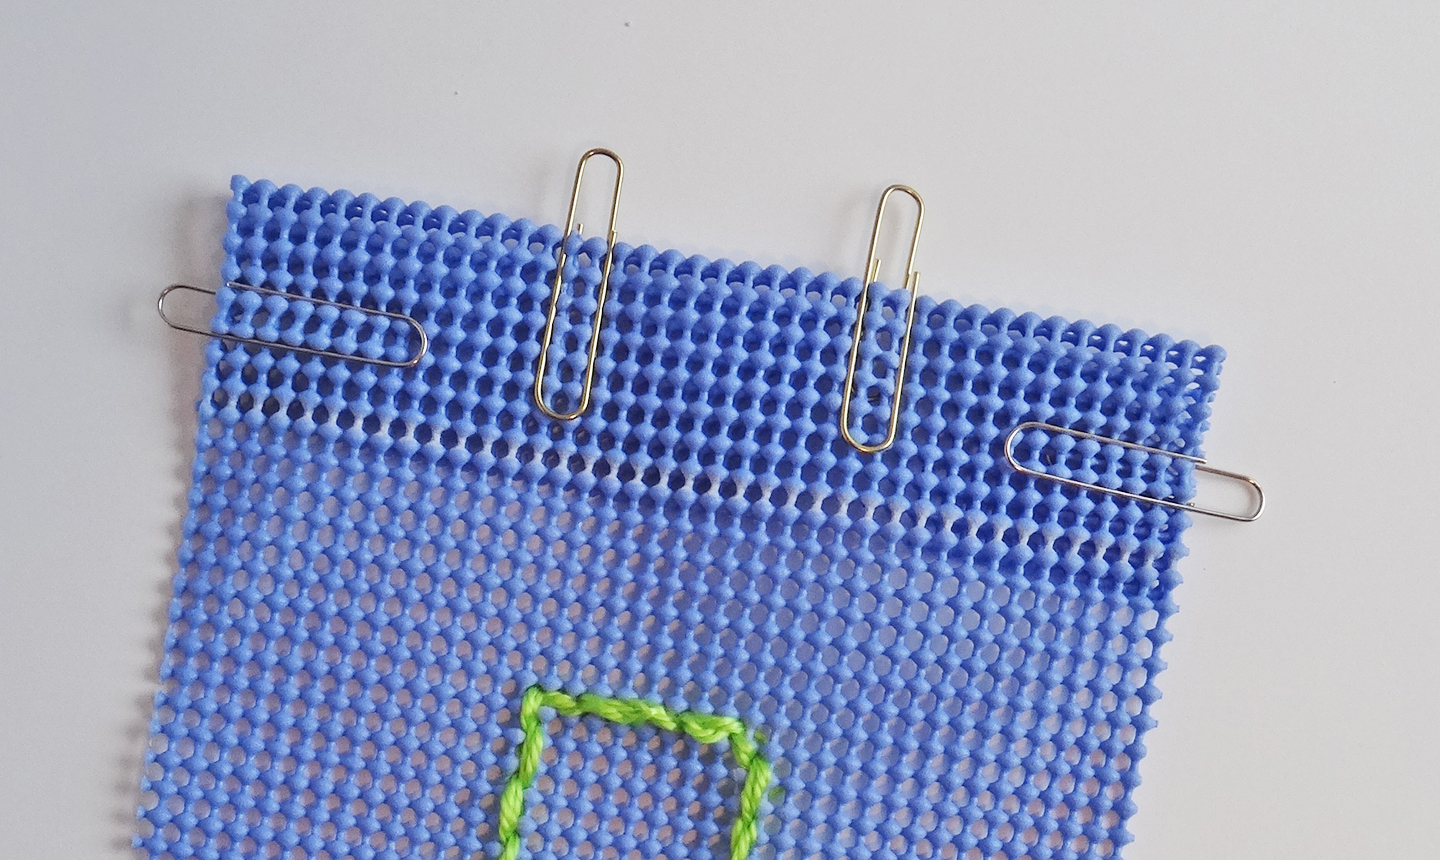
Fold the top of the hanging toward the back, matching the holes along the marked line. Hold in place with paper clips.
Stitch back and forth across the marked line using the same technique as before.
7. Hang It Up
If your child wants to decorate the dowel with paint, markers, stickers or something else, now's the time.
Once the dowel is ready, thread it through the casing you just sewed. Cut two 20" pieces of yarn and tie one to each end. (Those V-shaped cuts you made earlier will hold them in place.) Tie the opposite ends of the yarn together, then it's ready to be hung!

Where do you fine colored non-slip placemat or rug pads? This is such a clever idea and would love to do with the grandkids.