
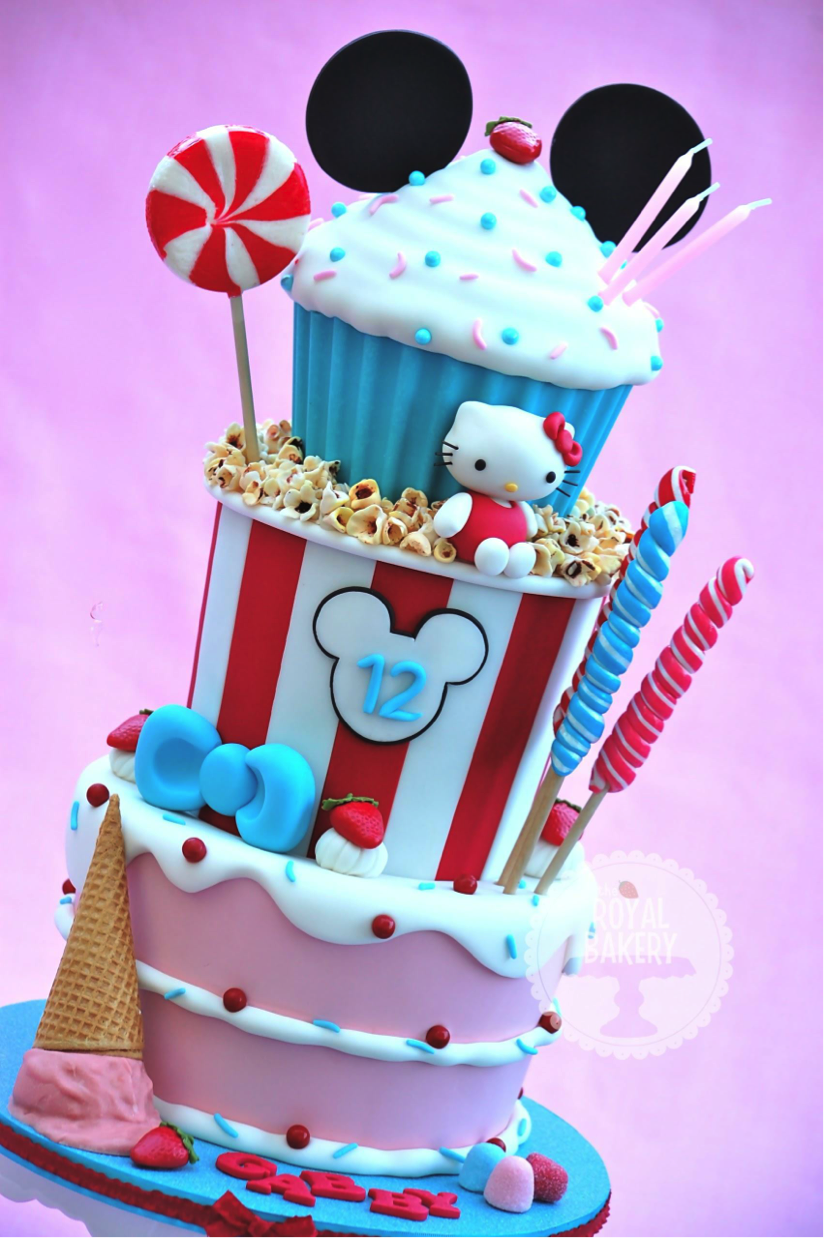
We all scream for an ice cream “accident” cake topper! Wouldn’t any candy or junk food look great with a dollop of spilled ice cream on the side? This ice cream “accident” cake topper tutorial will show you how to put a fun and original twist on any novelty cake or sweet treat!
All you need too make an ice cream “accident” cake topper are:
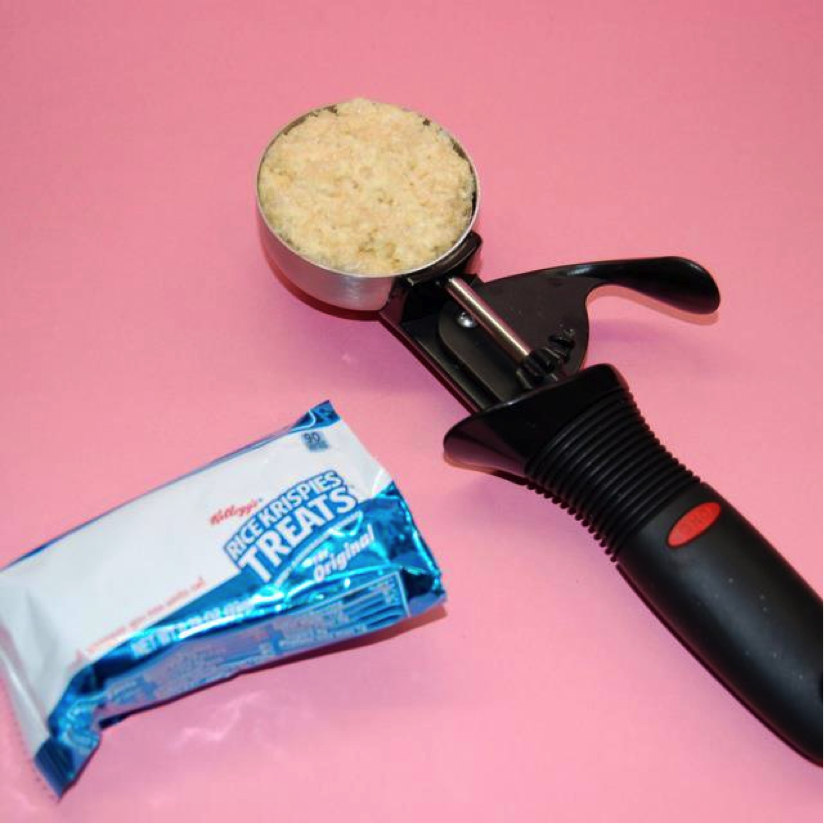
- Some Rice Krispies Treats
- Candy Melts in your choice of color
- An ice cream cone
Step 1:
Start by shaping the ‘ice cream’ part of the topper. You can use Rice Krispies Treats (RKT) for this, but you could also shape a huge cake pop, or use a styrofoam ball.
Step 2:
Butter an ice cream scoop or ladle and press the RKT into it. Try to flatten the top down as much as you can as this will become the base of your ice cream.
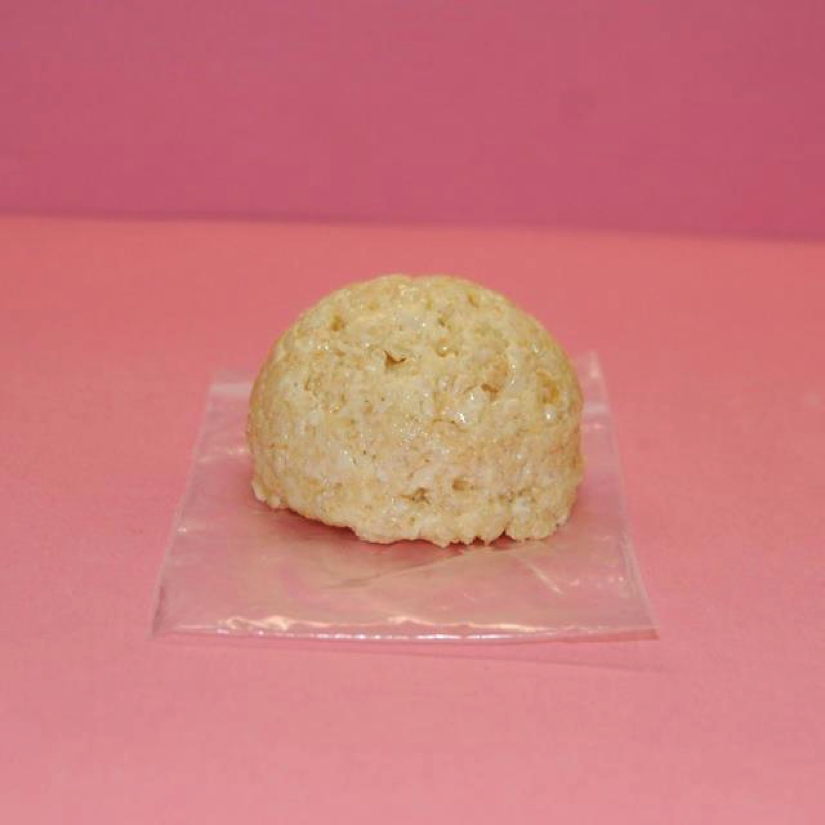
Step 3:
Turn the RKT shape out of the ice cream scoop or ladle.
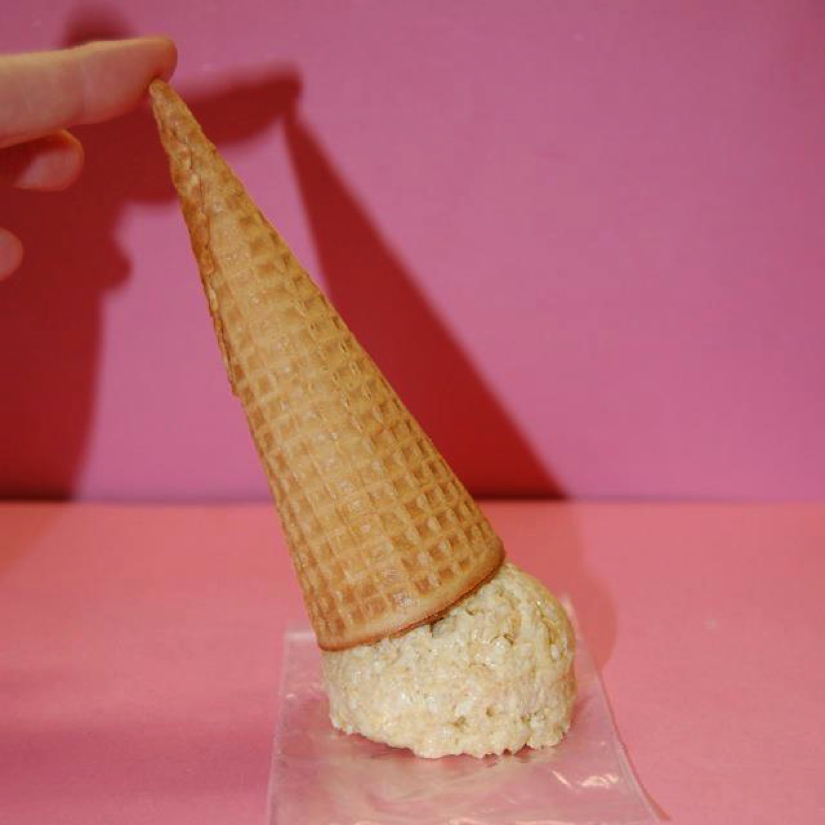
Step 4:
Place the cone on top to gauge whether you have the right size.
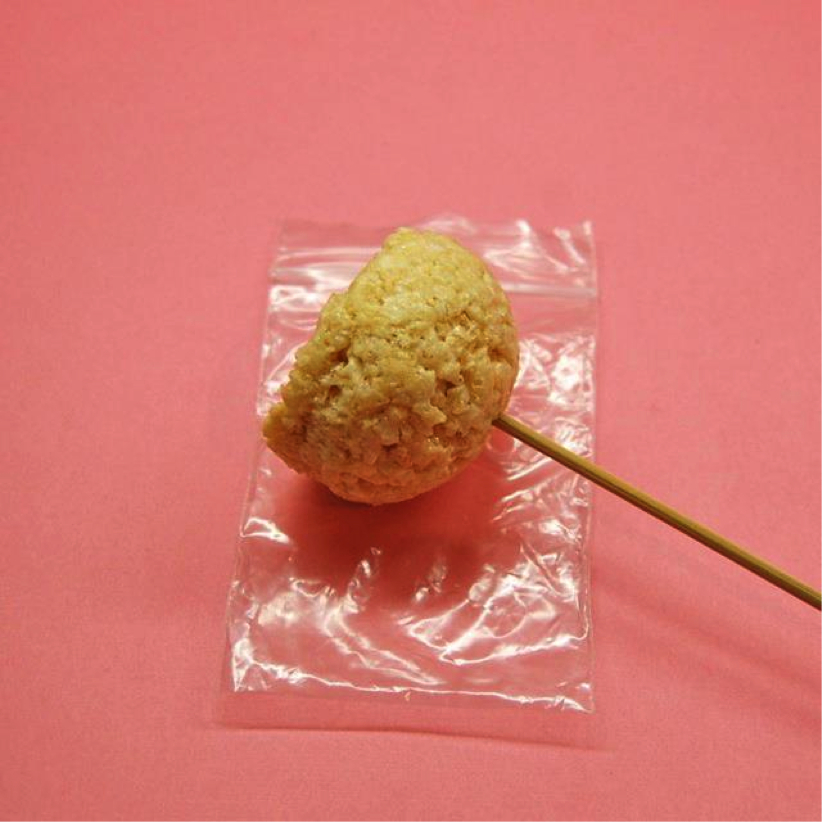
Step 5:
Insert a skewer into the rounded end to give yourself something to hold during the next step.
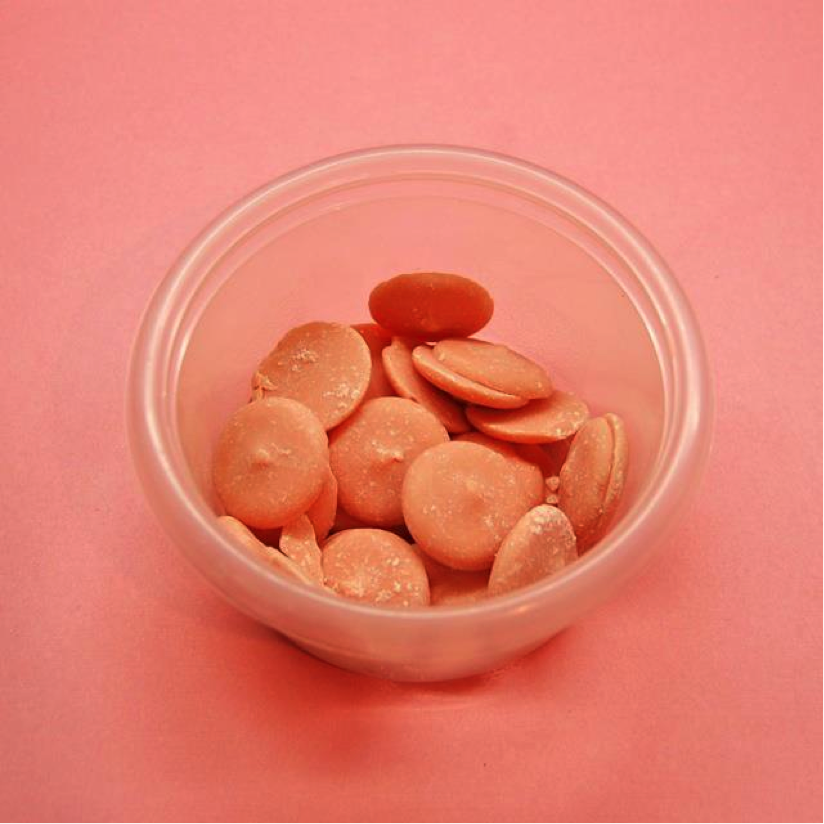
Step 6:
Put some candy melts into a microwavable container. Microwave the candy melts in 30 second bursts, stirring frequently, until completely melted. Add 1 teaspoon of vegetable oil if the chocolate is too thick.
It can be tricky to melt chocolate, even candy melts! For tips on melting that might help as you melt your candy, see our tutorial on melting white chocolate.
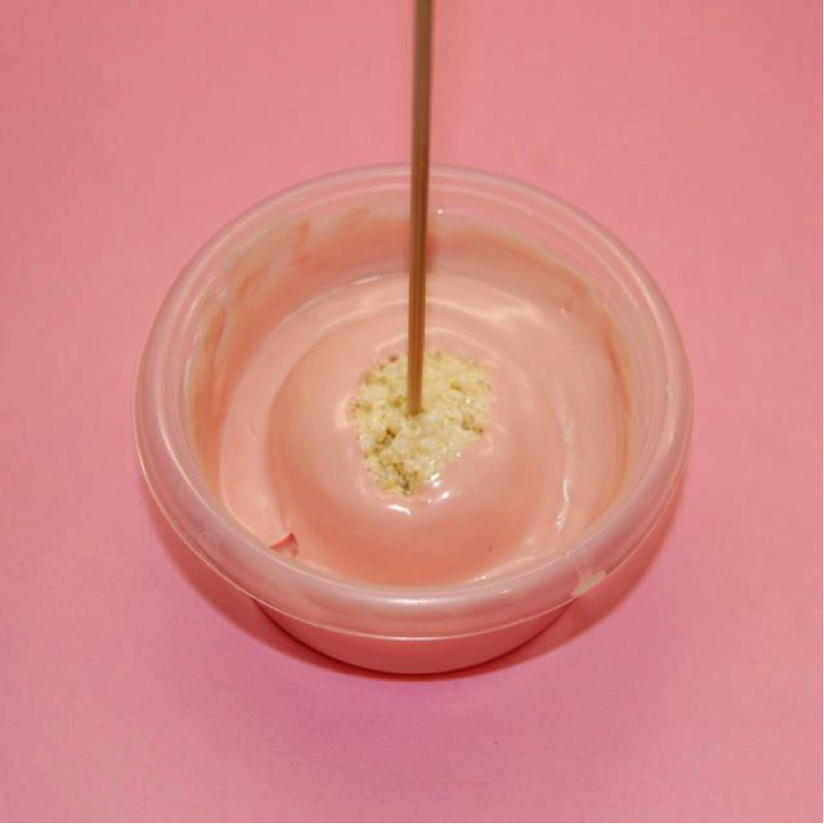
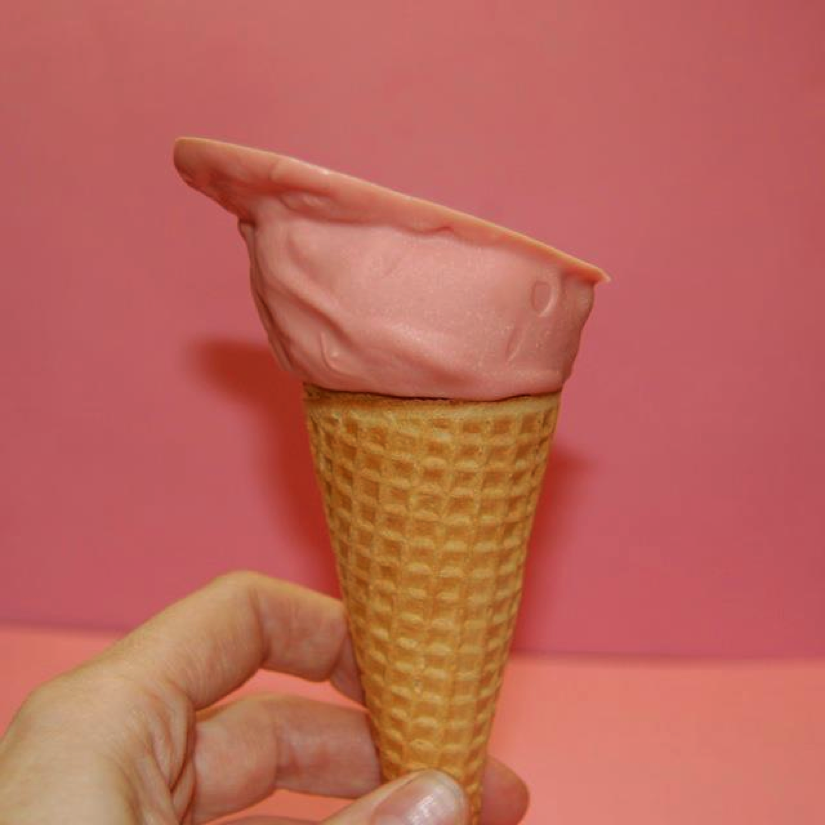
Step 7:
Dip the RKT shape into the candy melts and stir it around until it is coated.
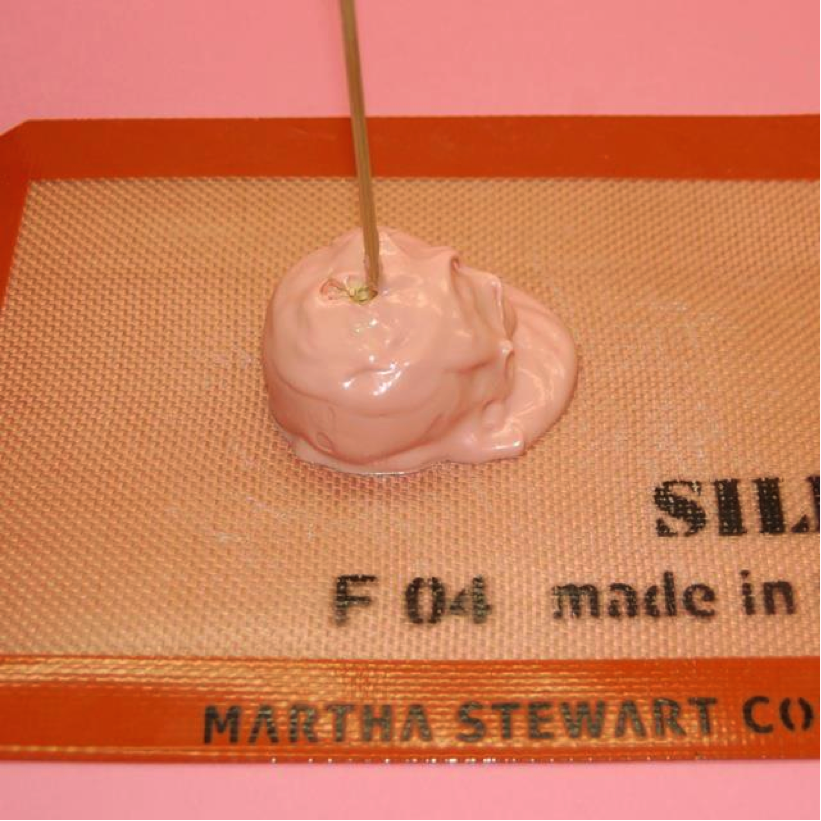
Step 8:
Place the coated RKT on a non-stick surface and pour on a little extra chocolate to one side. When this sets, it should look like a pool of melted ice cream. Remove the skewer now. You can add a few sprinkles to the pool at this point if you wish.
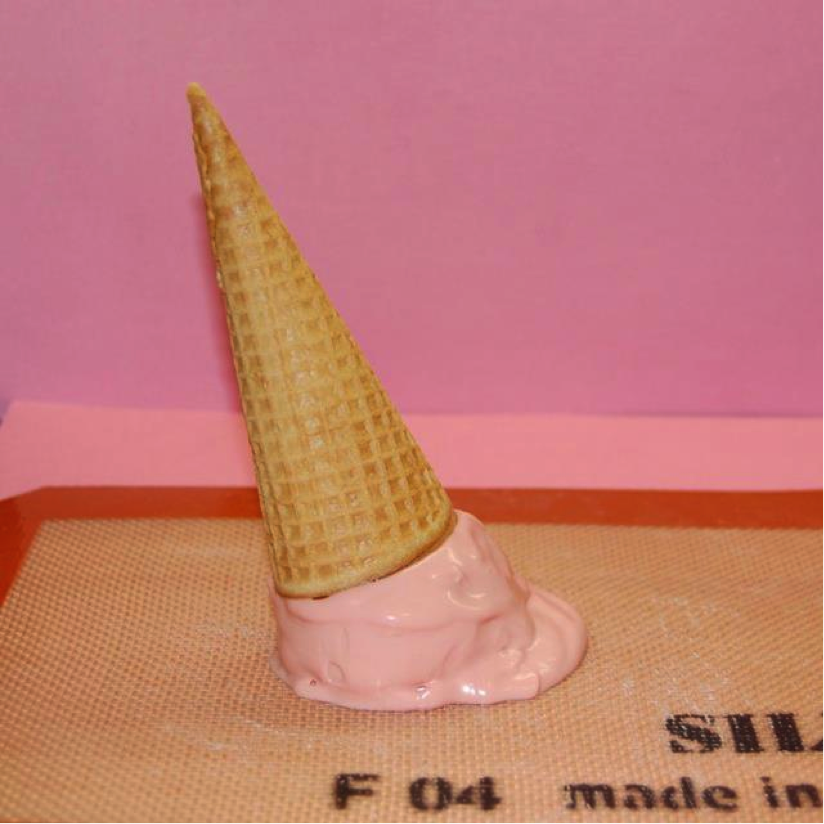
Step 9:
Stick the cone into the chocolate while it is still soft. I prefer to place it at an angle on the opposite side to the melted “pool.”
Step 10:
When the chocolate has set, peel it off the non-stick surface and put it to one side until you are ready to use it on your cake.

Share tips, start a discussion or ask one of our experts or other students a question.
No Responses to “Ice Cream "Accident" Cake Topper Tutorial”