
I clearly remember finishing my first queen-size quilt top, Picnic Petals, and then saying “now what?” It was difficult to imagine how I could quilt this huge piece on my tiny domestic sewing machine. After careful thought and research, I decided that straight line quilting was the way to go.
Straight line quilting is great for beginner quilters.
Unlike free motion quilting, you only have to worry about moving your quilt in one direction. Also, you can easily achieve consistent stitches since your machine will help regulate the length. Here are some tips for you to get started:
Step 1: Baste your quilt well, especially if you’re making a large quilt.
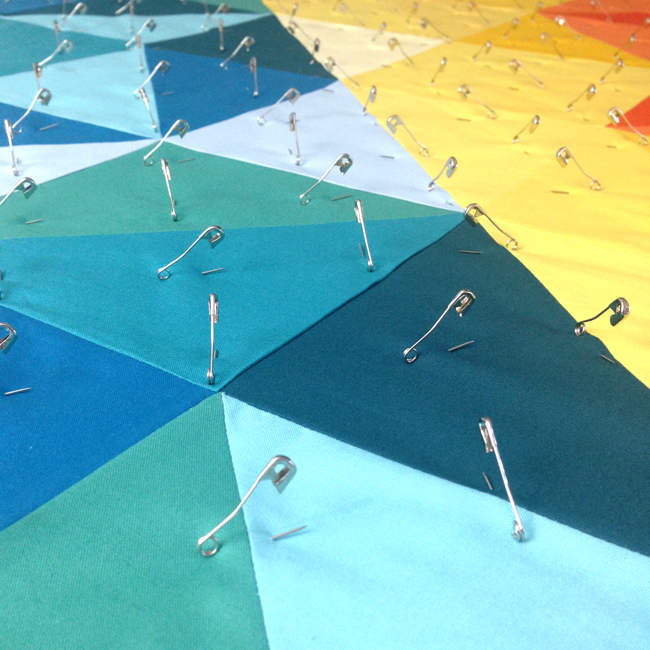
Photos via Sheri Cifaldi-Morrill of Whole Circle Studio
If I rush through the basting step, I get lots of puckers and bunching in my quilt.
I prefer to baste my quilts with safety pins and typically place pins every 3″. While it’s tedious, I find this amount of pinning provides better results.
That said, there are many ways to baste a quilt, and you can read about them in this blog post. You can also visit my blog for a video tutorial showing my preferred method for basting. Just remember as you are quilting to stop and remove pins before your presser foot gets to it!
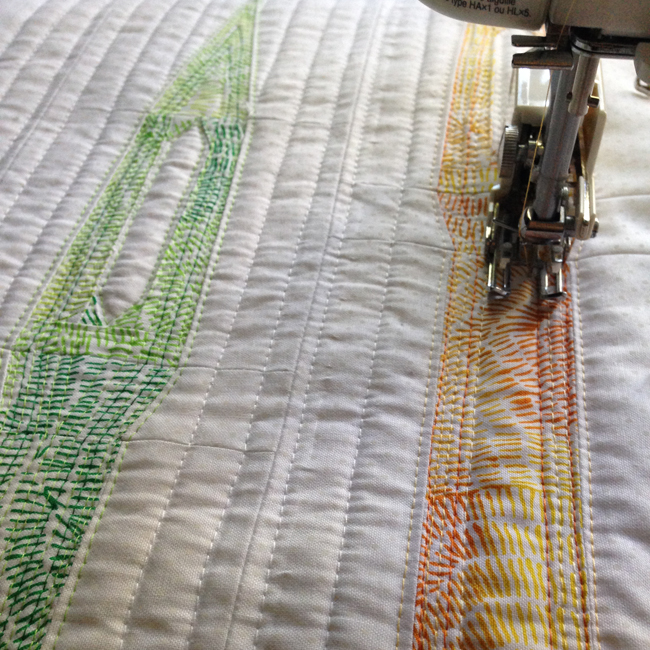
Step 2: Set up your walking foot.
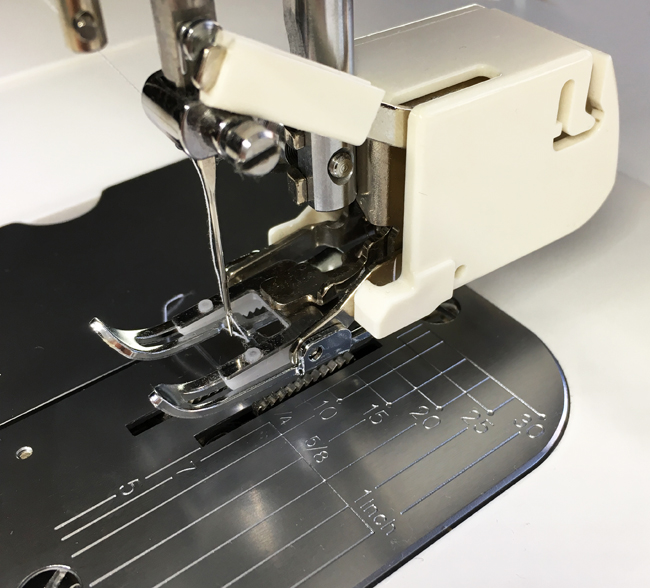
A walking foot replaces the standard pressing foot (what you normally use to piece quilts) on your sewing machine. The design of the walking foot allows for all of the layers of your quilt to move through the machine at the same time, making it easier to quilt and giving you better results.
You’ll also want to consider the design of your walking foot. The toes (or prongs that the needle moves up and down between) on the walking foot that came with my sewing machine are really close together. At times, this makes it difficult to see the area that I’m quilting. A couple of years ago, I invested in a walking foot that was compatible with my machine that has the toes further apart. I found having this extra space to be helpful when quilting most projects.
Step 3: Experiment and test your machine settings.

I like to keep swatches of basted quilt sandwiches to test my thread tension, presser foot pressure and stitch length before I get started on my actual quilt. As I’m stitching, I can experiment with one or all of these settings until I’m happy with the results.
Thread tension
If your thread is too tight or loose, you’ll want to adjust your thread tension.
Puckering and stitch inconsistencies
If you find your stitches are inconsistent, your presser foot may be too high. If you have puckers in your fabric or indentations near the stitches, your pressure foot may be too low.
Stitch length
Your stitch length is totally up to you! Most quilters quilt somewhere between 2.5 and 3.0 (10 to 8 stitches per inch). I prefer the look of longer stitches (closer to a 3.0) but on mini quilts, I sometimes like the look of a shorter stitch (sometimes even closer to a 2.0 or about 12 stitches per inch). Experiment with stitch length and go with what looks good to you!Step 4: Plan your design and get quilting.
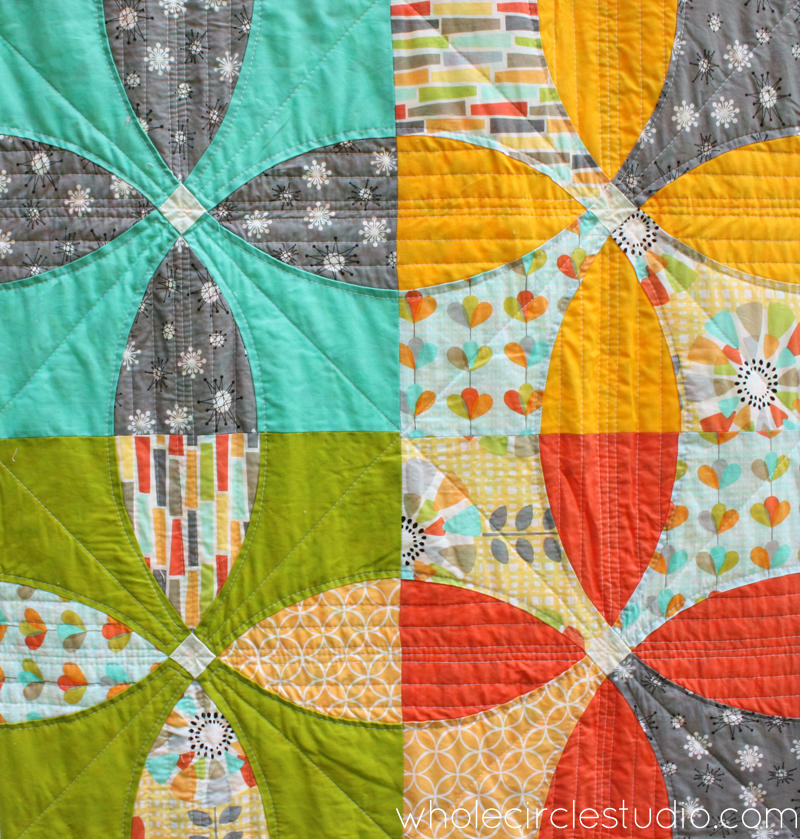
I typically start by using the seams of my quilt top as a guide for my quilting. You can straight stitch quilt right on top of your quilt top seams (also known as stitch in the ditch). In my experience, this can be tricky and difficult to master. I find I have better results stitching to the side of the seam.
I like to use one of the toes on my walking foot as a guide. This helps me achieve straight lines that accentuate the design of my quilt top. I then often use the line I just quilted as a guide for the next line.
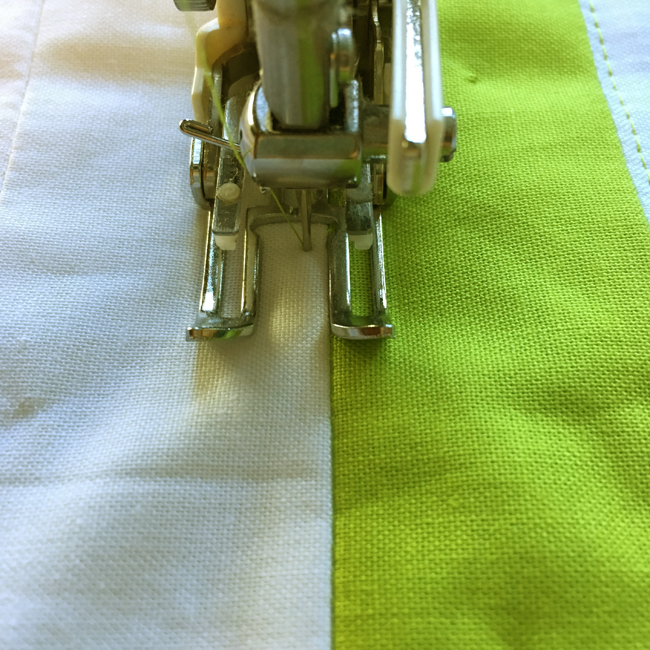
Using my quilt top seam and the inside of my walking foot toe as a guide.
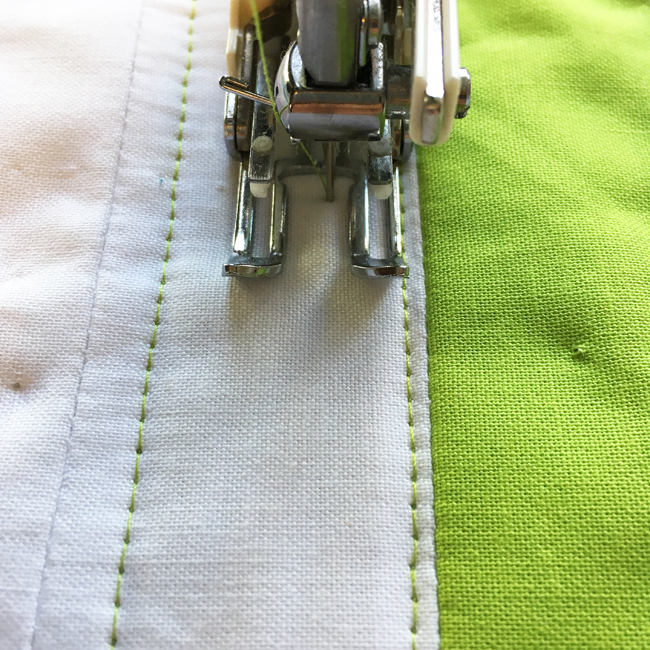
Using a quilted line and the outside of my walking foot toe as a guide.
If this results in too dense lines for your taste, you can use another method to mark lines for quilting, such as painter’s tape or a Hera Marker. To follow the lines marked with painter’s tape, align the edge of the toe on your walking foot to the edge of the tape. Remove the tape when complete (and you can reuse it for a few more times). When I mark my quilt using my Hera Marker, I typically quilt right on the line.
I prefer dense lines (at least 1″ apart) with my quilting. I think it gives the quilt a more finished look and makes the quilt more durable. If you want a more sparse quilting design, check the what the recommended minimum stitch distance is for the batting you are using. This is typically on the packaging.
Quilting on a Sew Speedy< quilt[/caption][caption id="attachment_258768" align="alignnone" width="650"]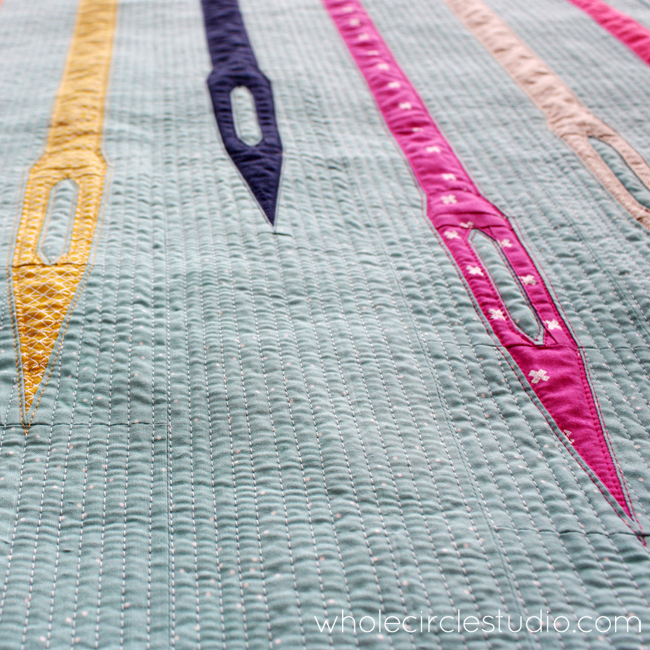 Quilting on a Sew Speedy quilt
Step 5: Take your time.
One of the keys to using a walking foot is to go slow. The faster you go, the more challenging it is to control your motion and it will be more difficult to achieve straight lines.
Remember that first quilt, Picnic Petals, I described at the beginning of this blog post? I like showing this quilt to illustrate how easy it is to get started with straight line quilting and achieve beautiful stitches. Not only was it the first queen quilt I ever quilted, but I’m super proud that it was one of three winning submissions to the Modern Quilt Guild/Michael Miller Fabric Challenge. It was also juried into the show at QuiltCon 2016.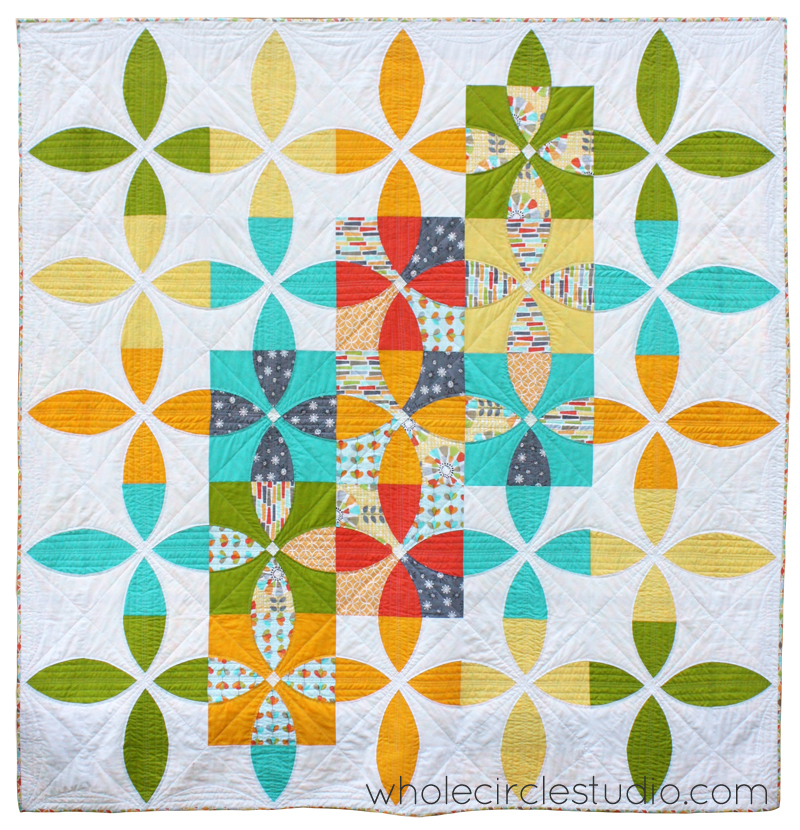
What will you quilt using straight lines? Leave a comment below!
ABOUT THE AUTHOR
Sheri Cifaldi-Morrill is a designer, pattern writer and award-winning quilter. With the help of books and the Internet, she taught herself how to sew and discovered her love of designing and making quilts. As a trained and practicing graphic designer, her quilts start with a concept and research shapes the design. Her work is inspired by her everyday life and experiences. Sheri strives to make beautiful objects that inspire others to make and learn by providing clear instruction and encouragement. In 2016, she was awarded the first annual Craftsy Quilt Designer Fellowship. Learn more about Sheri and her work at wholecirclestudio.com and on Instagram or Facebook.
Share tips, start a discussion or ask one of our experts or other students a question.
No Responses to “A Beginner’s Guide to Straight Line Quilting”