
Who doesn’t wear T-shirts? I can’t think of anyone, can you? T-shirts are among the most widely purchased garments in America and for good reason. They are generally inexpensive and one of the most comfortable articles of clothing to wear. Add to that, they are one of the easiest garments to make. Master making one that fits you just right and all kinds of shirt and tops options can be crafted.
The hardest detail to master when it comes to making T-shirts is the neckline. Round, boat or V-neck, learning the proper techniques for adding any neckline treatment will impact the overall look of the entire shirt. Mess that part up and the shirt looks, well, homemade.
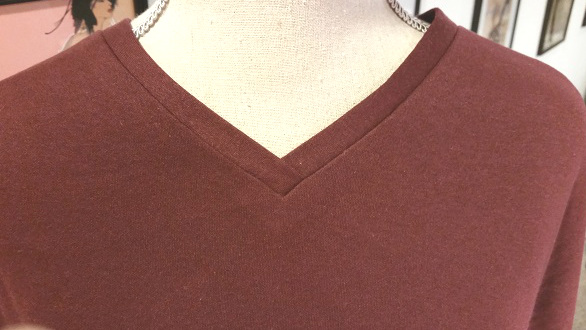
There are many ways a T-shirt neckline can be finished. One of the most traditional ways is to trim it with a knit band. Applying the band is a relatively simple technique. Adding a V-shaped one is just a bit trickier. Not difficult, though it requires a bit more finesse and attention to the details. Just follow along with this photo tutorial to learn an easy method for applying a knit band to a V-neck T-shirt.
How to sew a V-neck collar
Step 1:
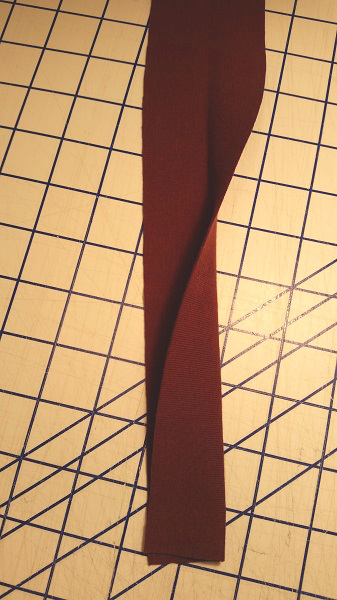
Sew the shoulder seams together. Assuming a ½” seam allowance, measure the neckline opening. Now cut a length of knit fabric that is 2 ¼” wide and ½” shorter than the measurement length of the neckline opening.
Step 2:
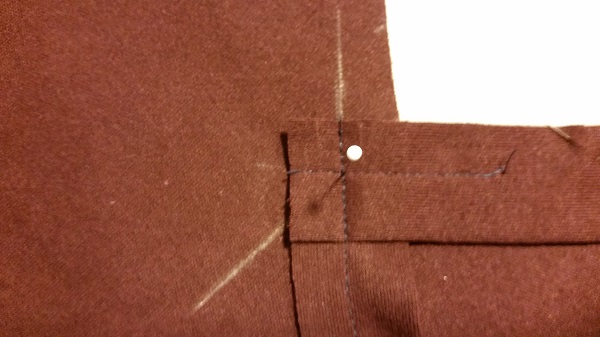
Using tailors’ chalk or a fabric pen, mark both sides of the V until they cross one another on the right side of the garment along the ½” seam line. A 2“ line on both sides of the V should be sufficient.
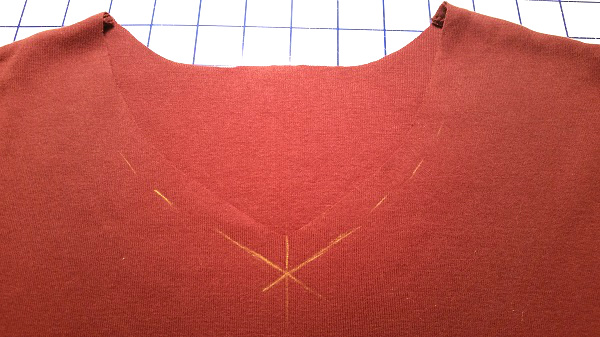
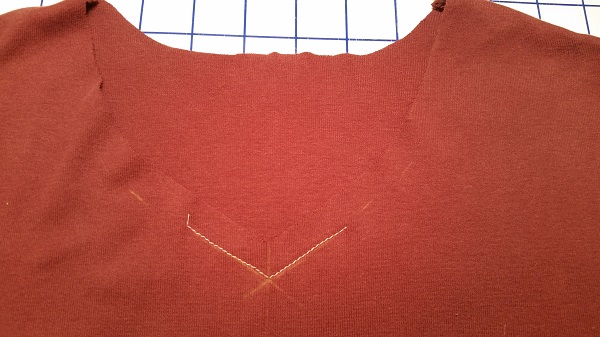
Step 3:
Mark a vertical line that signifies the center point or pivot point of the V. Then staystitch the V close to, but not on top of the marked line.
Most instructions at this point call for clipping into the V. I prefer to ‘not’ clip until much later, which I believe produces a much cleaner and more defined V. It also makes sewing the band to the neckline easier.
Step 4:
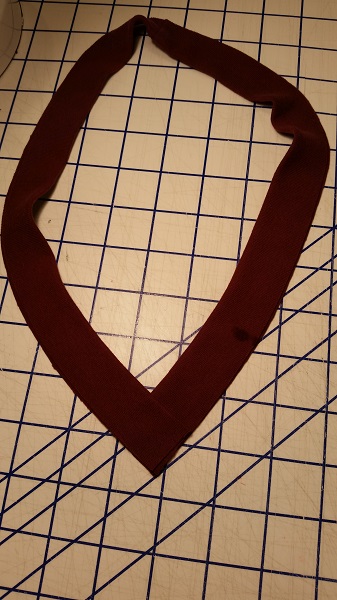
Prepare the band by folding it in half lengthwise. Now fold it in half crosswise and mark the fold – this is the center back.
Step 5:
With the fold toward the interior, pin one end of the neckband to the other end to form the V. Pin in place as shown in the photo.
Next, stitch the V of the neckband using a ½” seam allowance to secure the two ends together. I prefer to stitch one side and then the other rather than to pivot at the center point. By doing it this way you achieve a better V and you can clearly see the center point for sewing.

V stitched together. Not center point.
Step 6:
Pin the neckband to the right side of the shirt, starting at the V. With the raw edges aligned, place a pin straight through the center point of the neckband V and then into the shirt center point.
Note pin inserted at V center point.

Step 7:
Begin to stitch the band to the shirt using a ½” seam allowance by starting at the V center point. Insert the needle at the center point and stitch a few inches along the seam line.
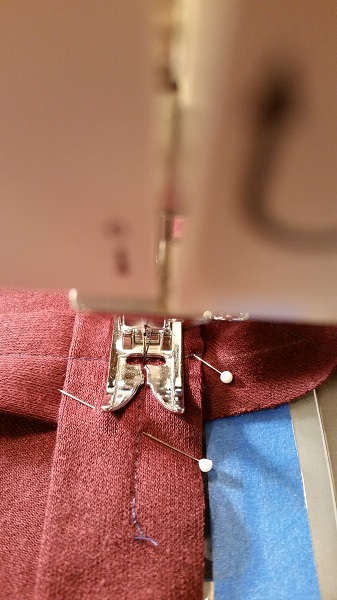
Start stitching at exact V center point.
First stitching done. Then clip into V
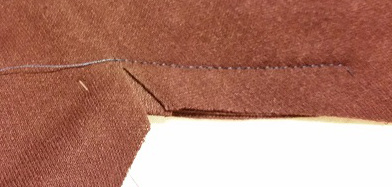
Step 8:
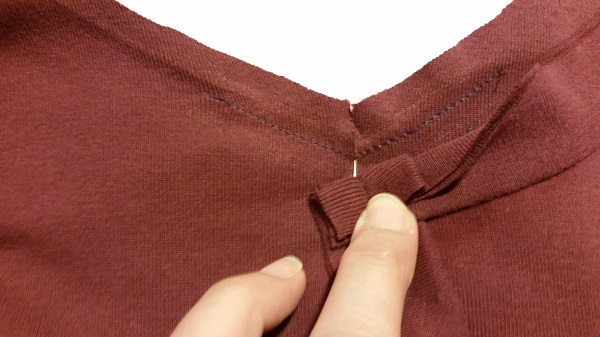
Now clip the shirt to the center point of the V. Spread the V of the shirt so the neckband aligns with the neckline edge and pin in place. Turn the shirt to the underside and stitch in the other direction for another few inches starting at the end of the neckband. Simply fold the fabric away from the seam line to get a good straight stitching line. You may want to stitch over this part again pivoting at the V for a secure seam. This completes the hardest part of the neckband insertion.
The underside of shirt view with V stitched in place.
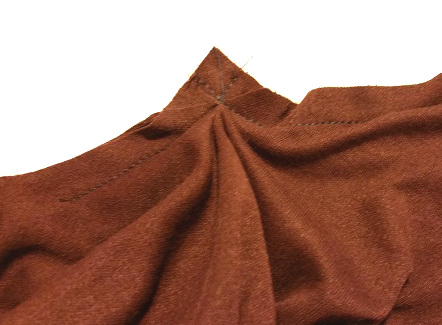
Step 9:
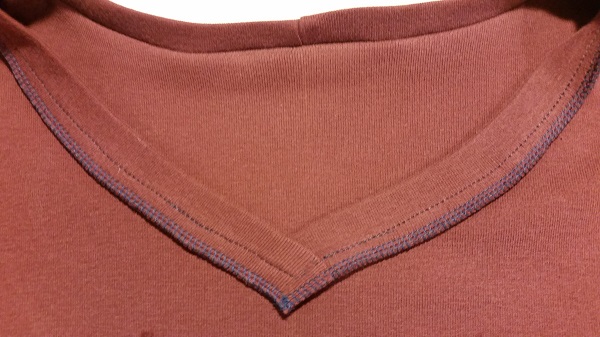
Finish pinning and then stitching the rest of neckband to the shirt. Be sure to match the center backs of the neckband to ensure the shirt is aligned. The neckband should be slightly narrower than the shirt neckline so when pinning, stretch the band to fit and not the shirt.
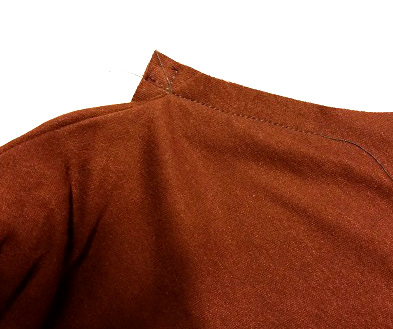
Step 10:
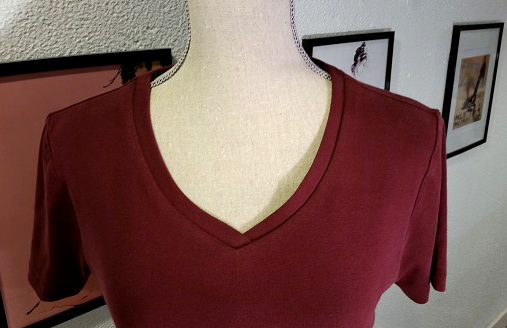
Press the band seam allowance toward the shirt. Finish the seam allowances by either sewing another row of stitching and then trimming close to the second stitching or by serging the edges.
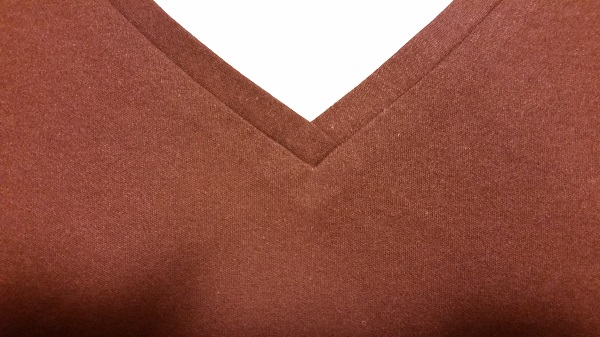
A perfect V
Share tips, start a discussion or ask one of our experts or other students a question.
No Responses to “How to Sew A V-Neck Collar: A Simple Step-by-Step Tutorial”