
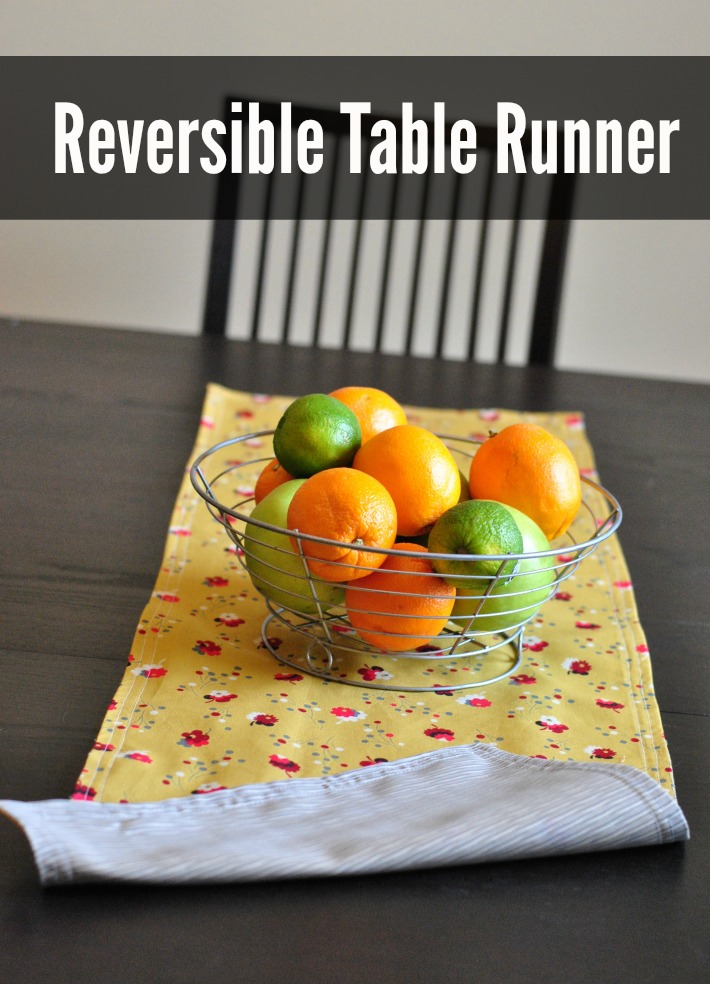
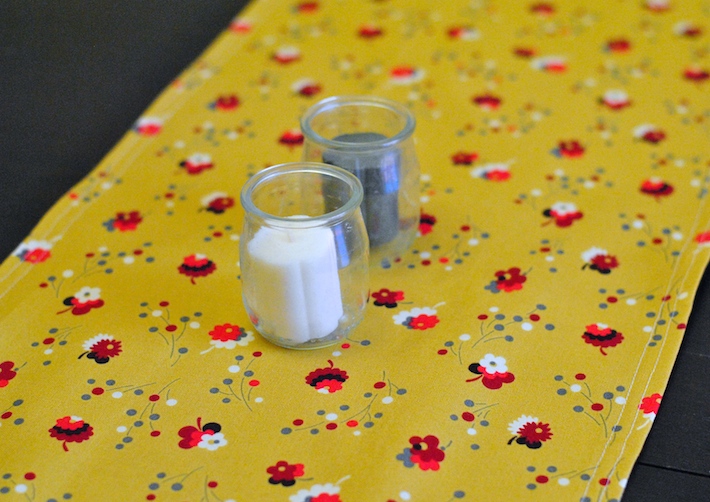
Is your kitchen table a little blah? Learn how to sew a table runner and add a simple splash of color and pattern to your dining room. This easy sewing project is perfect for beginners, and can be completed in as little as an hour!
Materials:
– 15″ x 44″ top fabric (quilting cotton, home decor or similar-weight fabric)
– 15″ x 44″ bottom fabric (quilting cotton, home decor or similar-weight fabric)
– Thread, sewing machine, cutting tools
– Iron
– Sewing pins
Finished Size: 14″ wide x 43″ long. To customize your own measurements, cut the length and width 1″ more than your desired table runner.
Want a pattern you can easily download and print?
Directions:
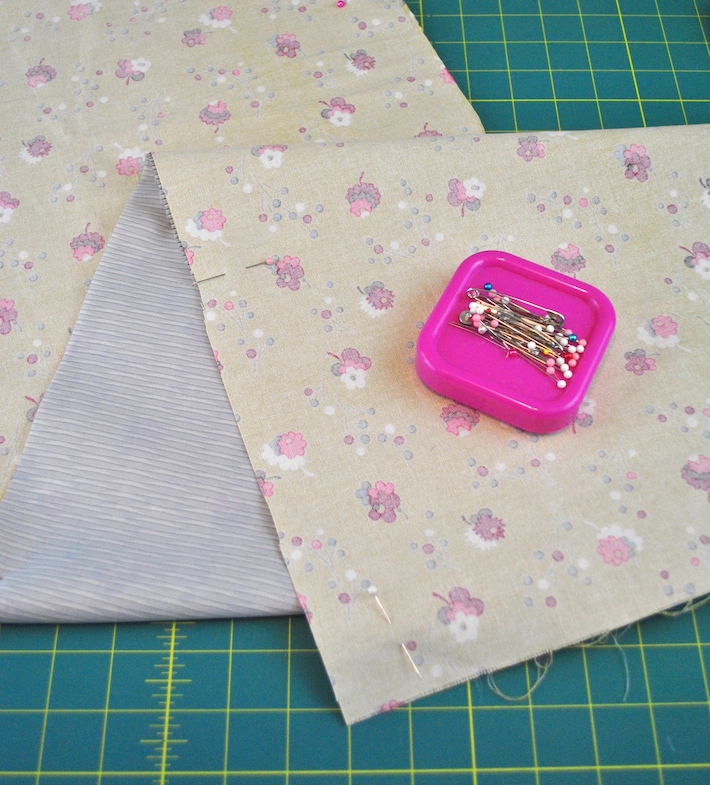
Step 1:
With the fabric facing right sides together, pin the two fabric strips in place. Place the pins every few inches. If you use a different type of fabric on the top and bottom, be prepared for the fabrics to shift while you sew. If this happens, simply remove the pins and keep sewing, trying to keep the fabrics flat and moving along smoothly. You can trim off any excess later.
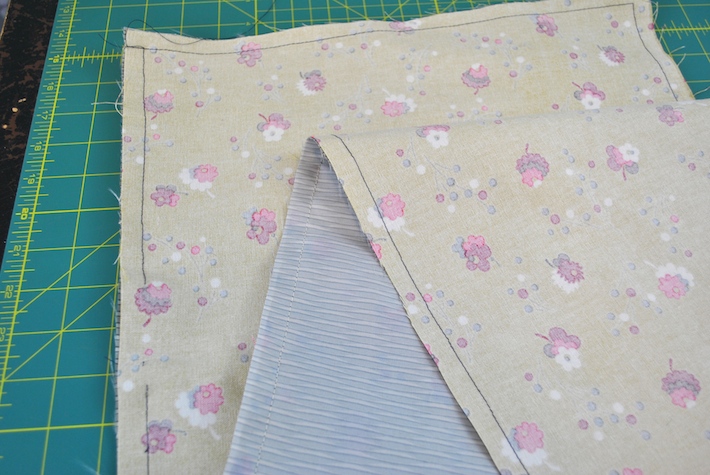
Step 2:
Stitch the two fabrics together all the way around the perimeter with a 1/2″ seam allowance, leaving a 2″ gap along one side for turning (shown here on the left side, along one long edge). Backstitch at the start and end of your stitch.
Note: You’ll use a matching color of thread, but this example shows a contrasting thread for visibility.
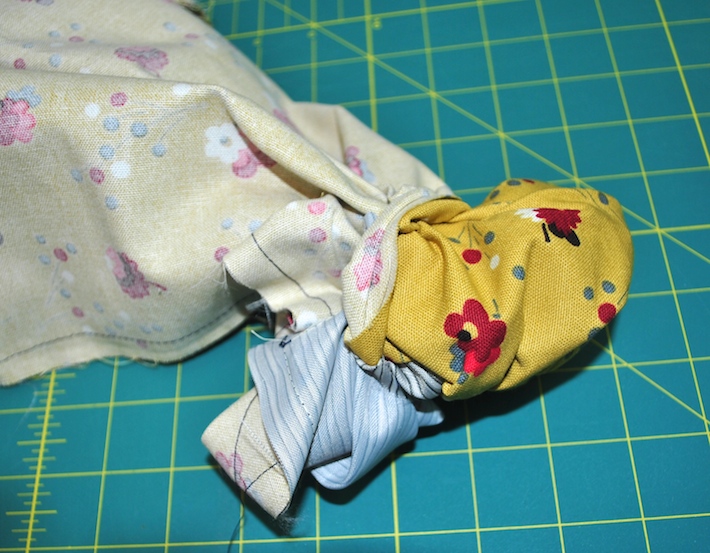
Step 3:
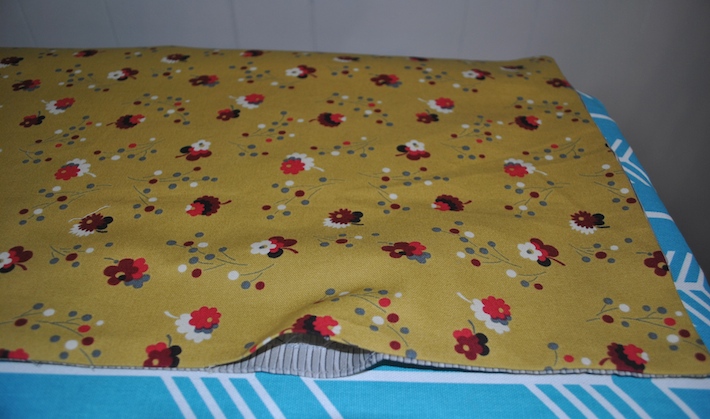
Turn the table runner right side out through the 2″ gap, being careful not to rip out any of your stitches.
Step 4:
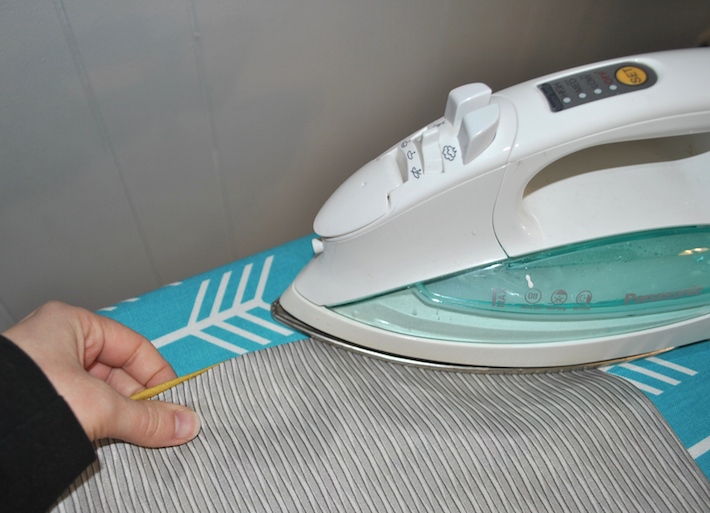
Press the table runner around the edges. Use your fingers to smooth out the seam every few inches as you press, to make sure it is laying flat. This is especially important if you use two different types of fabric, like I did.
Step 5:
Make sure the fabric inside your 2″ gap is pressed inward. Since you used a 1/2″ seam allowance, it probably already looks like this.
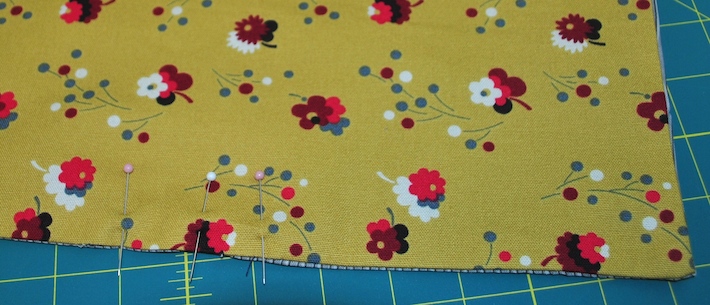
Step 6:
Pin the 2″ gap closed.
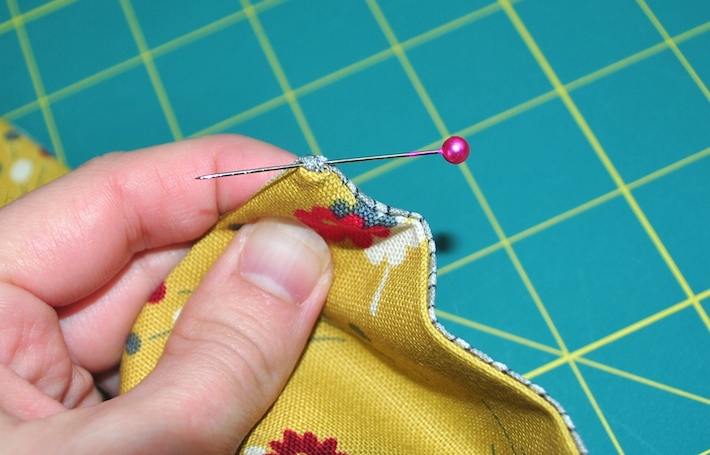
Step 7:
Use a sewing pin to carefully pull out each of the four corners, making any rounded corners look like sharp points.
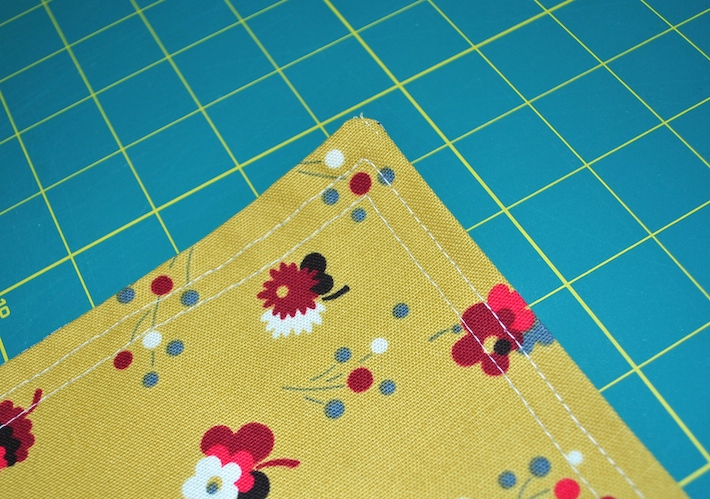
Step 8:
Using a coordinating thread on each side of the table runner, topstitch the table runner 1/4″ from the perimeter. If desired, topstitch another row 1/4″ inside your previous stitch line. Give it one final press with your iron.
You can customize your table runner based on the size of your table. Do you want it to hang over a bit on the ends? Just measure your table and add 8″ to 12″ to the longest measurement (if you want the table runner to hang off each end by a few inches).
Now that you know how to sew a table runner, you can add patchwork, embroidery or quilting to make it your own. If you want a little bit more of a table covering, check out these tablecloth patterns!
Share tips, start a discussion or ask one of our experts or other students a question.
No Responses to “How to Sew a Reversible Table Runner With FREE Printable PDF Pattern”