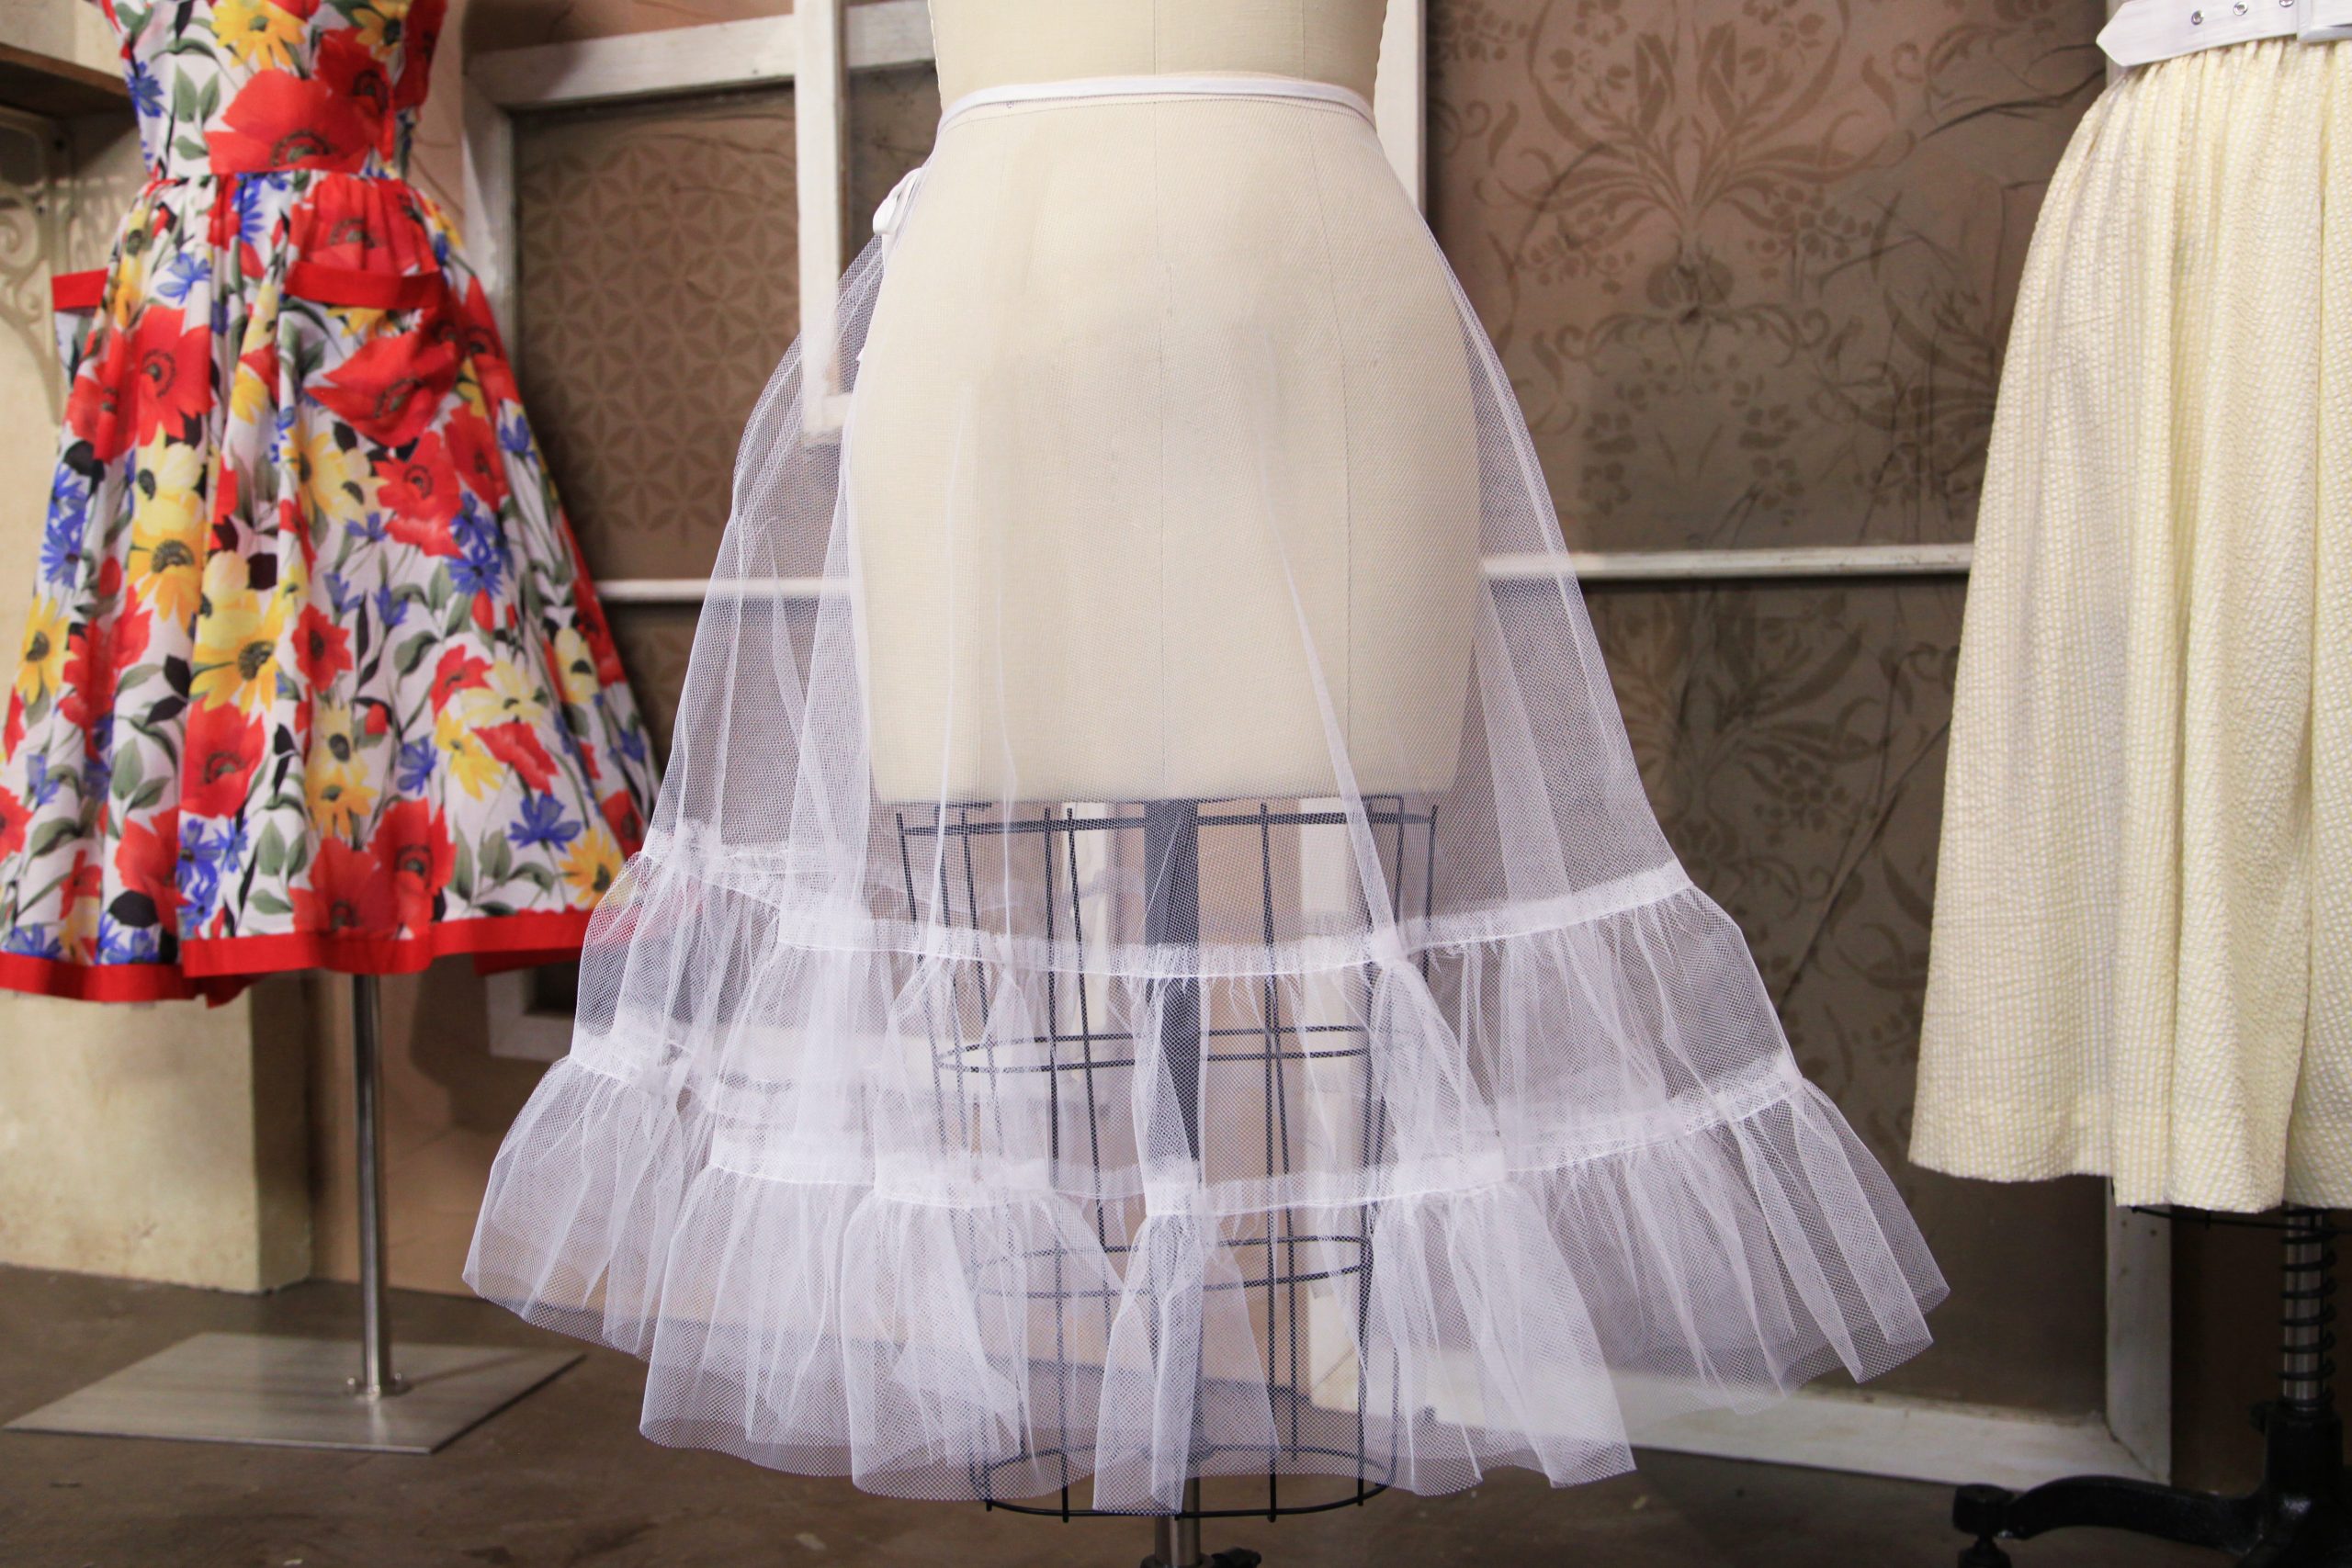
When you're making a statement in a vintage-style dress, you need to have a petticoat. It's just a fact. Petticoats can turn a simple A-line dress into a real stunner — just check out the image below.
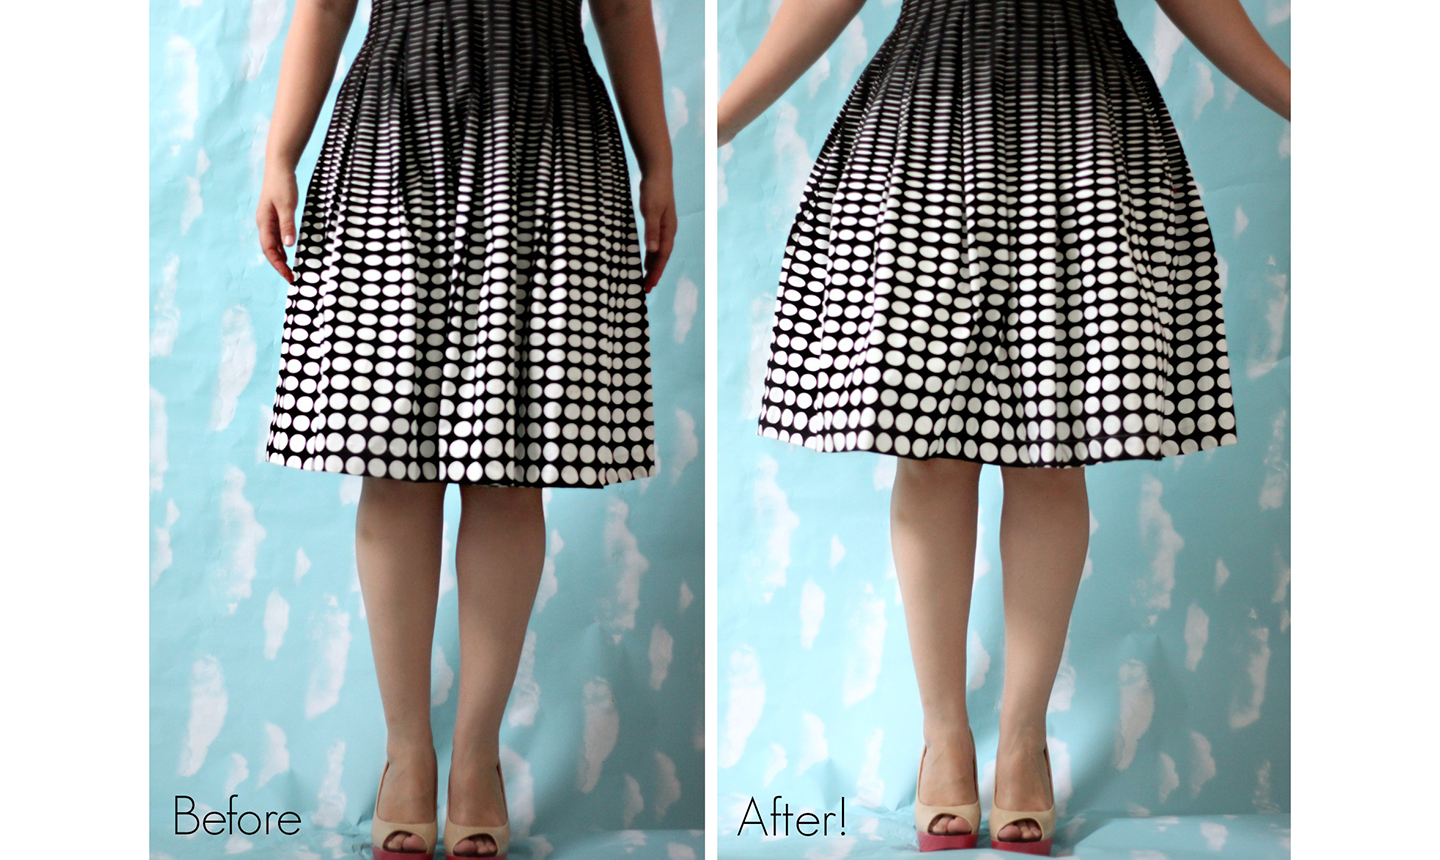
See how much cuter that full skirt looks?
Good to Know: This is not a step-by-step for making a petticoat, but rather a general overview of how it's done. If you want a detailed tutorial for making a petticoat from start to finish, check out our class, Sewing Vintage: The Flirty Dress.
DIY Petticoat
Level: Intermediate
What You Need
Pro Tip: The harder the tulle you use, the puffier the petticoat, so keep that in mind when buying your fabric. We used a fine, soft tulle for a more subtle result.
Instructions
1. Cut Your Pieces
Cut your pieces to meet your pattern. Rotary cutters are great for cutting tulle — it's much faster and easier than cutting the fabric with scissors.
2. Pin
Pin the skirt pieces right sides together and sew down each side. Make sure you press the seams out.
3. Sew
Sew each piece of tulle into a big loop by sewing down the short side of each piece, right sides together.
4. Gather and Stitch
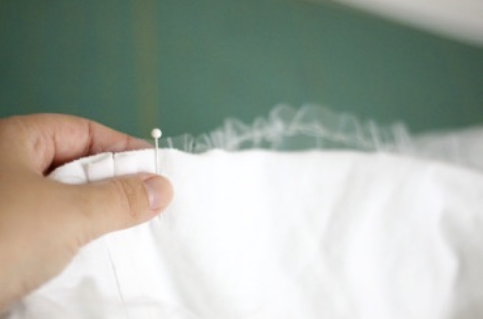
Sew a gathering stitch at the top of the shorter piece of tulle. Pull the strong on the gathering stitch until it matches the width of the long piece.
Pin the gathered short piece to the long piece 6" from the bottom (it should be right in the middle) and sew. Gather the long piece and pull the gathering string until the width matches that of the skirt piece. Make sure your gathers are even.
5. Sew to the Skirt
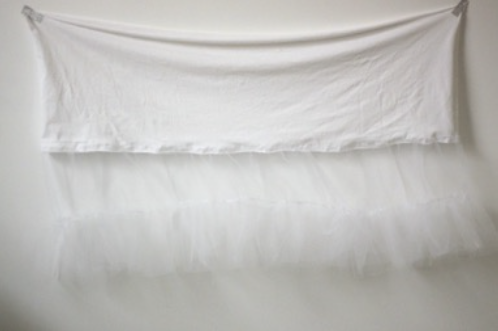
Pin the long tulle piece to the skirt piece right sides together and sew. When you're done, take out all of your gathering stitches.
6. Sew the Elastic Casing
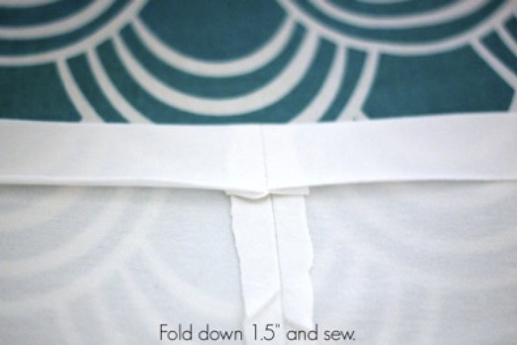
Fold the top of the skirt down 1½" and sew. Leave a 1" opening for the elastic.
7. Insert the Elastic
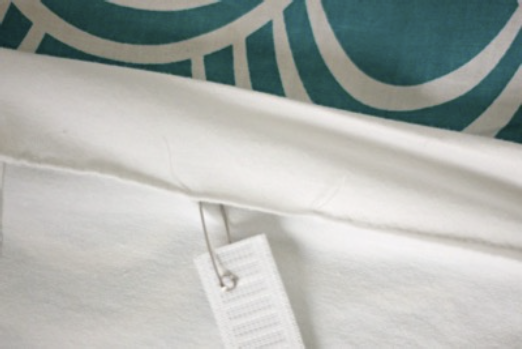
Pin a safety pin to your elastic and push it through the casing. Sew both ends together and sew over the 1" opening.
Pro Tip: If you want to cut down on bulk at the waist, use a ¼" wide elastic.
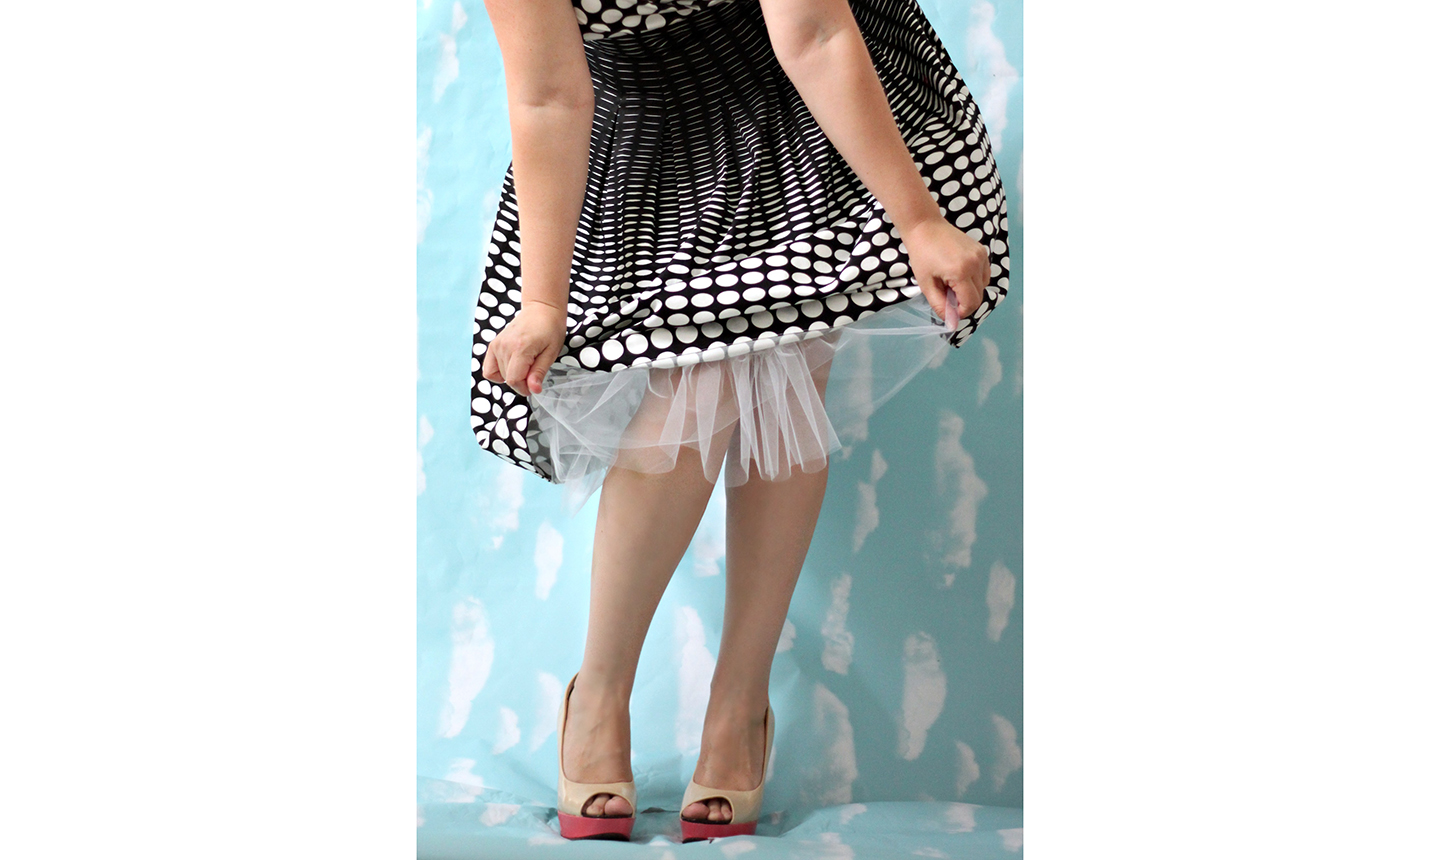
Now go put your fancy new petticoat on underneath your favorite vintage-style dress and you'll look fab!

Hi, its fɑstidious article on the topic of media print, we all understand media is a wonderful source of dаta.
This is lovely..but, Tulle especially when weighted by the garment it will be worn under can get a bit scratchy. I had a ball gown made for me once. The brilliant seamstress made a petticoat for the gown. The upper inner parts of the petticoat were lined with silk organza. The lower outer part of the tulle was layered with the same organza so as not to catch the silk hem of the gown, a really nice finish.