
Adding a quilted pattern to fondant can be a little stressful. You have to make countless diagonal lines that need measuring and mapping out first. Then there’s scouring the long diagonal lines into the fondant and really committing to the look — ah! To save stress and create a subtle look, try this trick for making quilted fondant.

How to quilt fondant the stress-free way!
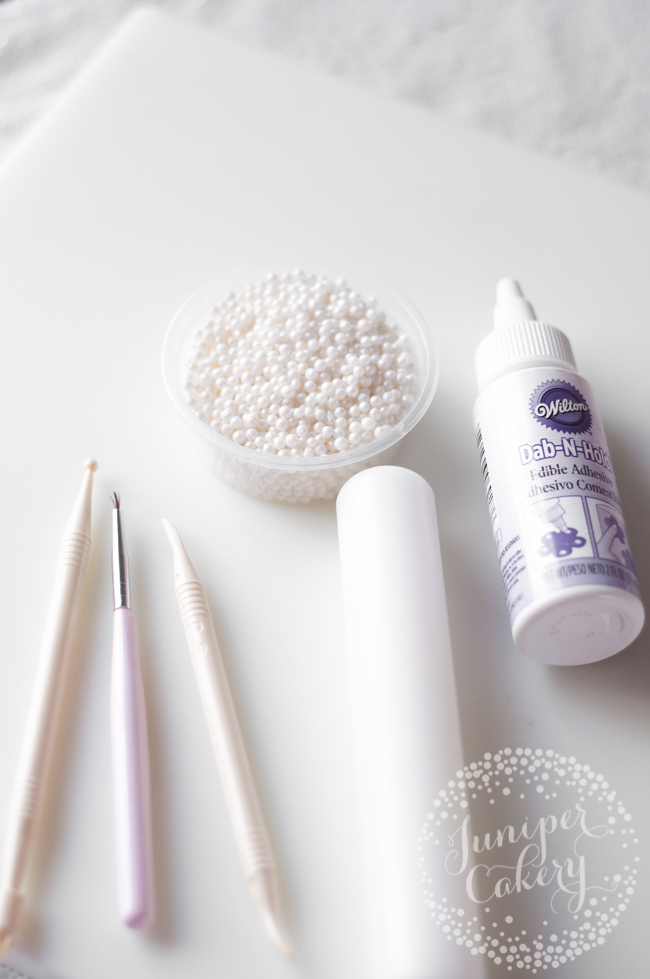
Materials needed:
- Freshly fondant-covered cake (the fondant needs to be still soft and pliable)
- Thin veining tool
- Small ball tool
- Edible sugar pearls
- Edible glue
Not sure how to cover your cake with fondant? Here’s a video tutorial!
Before you get started, make sure your fondant is still be soft. Never quilt onto fondant that has dried out or you’ll be left with a cracked look.
For this tutorial, we’re using a spare bit of fondant flat on our work surface. However, you can also use this technique on already covered tiers if you’d prefer. We recommend practicing on some extra fondant for practice first.
Step 1: Mark the points
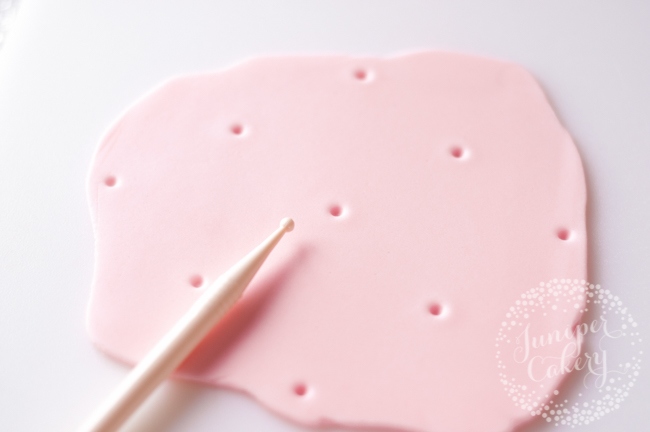
Using a small ball too, mark where your quilted “centers” will be. Double check the position of each one before indenting the fondant — you can use a ruler or another straight-edge to align them.
Gently push the small ball tool into the fondant, but not too far. You’ll be inserting an edible sugar pearl into each crevice, and you don’t want the pearls to sink or get lost in the indentation.
Tip! In more humid environments your fondant may get a little tacky and stick to your tools. To find off stickiness, lightly dusting your ball and veining tool with a little cornstarch before you begin.
Step 2: Add the cross lines

Using your veining tool, indent four lines that start at one of the center points and taper out after about an inch. All lines should begin from the ball indentation and reach out from center to top, bottom and sides.
Step 3: Add diagonal lines
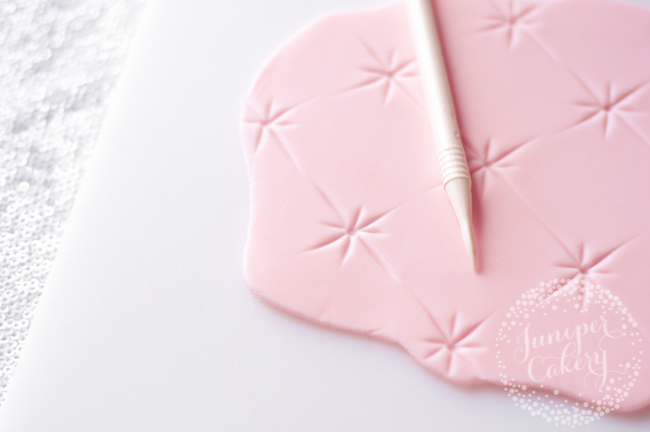
Next, add in slightly longer diagonal lines fanning out from the centers. These should also thin or taper out toward the outer ends.
You can change the look of your quilting by extending the longer veined indentations. Make them even longer for a bolder quilted look, or keep them a medium length for something a little more subtle.
Tip! Keep to the same amount of pressure when indenting all your quilted effects. You want each to look even and perfectly uniform.
Step 4: Attach the sugar pearls
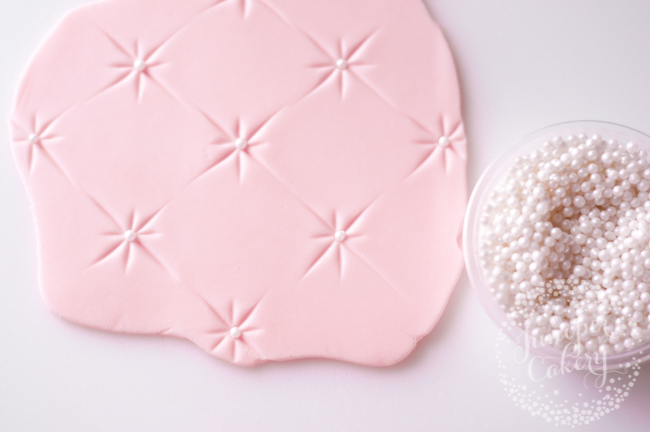
Add a dab of edible glue into each indentation to attach the edible sugar pearls. You can also pipe pearls into centers using royal icing.
Tip! Try not to add too much glue. It can seep out, which doesn’t look good. A tiny amount goes a long way!
Quilted cakes can be adorably sweet or amazingly sophisticated. This technique is perfect for full tiers, a small amount of detail or even for adding effects to sculpted furniture.
Share tips, start a discussion or ask one of our experts or other students a question.
No Responses to “A Time-Saving Hack for Making Quilted Fondant”