Patina is the blueish-greenish layer on the surface of copper that comes from age or chemicals (we see you, Statue of Liberty!). If you're looking to add dimension to your handmade copper jewelry, it's a super fun technique to explore that's a little wilder than the usual matte, shiny or brushed looks.
You can patina your copper pieces three different ways, each resulting in a different look. Try 'em all and see which method you like best.
Before You Start
To get the best results, prep your pieces first so they're free from dirt and oil. (That means no fingerprints!) If you have a pickle pot, this is a great time to get it out. If you don't, grab a scrubbing sponge (like Scotch-Brite) and gently scuff the surface. Your piece will not only have a more satiny finish but when you do add a patina, it will have more surface to work on.
After you finish, handle the jewelry by its edges so you don't transfer any oils back onto it. Now it's go time!
3 Ways to Patina Copper
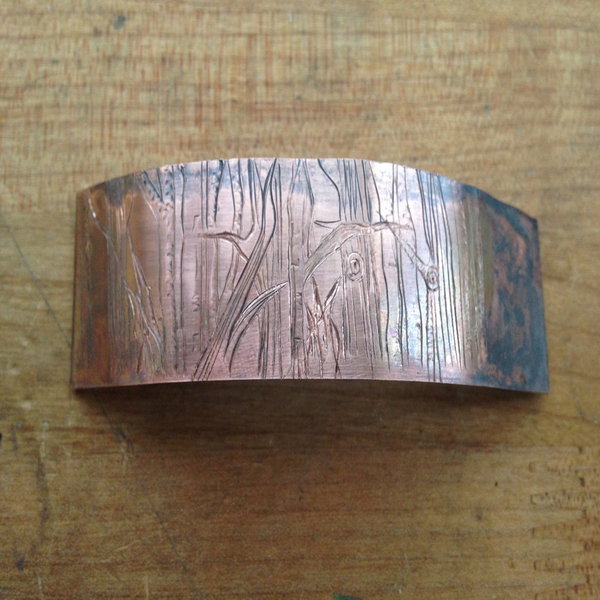
1. Heat Patina
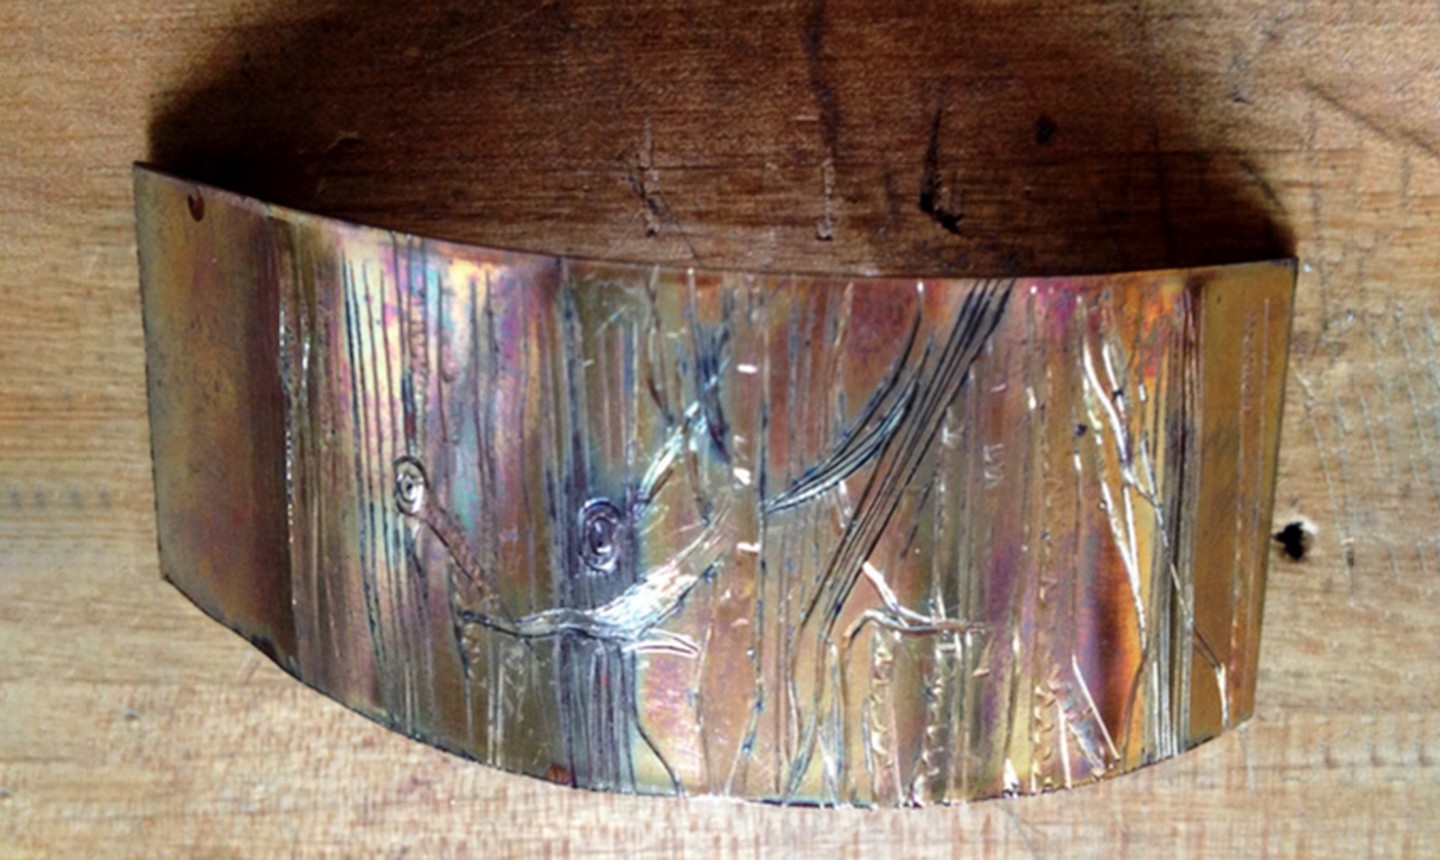
As you heat copper with a torch, it starts to change color, turning different shades of bright red, purple and blue. The key is to stop before you've gone too far. Try not to get too attached to a particular tint until you get the hang of this technique, because a bright reddish tint (for instance) might quickly fade into a bluish tone.
Pro Tip: Heating copper can result in drastic color changes; to avoid this, pull the torch away slowly. Experiment and see what color works best for your piece. When you've hit upon a shade you love, add a sealant to finish it off. Acrylic clear coats, beeswax or renaissance waxes can help protect the surface and the color.
2. Vinegar and Salt
Hey, kitchen magician! All you need for this technique are equal amounts of vinegar and salt. Stir until the salt dissolves into the vinegar. Three tablespoons of each are enough for a small pendant. If you have a bigger piece of jewelry, you'll need more liquid to cover the piece completely. Just keep the 1:1 ratio of vinegar to salt the same.
Let the jewelry soak for at least a half hour. Then remove it, place it on a paper towel and let it air-dry. You can sprinkle a little more salt on the top if you'd like to speed things along.
Then check back every few hours or so to see what colors come through. You're most likely to see turquoise, blue and green but you really can't predict what you'll get!
Pro Tip: Let the color go a little longer than you might like, as this patina has a tendency to flake off. If you'd rather have a lighter hue, take steel wool to your piece of jewelry and remove some of the patina. Then wash it and let it air-dry. Seal it with beeswax or an acrylic clear coat and you're good to go.
3. Liver of Sulfur
Ever go into a hot spring wearing a bright silver bracelet and come out with a dark band around your wrist instead? It was probably the sulfur in the water plus the heat that changed the color.
This method uses the same combo — heat and liver of sulfur. Liver of sulfur comes as small nuggets or a gel-like liquid. The liquid has a longer shelf life and fewer harmful chemicals. If you prefer to use the nuggets, be sure to store the container in a dry place. One drop of water can ruin the whole batch.
To speed up the process, soak your jewelry in a cup of warm water until the piece is warm too. Then add a small amount of liver of sulfur (nuggets or gel) to the cup. The jewelry will begin to darken until it becomes a blackish color.
Finally, to give your piece interesting accents, polish the raised areas until gleaming highlights emerge and leave the recessed areas dark.
Pro Tip: The fumes of liver of sulfur can be hazardous, so work in a well-ventilated area and don't dump the liquid down the drain when you're done. Instead, put it in a closed container to dry out and then toss it in the garbage.
If none of the above patinas are what you want, you can also buy commercial products for everything from an easy verdigris for copper to brown for brass. Make sure to read the info about each one to be sure you're handling it properly.
Whichever method you end up with, exploring this particular intersection of art and science is an adventure. Enjoy the ride!

Why is my blue patina on copper flaking, peeling and falling off?
will take a class on this subject