If you’ve never heard of Smith Island cake, then you’re in for a treat. This sky-high concoction averages between eight and twelve layers of contrasting yellow cake and rich, fudgy icing. Nicknamed “icing with the cake”, it hails from a small island off the coast of Maryland, but there’s a lot of big love for the treat, which is the state’s official cake (in good company with the state’s official drink, which is milk). It may not be an elaborately piped or fondant topped cake decorating project, but the contrast of so many layers stacked with a contrasting hue of icing is dramatic enough to make this cake a showpiece.
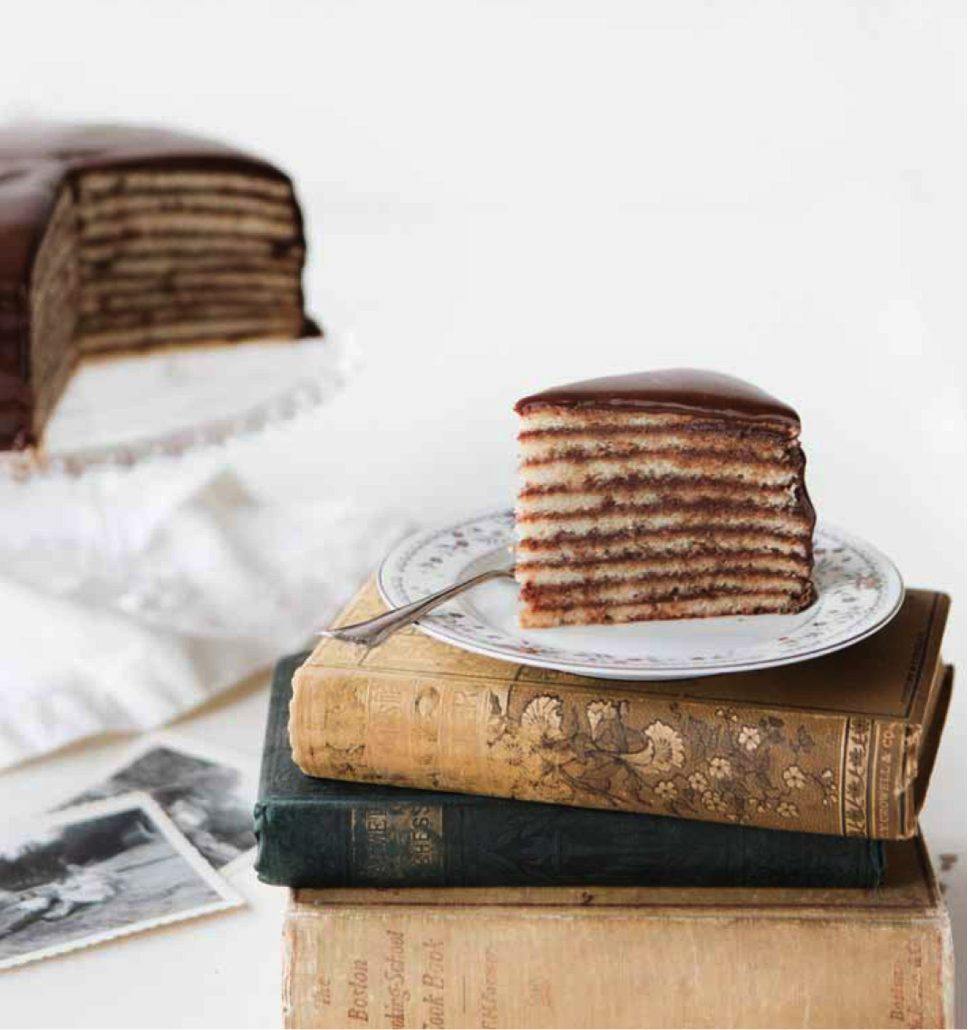
Photo via Clare Barboza
You may not believe it from the look of the cake, but it’s not very difficult to make. The toughest part is having patience, because the baking of the cakes and the assembly can take time simply because of the number of layers.
So take a deep breath, set aside a few hours, and let’s get to baking.
Recipe considerations and notes:
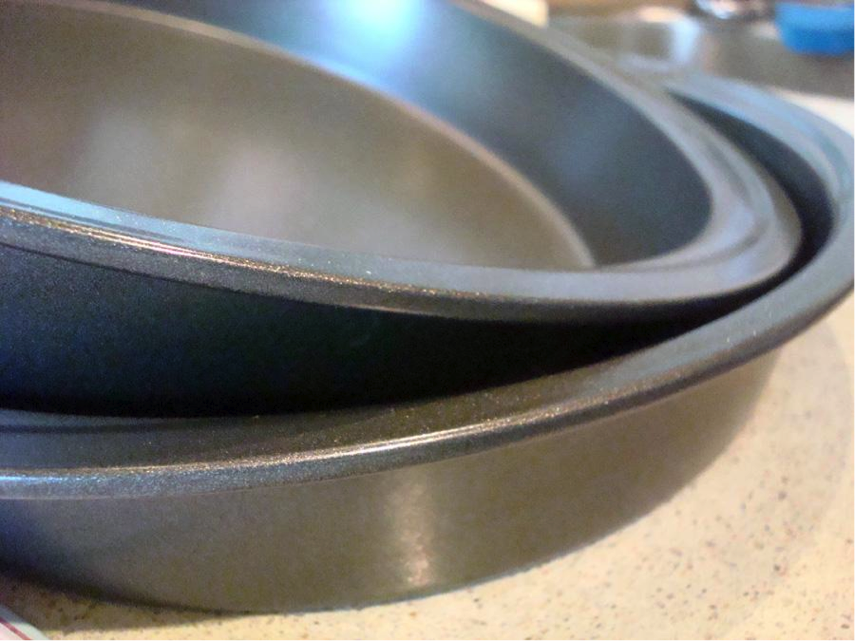
- Gather up as many 9 inch pans as you have in your household. While you can bake in different batches and re-use the pans, it can get tiresome to wash them out between baking, not to mention it takes more time to bake the cakes. Cut rounds of parchment paper (depending on your pan size) before you get started. It will be a pain to stop your cake production to have to do this once you get started!
- If you are re-using pans, be sure to let them cool and wash them between baking cake layers. Re-grease and line with parchment paper before your next round.
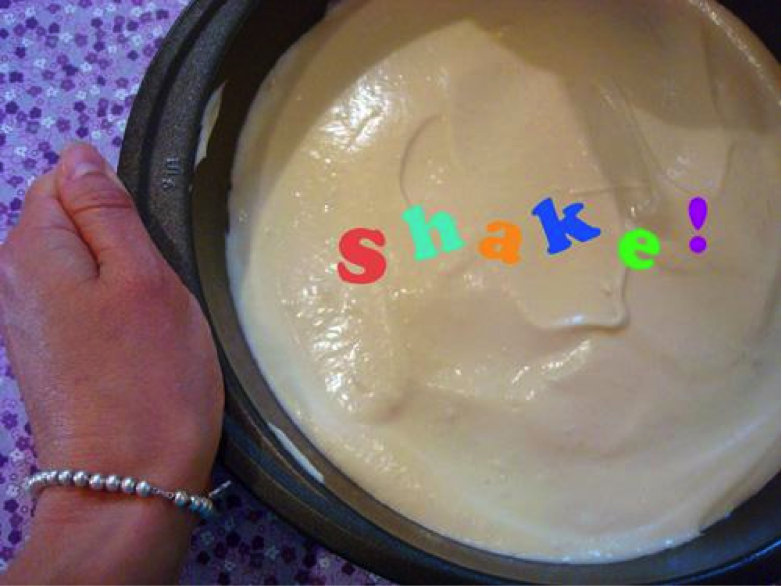
- As for how much batter to put in each pan: you want a thin layer, enough so that it evenly covers the bottom of the pan so that it is opaque. You do not want to see through to the bottom of the pan. Using this method should reliably get you 8 to 10 layers.
- Try to spread the batter as evenly as possible in the pans, shaking and lifting the pans and letting them drop to the counter (not too high, please!) to force out air bubbles. Because the layers are thin, they are very difficult to level, but domes shouldn’t be a problem if the batter is spread evenly.
- If you want to bake the cake layers in advance and ice later or the next day, that’s fine. Simply stack layers with rounds of parchment between them, and store, well wrapped, in the refrigerator for up to a day, or the freezer for up to three days. Let come to room temperature before assembling the cake.
- Regarding the icing, the process of making it is almost more like candy making than creating icing or buttercream. The consistency will be fairly liquid when you start, but as it cools it will reduce and “set” almost like a fudge.
- Sift your dry ingredients before preparing the icing–it will make a big difference in creating a smooth, lump-free icing.
- As for timing, you might want to consider making the icing first, so that it can cool to a perfect consistency for spreading while you bake the cakes.
Smith Island Cake
Makes one 9-inch cake.
For the cake you’ll need:
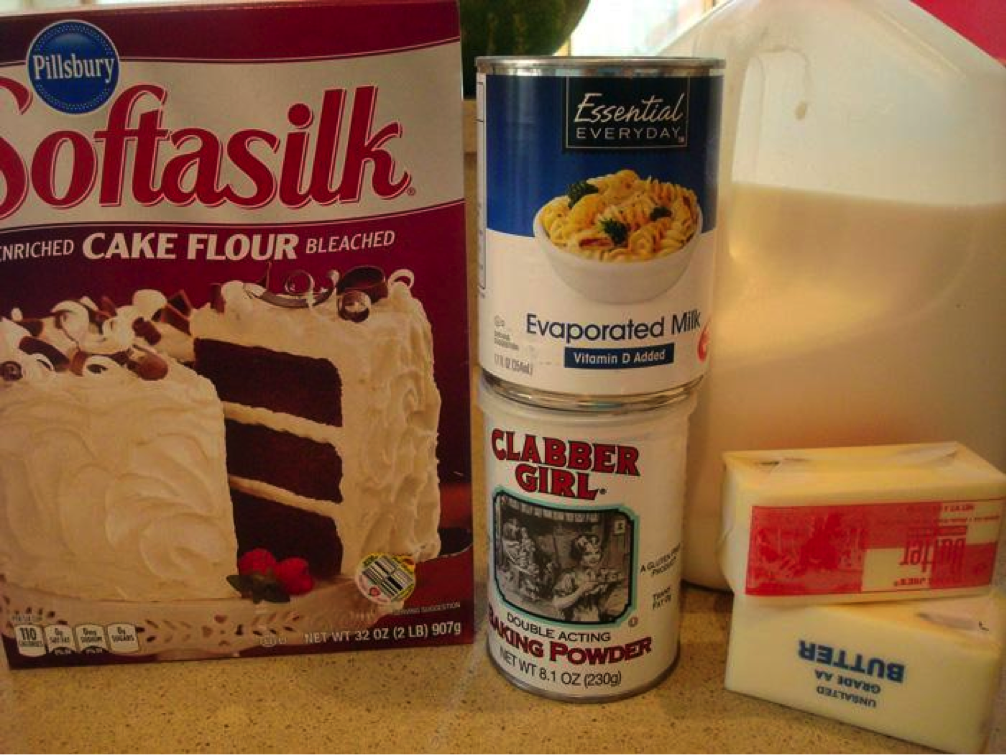
- 3¼ cups cake flour
- 1 teaspoon baking powder
- ¼ teaspoon salt
- 1 cup (2 sticks) unsalted butter, softened
- 1¾ cups sugar
- 5 large eggs
- 1 cup evaporated milk
- 1 teaspoon vanilla extract
- ½ cup whole or 2% milk
- 6½ cups Chocolate icing (recipe follows)
Step 1: Position a rack in the center of the oven; preheat the oven to 350 degrees F.
Step 2: Gather as many 9-inch round baking pans as you can (you’ll be baking 10 or so layers), then grease and line them with parchment paper circles. If you don’t have 10 pans, you can re-use the same few pans; you’ll just have to cool and clean them between batches. Have 10 sheets of parchment paper ready to let the cakes cool.In a medium bowl, sift together the flour, baking powder, and salt. Set aside.
Step 3: In a stand mixer fitted with the paddle attachment, cream the butter and sugar on medium speed until light and fluffy, 3 to 5 minutes.
Add the eggs one at a time, pausing after each addition to scrape down the sides of the bowl. Beat until smooth.
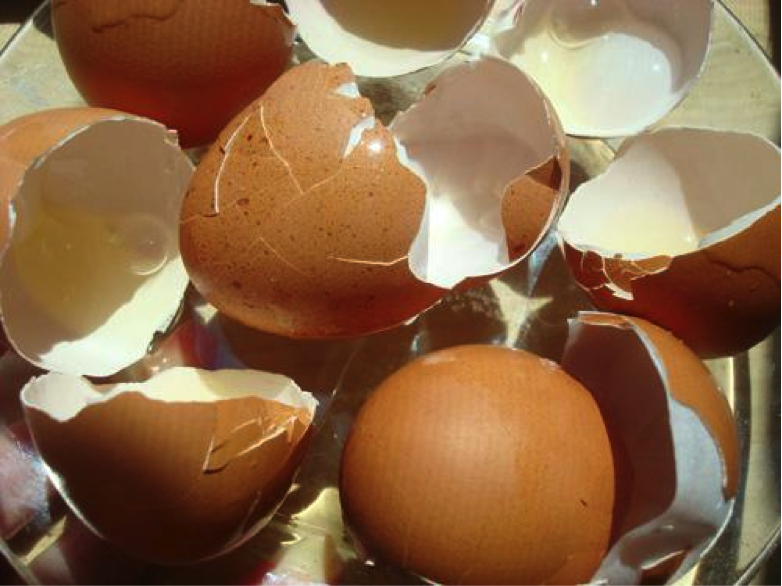
Step 4: Add the flour mixture, 1 cup at a time, to the butter mixture. Beat on low speed after each addition just until incorporated. With each addition, scrape down the sides of the bowl.
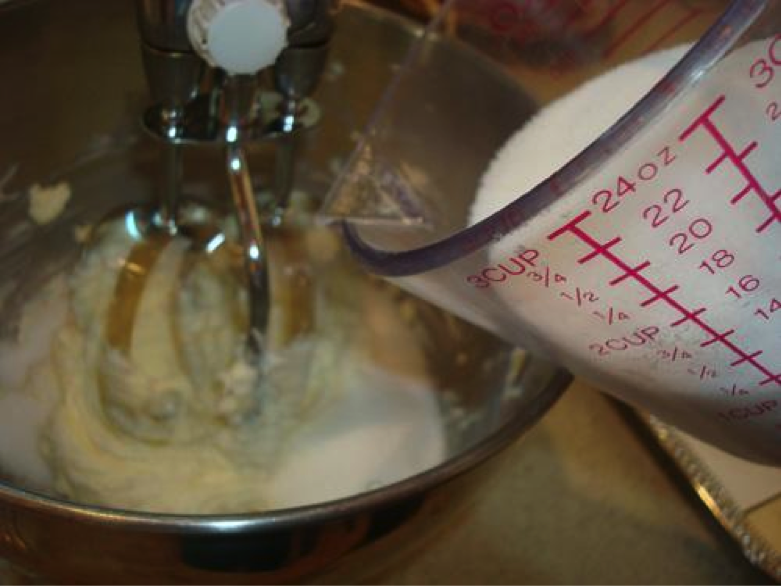
Step 5: With the mixer running, pour in the evaporated milk, then the vanilla and milk. Mix just until incorporated. The batter will be fairly thick.
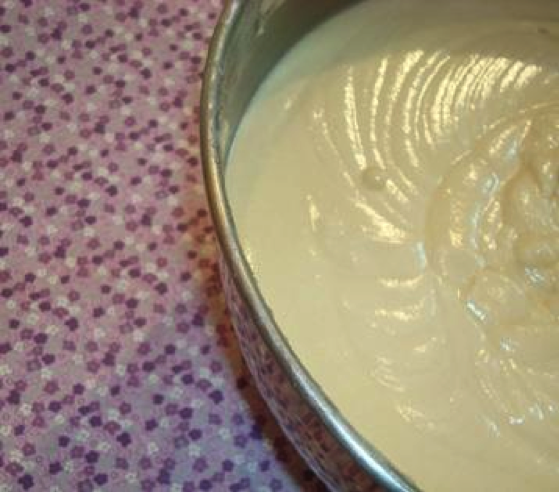
Step 6: Pour 1/10 of the batter into each of your prepared pans, using the back of the spoon to spread the batter evenly so that it covers the entire bottom of the pan. If you run out of batter before you’ve made 10 layers of cake, do not despair; you can just make thicker layers of icing between the cake layers.
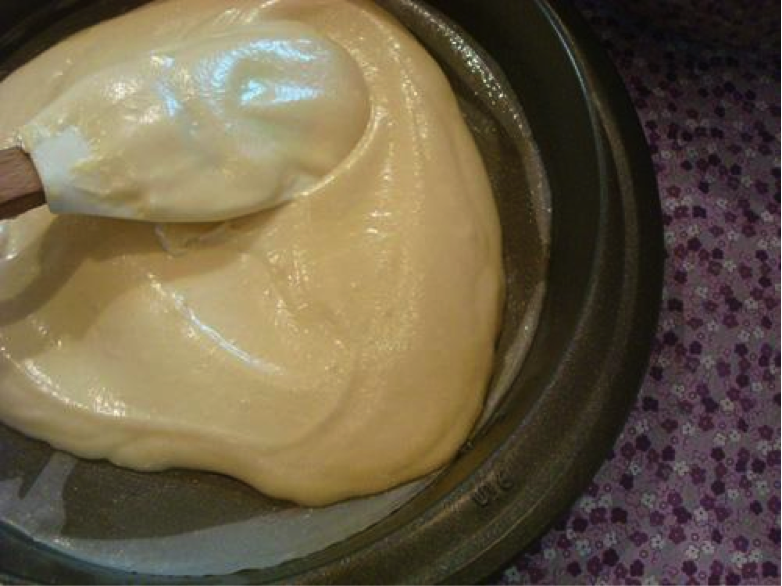
Step 7: If you have room in your oven, bake several layers at a time for 6 to 8 minutes. You’re looking for a dull finish on top and just slightly golden edges—not golden brown or crispy. Let the layers cool for a couple of minutes in the pan before removing; then run a spatula around the edge of the pan and gently transfer the layers onto sheets of parchment paper. If it tears slightly, don’t panic: you can cover up a lot with the icing.
Step 8: To assemble, set the first slightly cooled layer on your serving plate and spread it with a thin layer of icing, covering the entire surface of the layer. Add the next layer, frost, and repeat the process until the batter is gone (hopefully, you’ll have 10 layers!). Finish by icing the sides and then the top of the cake; as a tip, starting on the top, and smoothing the icing that has dripped down the sides, is the way to go with icing this cake.
Step 9: Let the finished cake chill in the refrigerator for about 30 minutes before serving, so that the icing can set. Slice while still lightly chilled. Store in the refrigerator for up to 3 days.
Fudge Icing
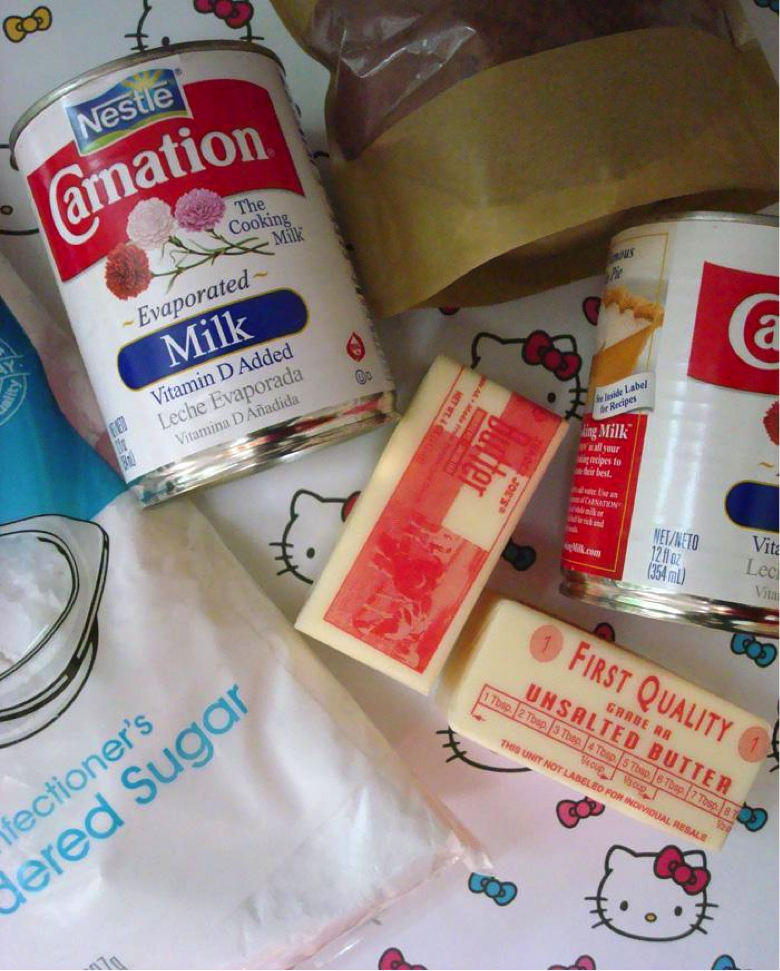
- 1 cup (2 sticks) unsalted butter
- Two 12-ounce cans evaporated milk
- ⅔ cup unsweetened cocoa powder
- 8 cups confectioners’ sugar
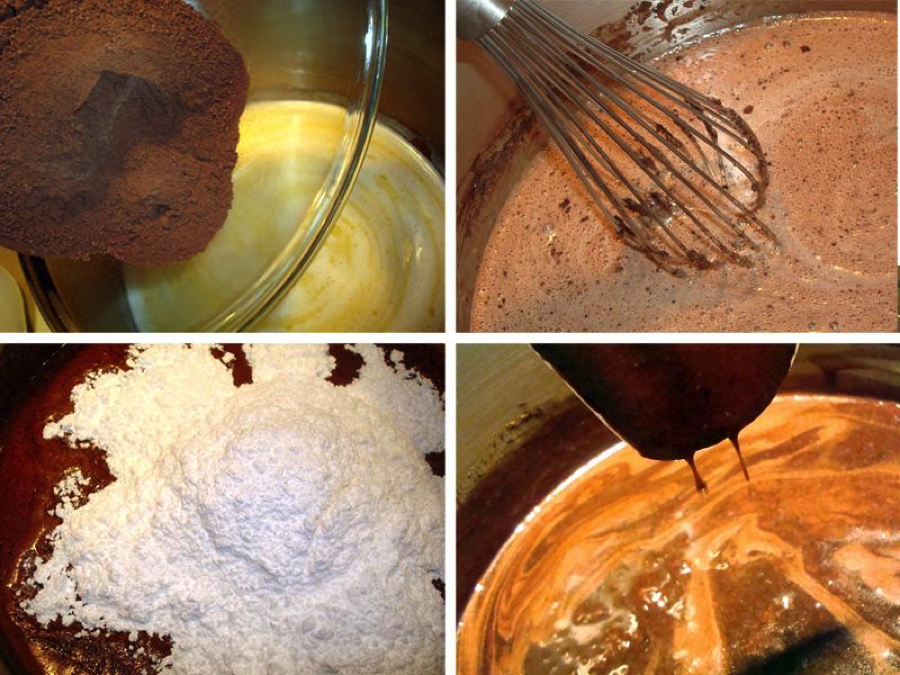
Step 1: Melt the butter and evaporated milk over low heat in a large saucepan. Remove from the heat, stir in evaporated milk (off heat), and add the cocoa powder and whisk slowly until smooth.
Step 2: Return to the heat, this time on medium-low, and cook for approximately 10 minutes, but don’t let the mixture come to a boil. Stir continuously so that it doesn’t scorch. Once warm and just beginning to thicken, remove from the heat.
Step 3: Whisk in the confectioners’ sugar 1 cup at a time, until it’s all incorporated. Return the pan to low heat, stirring constantly until it has thickened to the point that it forms a ribbon when you drizzle a spoonful back onto the mixture (this can take up to 15 minutes). The mixture may bubble, but don’t let it boil. You want to keep the icing slightly warm to keep it from setting in the pan; it is OK to return to low heat or add a small quantity of water to the mixture to keep it spreadable. It will thicken and set as it cools. Wait until it has gone from hot to warm and starting to get thick before you start the icing process.

Share tips, start a discussion or ask one of our experts or other students a question.
No Responses to “How to Make Sky-High Smith Island Cake: 8+ Layers!”