
Oreos are a fantastic snack. Cake pops are a super-fun treat. But together, both already-awesome treats are even better!
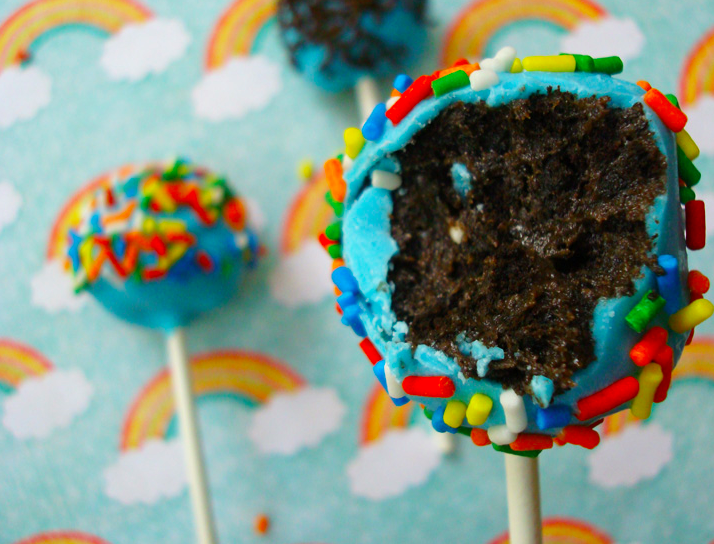
Combining the classic cookies and cream flavor in bite-sized cake pop type treats makes for a fun crafty confection project and one that is deliciously decadent to eat. Easy enough to make with kids, these pops make the perfect palette for all sorts of decorating, from sweet and simple to ornate and over-the-top!
Here’s an Oreo cake pop tutorial on how to make the pops themselves; how you decorate them is up to you!

Before getting started, here’s the equipment you’ll need.
Optional but helpful:
Food processor: This will make crushing the cookies a snap, but it’s not necessary; if you don’t have a food processor, you can easily crush the cookies by putting them in heavy duty plastic bags and whacking them until they’re a fine crushed cookie mist.
Double boiler: This will make melting your chocolate coating easy; however, this can also be done in a DIY double boiler configured from one smaller pan resting in a larger one filled partially with water.
Necessary tools:
- Lollipop sticks (available at craft supply stores): Many people favor the “extra long” variety as they are easier to dip in the chocolate coating when finishing the pops, but the shorter length will work as well.
- Sturdy plastic bags (to put the cookies in while you crush, if you don’t have a food processor)
- Waxed or parchment paper
- Two baking trays
- Paper towels or cloths: To wipe your hands at various intervals–it can get a little messy!
Oreo Cake Pops
Makes approximately 36 pops
Here are the ingredients you’ll need:
For the filling:
- 1 8-ounce package regular (not low-fat) cream cheese, softened
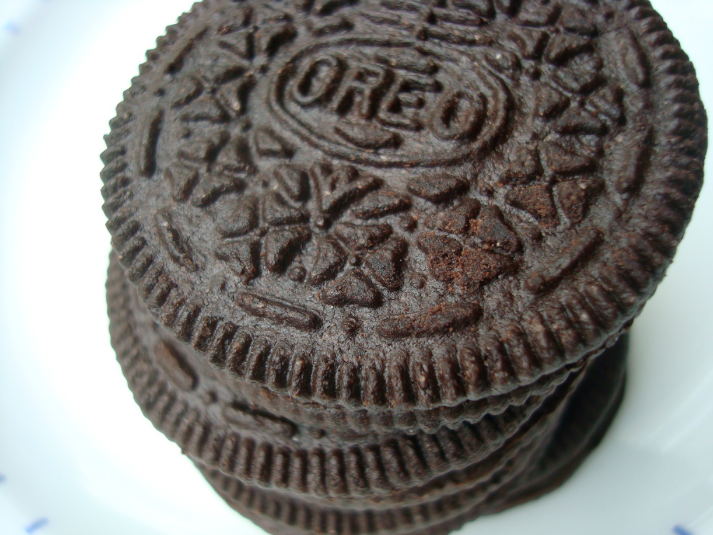
- 1 package (approximately 30) Oreo cookies (or comparable chocolate creme sandwich cookies)
For the coating:
- 2 bags semisweet chocolate chips, OR
- 2 bags (14 oz each) candy wafer melts in whatever color you’d like
Directions
First, prepare two separate baking sheets in the same way: lay a sheet of waxed or parchment paper on top of each, and set to the side. You’ll be happy to have this handy a few steps down the line.
Now, you need to crush the cookies. If you have a food processor, put the whole cookies inside, and pulse several times, until the cookies have been reduced to fine crumbs. If you don’t have a food processor, place the cookies into a heavy duty plastic bag and crush using the bottom of a heavy tumbler or the side of a rolling pin. This is very fun for kids (with supervision, of course!)!
Once the cookies are completely crumbled, place them into a large bowl. Add ⅔ of the cream cheese, and using your impeccably clean hands, thoroughly mix the cookie crumbs and cream cheese. If the mixture is too crumbly, add the rest of the cream cheese, but you may not have to (especially if it is humid!).
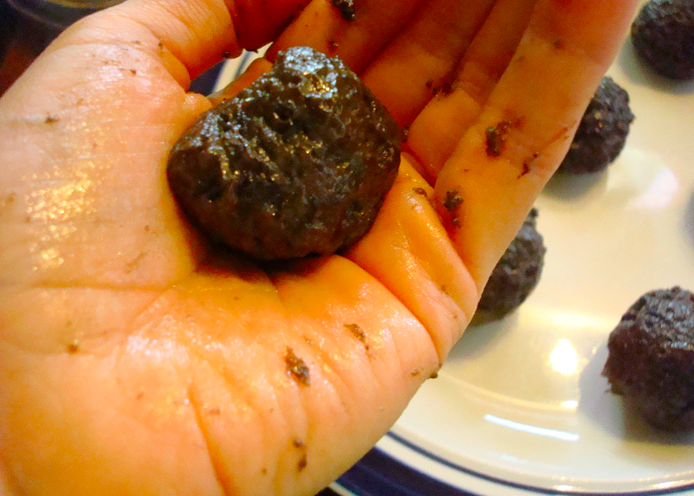
Clean your hands so that you have a clean surface to roll the “dough” by hand.
By hand, roll the dough into 1-inch balls. Insert the lollipop sticks into these rolled balls, about ¾ the way into the ball (you don’t want the stick to pop through the top!).
Stagger the unfinished pops on your prepared baking sheet.

Place the baking sheet into the refrigerator for an hour, or the freezer for about 20 minutes.
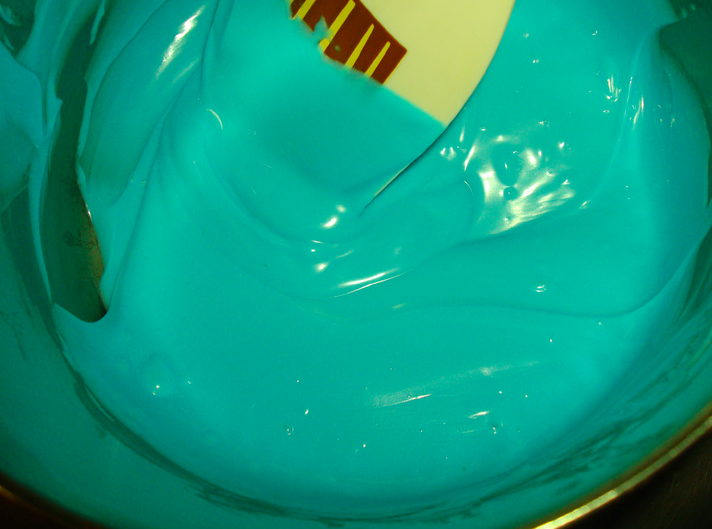
With the dough on sticks still in its chilling place, begin to melt your candy melts or chocolate over low heat.
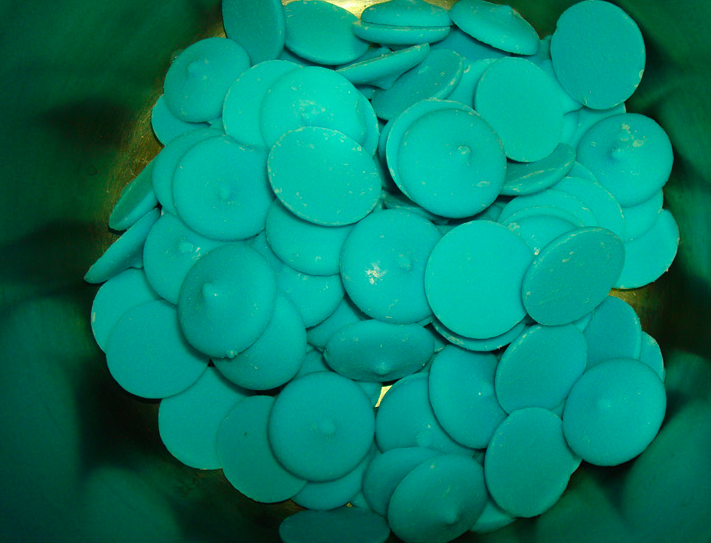
It will gradually begin to melt and become smooth. Once mostly melted, the last bits will melt rapidly in the residual heat, so keep a close eye on the pan.
Remove from heat, and take your baking tray out of the refrigerator or freezer.
Take one of the Oreo cake balls on a stick, and dip it into the melty mixture, turning the stick to ensure even coverage. It’s nice to let the coating drape ever so slightly on to the stick–once hardened, it will form a sort of seal and ensures that the top-heavy weight of the pop will not fall off of the stick.
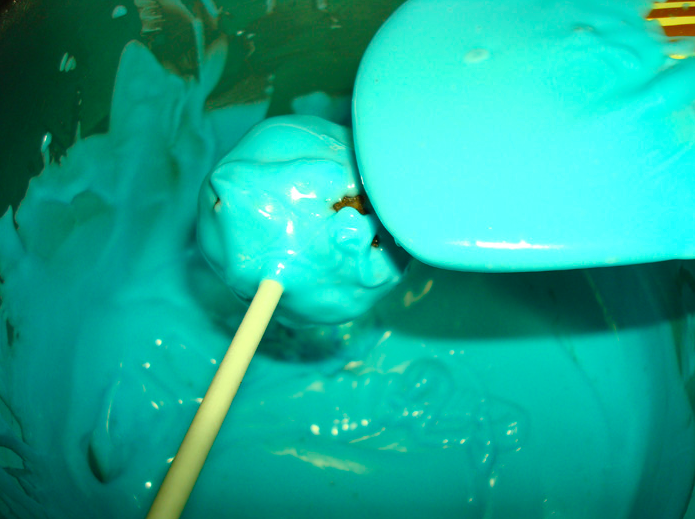
Tap the edge of the stick against the pan, or slowly rotate the pop, to allow the excess coating to drip off.
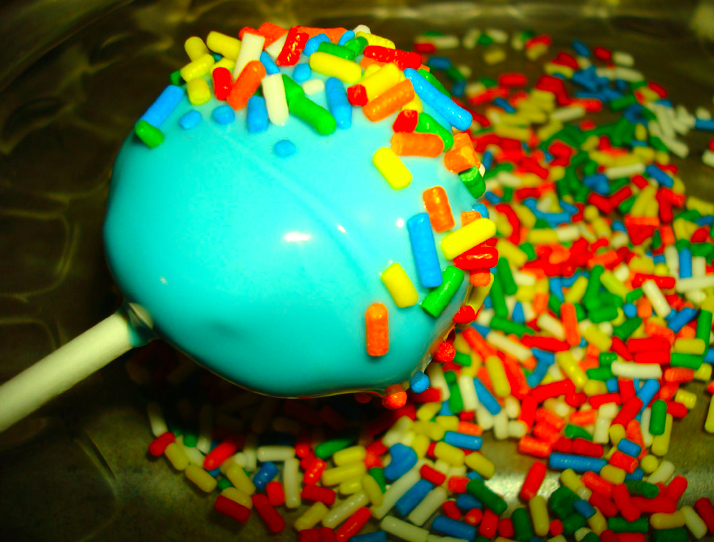
If desired, either lightly press the pop in the sprinkles, or by hand, drizzle sprinkles (extra points if they’re homemade sprinkles!) over the pop. You need to do this directly after dipping or they will not stick.
Transfer to the second prepared baking sheet. You can align the finished pops with the stick upright, or with one of the dipped sides facing down.
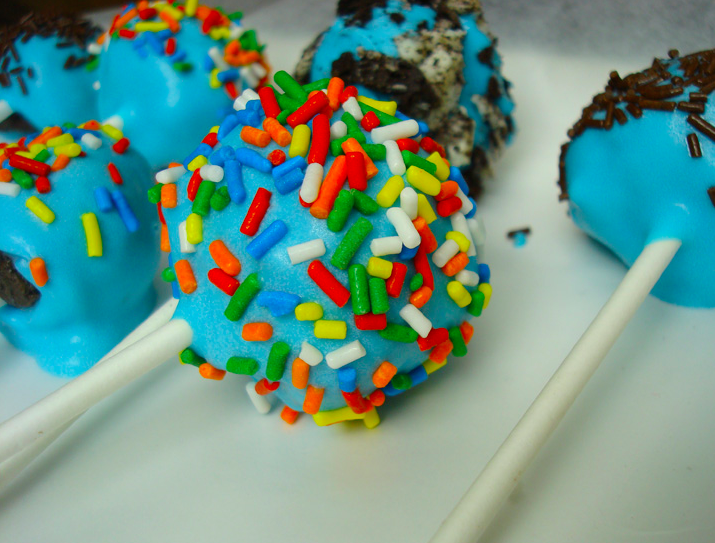
If you don’t want to have any part of the pop flattened, you can insert the stick in a piece of styrofoam so that it can rest upright, with the pop facing the sky. No styrofoam? Another option to prevent flat tops or sides is to fill a medium-sized bowl with dried beans, and stand the freshly dipped pops in the bowl; they will firm up and not have a flat side or top!

Let cool for at least 1 hour, or until firm. Store in tightly covered container in refrigerator.
Share tips, start a discussion or ask one of our experts or other students a question.
No Responses to “How to Make Oreo Cake Pops”