
Yesterday we celebrated National S’mores Day with a roundup of creative s’mores recipes. Today, we’re taking a look at the interesting history of the graham cracker and sharing a recipe to make your own.
Just because National S’mores Day is over, don’t stop the celebration. Use these homemade graham crackers as the base for your own unique s’mores variation.
The interesting history of graham crackers
Sylvester Graham would probably be quite surprised and dismayed to see what has become of his eponymous crackers. Certainly today’s cookie-like version, with their mellow but distinct sweetness, are quite different from the healthy wafers he originally invented.
Graham, a Presbyterian minister and dietary reformer, probably wouldn’t be particularly pleased by the fact that the crackers’ most famous uses today are as bookends for wonderful, gooey, crazy-sweet s’mores. That’s considering, of course, the fact that he initially created the crackers as a bland but nutritious food to improve digestion and (yes) reduce libido.
You read that correctly: this super-fun guy believed, among other things, that a high-fiber vegetarian diet and total lack of alcohol was the key to avoiding sexual urges and maintaining proper digestion. His followers–also unlikely future fans of s’mores or graham crackers sandwiched with a slather of buttercream — were called Grahamites. Not surprisingly, in some cities Graham was met with resistance by arbiters of deliciousness such as bakers and butchers when he wanted to speak in public.
Originally marketed as Dr. Graham’s Honey Biscuitts, they were a fiber-rich part of Graham’s prescribed diet. But it wasn’t until after Graham’s death in 1851 that they were adapted into a sweeter version.
Honey-Maid graham crackers were introduced in 1925 by the Pacific Biscuit Company of Seattle. In 1930, that company was acquired by the National Biscuit Company (the future Nabisco), along with all of their recipes and trademarks — and soon the crackers were reintroduced as Sugar Honey-Maid Grahams. (Sylvester probably did his first grave-roll at this point.)
Many modern graham crackers are made of the lust-inducing refined flour and sugar that the good reverend so abhorred (the original version was made with graham flour, a combination of fine-ground white flour and coarse-ground wheat bran and germ). In general, modern commercial graham crackers are no longer considered health food, but still retain a vague semblance of healthiness, considered perhaps a more virtuous choice than, say, a chocolate chip cookie or brownie.
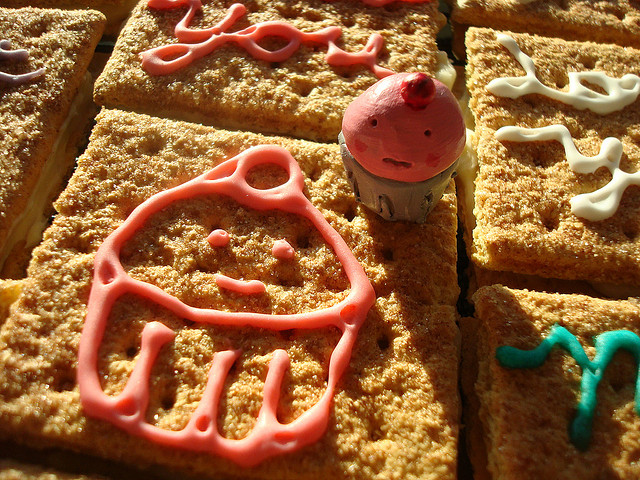
As for s’mores? Safely invented after the death of Sylvester Graham. They first appeared in print in the 1927 runaway best-seller, Tramping and Trailing with the Girl Scouts. The recipe for “Some Mores” calls for “16 graham crackers, 8 bars plain chocolate (any of the good plain brands broken in two), and 16 marshmallows.” Oh yes!
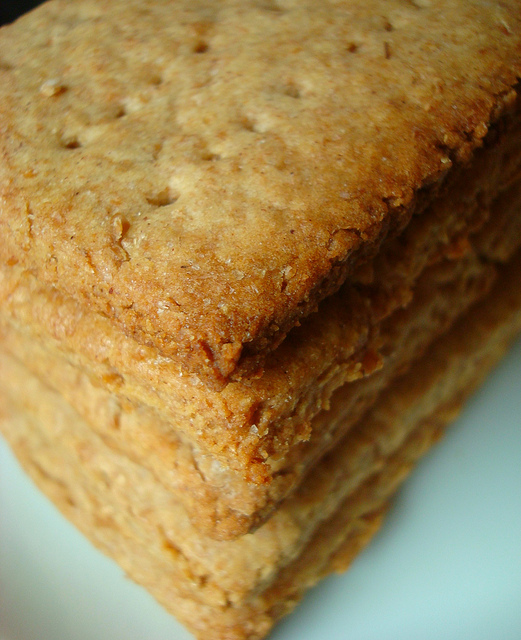
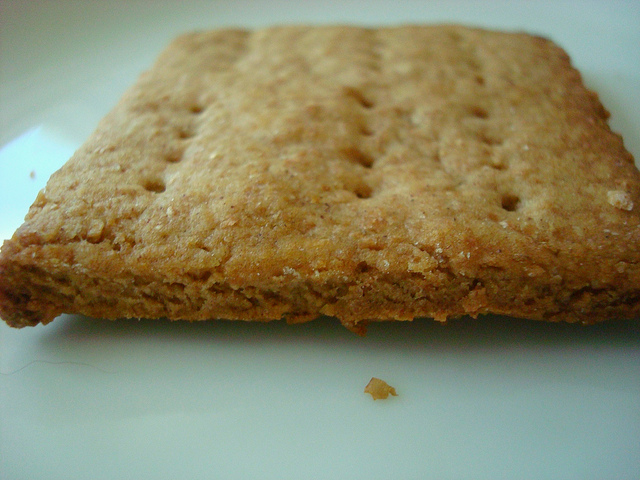
Here’s a recipe for making graham crackers at home.
Substantial and hearty, but still a perfect lightly sweet base for s’mores, or a nice cookie to crumble into a pie crust.
Raise a glass of milk to the dearly departed Dr. Graham, and savor every last bite.
Ingredients:
Makes 2 dozen 3-inch graham crackers
- 1 cup whole-wheat flour
- 1 cup all-purpose flour
- 2 tablespoons granulated sugar
- 2 tablespoons light brown sugar
- 1 teaspoon cinnamon
- 1 teaspoon baking powder
- 1/2 teaspoon salt
- 1 large egg, beaten
- 1/4 cup vegetable oil
- 1/4 cup mild-flavored honey
- 5 tablespoons milk, divided
Directions:
Step 1:
In a medium bowl, sift together the whole-wheat flour, all-purpose flour, granulated sugar, brown sugar, cinnamon, baking powder and salt. Set aside.
Step 2:
In a separate bowl, combine the egg, oil, honey and 2 tablespoons of the milk. Whisk until combined. It may look slightly curdled, but don’t panic. It will begin to look normal once you combine it with the dry ingredients.
Step 3:
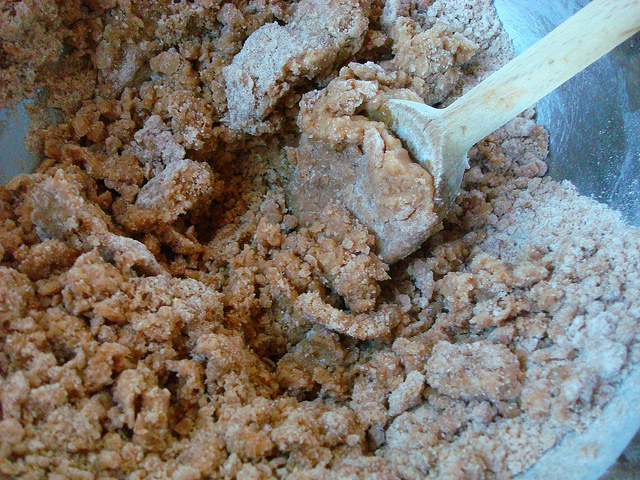
Stir the wet ingredients into the dry ingredients, mixing until incorporated — 40 or so turns with a wooden spoon should do it. The dough will be slightly crumbly, but should hold together when you clump it with your hands.
Step 4:
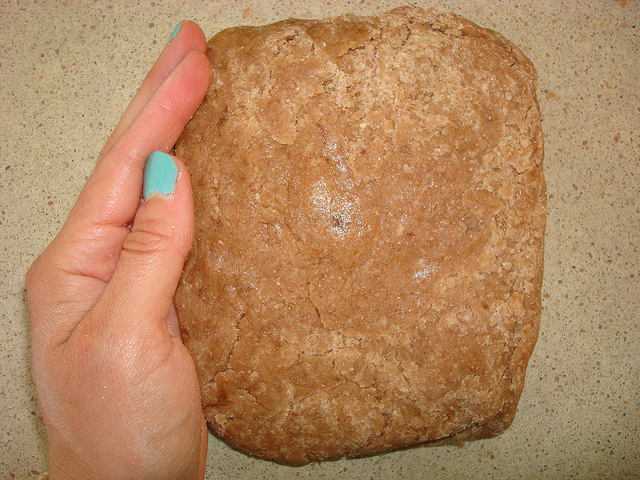
Turn the dough out onto a lightly floured board and pat into a rough square shape, about 1 inch thick. Wrap the dough in plastic and let chill in the refrigerator for several hours or overnight. This will not only allow the flavors to meld nicely, but will assist in keeping the dough from spreading too much when baked.
Step 5:
When you’re ready to bake the crackers, preheat the oven to 375 degrees F. Line two baking sheets with parchment paper.
Turn the dough onto a generously floured surface and knead it gently by hand until it holds together (the dough will be somewhat crumbly at the edges, which is OK; kneading will help it hold together). If you find it easier to handle in smaller pieces, go ahead and divide the dough into two pieces and knead each one separately; just keep the portion you’re not kneading in the refrigerator until you are ready for it, so it doesn’t become too soft.

Step 6:
Pat the dough into a rough square shape again, then roll it out to about 1/8-inch thick. If you’re having difficulty rolling it this thin, or just prefer a more substantial cracker, it is totally fine to keep the dough thicker, you’ll just get a few less crackers.
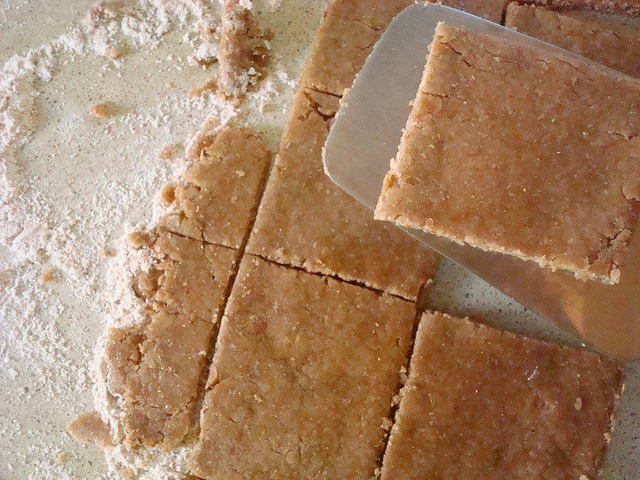
Step 7:
Cut the dough into 3-inch squares with either a knife or a pizza cutter. Clean up any ragged edges by pressing the flat side of a knife gently against the sides. Transfer to the prepared baking sheets using a spatula.
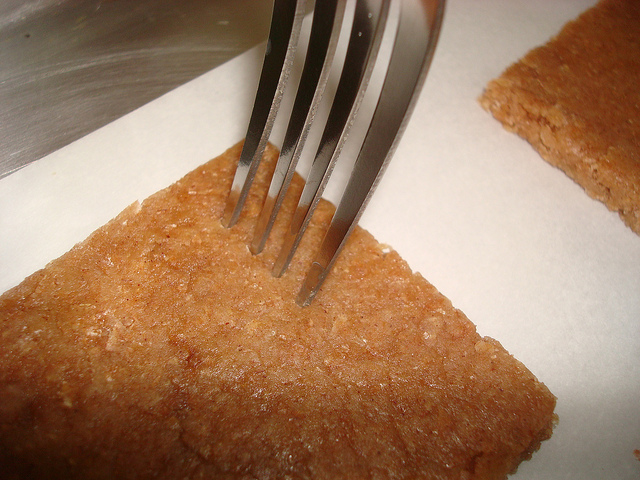
Step 8:
Prick each square several times with the tines of a fork or a toothpick. These crackers won’t spread too much during the baking process, so you can keep them fairly close to one another on the sheet.
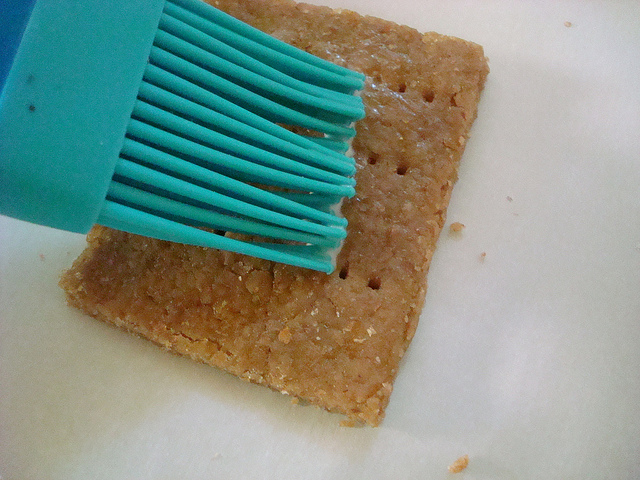
Step 9:
Brush the tops lightly with the remaining 3 tablespoons of milk. Bake for 14-18 minutes, or until the crackers are lightly browned. Then, remove from the oven, transfer to a wire cooling rack, and cool completely. The crackers will be quite soft to begin, but will harden and become crunchy after a few hours.
Store in an airtight container at room temperature for up to 10 days.
Share tips, start a discussion or ask one of our experts or other students a question.
No Responses to “Sweet Sunday: How to Make Homemade Graham Crackers”