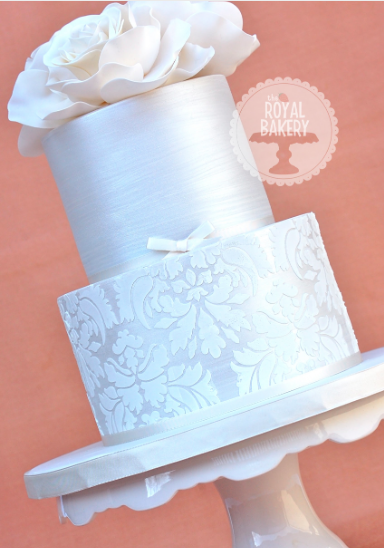
Photos via The Royal Bakery
How to make ganache
All you really need to know are the ratios of chocolate to cream for different types of chocolate and the type of cream to use. Generally, the higher the content of cocoa butter in the chocolate (the darker it is), the less cream you need. Typically, for dark chocolate, the ratio is 2:1, i.e. twice as much chocolate as cream. For semi-sweet or milk chocolate, a 2.5:1 ratio is usually successful. For white chocolate – the chocolate with the least amount of cocoa solids – a ratio of 3:1 or even 3.5:1 is recommended. The cream you use needs a butterfat content of at least 35%. In the USA, that’s heavy whipping cream and in the UK, whipping cream is used. Generally speaking, using better quality chocolate yields better-performing ganache. You can certainly use chocolate chips from the supermarket, but the chemicals they contain to stop them melting in your chocolate chip cookies do affect the quality of your finished product. Regular chocolate bars work well (below left), but couverture chocolate (below right) – with the highest cocoa butter content – gives the most stable results.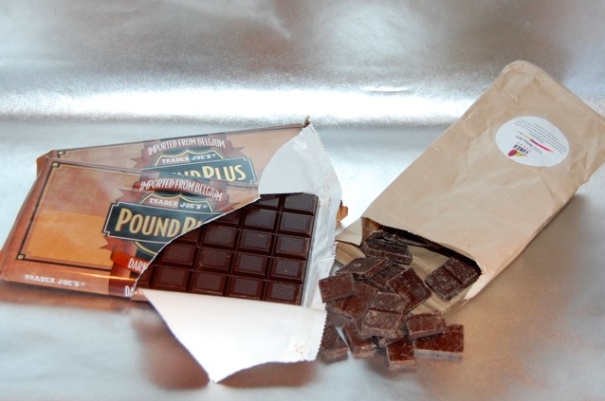 For the best results, weigh both your chocolate and cream. An ounce of cream when weighed is the same as a fluid ounce in a jug, so you can be sure of getting the right amounts if you use a kitchen scale. Measuring your chocolate and cream by volume is not recommended as a cup of chocolate chips is far more than a cup of broken chocolate from a bar.
For this tutorial, I am making dark chocolate ganache and need twice as much chocolate as cream.
Directions
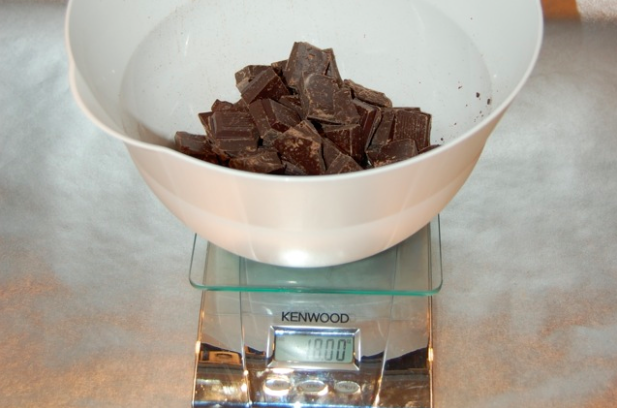 1. Break or chop your chocolate into a microwavable bowl.
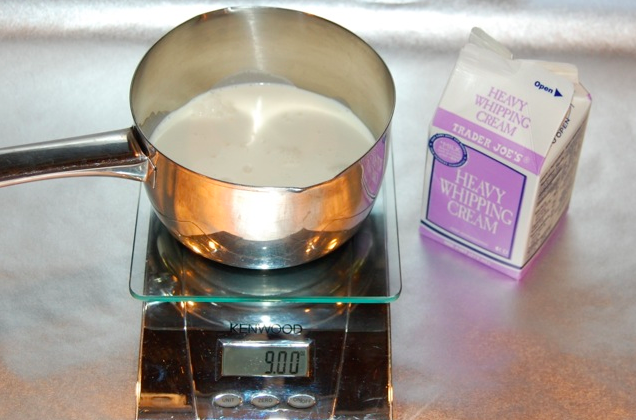 2. Weigh half as much cream into a small saucepan. How much cream and chocolate you use depends on how much ganache you want to make and the size of the cake you need to ice.
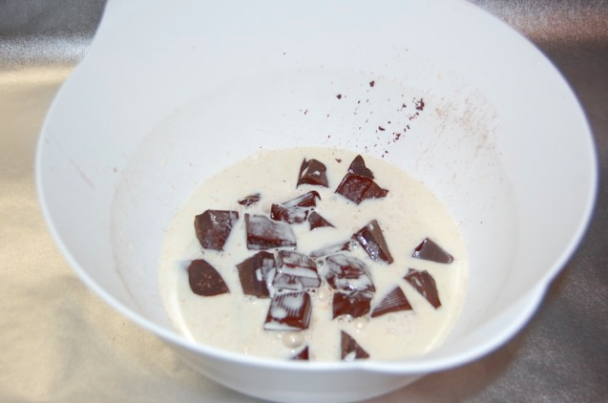 3. Bring the cream to the boil and pour it over the chocolate.
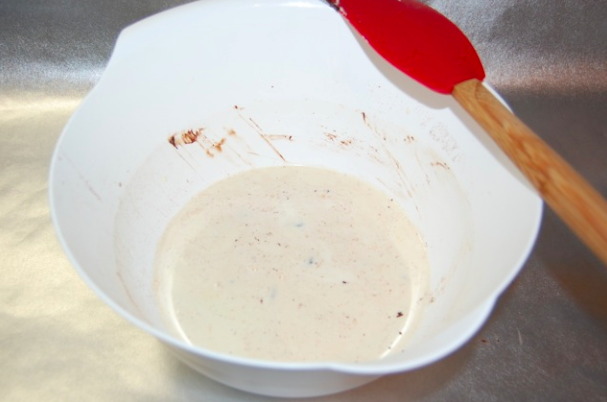 4. Submerge the chocolate beneath the level of the cream and leave undisturbed for a couple of minutes.
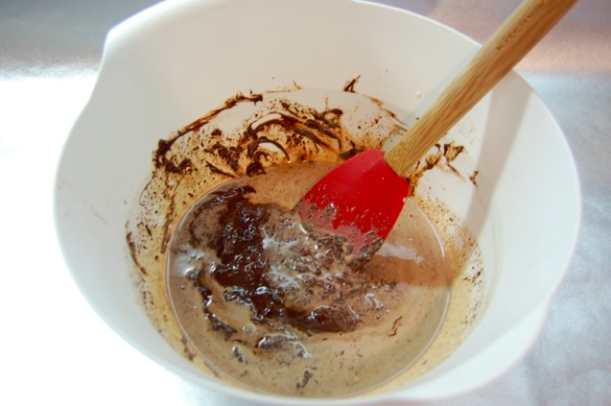 5. After a couple of minutes, start gently stirring the melted chocolate and cream together.
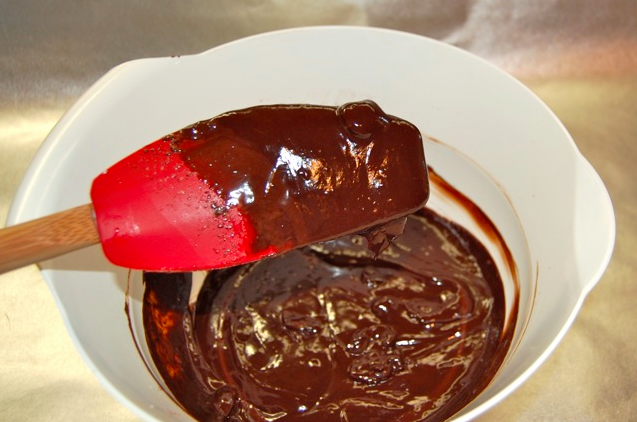 6. After a few minutes of stirring, the ganache cream will be fully incorporated into the chocolate, but some unmelted chocolate lumps may still be present.
7. Continue stirring and eventually the lumps of chocolate that remain should fully dissolve. If they don’t, microwave the mixture for ten seconds, then continue stirring. Repeat until all the lumps disappear.
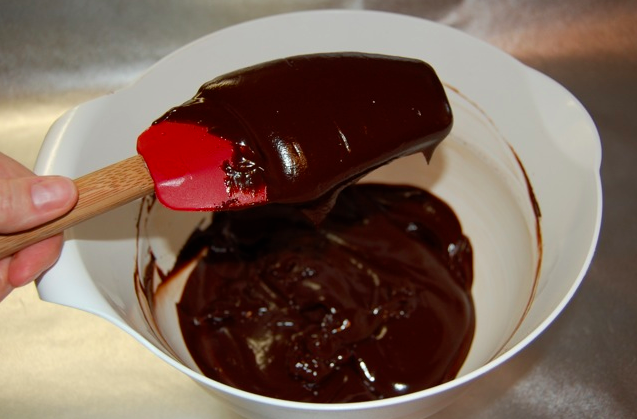 Once the chocolate is fully melted, the ganache will be soft and glossy. It needs to firm up to a peanut butter consistency before it can be used as a filling or an icing and this process can take several hours. Place a piece of plastic wrap on the surface of the ganache to stop a sugar crust forming and leave at room temperature.
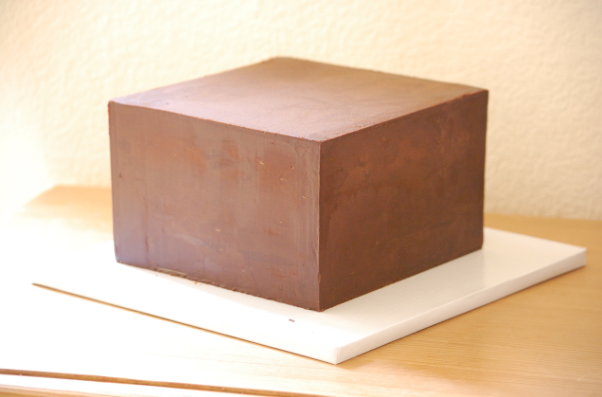
Jessica Harris demonstrates how to perfectly frost a cake using ganache and achieve perfectly sharp edges on both round and square cakes in her Clean & Simple Cake Design Craftsy class.
Ganache can be kept refrigerated for a couple of weeks and can be frozen for up to three months.
Because there is no specific ganache recipe – just a recommendation of chocolate to cream ratios – it is difficult to give any definitive advice about whether or not it needs refrigeration or not.
So if you love chocolate and would love to get those super-sharp edges on your next cake, ganache might just be what you’ve been looking for!

Share tips, start a discussion or ask one of our experts or other students a question.
No Responses to “Clean Edges for Your Cakes: Making Ganache”