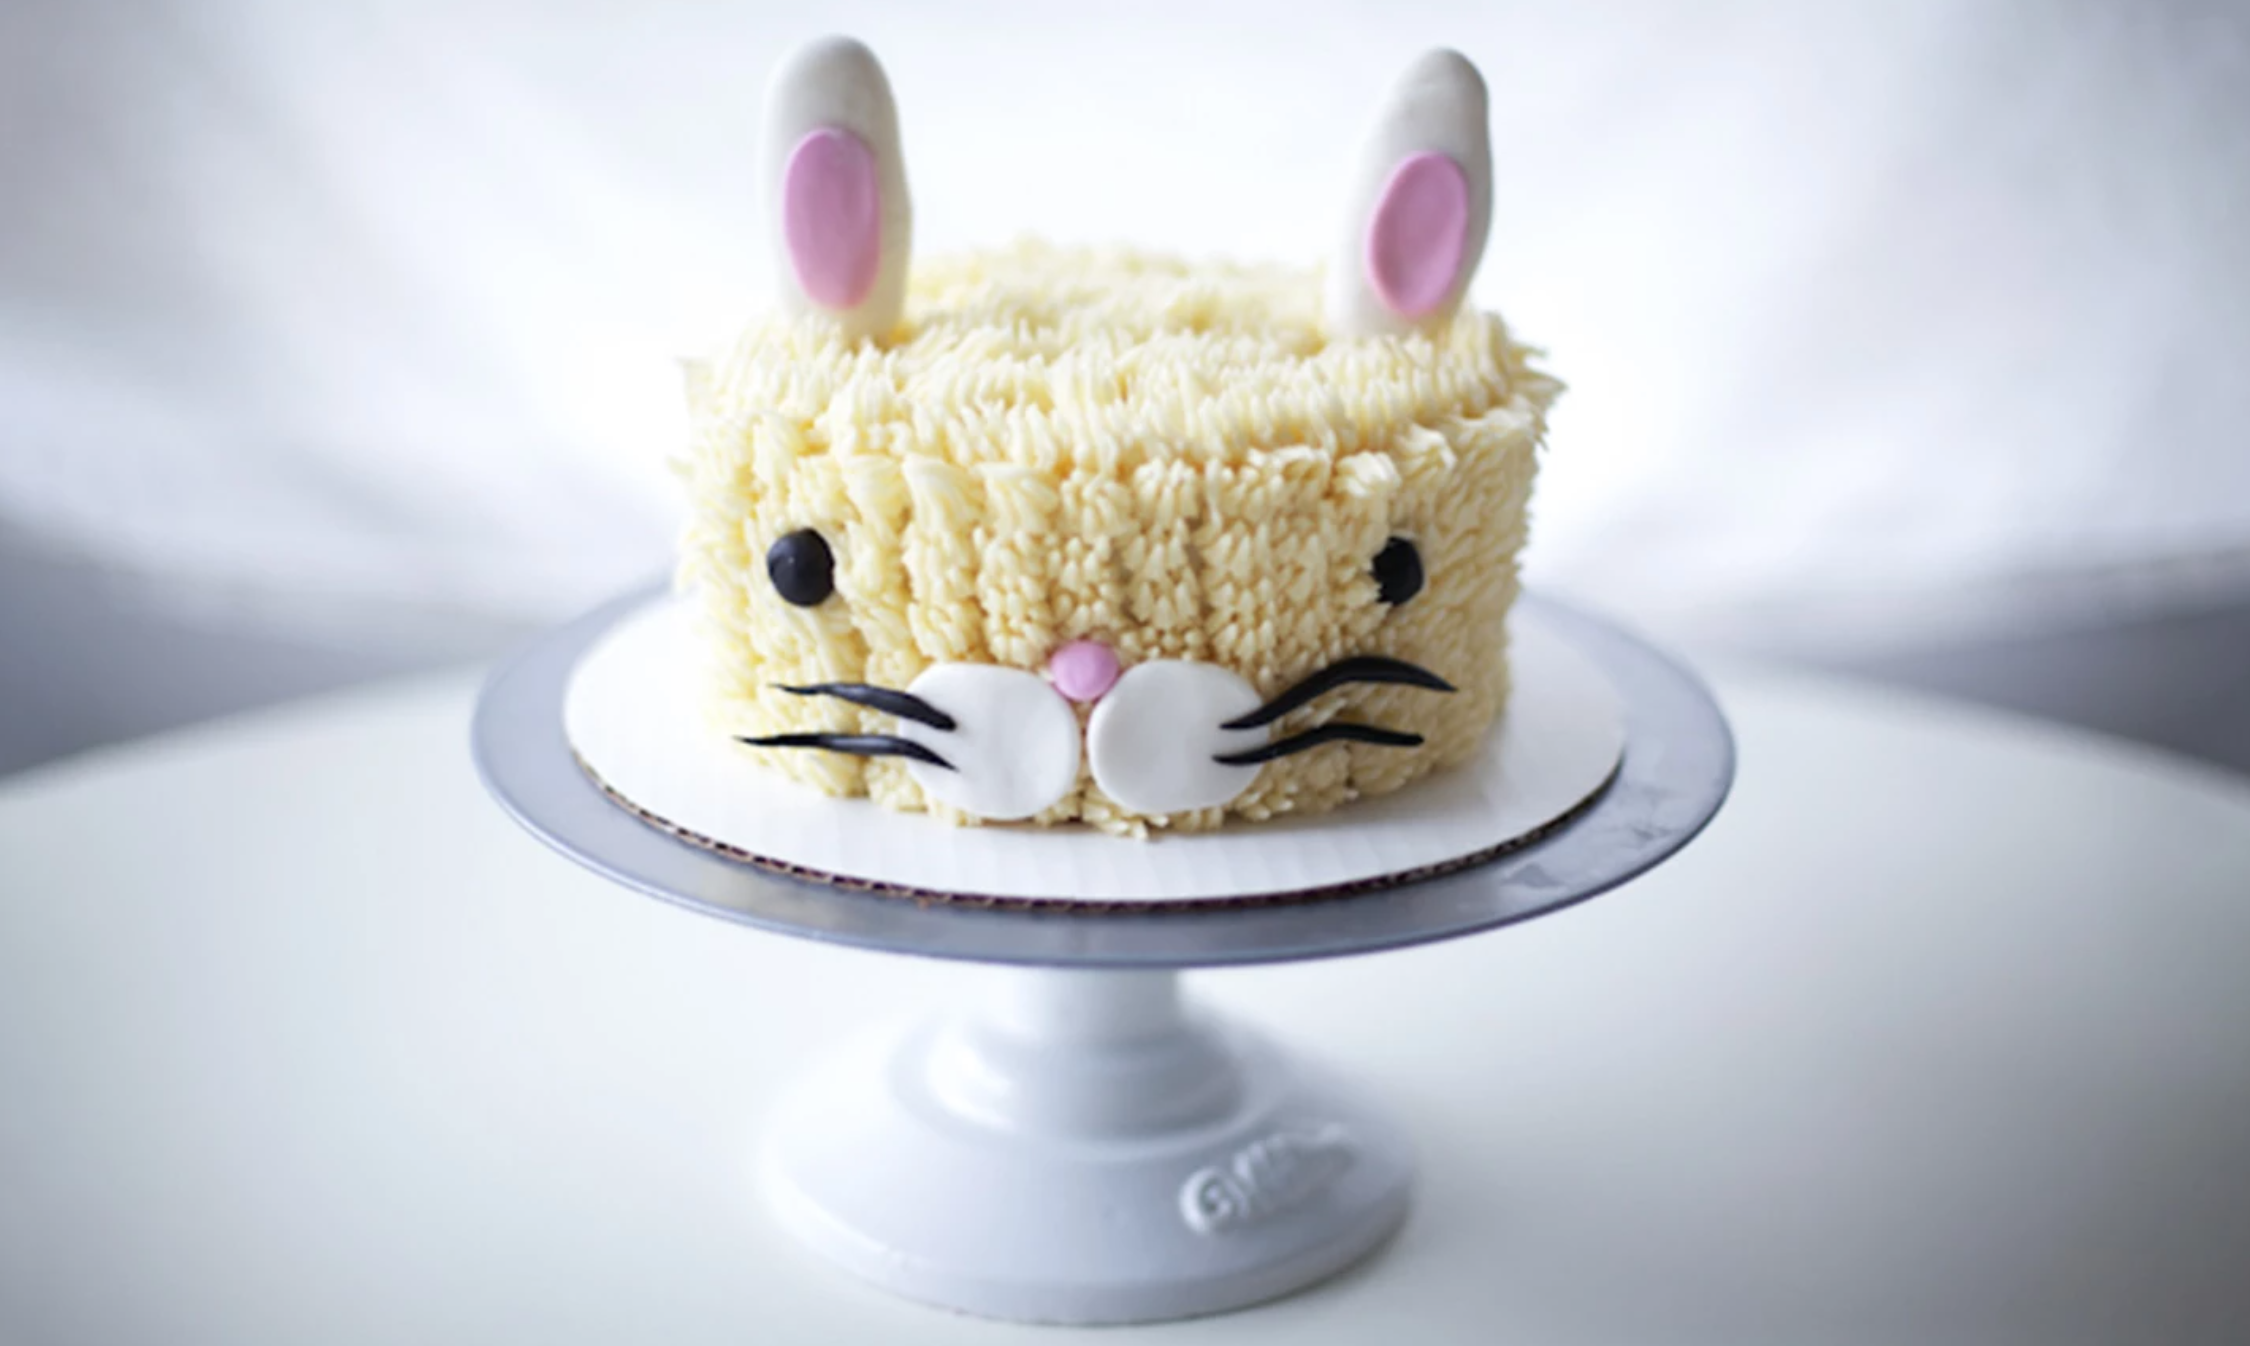
It’s beginning to look a lot like … Easter ! Which means there are cute, fluffy bunnies everywhere. This rabbit cake’s magic is all in the piping: you’ll use a multi-opening tip (aka grass tip) to get the fuzzy fur look. Just add fondant details and this bunny’s in business.
Easter Bunny Cake
Level: Easy
Ingredients
Ingredients
1. Frost the Cake
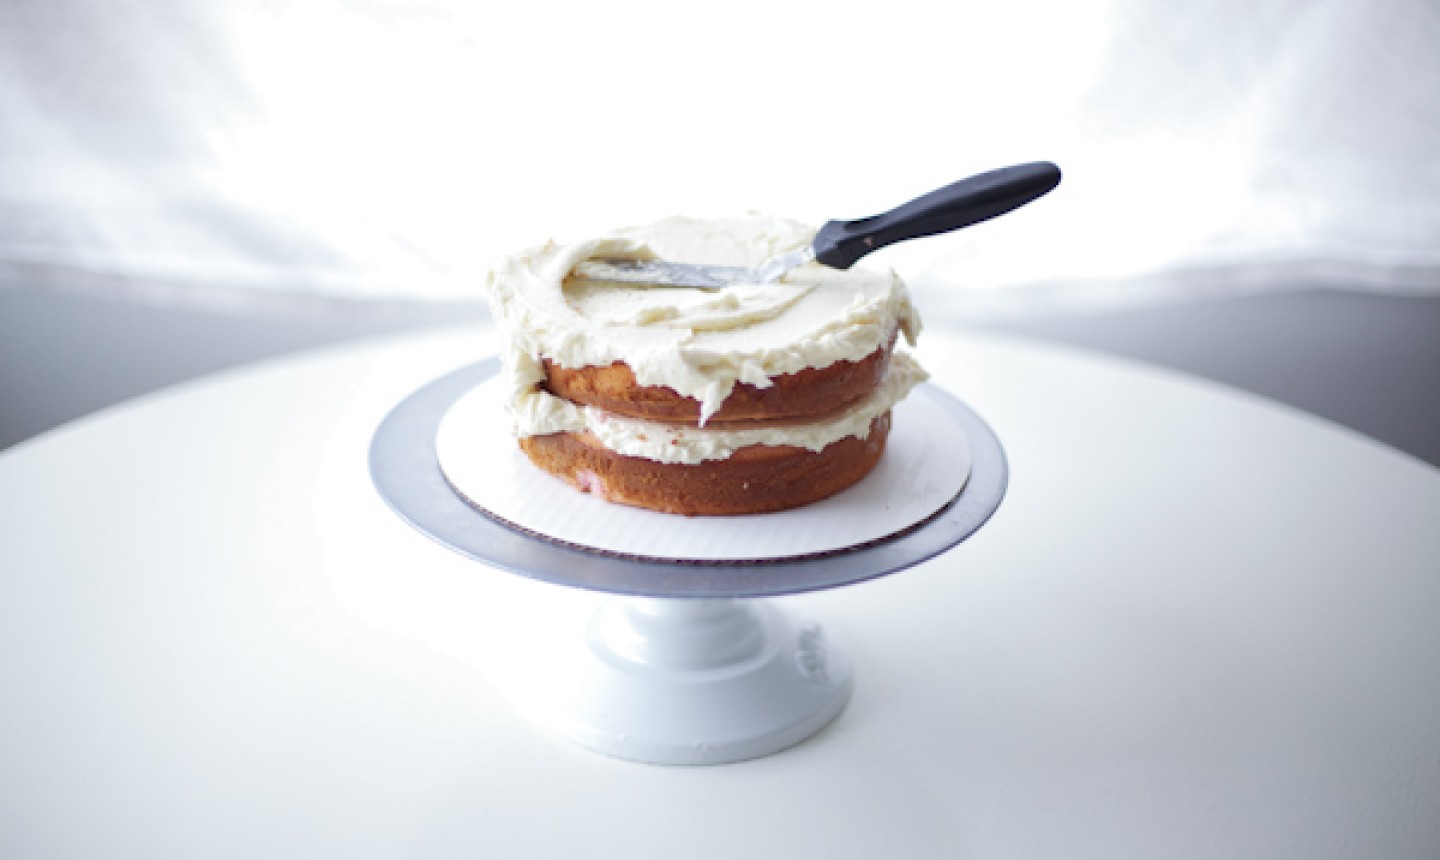
Secure your bottom cake layer to the cake board using a dab of buttercream. Fill and stack your two-layer cake with buttercream. Frost the top and sides of the cake with a crumb coat.
2. Make the Fondant Bunny Face Pieces
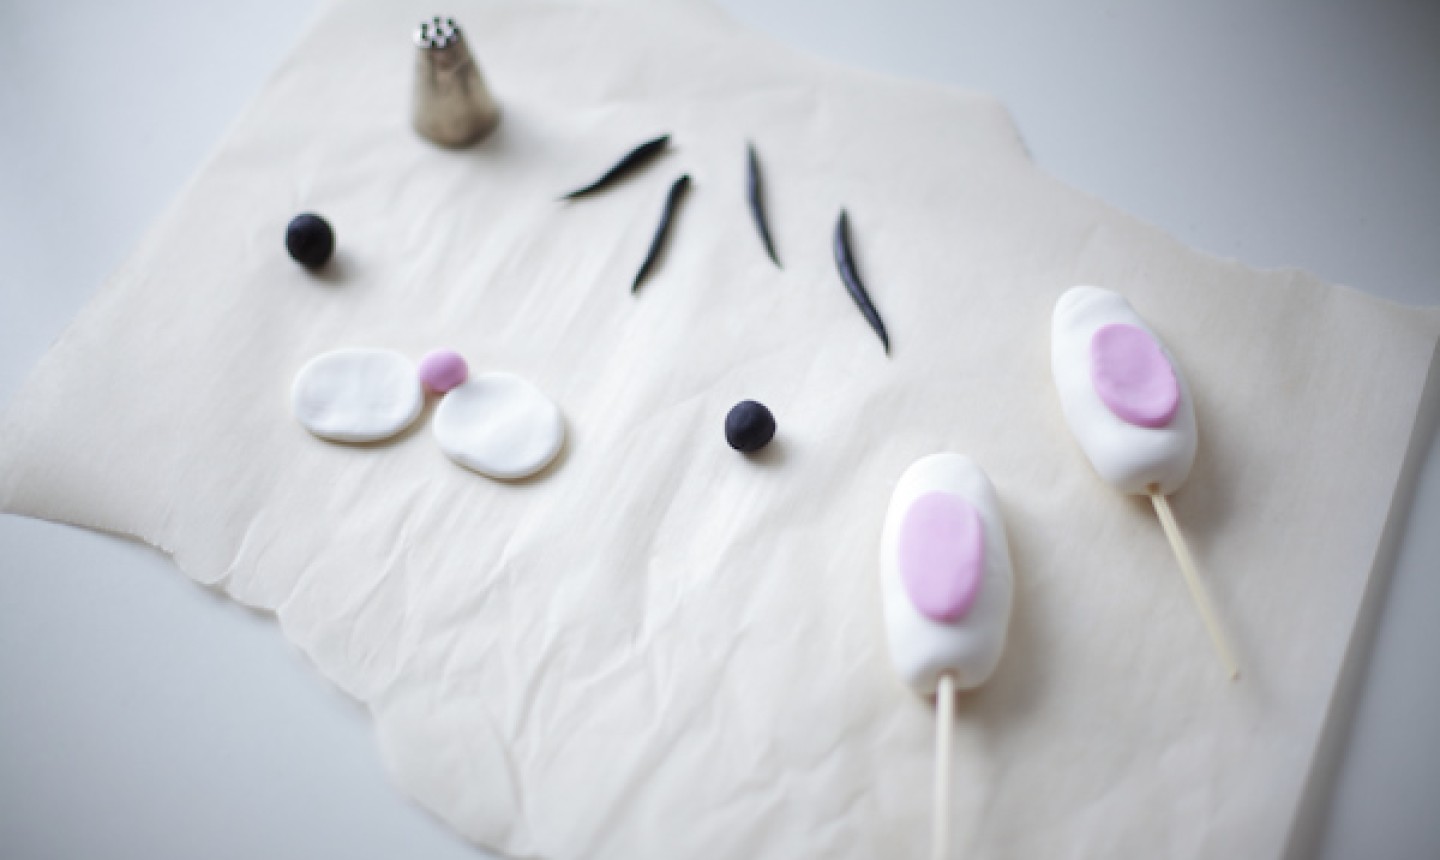
Roll out two large balls of white fondant, then pull gently to stretch them into an oblong shape for the ears. (Use cornstarch as needed to prevent sticking.) Cut a wooden skewer in two pieces with heavy duty scissors and insert one into each of the ears.
Roll out two more pieces of white fondant. Flatten in an oval shape to make two white cheeks.
With the pink fondant, use the same technique to make the inner ears. Adhere the pink pieces to the white ones with a tiny amount of water.
Roll a small piece of pink fondant into a ball to shape the nose.
Roll two small black balls of fondant to make eyes. Finally, roll four thin pieces of black fondant for whiskers.
Set all pieces aside.
3. Pipe the Fur
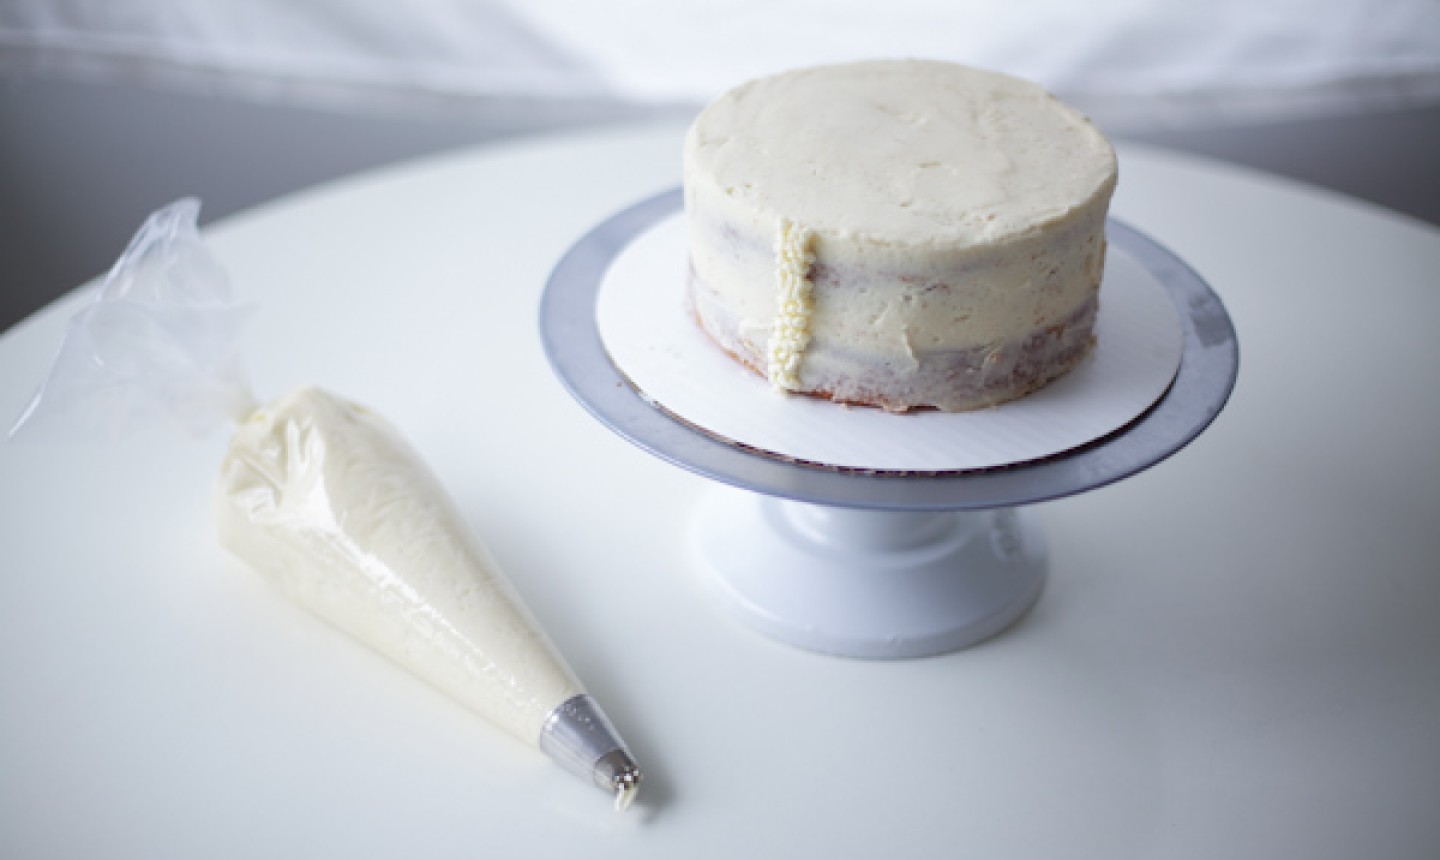
Fit your piping bag with the multi-opening tip, then fill with white vanilla buttercream. Squeeze the piping bag against the cake edge until the buttercream flows, then pull away to create “fur.” You can create short or long fur using this technique — we went with shorter bursts to create the look of a shorter-haired bunny.
Pipe the fur in vertical rows starting from the bottom of the cake and working upward.
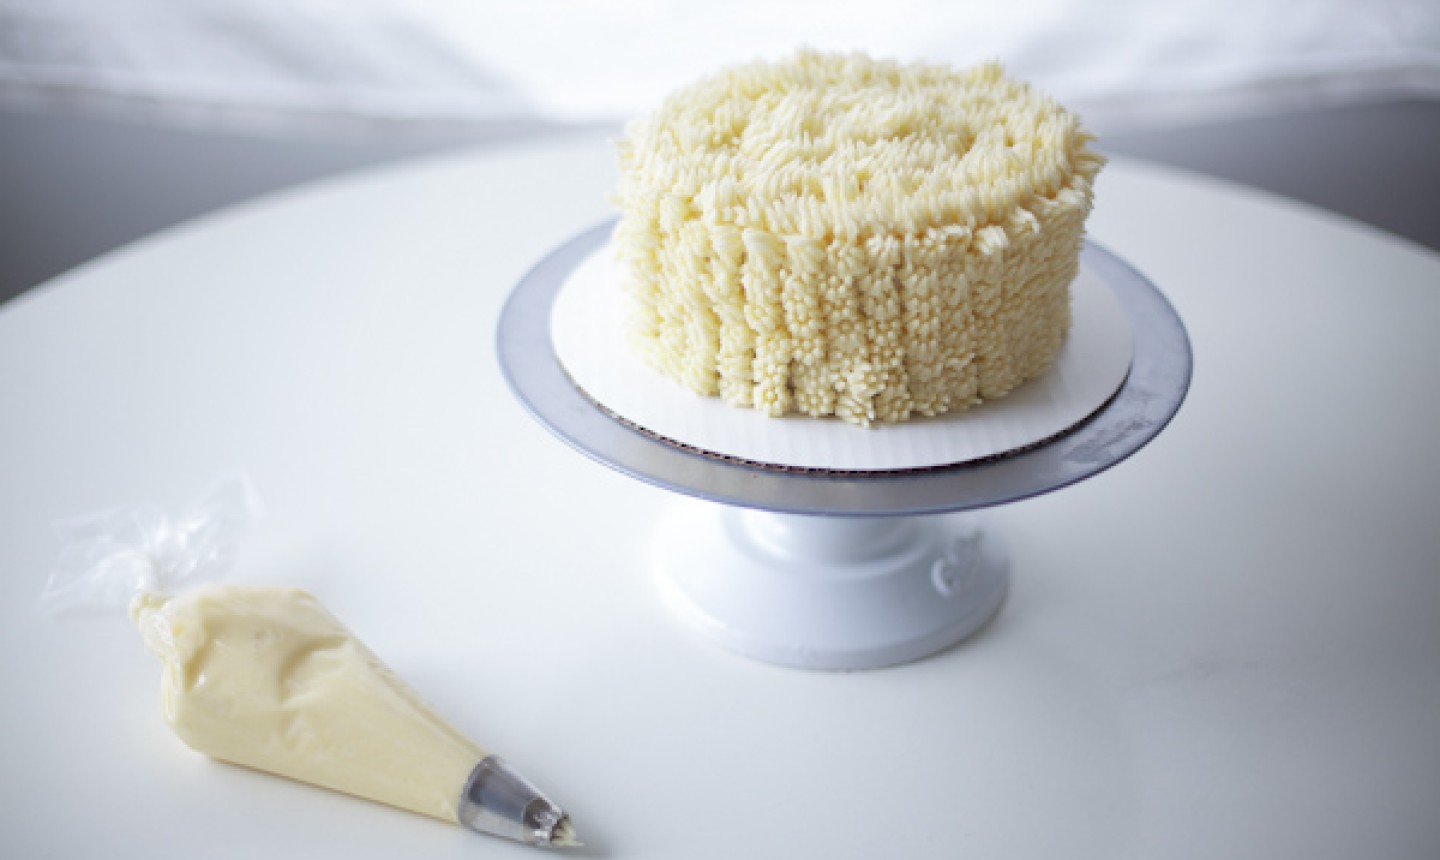
Once the sides of the cake are piped, cover the top, too – nobody wants a bald bunny!
4. Add the Features
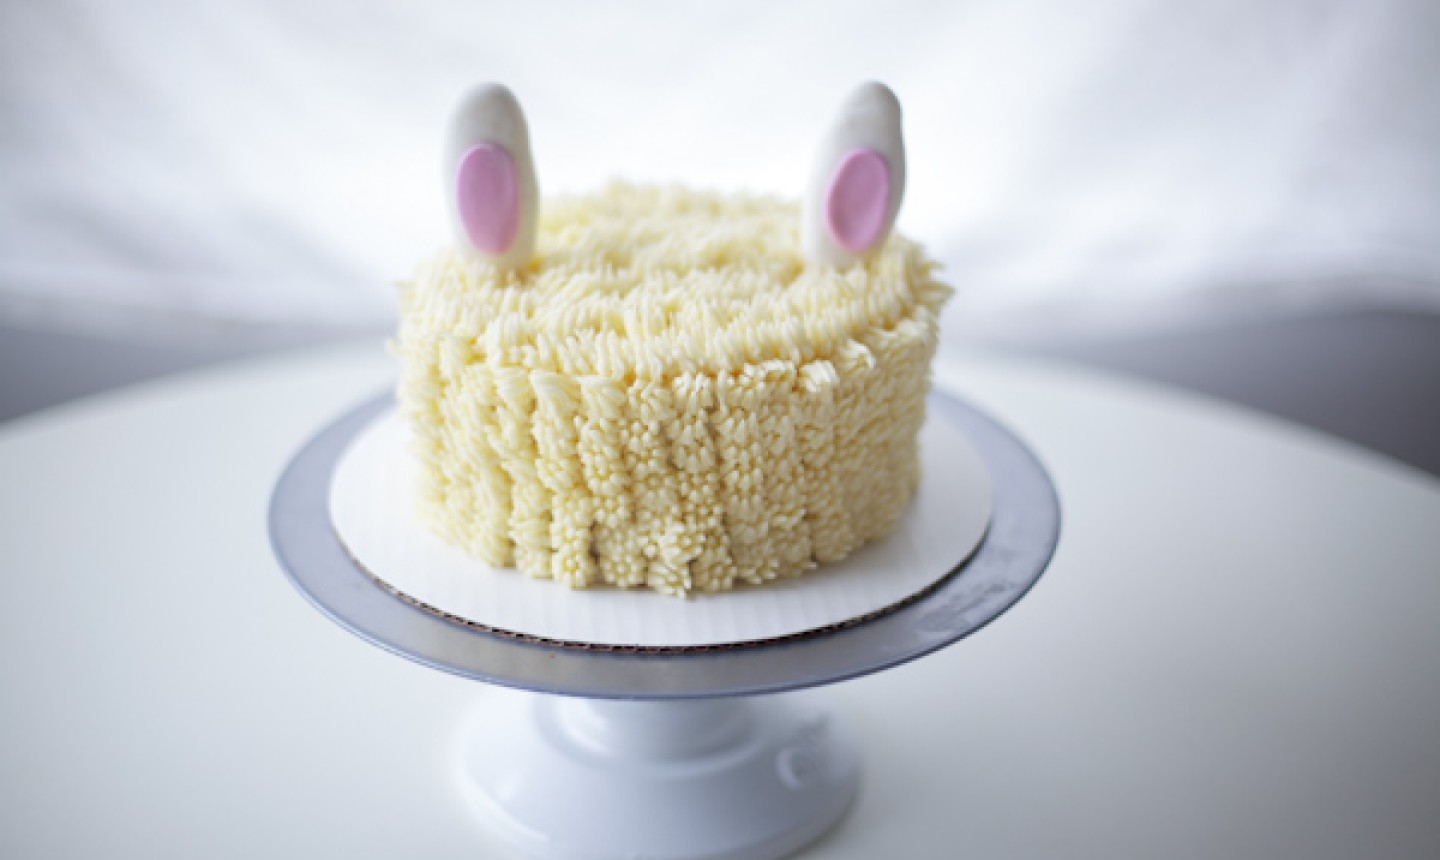
Insert the fondant bunny ears into the top of the cake.

Gently press the white fondant cheeks into the buttercream so they stay in place. Add the pink nose.
Use a tiny amount of water and a chopstick or toothpick to adhere the black whiskers to the white cheeks. Lightly press the edges of the whiskers into the buttercream for extra hold.
Gently press the black eyes into the buttercream and you’ve got yourself an adorable Easter bunny ready to serve.

Share tips, start a discussion or ask one of our experts or other students a question.
Already a member? Sign in
No Responses to “Make Easter Hoppin' With a Fluffy Bunny Cake”