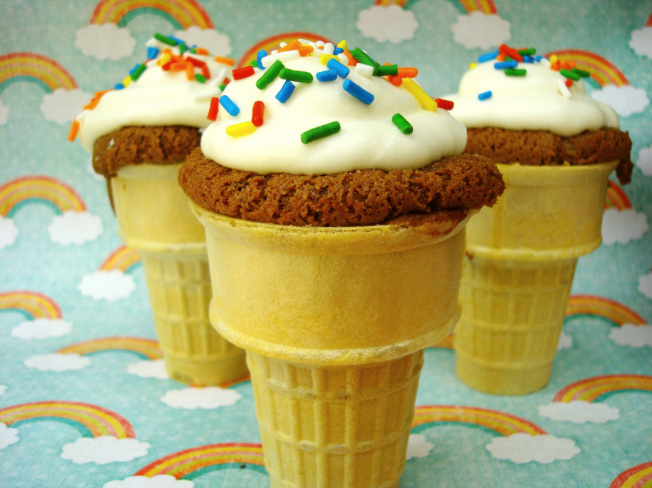
Baking cupcakes in ice cream cones is a rewarding practice. For one thing, they’re adorable. We eat with our eyes first, so why not be delighted by a trompe l’oeil cupcake decorated to look like another dessert classic, the ice cream one? For another, they’re both easy and fun to decorate. Even simple and sweet decorations look polished and professional. This makes them a fantastic baking and decorating project to create with kids, and the fact that there are no wrappers makes cleanup after eating a snap! But these clever and whimsical sweets aren’t just for kids–they’re bound to please eaters of all ages when served as a dessert course!
Originally conceived as a “back-of-the-box” type recipe in the 1950s or 60s, this concept has floated around for years, and has enjoyed off-and-on periods of vogue, especially as a children’s birthday treat. Some early versions call for the cake batter to be put into cupcake liners, and then the cone to be placed on top, upside down; however, the resulting cone-cakes are rather top heavy and don’t fill the cones fully once turned over. This tutorial is adapted from classic versions to bake the cones upright rather than to place the cones upside down on icing placed in a baking cup. This not only makes for a full serving of cake inside of the cone, but also allows for a pleasing dome shape on the finished cakes. And that’s the perfect surface for applying icing and decoration.
As noted in the tutorial, any type of cake batter can be used for cone cakes, provided it is a 24 cupcake or 9×13 cake yield. If you have more batter, don’t consider it a big problem–simply bake more cone cakes, or use the excess batter to bake some regular cupcakes.
How to Make Cupcakes in Ice Cream Cones
Makes 24 Cones
Note: For high altitude baking, only fill the cups halfway. Your yield will be 36-40 cone cakes.
Materials
- 1 batch cake batter (24 cupcake or 2 layer cake yield)
- 24 flat-bottom ice cream cones (colored or plain, your choice)
- 3 cups frosting of your choice
- Sprinkles, chocolate shavings, or decorations of your choice
Other supplies needed
- Aluminum foil
- 2 cupcake tins, 12 cups each
- Ice Cream Scoop
Directions
Step 1: First, prep your trays. Start by cutting out about 24 four-inch squares of aluminum foil. Begin with the first square, pressing it into one of the indents in the cupcake tin. Press only lightly, so that it will hold the shape of the mold. In a couple of steps, you are going to use this to secure the cone into place, so you don’t want to squish the foil too much yet. Repeat with all of the remaining cups, until each one has a foil square.
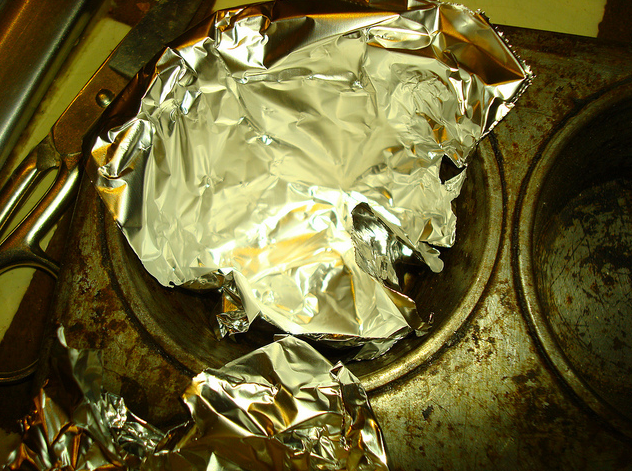
Step 2: Place a cake cone in the center of each cup; lightly “scrunch” the foil around the bottom. This will keep the cone in place while baking, and capture any cake batter that may drip down the side. It will definitely make life easier–the cones can be a little bit wobbly, especially when filled with batter, and it’s no fun cleaning up if you spill!
Step 3: Now, it’s time to get baking. Preheat your oven as specified in your cake recipe. Prepare the cake batter as specified in the recipe, stopping at the point in the recipe where it tells you to fill the cake pans or cupcake liners with batter.
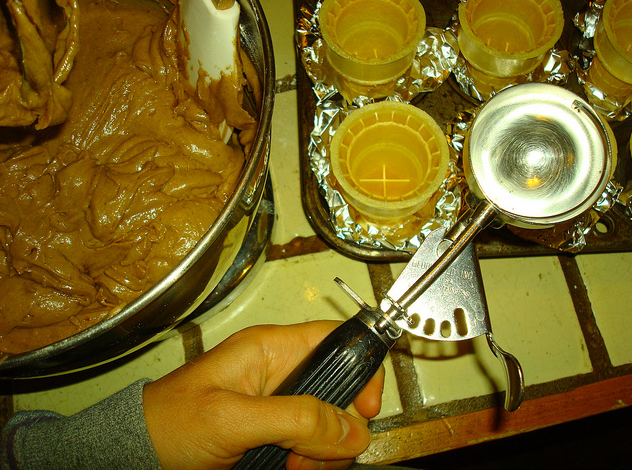
Step 4: Fill each foil-secured cake cone 2/3 full of batter. Using an ice cream scoop is a great way to transfer the batter, as the spring release allows all of the batter to go into the cone. If your cups are a little more full than desired, don’t panic. Simply use a small spoon to extract some of the extra batter and transfer to another yet unfilled cup. Heaping the batter high may seem appealing, but it tends to drip down the sides of the cones in an unappealing way.
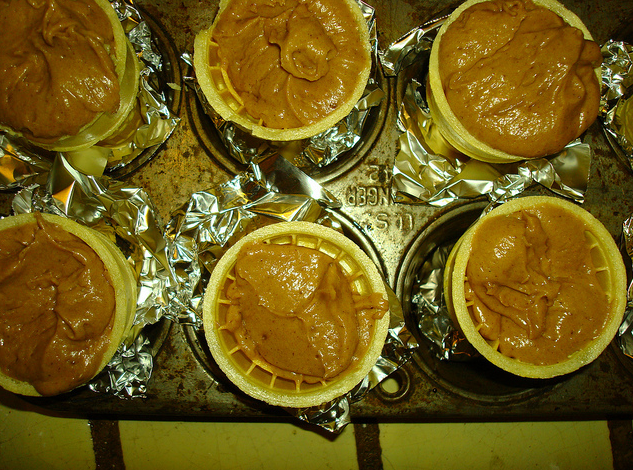
Step 5: Bake for the same amount of time you’d bake cupcakes (if your cake recipe’s time is based on baking the cakes as layers, check on the cake cones about 10 minutes earlier than specified).
Step 6: Remove the cakes from the oven, and let cool completely. You may find it is easier to apply the frosting if you leave the cakes in the tins, or at least keep the foil bunched around the bottom–they may be slightly top-heavy, and this will keep them from capsizing.
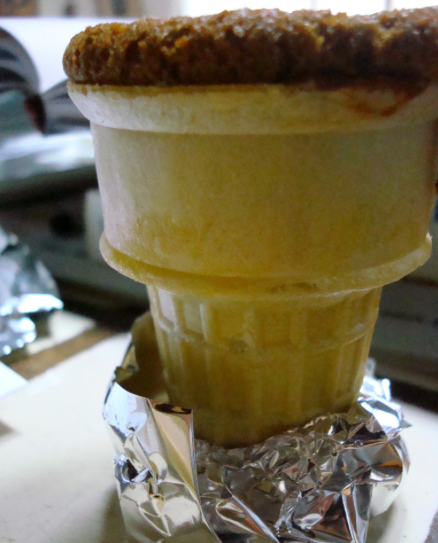
Step 7: Top with icing. It can be piped on, or simply spooned on top of each cake. Placing a spoonful of icing on top of the cake, and then a slightly smaller spoonful applied directly on top of the first spoonful, will yield a sort of “soft-serve” look.
Step 8: Decorate as desired with sprinkles, chocolate, cherries, or the decorations of your choice.
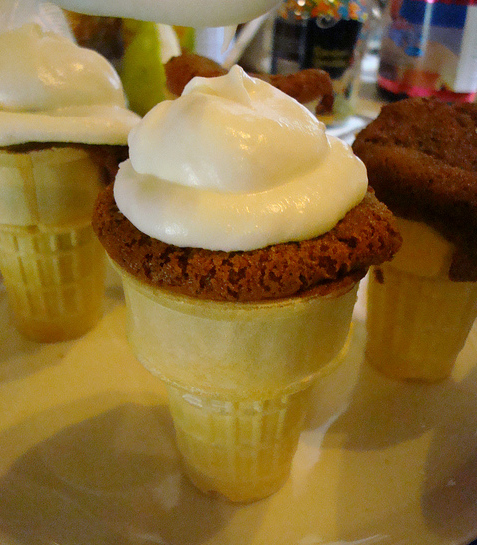
Store loosely covered for up to two days. Don’t forget to handle with care–these treats got even more top heavy when you added the icing, so you don’t want them to tip over! Eating them in an expedient fashion will certainly help.
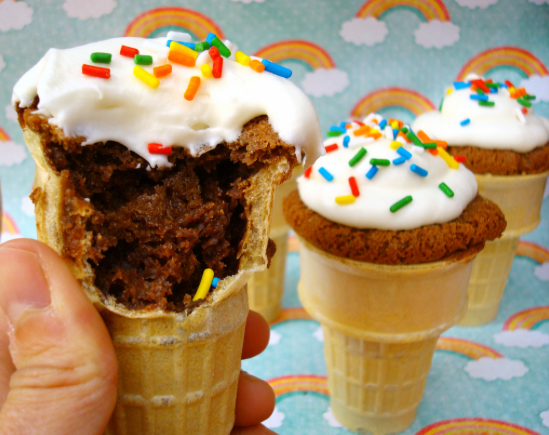
They may actually be a chilly sweet, but everyone will surely scream for these treats! What occasions would you like to create this for?
You might also enjoy exploring gorgeous ice cream cakes here.

Share tips, start a discussion or ask one of our experts or other students a question.
No Responses to “How to Make Cupcakes in Ice Cream Cones”