
There are many ways to make a wire bracelet — this method is the quickest and simplest by far. Just follow along with this step-by-step tutorial and in under an hour, you can have your own custom wire bracelet — or even a full set of bangles — to wear with your outfit tonight!
How to make a wire bracelet
All you need is some 12 gauge copper wire, a couple pairs of pliers, a hammer and anvil — plus some elbow grease. Optional, convenience materials include a micro torch to anneal, a file/sandpaper to remove any marks, a tumbler to shine/polish, and renaissance wax to seal.
Step 1: Prepare the wire
Cut 10″ of 12ga copper wire. Copper wire at this gauge is usually really tough, so unless you are too, I recommend you anneal the wire.
To anneal copper wire with a microtorch, simply set the wire on a firebrick and run your torch across it, around and around and around the length of the wire, until the wire starts to flash red and begins to change color. I usually give it just a few more passes past that stage to make sure I get it nice and soft. The wire will be a different colour at this point. Quench it in some cool water, quick!
Tip: Learn all about working with a micro torch in the FREE Craftsy mini-class Micro Torch Basics.
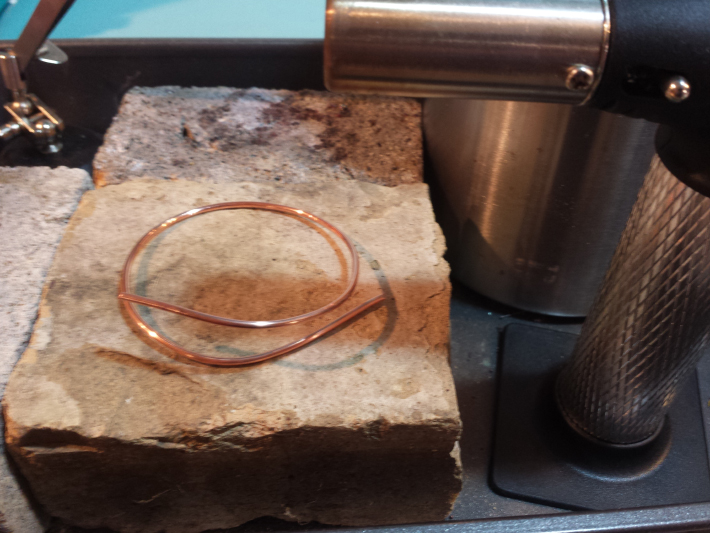
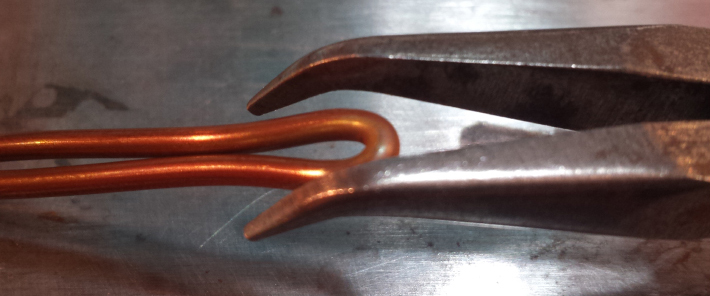
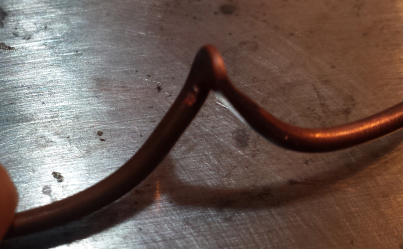
Step 2: Make a bend
Bend the wire in the center into a hairpin. Use your toughest pliers for this! Hammer the bend out to make a nice flared shape at the bend.

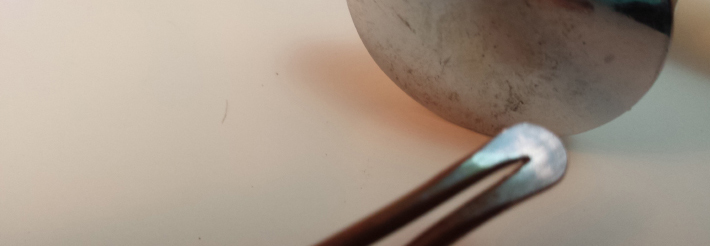
Pull the wires apart sideways, perpendicular to the bend you just made. This is what will create the wave shape.
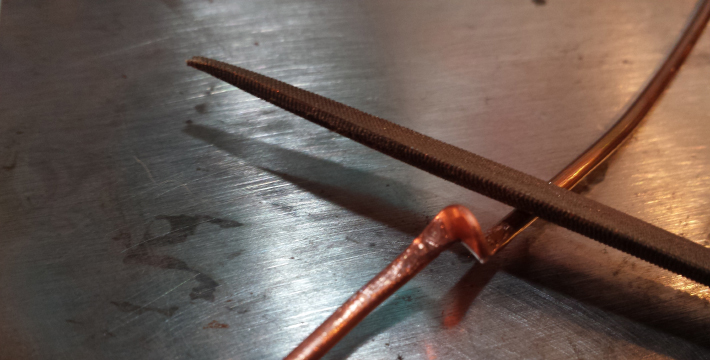
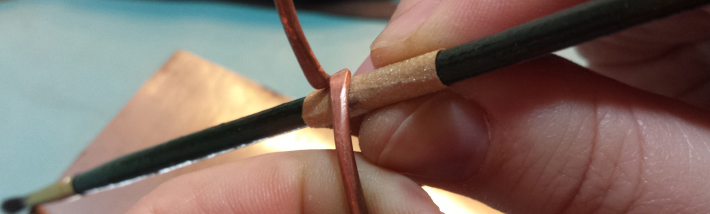
Step 3: Sanding
Because we annealed the wire, it’s quite soft – and if you used pliers at all to bend the wire apart, you’ve likely left marks. This is easy to fix! A rounded file and a bit of fine-grit sandpaper wrapped around a stick (here, I’ve used a paintbrush) can easily clean up any marks.
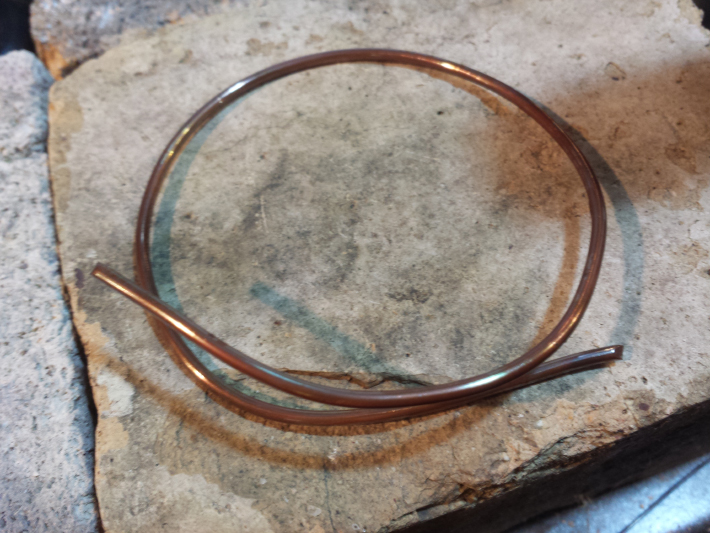
Step 4: Shaping
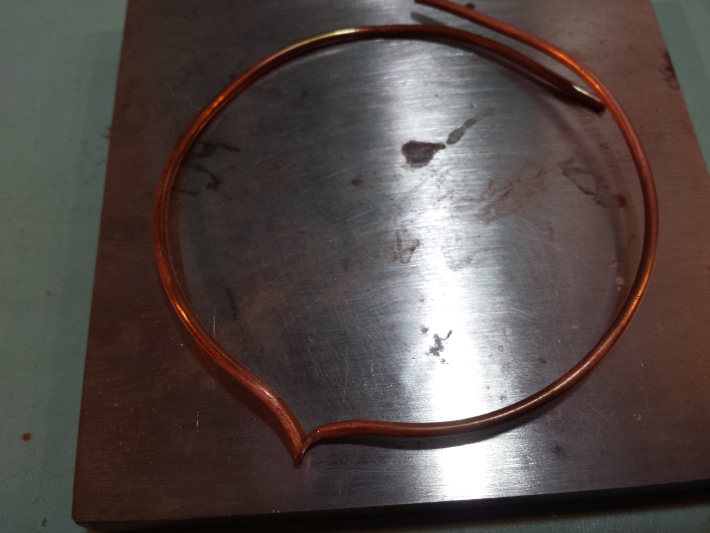
Find a round mandrel – a glass bottle such as I’ve used here will work. Something about the size of your wrist will do nicely. Wrap the wire tightly around the mandrel to make it circular. The ends should overlap by about an inch.
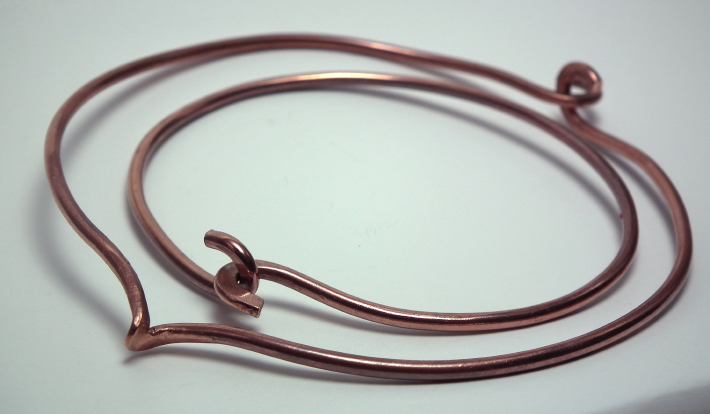
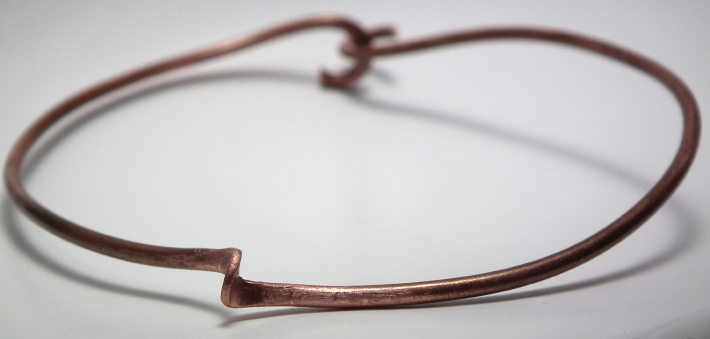
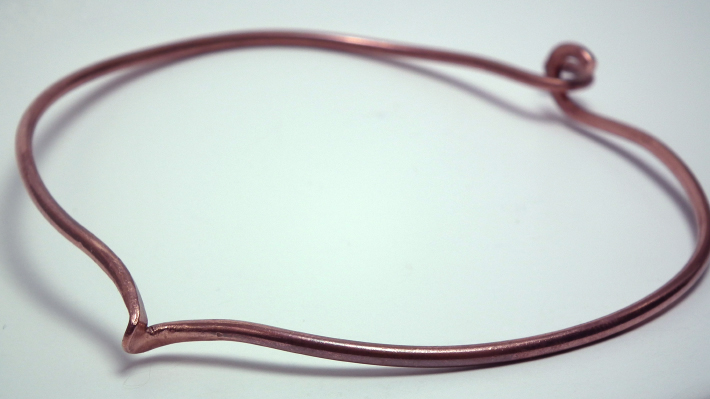
Step 5: Clasp
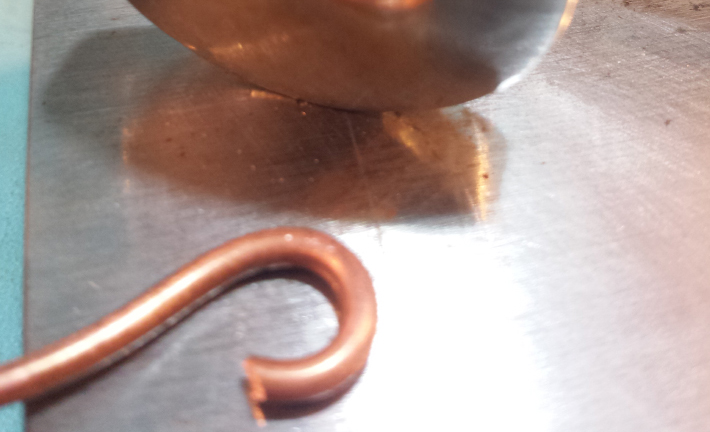
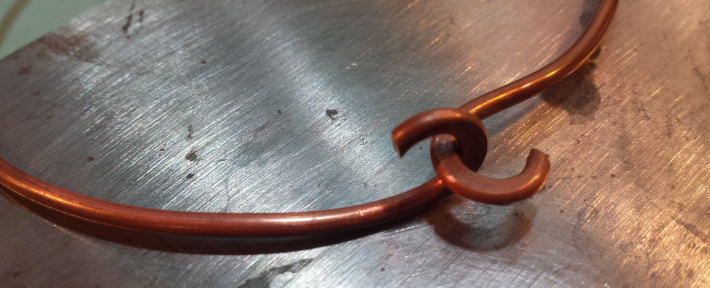
Use round-nose pliers or bailmaking pliers like I have here to create two half-loops at the ends of the wire. Make the loops perpendicular to each other – one in line with the wire, one off to the side. Hammer the loops’ outer edges for a lovely flare.

Step 6: Finishing
If you have a tumbler, you’re going to want to put your new, too-soft bracelet in there with some steel shot and a bit of Dawn detergent to get it hardened up and also really shiny. Once it comes out of the tumbler, the fine sandpaper marks (which you didn’t leave because you’re not impatient like me, right?!) should be gone.
After Sanding – Before the Tumbler
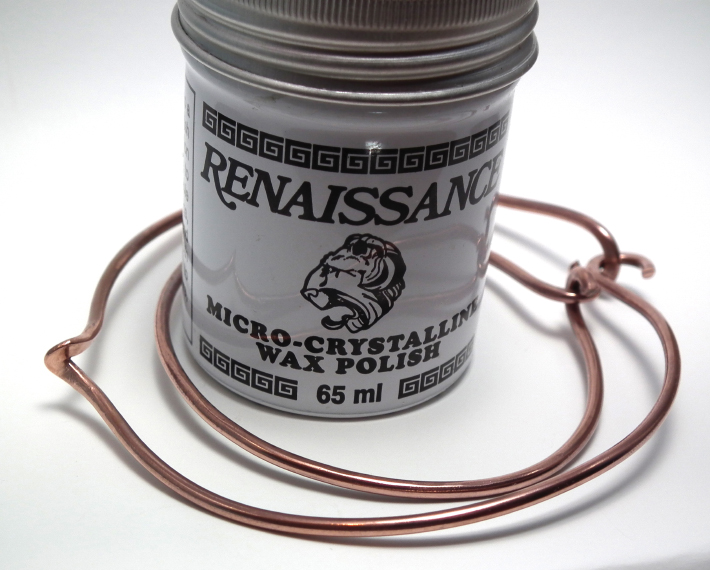
To save the beautiful shine, add one or two thin coats of Renaissance wax according to the directions (wipe on a thin coat, wait a minute for it to dry, buff it up). This will protect the shiny finish and keep your bangle beautiful forever.
And that’s it! Now that you know how to make a wire bracelet, how are you going to customize yours? Can you figure out how to add large-hole beads? What about different decorations in the middle? Experiment, and have fun!
Share tips, start a discussion or ask one of our experts or other students a question.
No Responses to “The Simplest Way to Make a Wire Bracelet (We Swear!)”