
One sure way to update the look of a room is to reupholster the chairs. For already upholstered chairs, that’s a big job — and expensive too. But, that’s only if you hire someone else to do it!
Learn a way to update these chairs without having to remove anything.
When talking about reupholstering chairs, or even side or dining chairs, the job is no easy task. It requires removing the seat cushion from the chair frame, recovering it and then stapling the new covers to the chair. Not hard really, but after having done it a number of times, it’s a laborious and messy job I dread doing every time.
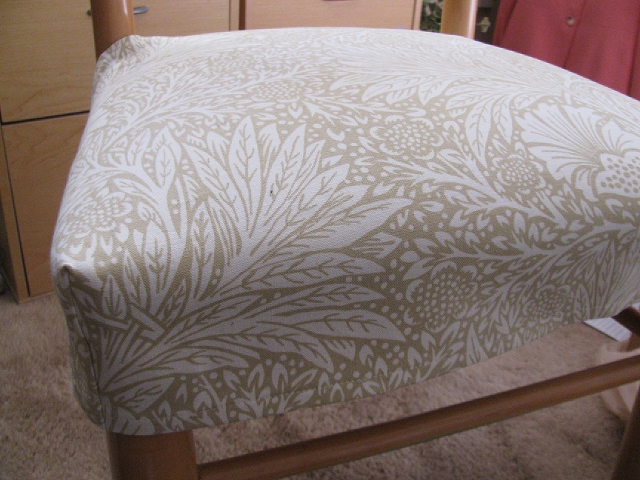
However, covering an existing chair cushion with a quick and simple to sew slipcover can give it a totally fresh look. It is a great way to give a chair a super feminine, pretty look to something more traditional or tailored. It can be a rather practical option as well if you use a washable fabric cover. For anyone with small children you know what an advantage that can be.
Slipcovering is easy to do and so much less permanent than the upholstery method. No real tools are involved. No staple gun or hammers, just some fabric and some type of closure mechanism like buttons, ribbon or Velcro to secure the cover to the chairs at the back.
Here is how to make a quick and easy chair slipcover:
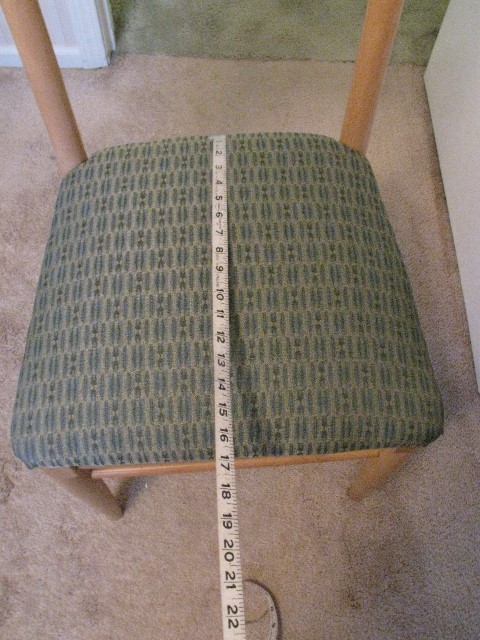
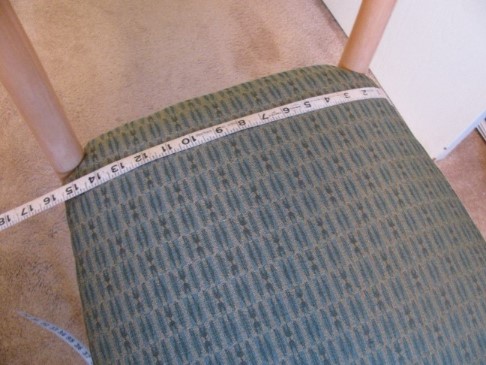
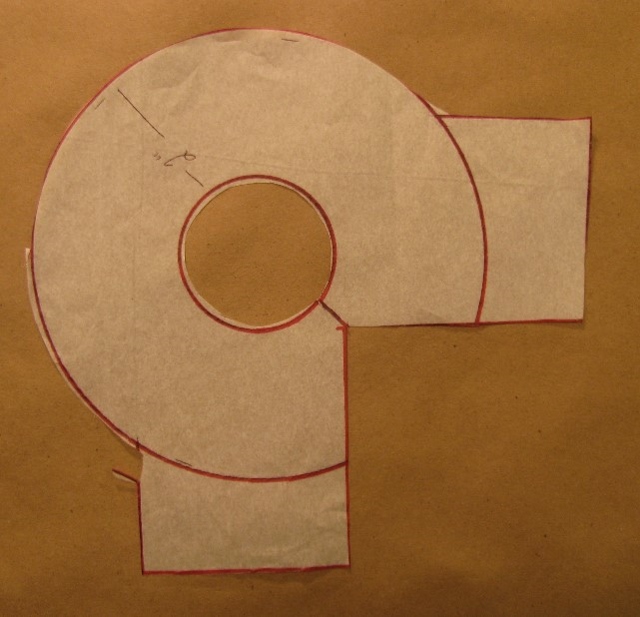
1. Begin by drafting a pattern that will be used to cut the fabric and facings for the back corners. The process begins by measuring the chair from front to back and then from side to side at both the front of the chair cushion as well as the back. Most side chairs are not perfectly square so the back of the cushion is typically narrower than the front.

2. With the measurements a simple pattern can be created by drawing the basic dimensions of the cushion. Add to it a 4″ skirt and ½” seam allowance around all four sides. For the two leg connections at the back, draw in a circle to frame the legs.
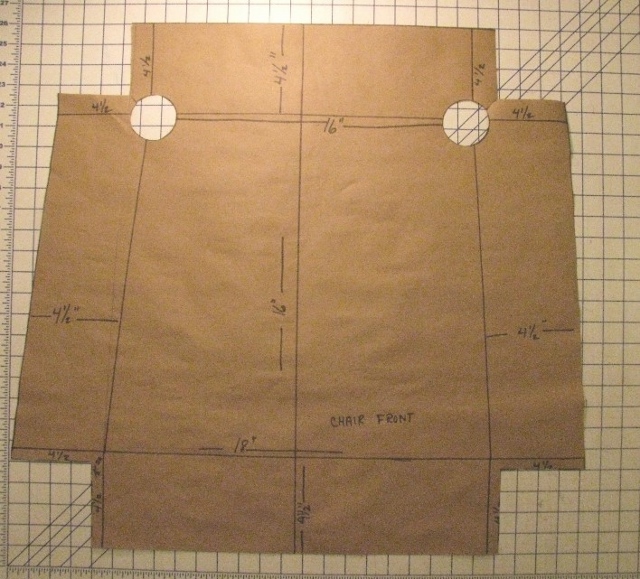
3. Next, draft a 2″ wide facing around the back leg opening. This will produce a clean finish at the back of the chair.
4. Using the main pattern cut out the slipcover base. Cut out two facing pieces.
5. Now serge the edges around all four sides of the base piece and around the facing pieces.
6. Turn up all four sides ½” to prepare them for hemming and press in place.
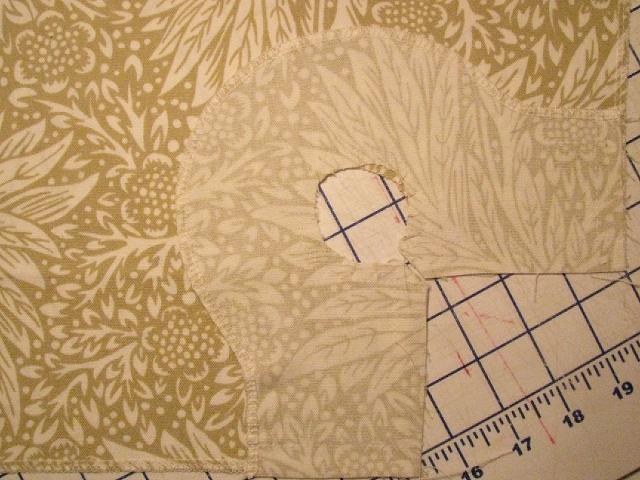
7. Place each facing piece over the two back corners, right sides together, lining up the cut circle and sides. Stitch the facing in place around the circle and along both the bottom edge and sides using a ½” seam allowance.
8. Trim and clip the circle and turn right side out. Square the corners and press flat.
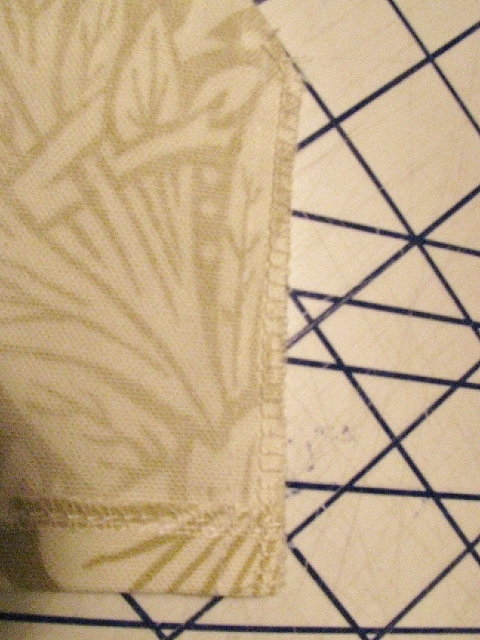
9. Hem all of the four sides 3/8″ from the edge.
10. To complete the two front corners with rights sides together, join the edges together and stitch using a ½” seam allowance. Serge the edge to finish and press to one side.
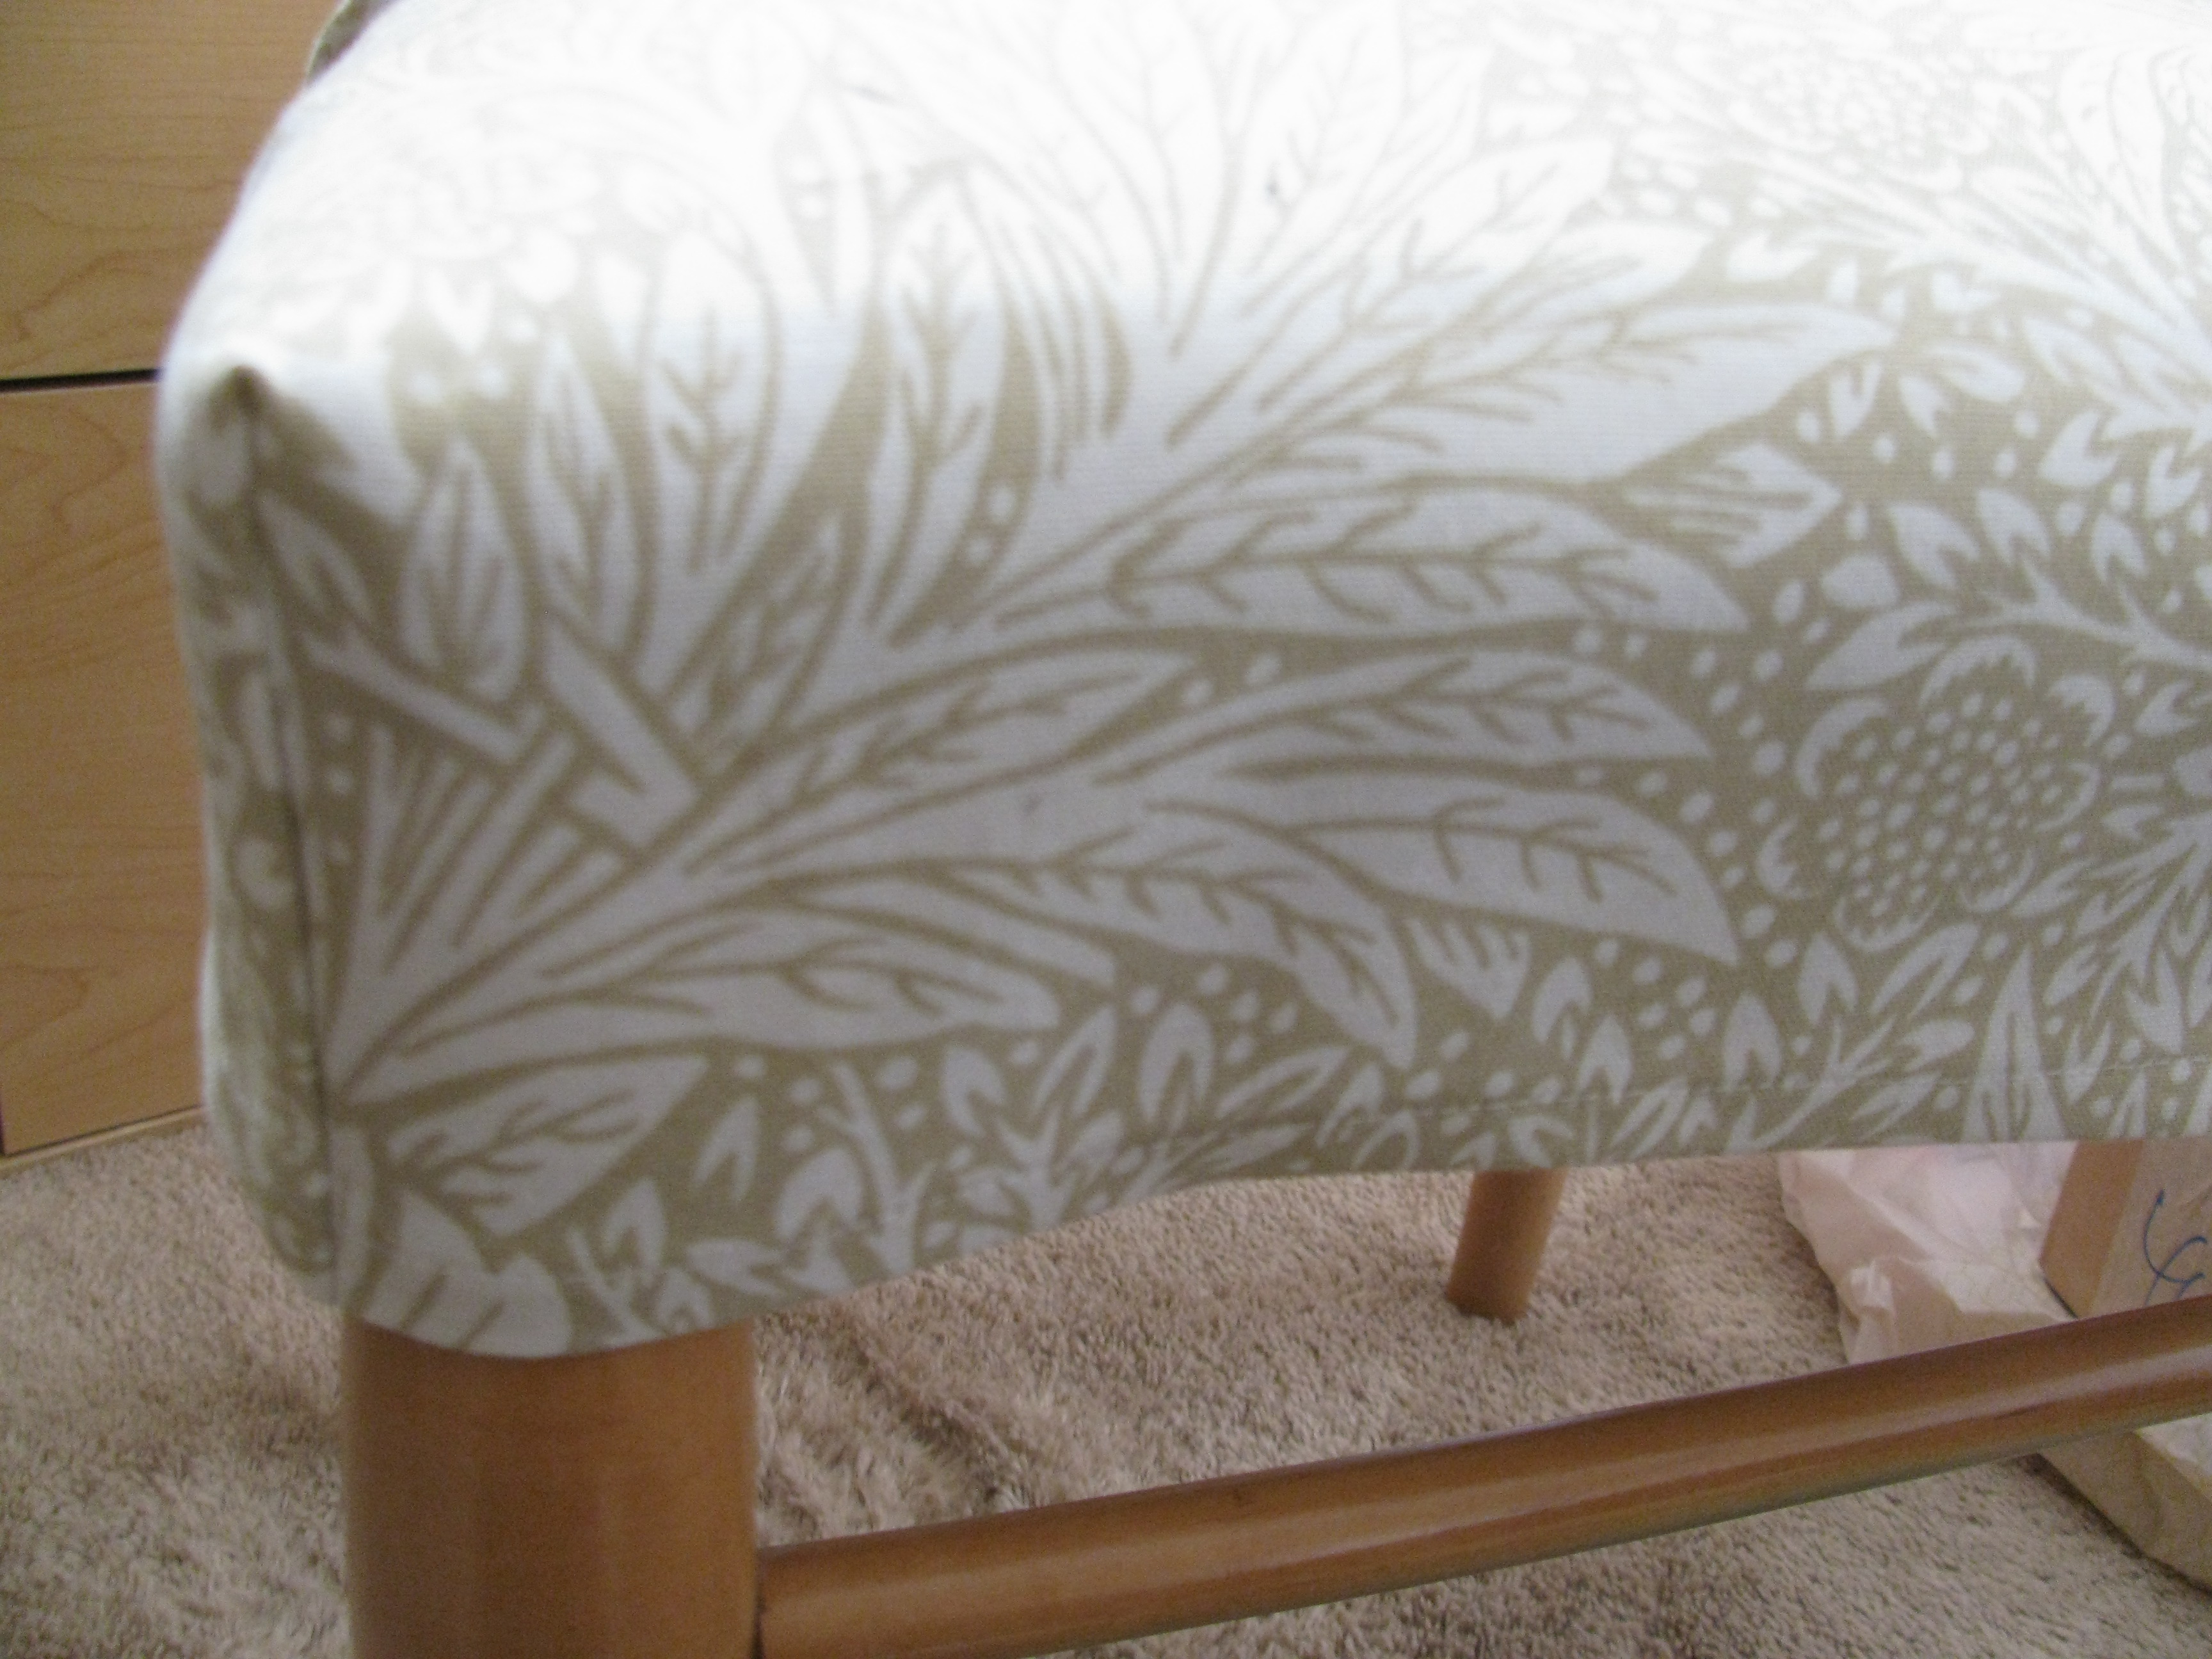
11. The last step is to attach some type of closure to connect the back corners. Any number of options exist. I used stick-on Velcro, but buttons, snaps, or ribbon are other options.
Share tips, start a discussion or ask one of our experts or other students a question.
No Responses to “How to Make a Side Chair Slipcover”