
Cake boards don’t have to be left plain and drab. Create an oh-so-girly quilted board, perfect for displaying the simplest or most elaborate of cakes. Add some pearls for a touch of vintage opulence. This step-by-step tutorial will show you how to give your cake board a pretty, puffy quilted look. No special tools are needed, just a little time and patience.

Bored of boring boards? Try this quilted cake board tutorial.
Step 1:
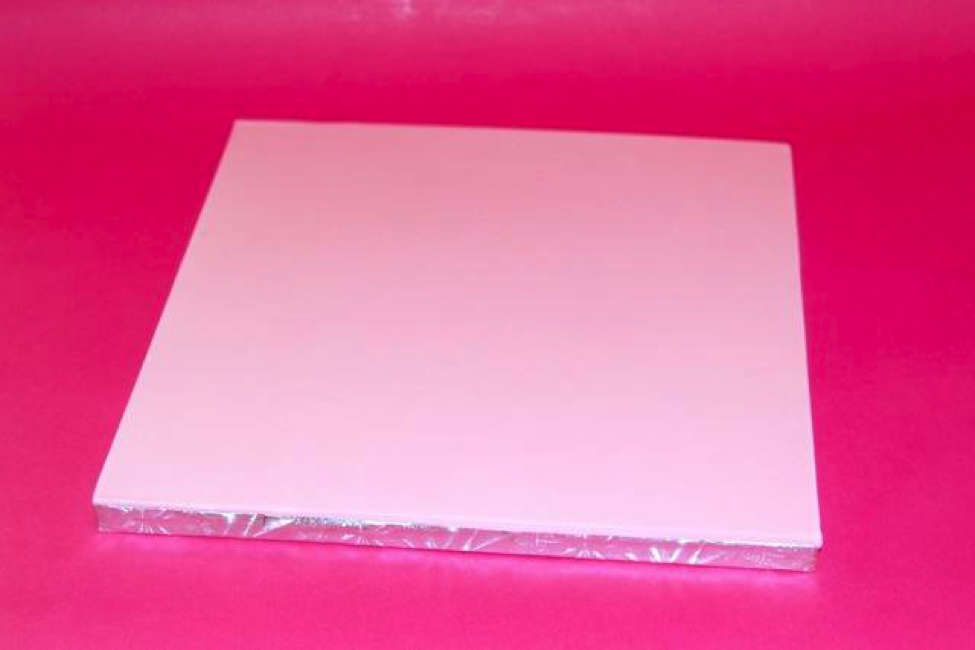
Begin by covering your board in the fondant of your choice. I like to roll my fondant around 1/8″ thick for this effect. I brush the board with water, place it face down on the fondant and cut around the board. When you flip the board back over, you are left with a very neat finish.
Step 2:
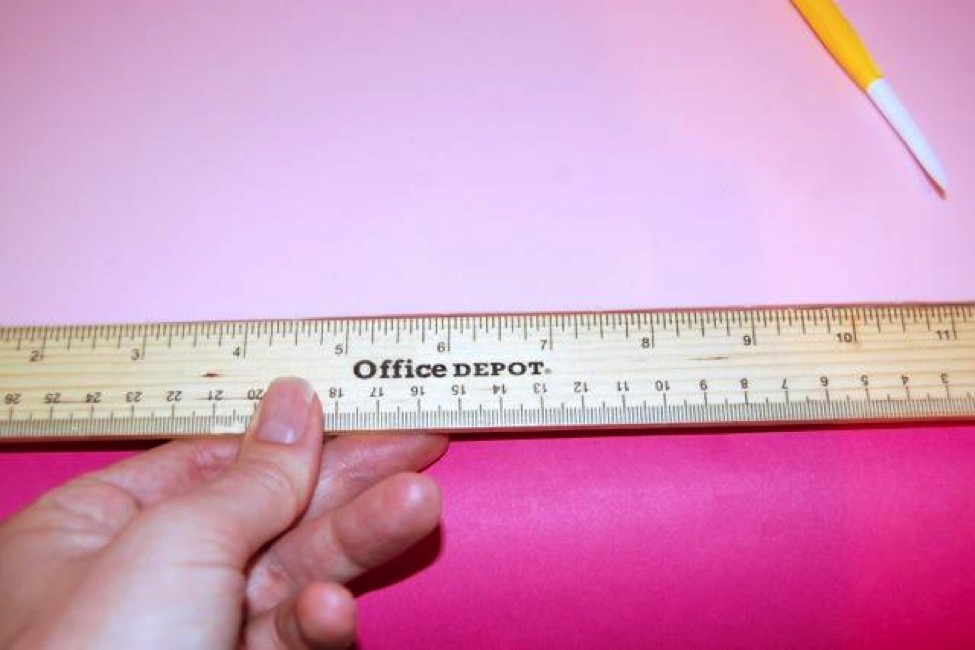
Begin by making small marks along the edge of your fondant using a ruler and Dresden tool or toothpick. To achieve an even quilted pattern, you must divide the width of the board into equal intervals. With a 12” board this is easy, as 1.5” intervals make a perfect pattern. Don’t be tempted by 1” intervals; they are really too small. With a smaller board, like a 10”, 1.5” intervals do not mathematically work, so increase the interval size to 2” or decrease it to 1.25” to get perfect square coverage across the whole board. Make these marks along all four sides of the board.
<
Step 3:
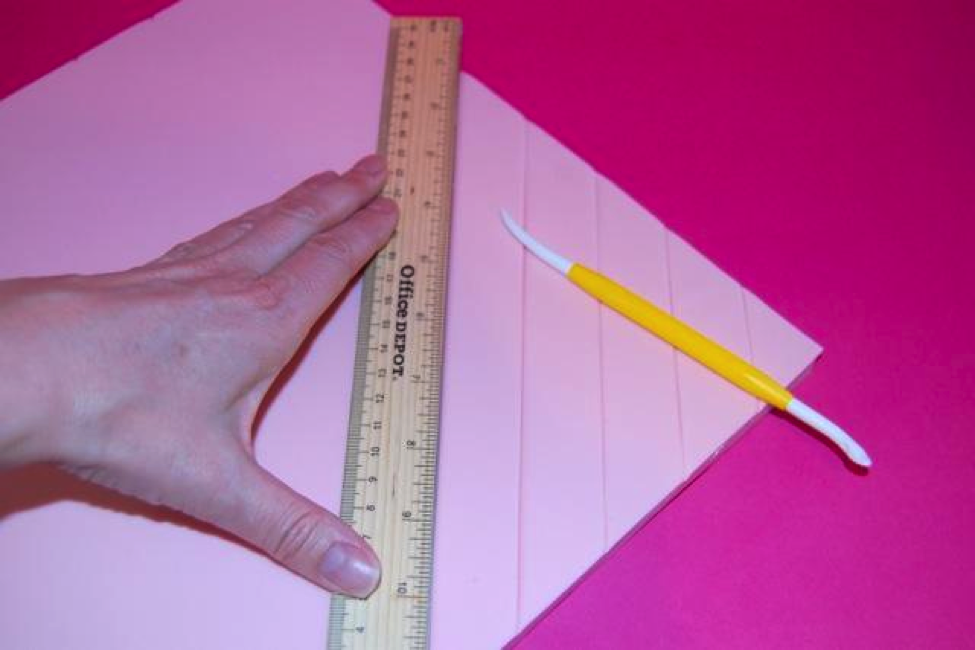
Work as quickly as you can so you can so that you can make your pattern in the fondant while it is still quite soft. Using a Dresden tool or other veining tool, score lines from one side of the board to the other. When it comes to scoring the longest lines from corner to corner, you might need to find something longer than a 30cm ruler!
Step 4:
Once you have scored all the lines right across the board in one direction, turn the board 90° and score all the lines into squares.
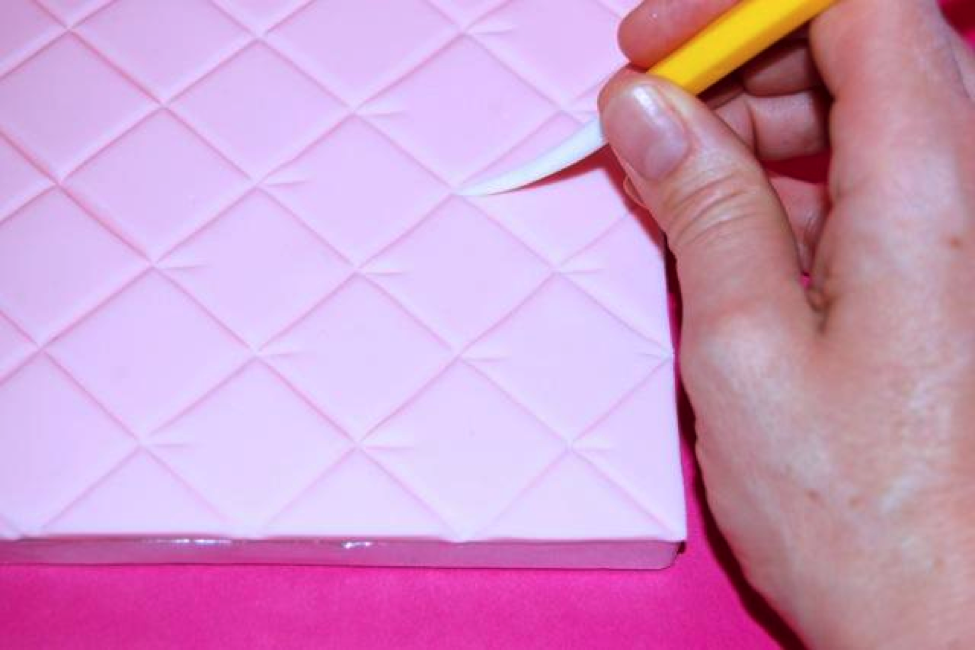
Step 5:
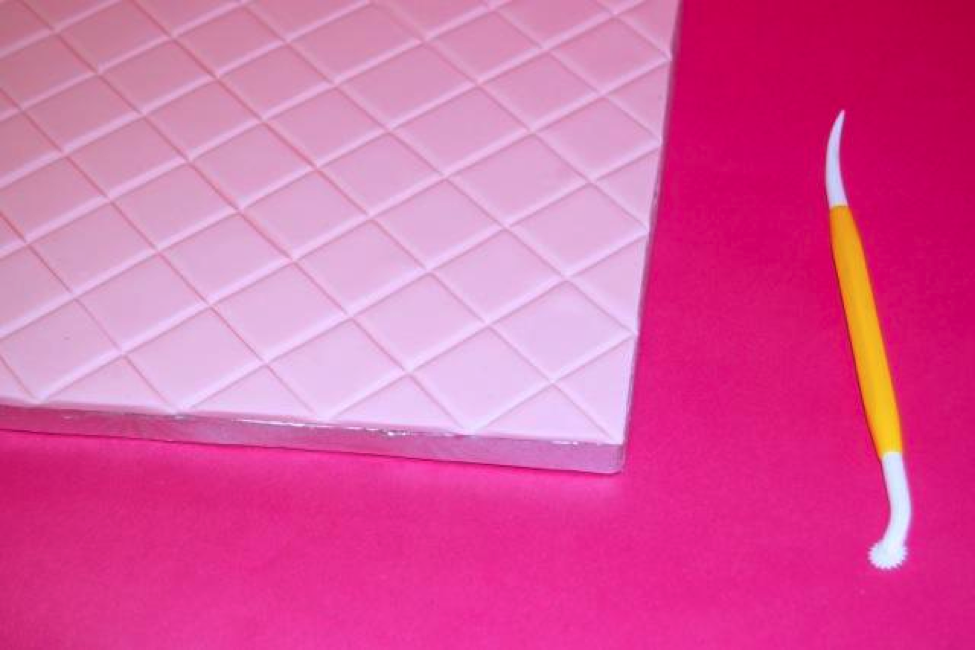
Once your board is covered with squares, use your Dresden tool to make little pucker marks at the cross section of each line. I find it easier to make all the right-hand marks first, then turn the board 90° clockwise and make the next set of marks. This stops you having to adjust your tool in your hand for every mark you make. Continue with your pucker marks until you have one in each direction at every cross section on the board.
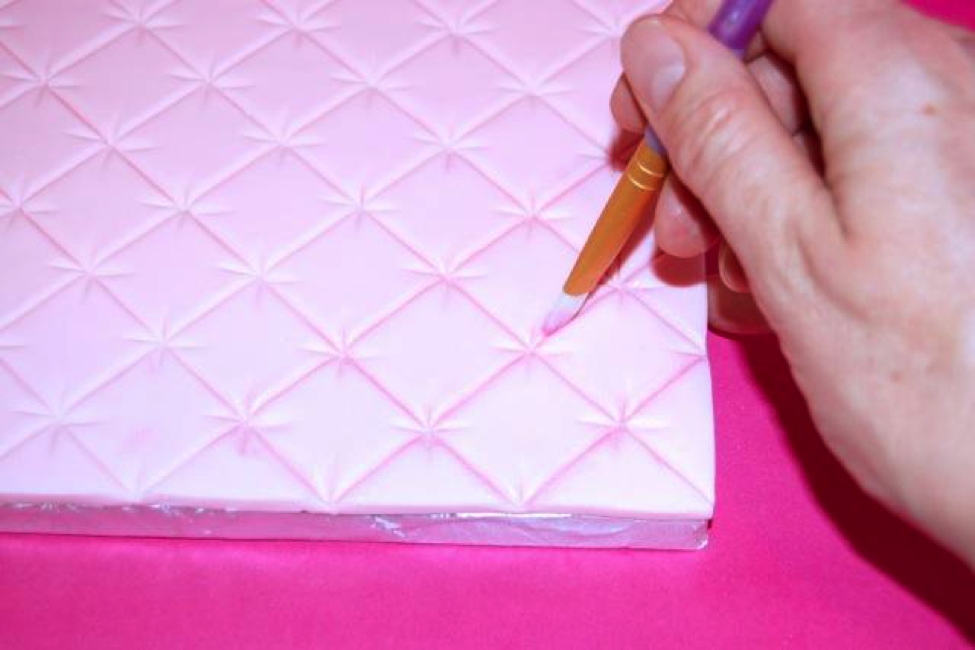
Step 6:
If you’d like to accentuate the pattern further, you can dust each line and pucker with a slightly darker shade of petal or lust dust. I used a pink petal dust and lightened it with a little pearl luster. Use a thin, stiff brush to add color to each line.
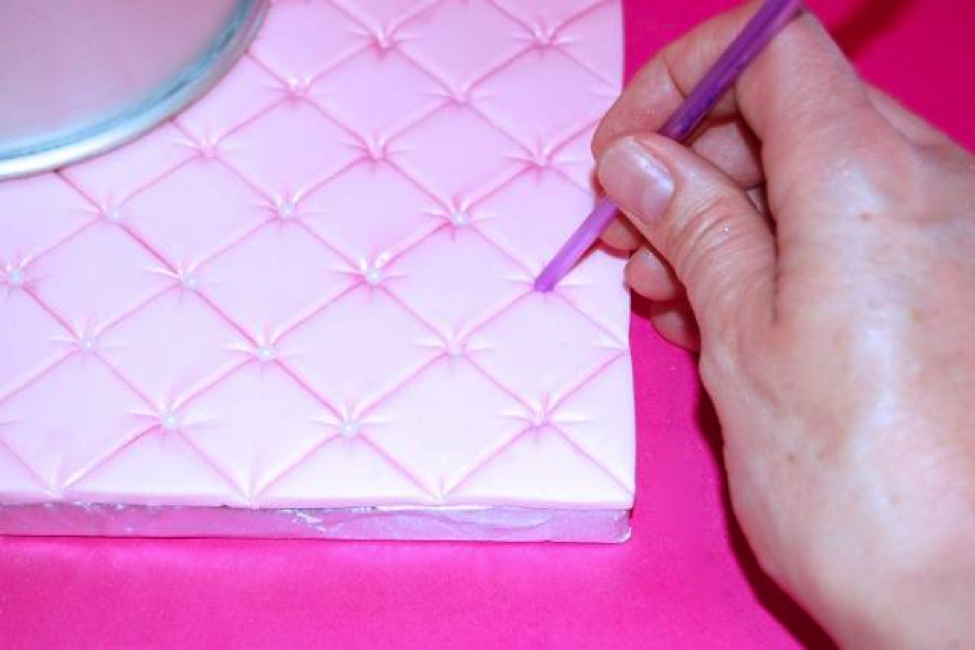
Step 7:
Place a cake pan on your board that matches the size of the cake you will be displaying on it. This helps you identify which area of the board you need to add pearls to. Make sure you don’t add pearls where the cake will sit. Use the end of a paintbrush to make tiny holes inside each cross. Dab in a tiny amount of water and add the pearl. Use double sided tape or your favorite glue to add a ribbon of your choice to the edge of the board.
A board like this will make even the simplest of cakes, simply beautiful!
Learn how to make a sugar rose to add to the top of your clean, white cake with Nicholas Lodge’s Craftsy class The Ultimate Sugar Rose, or try something simpler, but equally beautiful, with Gary Chapman’s class Rolled Fondant Flowers.
Share tips, start a discussion or ask one of our experts or other students a question.
No Responses to “Go From Drab to Fab With This Quilted Cake Board Tutorial!”