
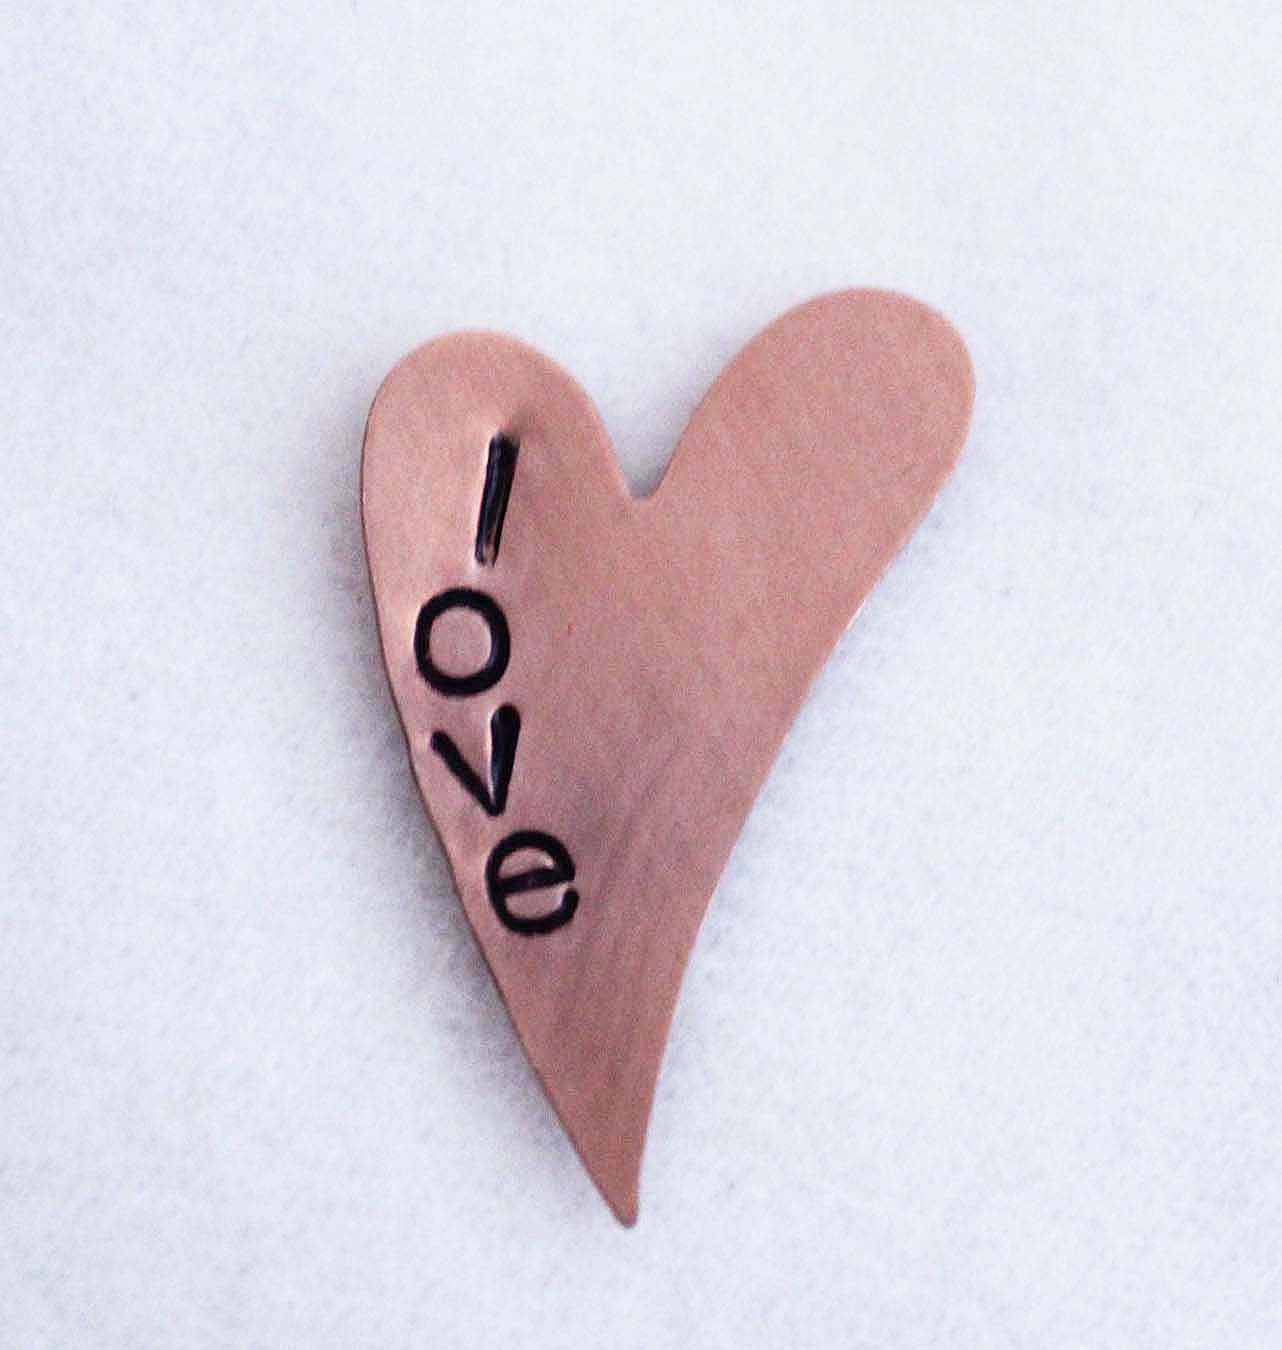
Add a creative, personal touch to your jewelry designs by hand stamping your own jewelry blanks. Learning how to hand stamp jewelry is surprisingly easy. Follow along with this simple metal stamp tutorial, and then try this innovative technique out for yourself!
How to hand stamp jewelry
Materials you’ll need:
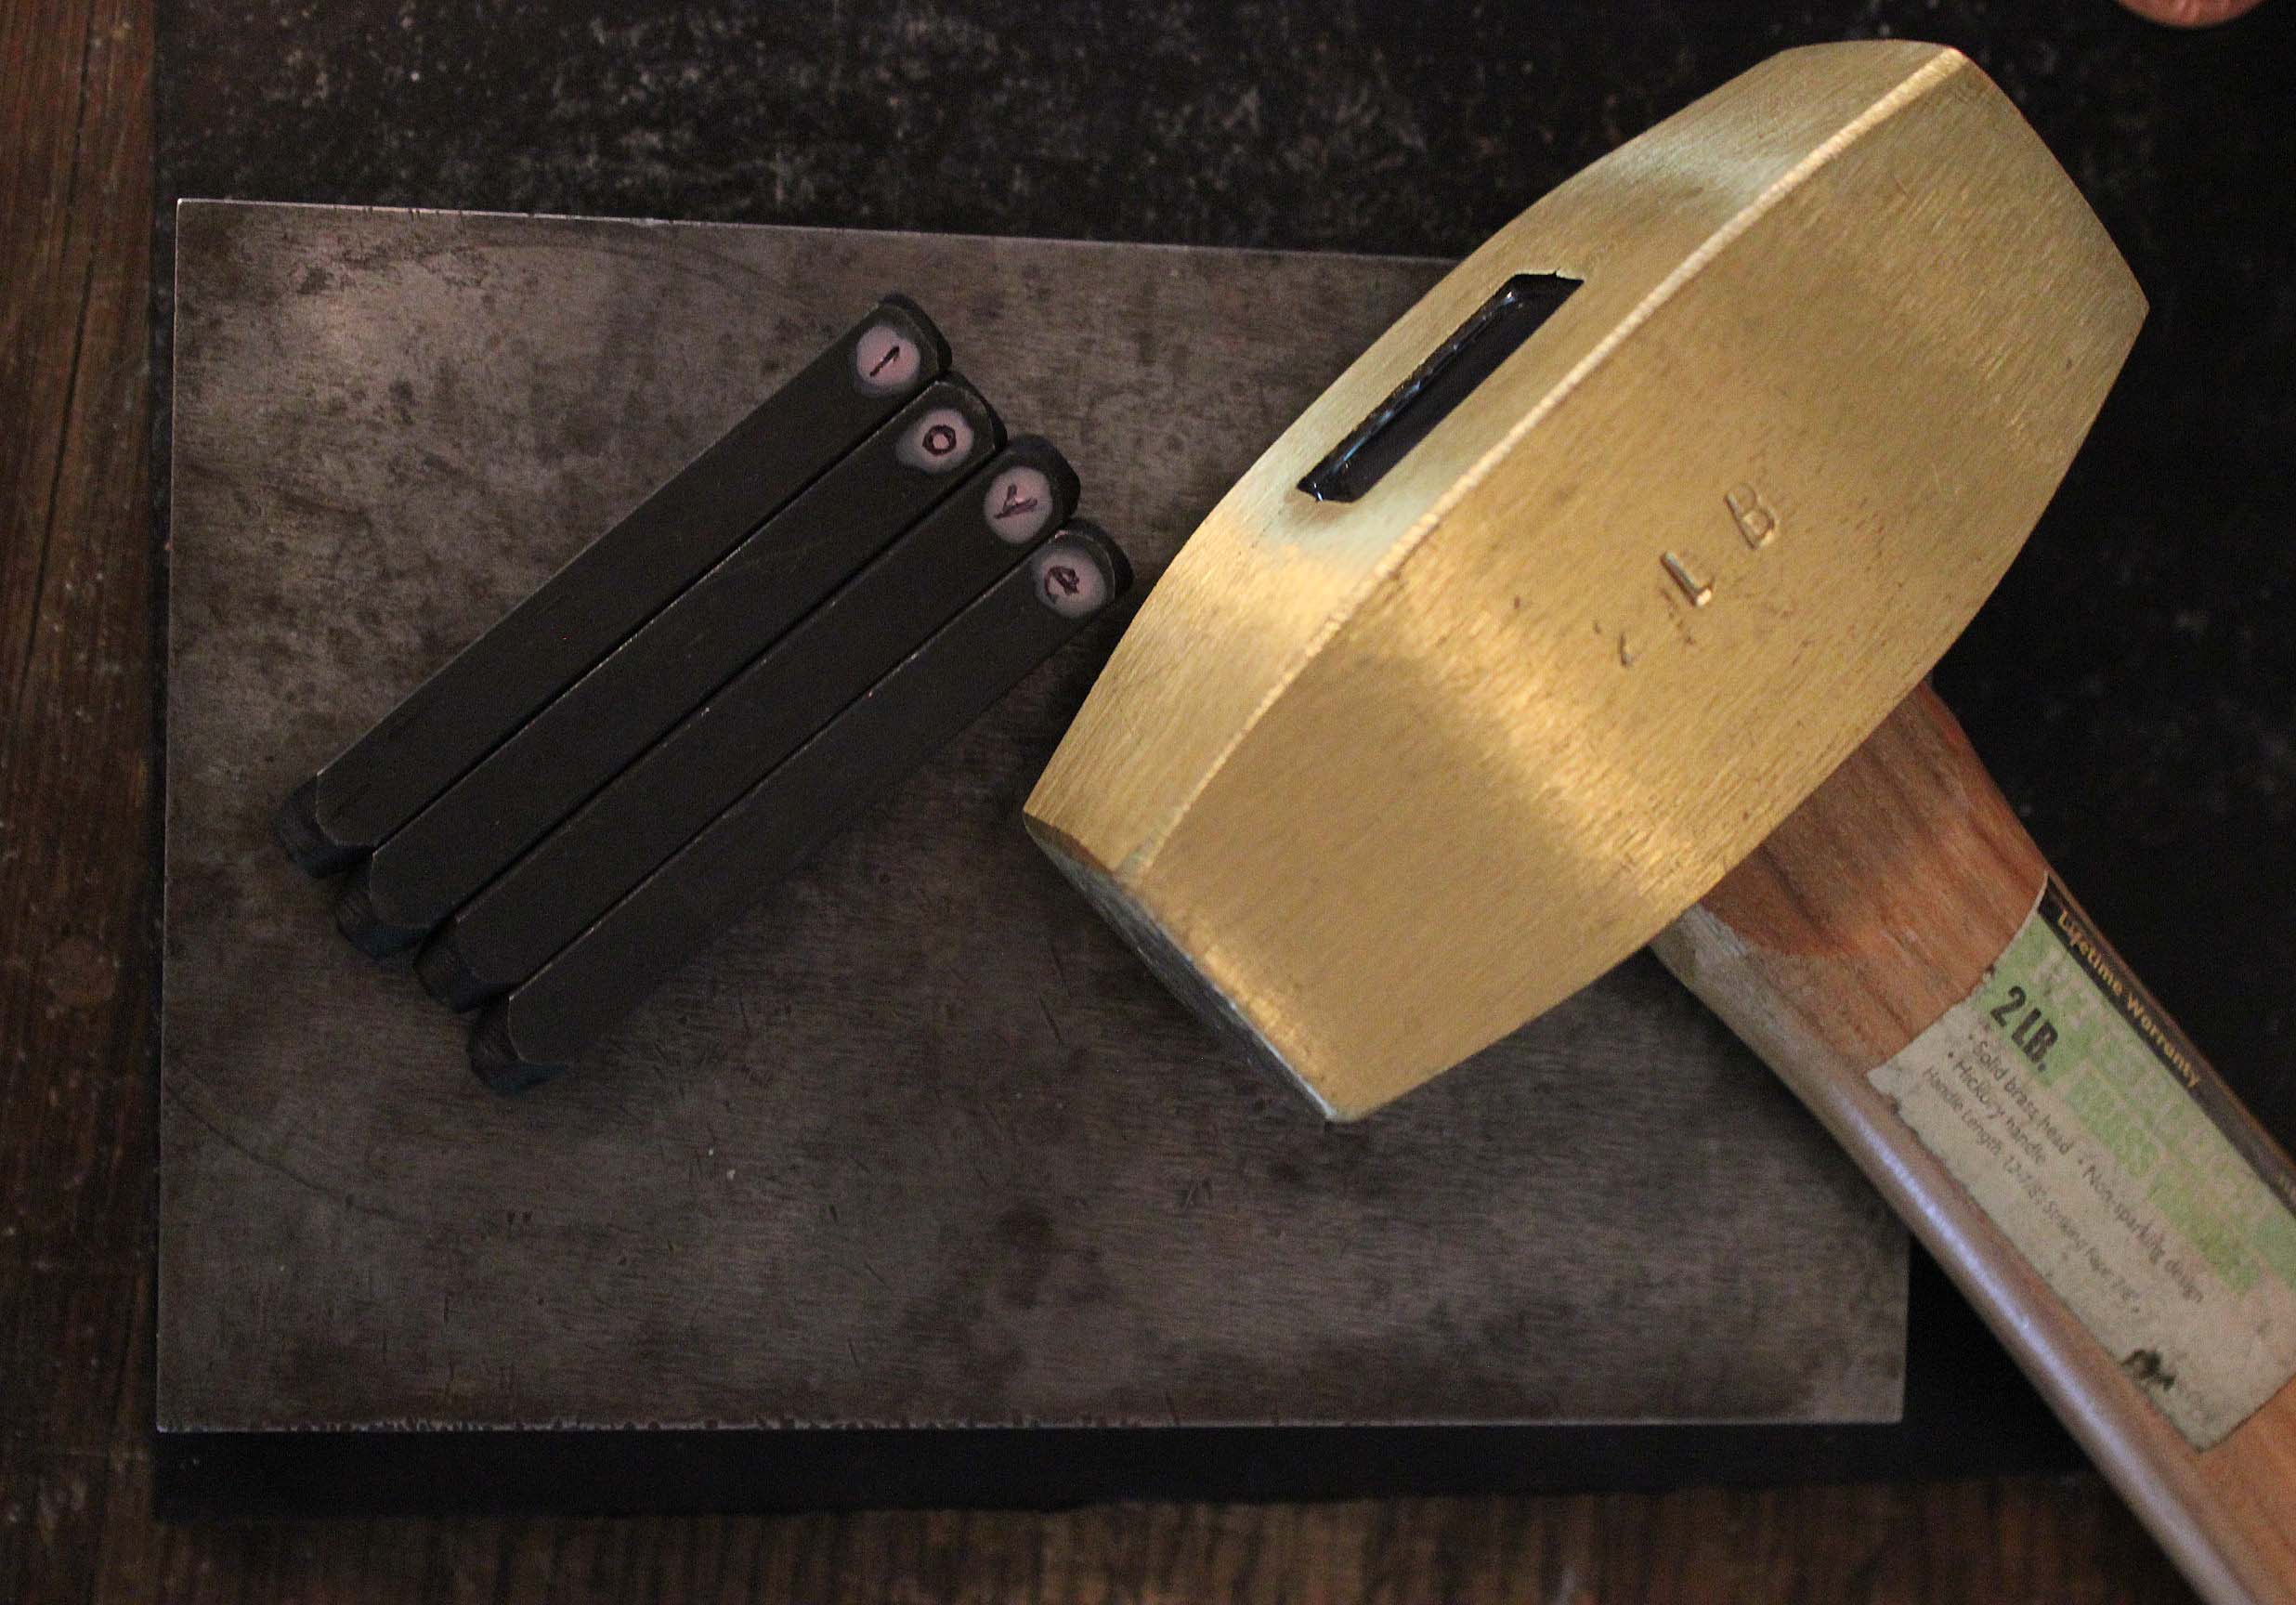
- Brass hammer
- Steel bench block
- Jewelry blanks
- Metal stamps
- Painter’s tape
- Permanent marker
Before you begin stamping:
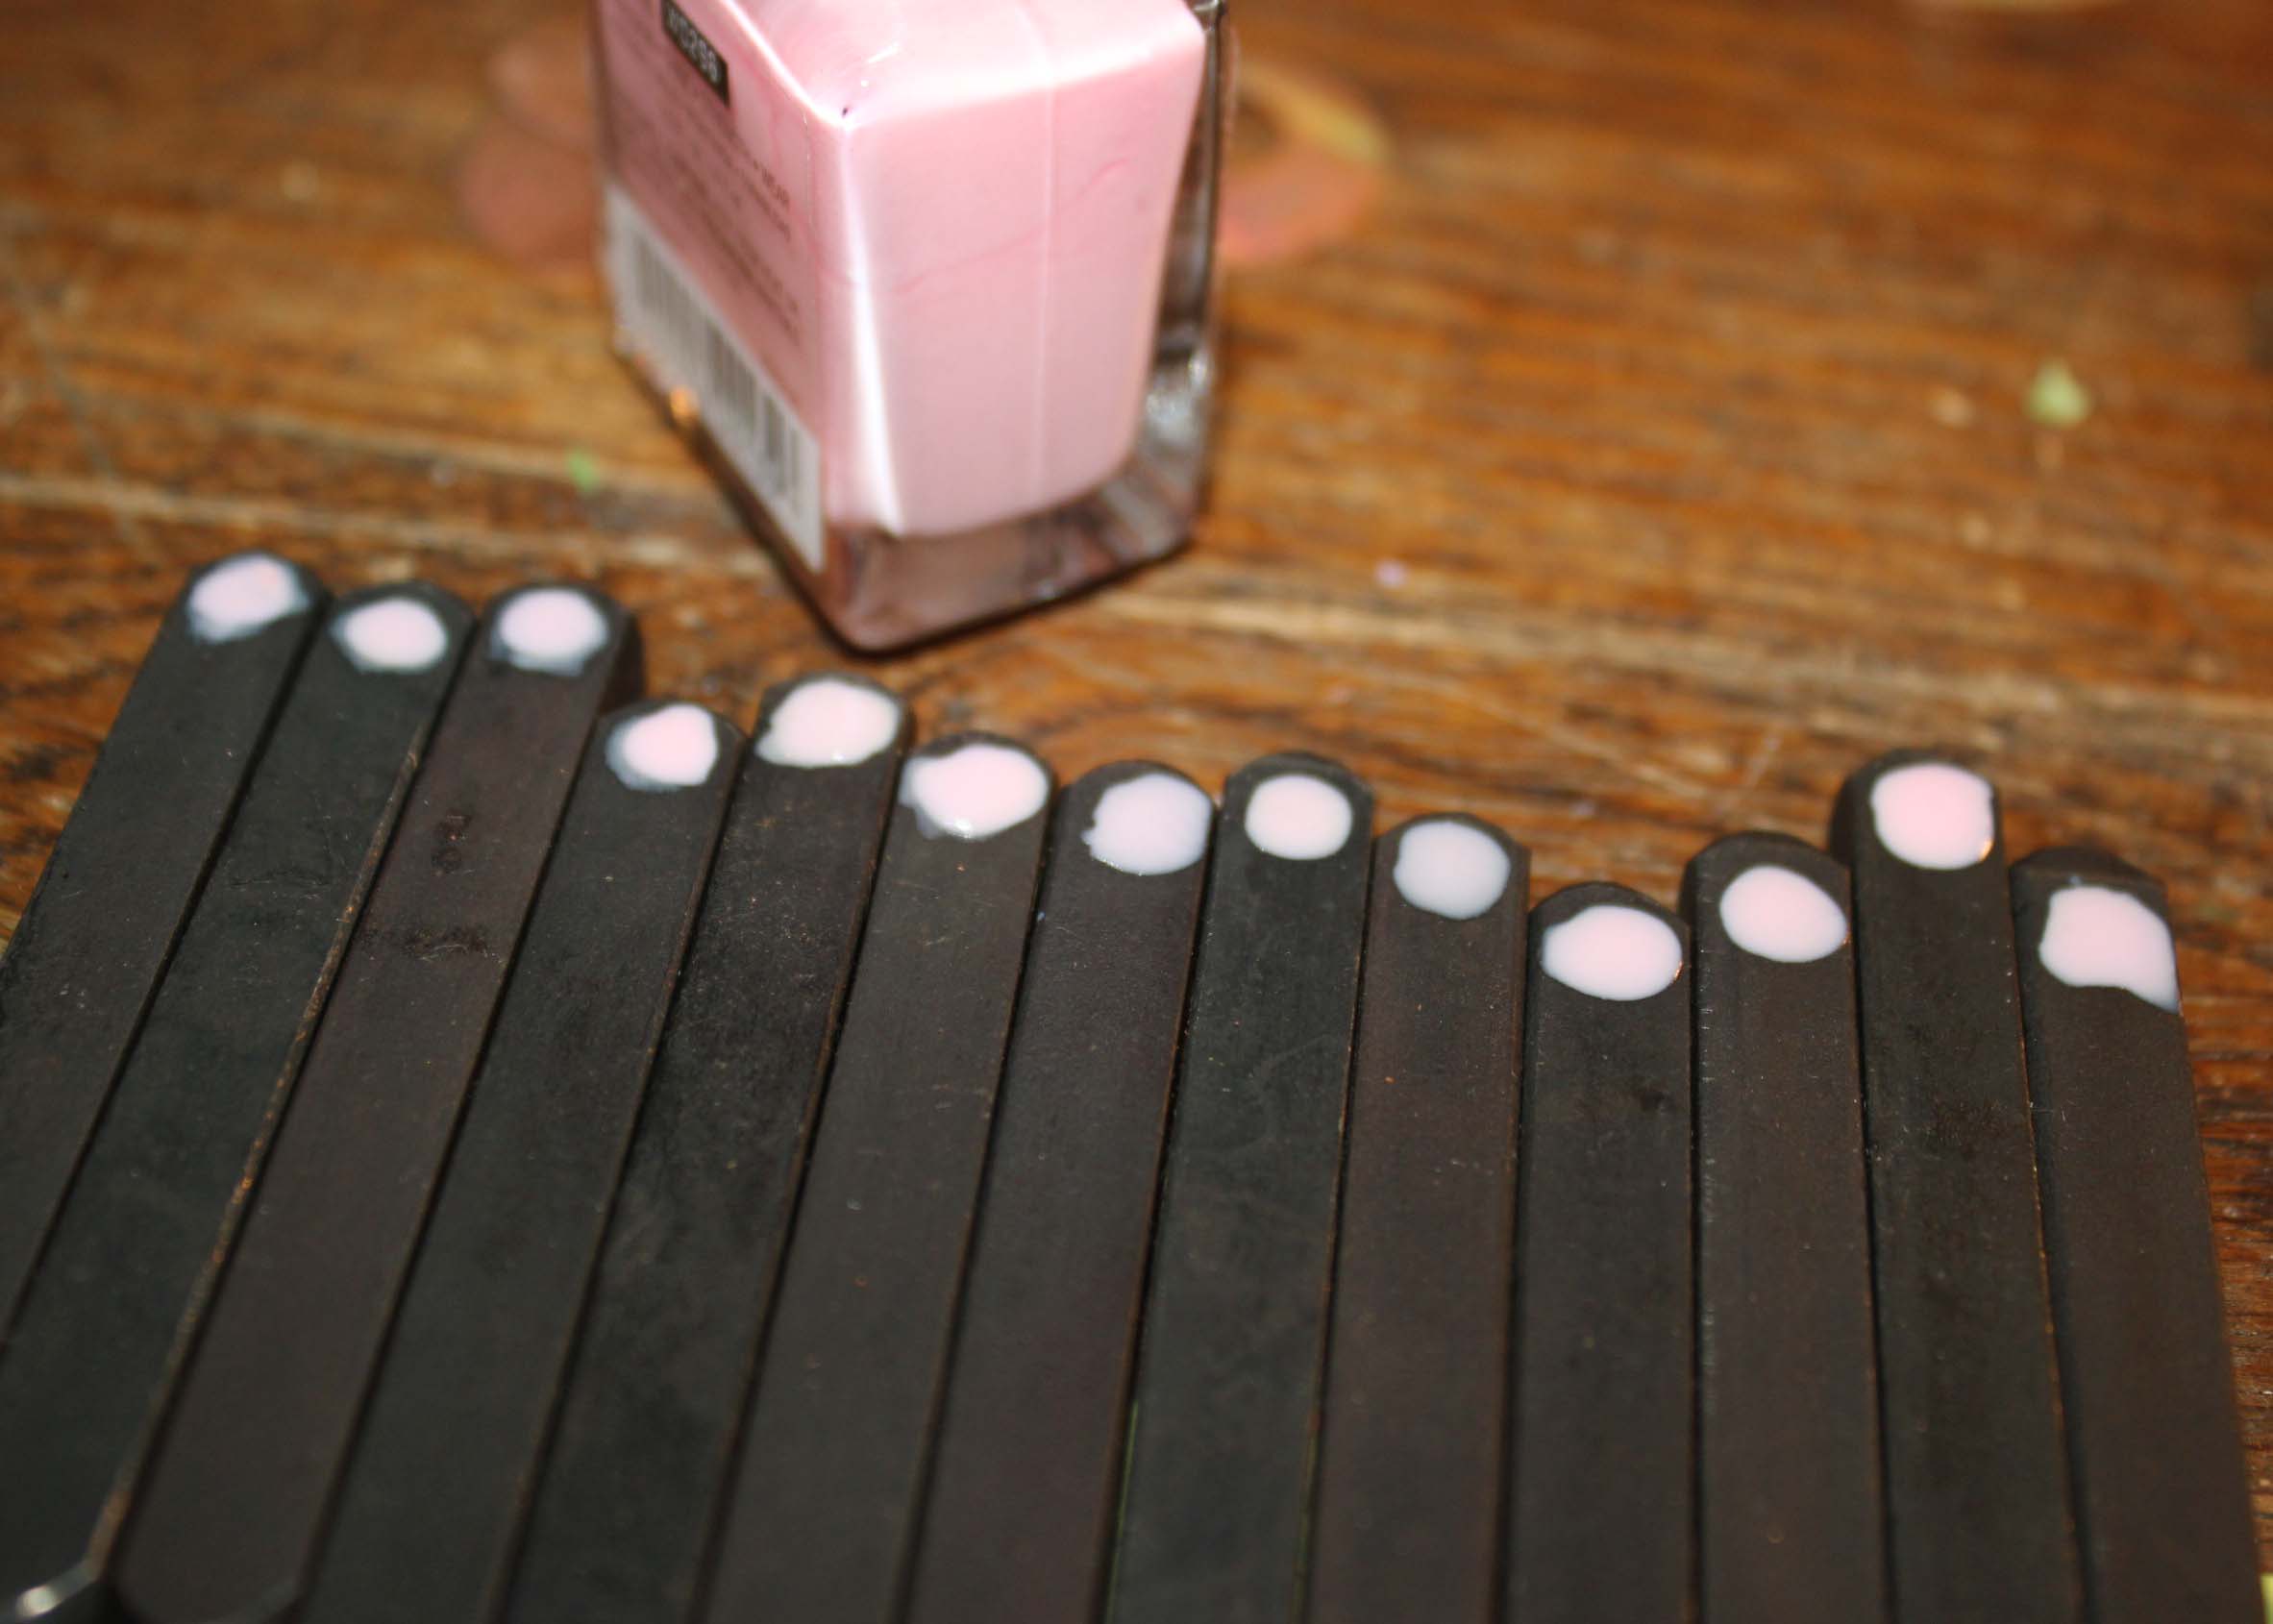
If you have silver colored stamps, you can easily label them using a permanent marker. If you have dark metal stamps, as pictured above, you can add a light colored dot with nail polish to mark the front of the stamp. I’ve since added lettering to these stamps so each stamp can be quickly identified.
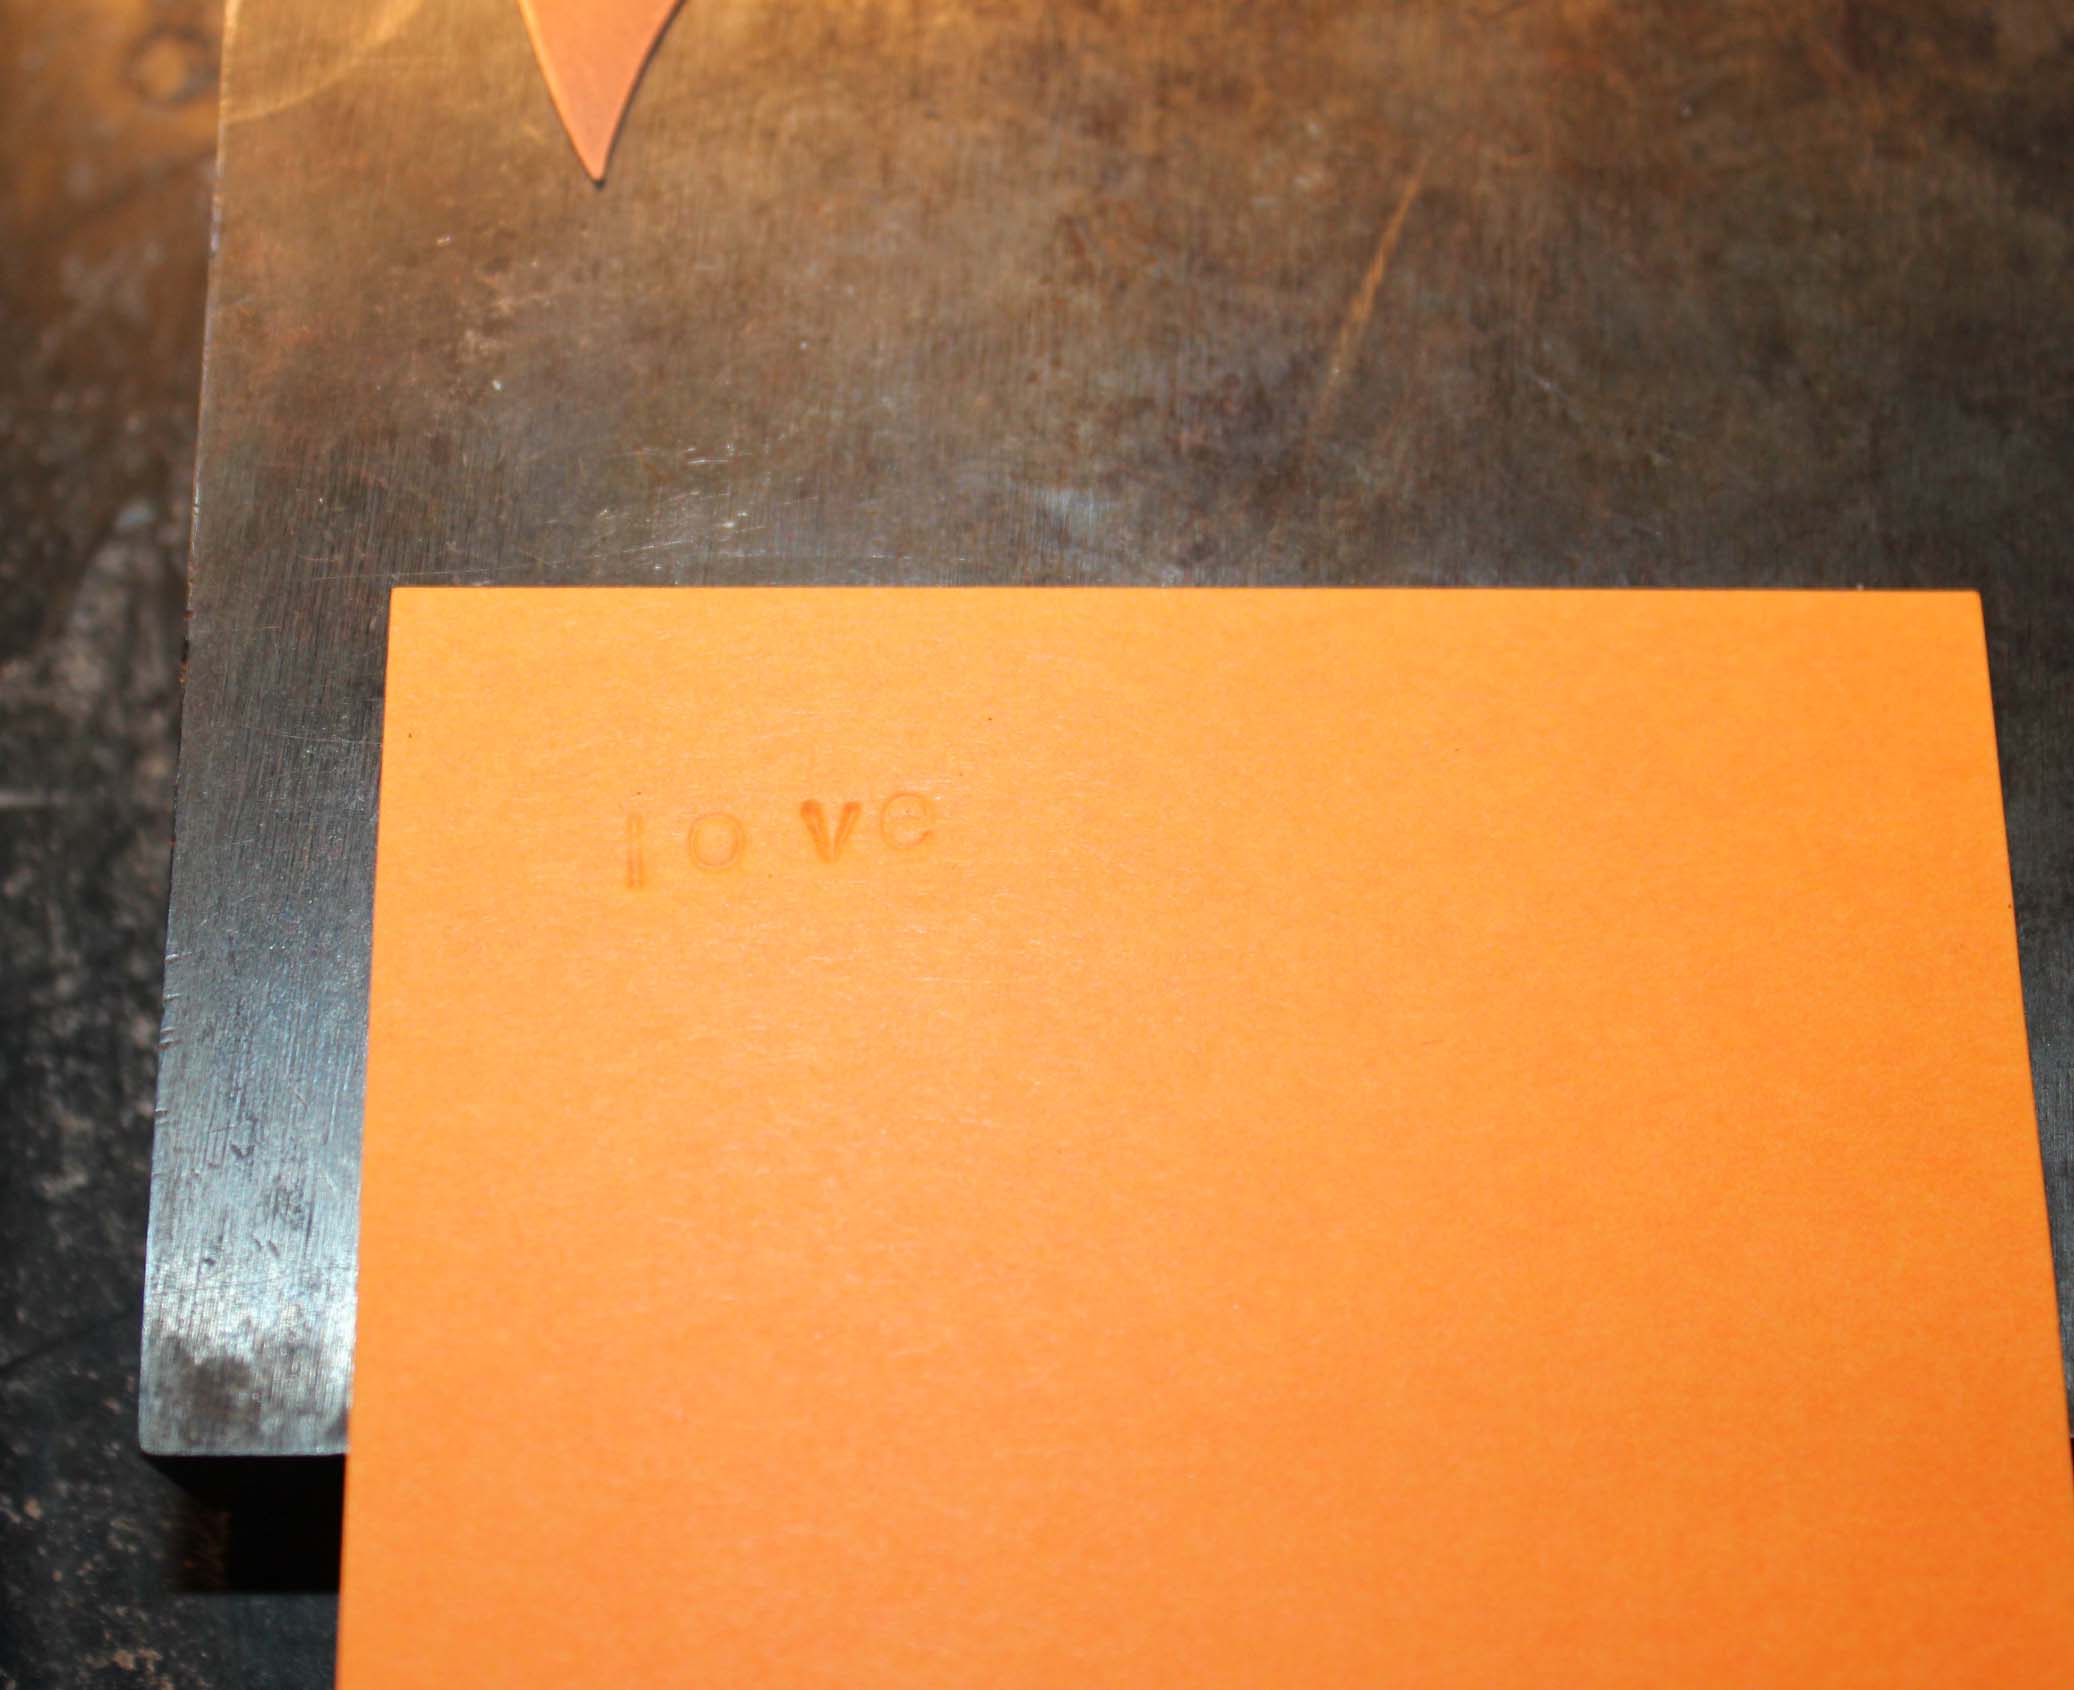
Practice stamping before you begin using your metal blanks. You can practice stamping on several layers of paper or press your stamps onto an ink pad and then onto paper. This will give you a clear idea of how to line up your stamps before you begin stamping on the metal blanks.
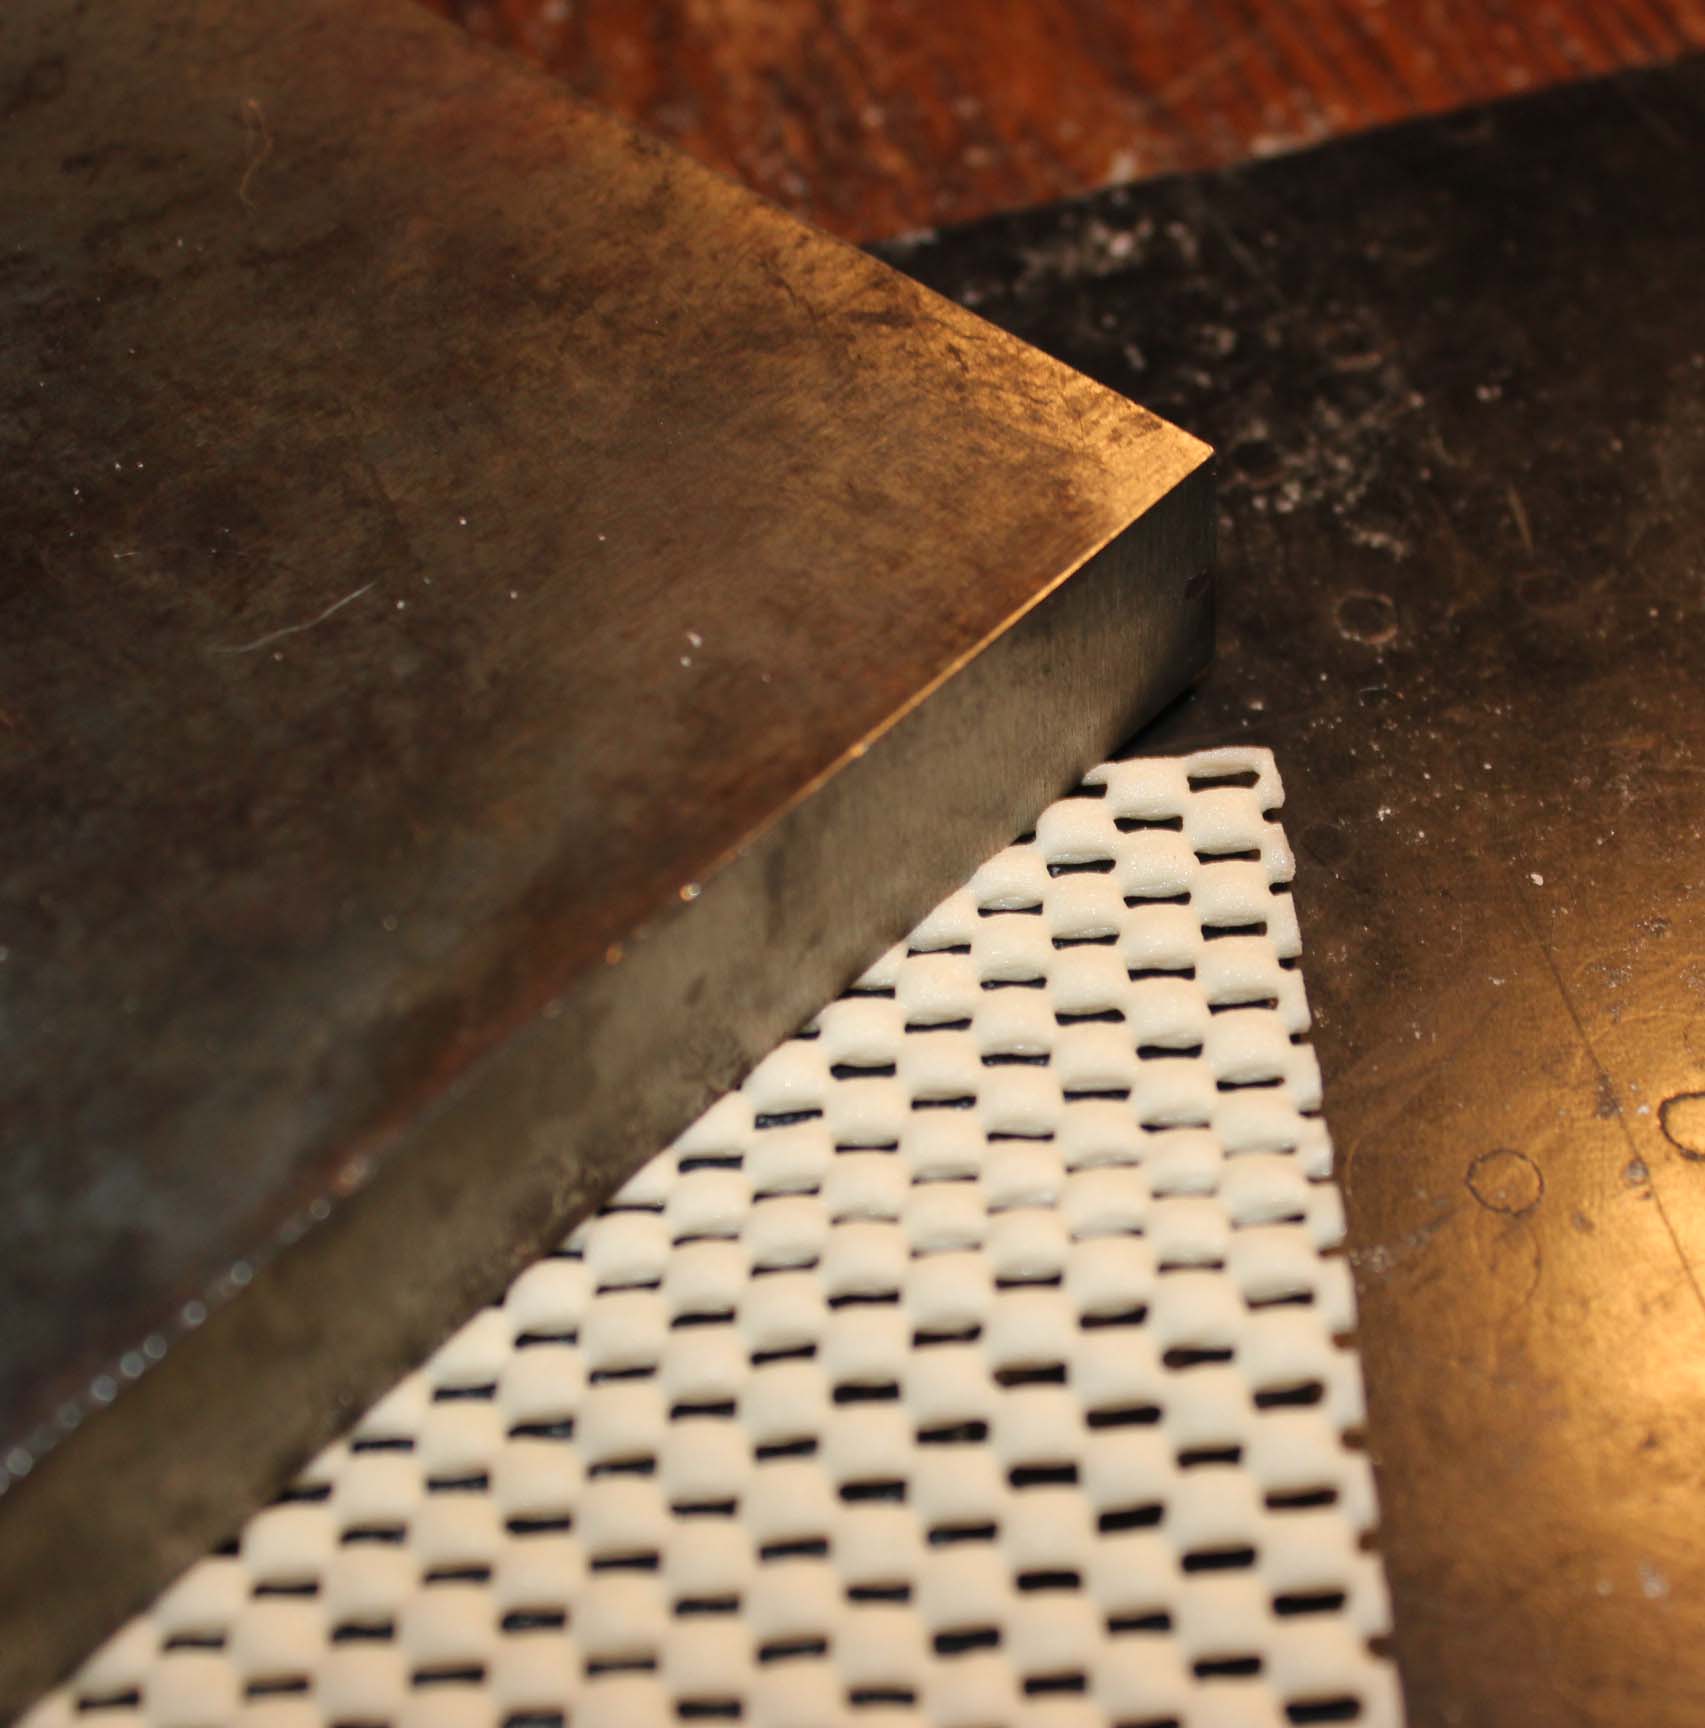
The steel bench block needs to be on a solid surface, however, a rubber mat and a piece cut from a no-slip rubber mat is shown above to help deaden the high-pitched ping sound that happens when you strike metal to metal. A leather sandbag can also serve the same purpose.
Now let’s get started!
Step 1:
First, line up the stamps you intend to use.
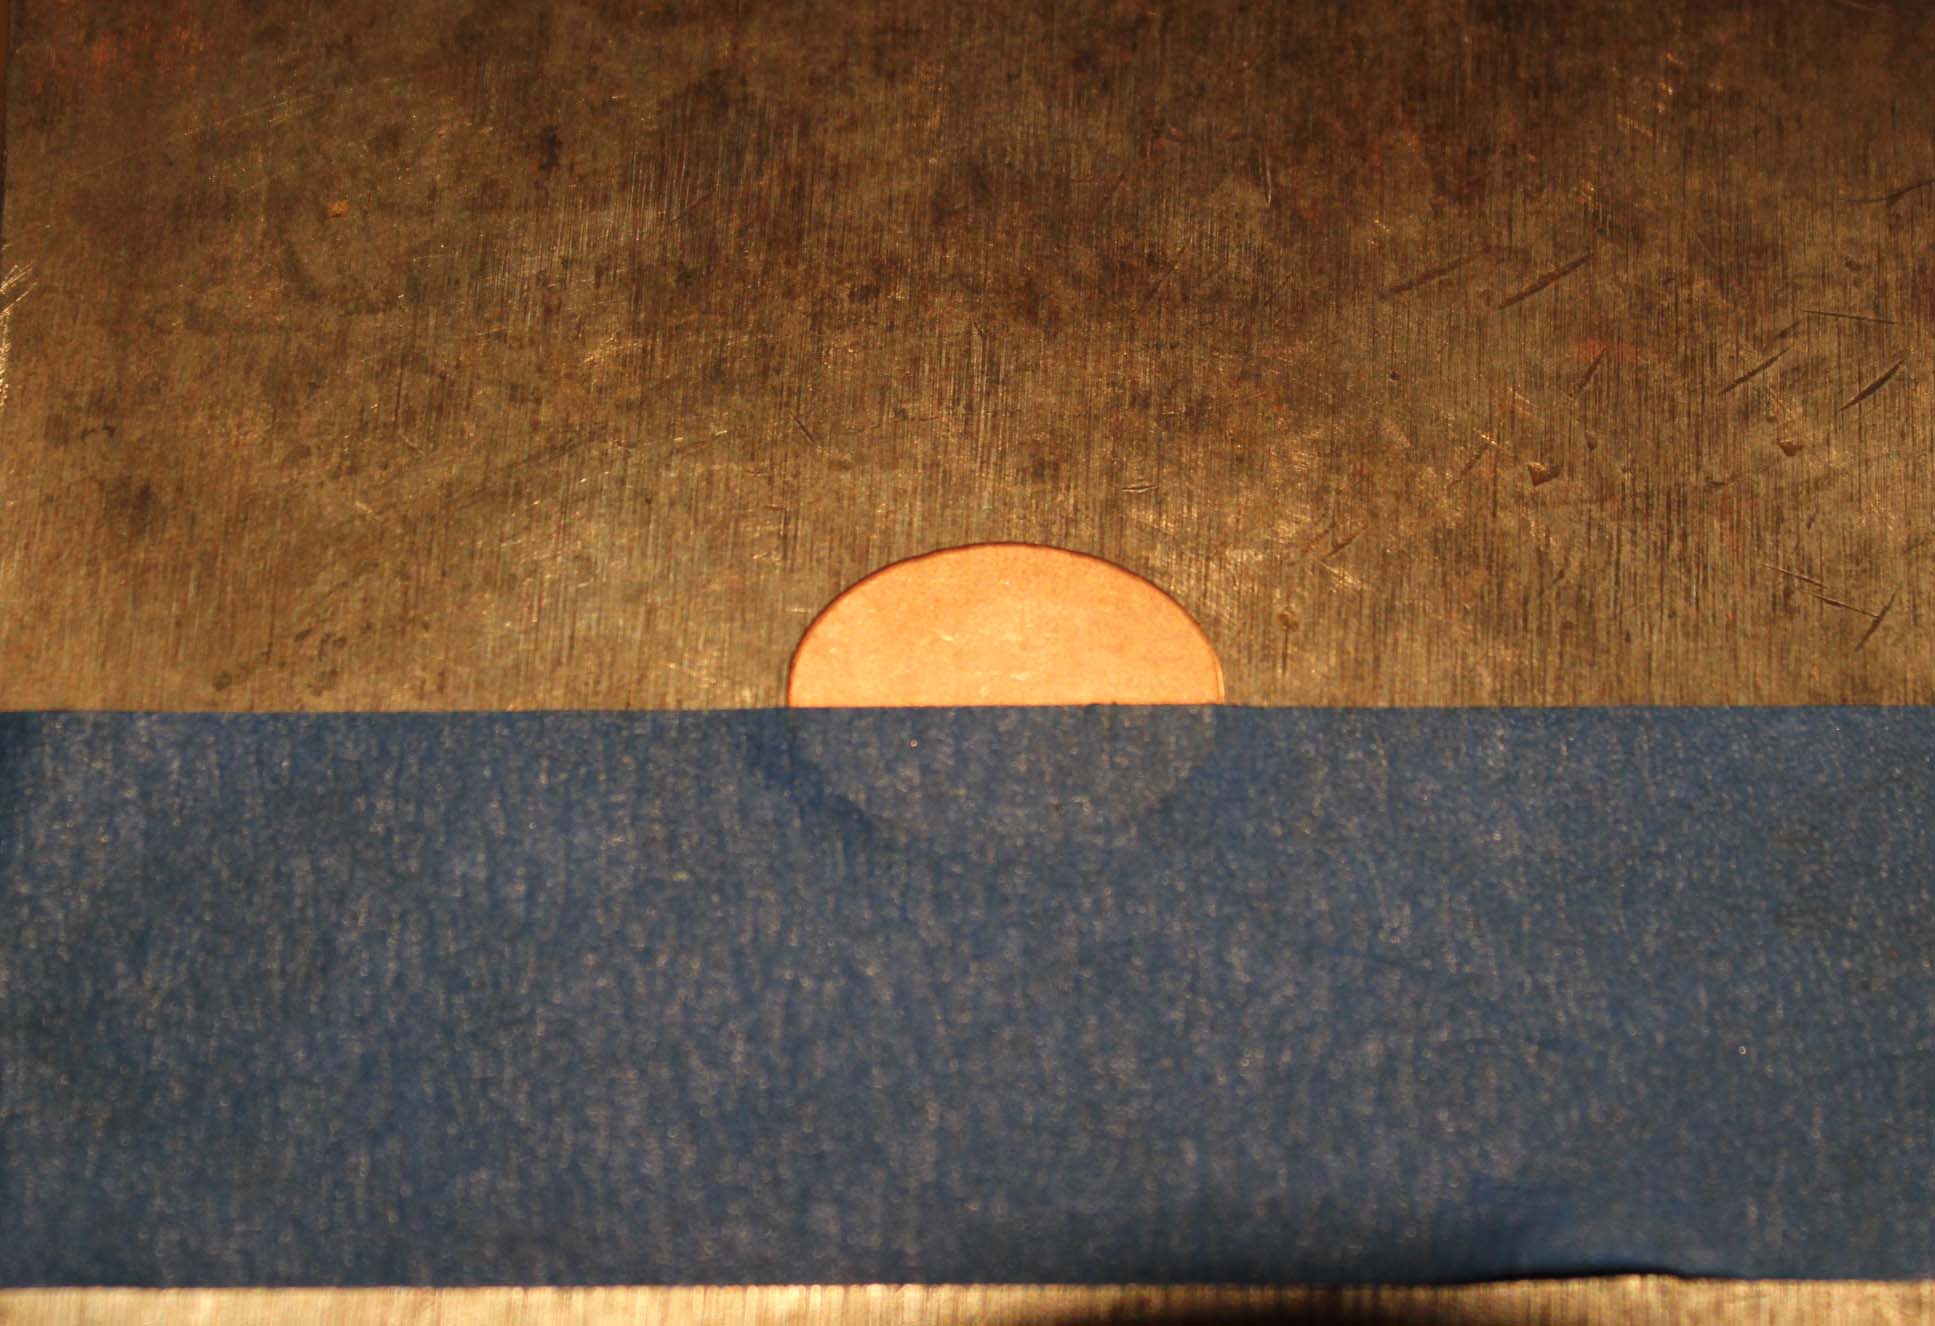
Then, tape the metal blank to the steel bench block. The tape has two purposes: 1) it holds the blank in place so it won’t travel as you are striking the stamps; 2) it can be used as a guide to keep your stamps in a reasonably straight line.
A straight line can also be drawn with a permanent marker if your prefer not to use tape.
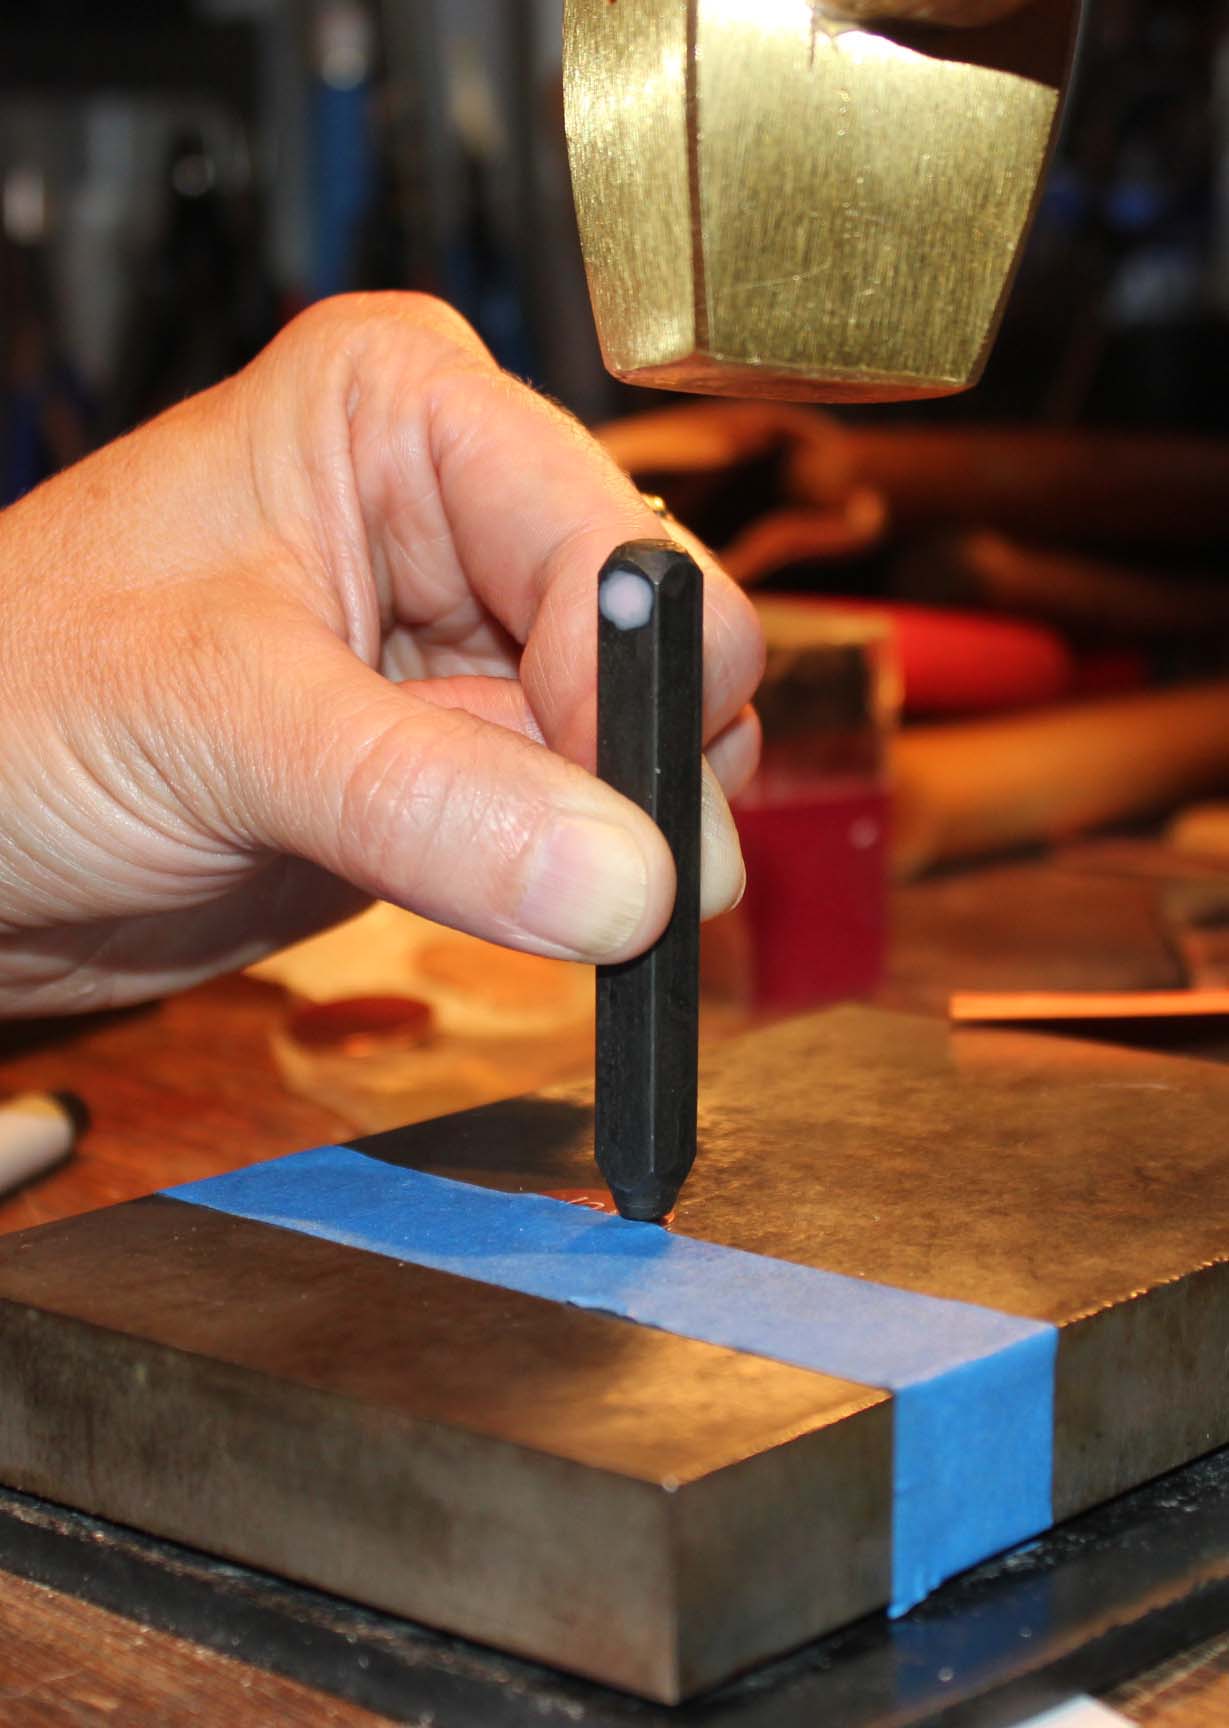
Before striking the metal stamp, make sure the stamp is facing the proper direction. We don’t want any upside down or sideways letters. Set the stamp into position using the straight edge from the tape to properly place the stamp. Hold the stamp straight up and down and strike one solid blow using the brass hammer.
Hitting too soft will leave a partial, incomplete image. Hitting too hard will cause the metal to warp. I do not recommend double striking the stamp. This often results in shadow images on the blank.
Additional options for Step 1:
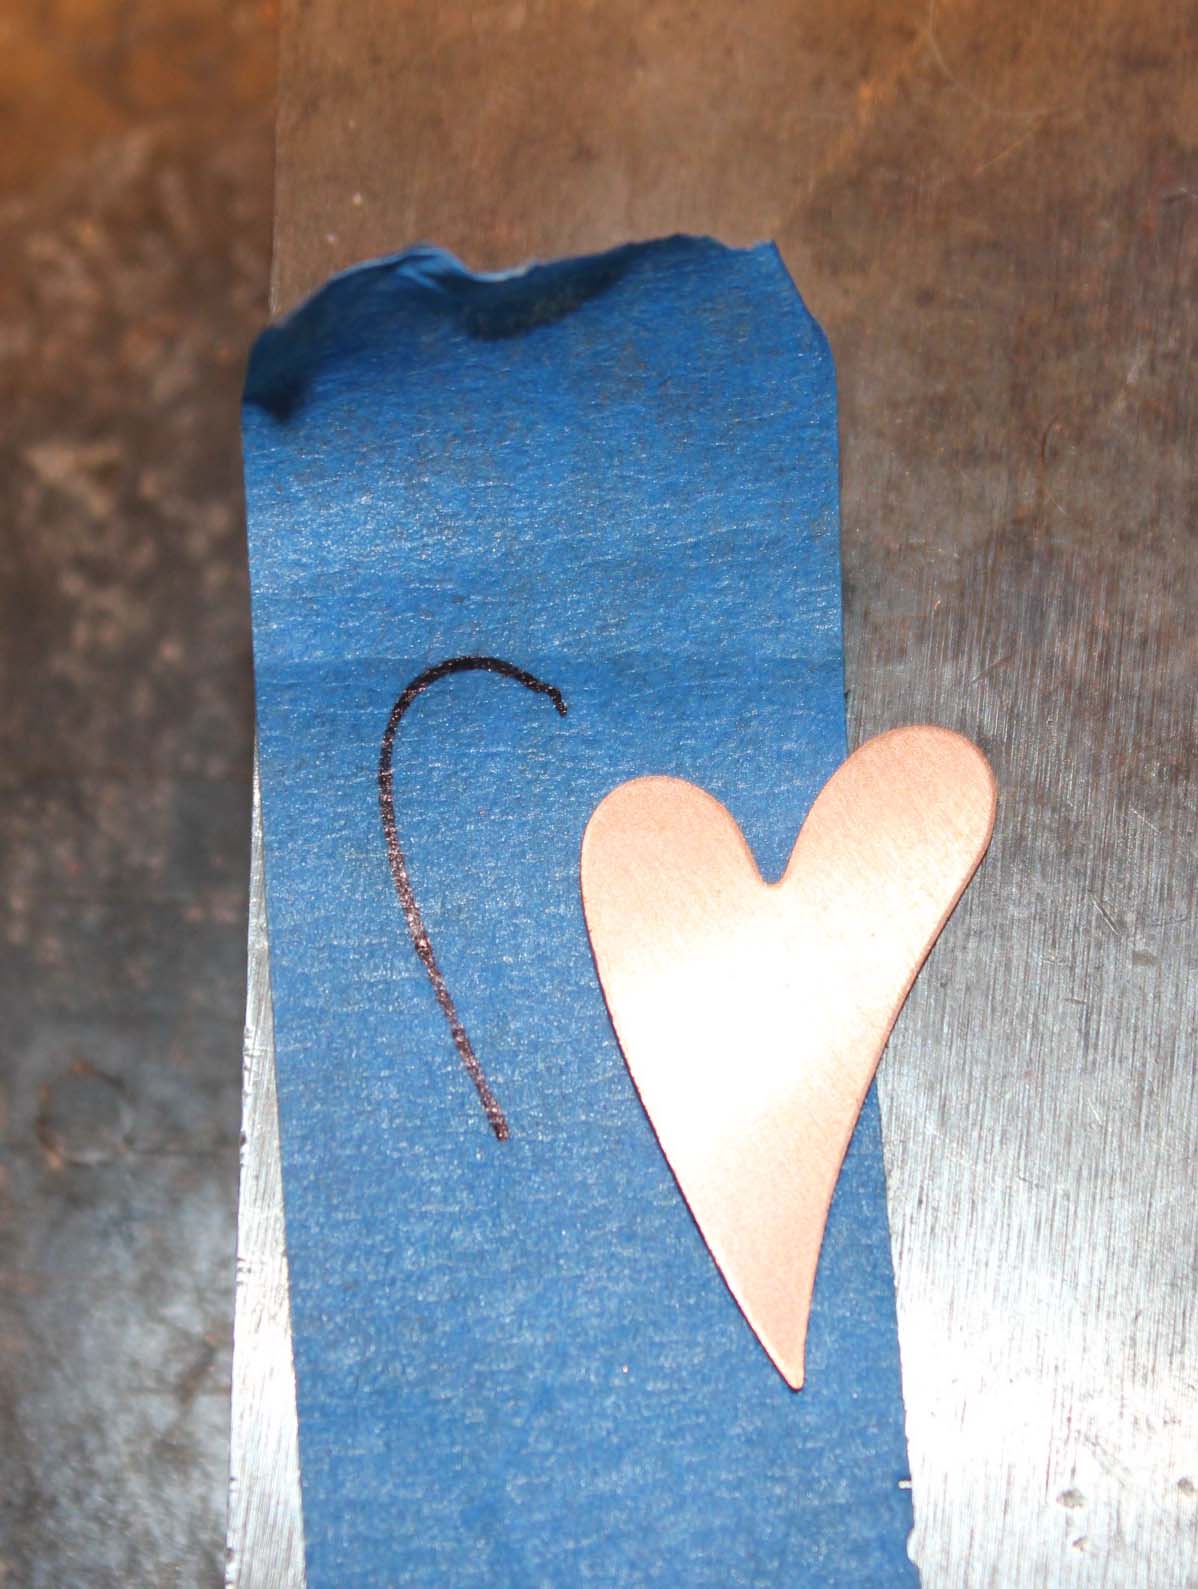
Perhaps you’d like to follow the shape of a metal blank. Trace the shape of the blank onto the painter’s tape and cut it out.
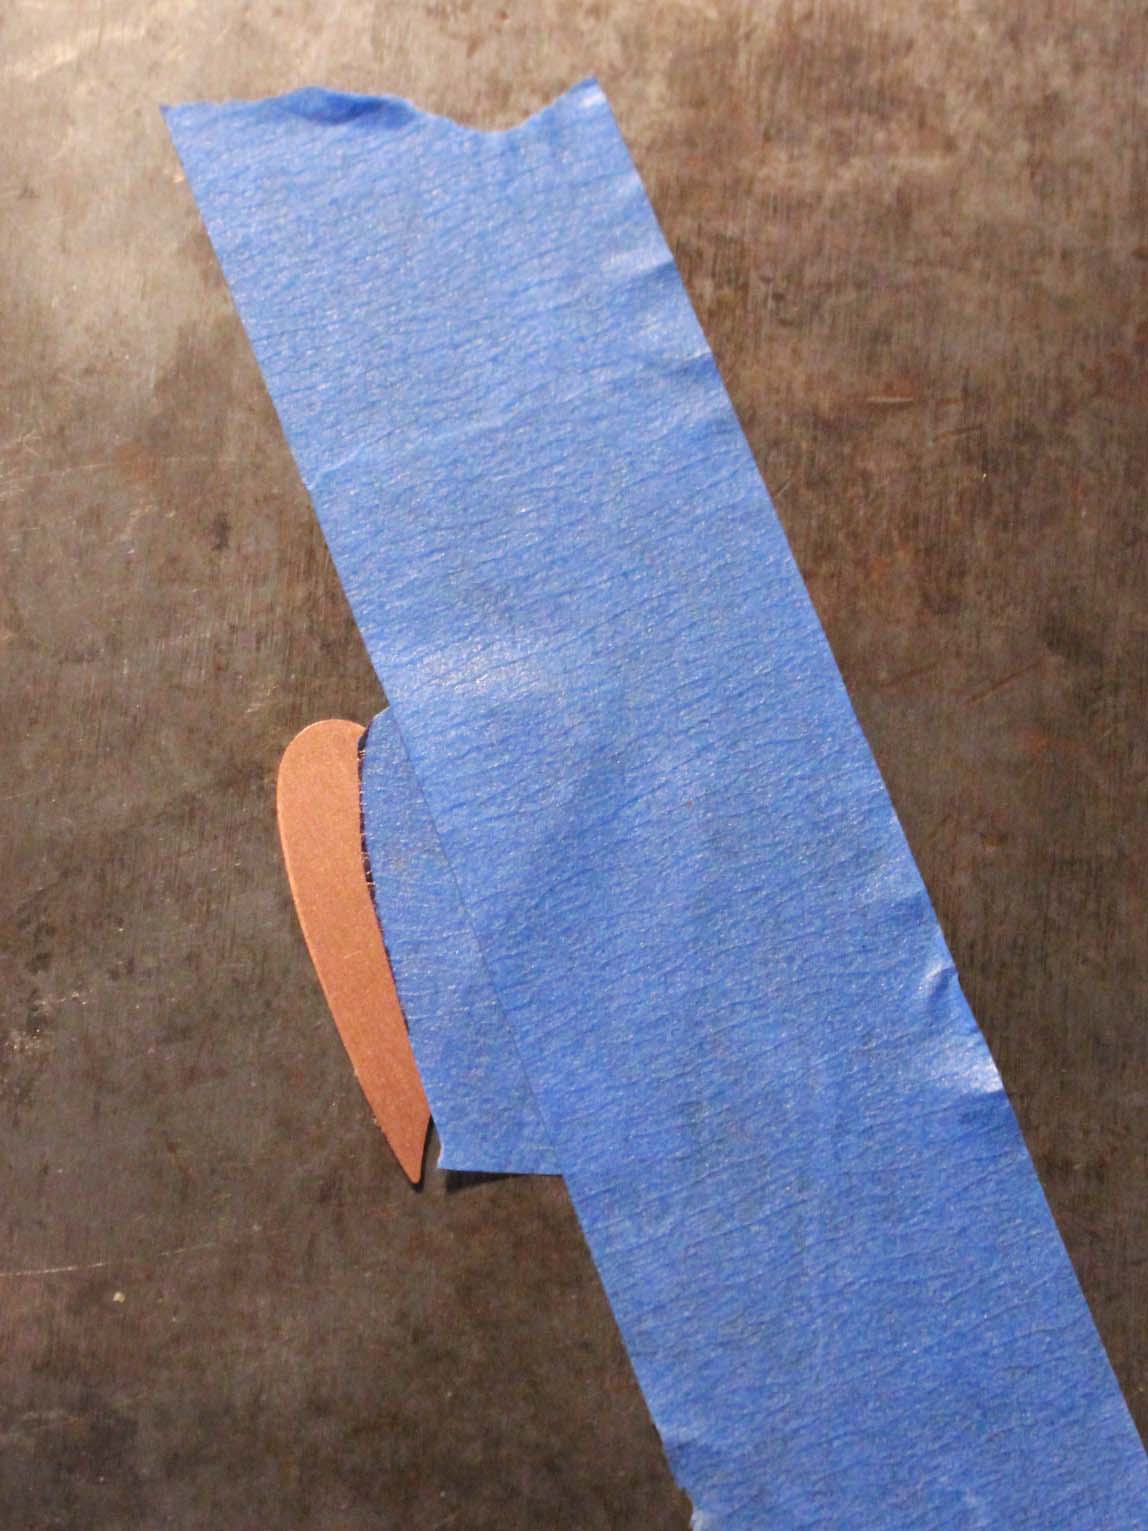
Apply the cut painter’s tape to the blank, following the shape of the blank yet leaving room for the letters to be stamped. Tape the blank to the bench block. Follow the striking instructions from above to line up the stamps and impress letters into the metal.
Step 2:
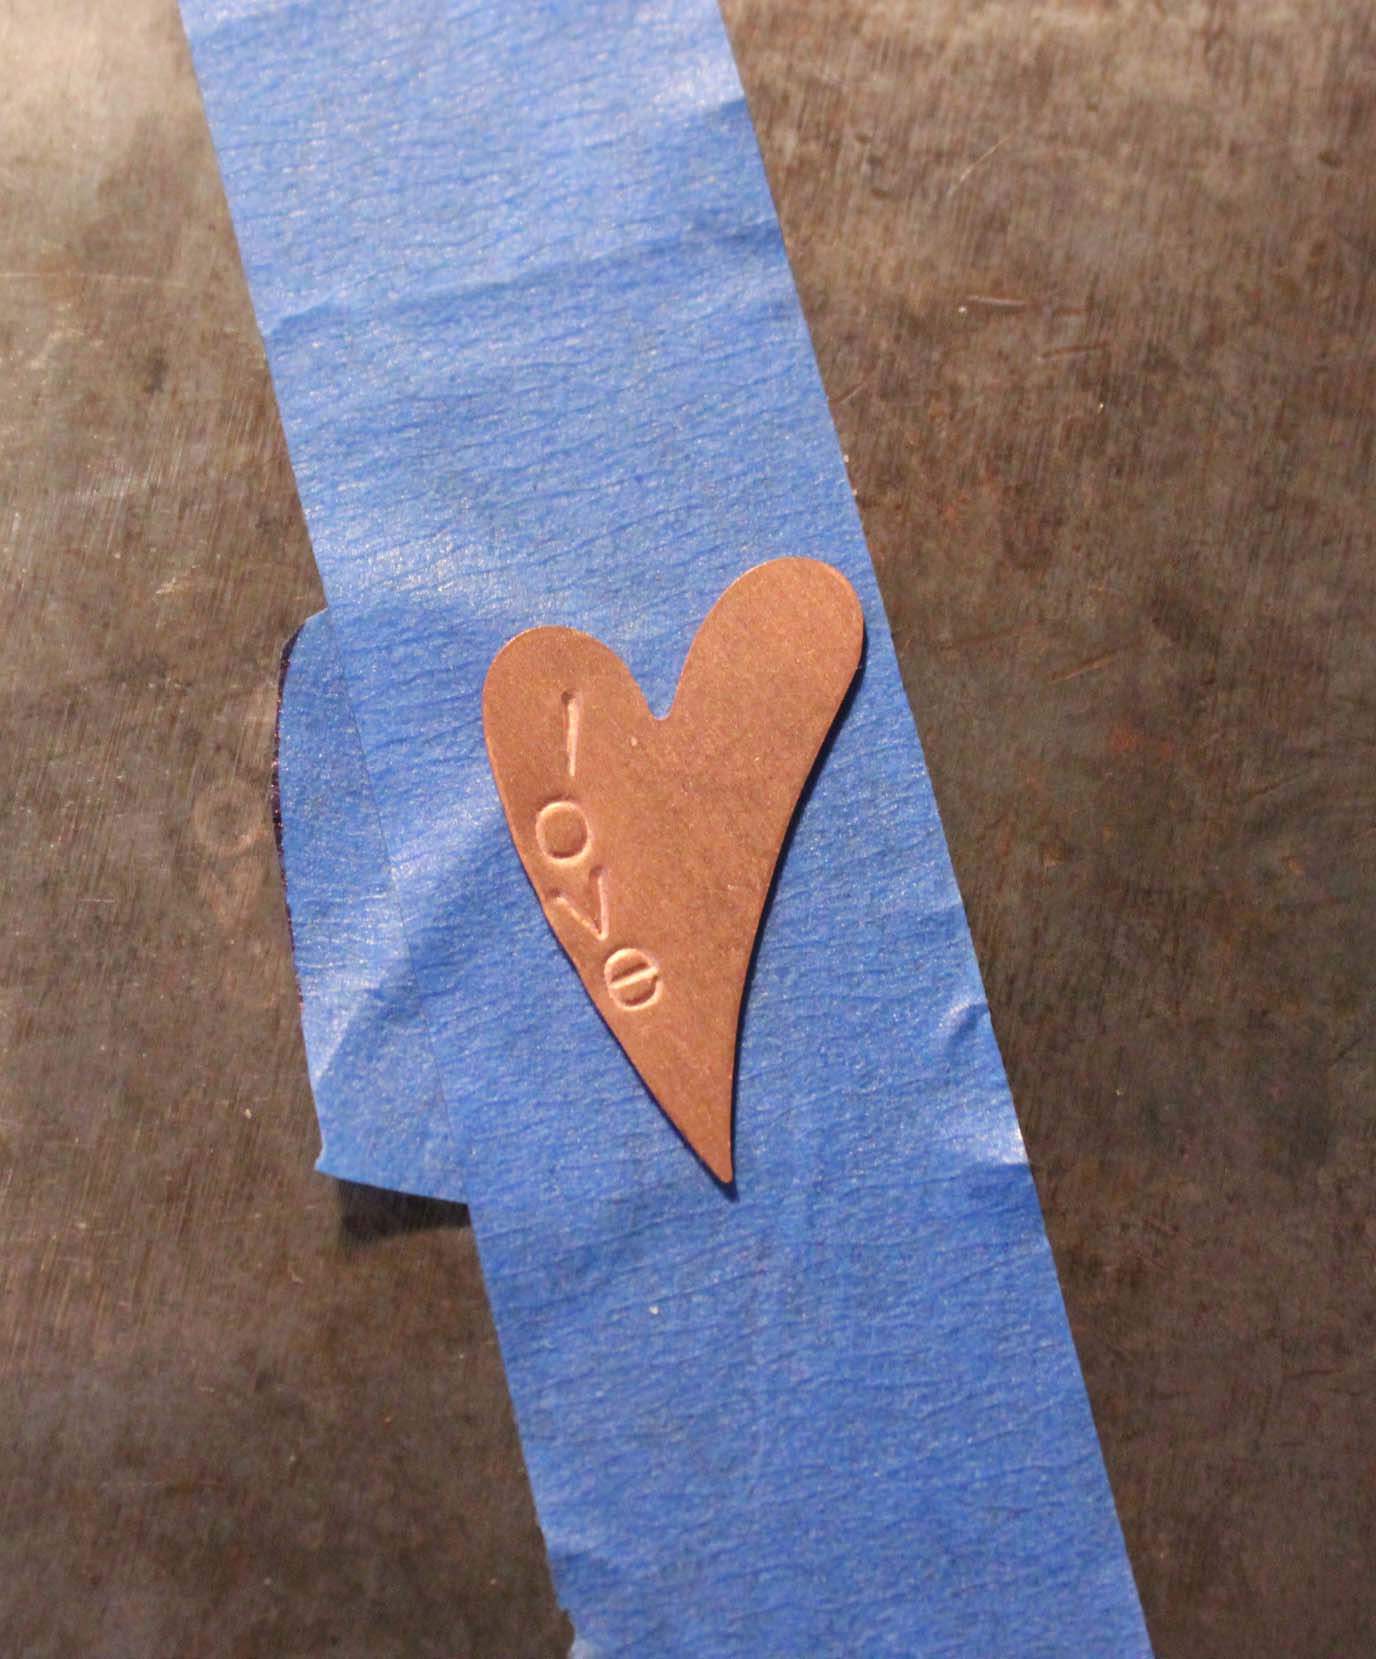
The stamped metal blank looks lovely, however, to really bring out the stamped design we need to colorize the impressed letters. The piece can be oxidized using a liver of sulfer treatment followed by sanding and buffing to remove the liver of sulfer from the high points.
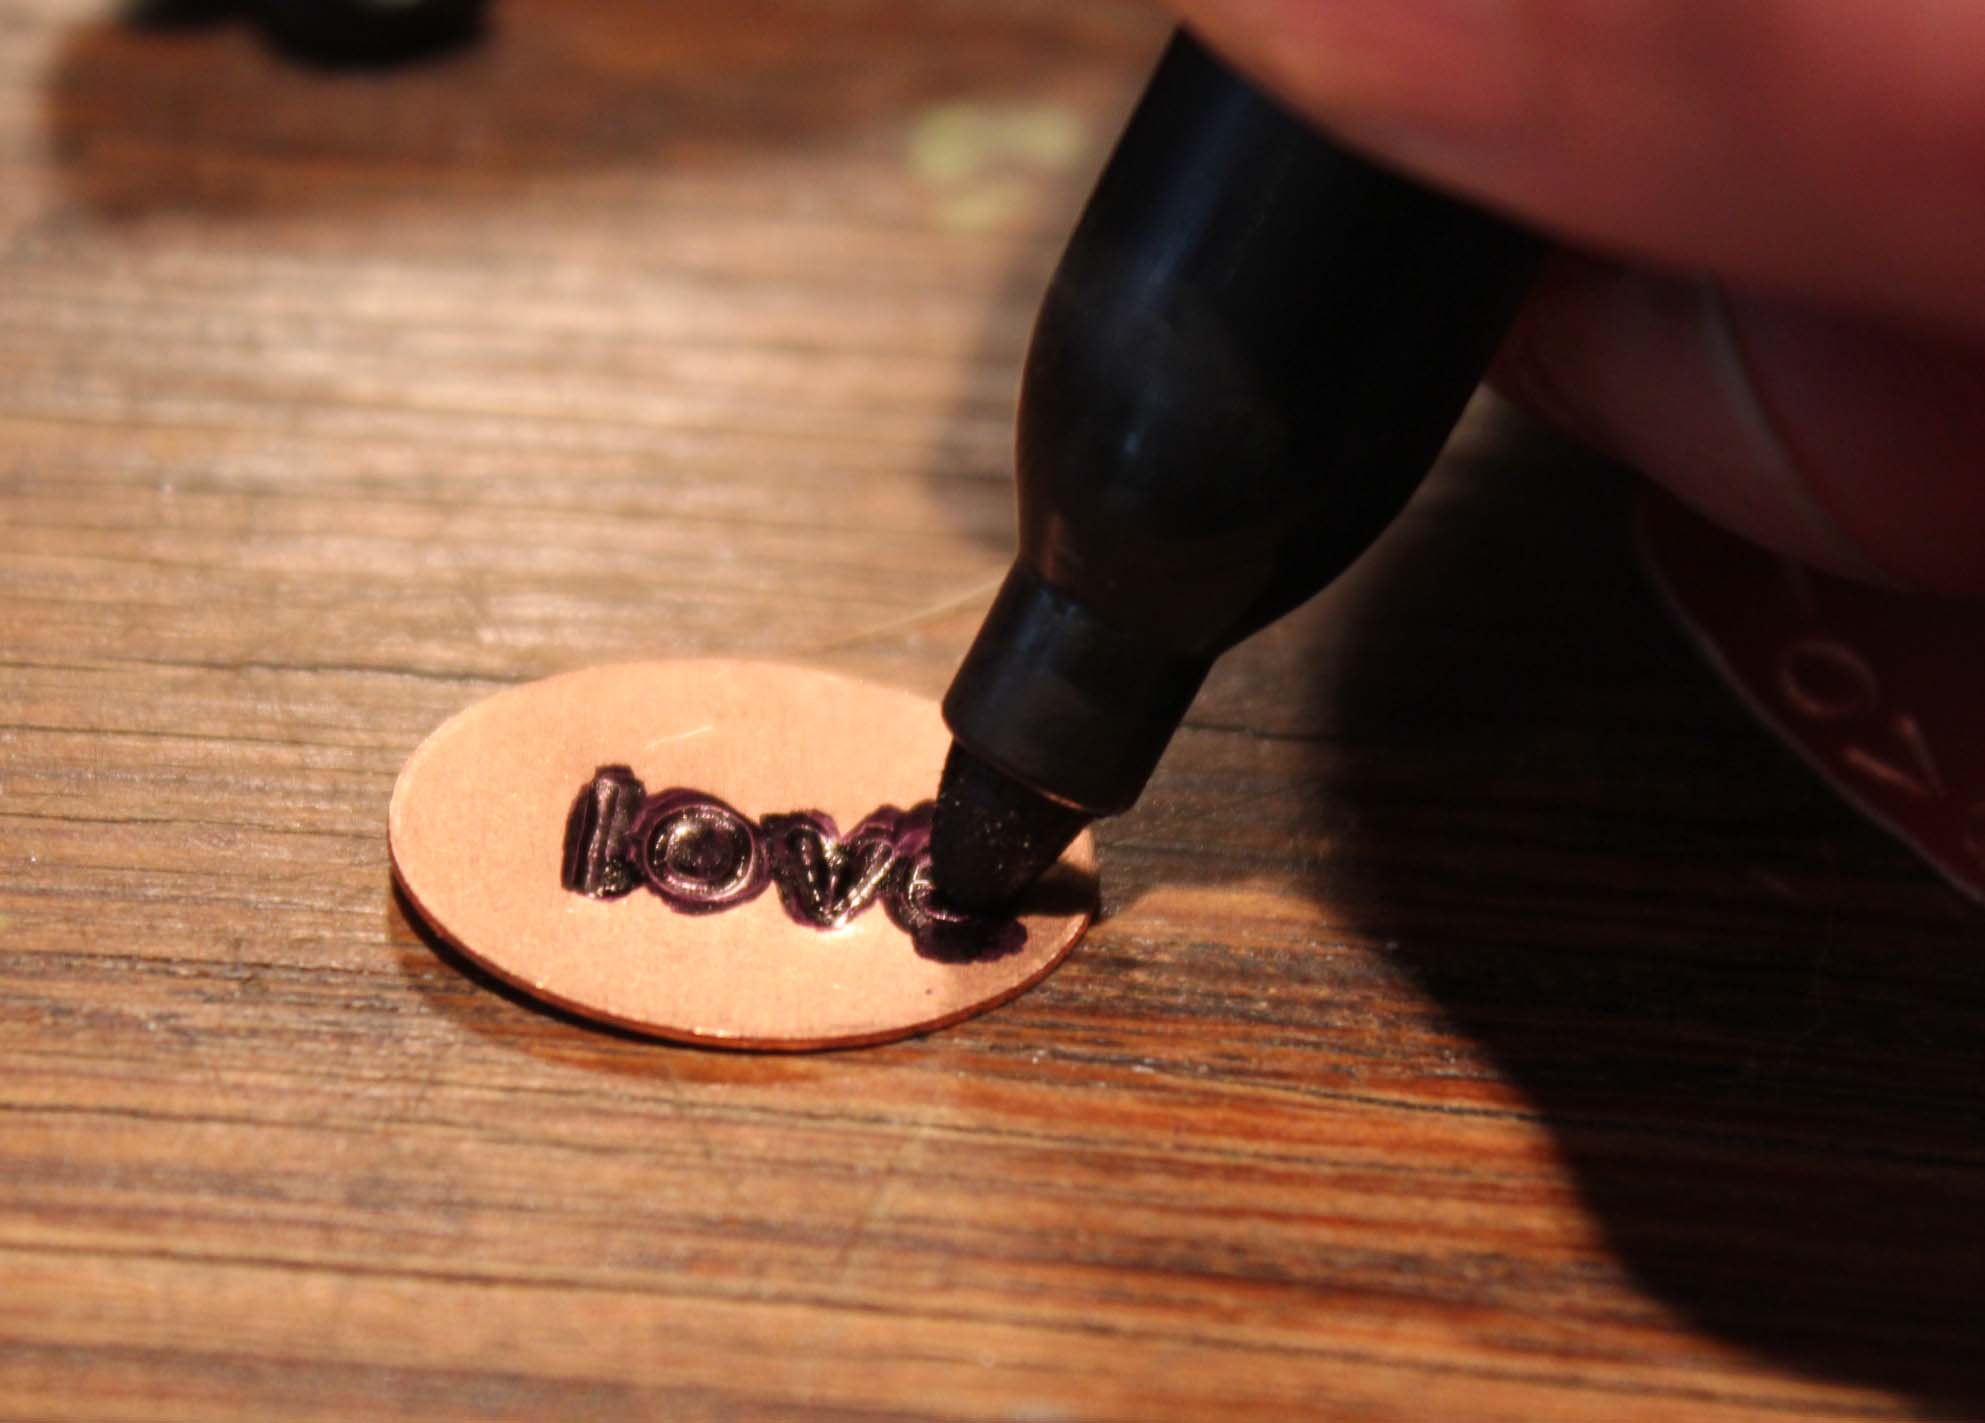
A quick way to bring out the stamped impression is to color in the impressions using a permanent marker.
Step 3:
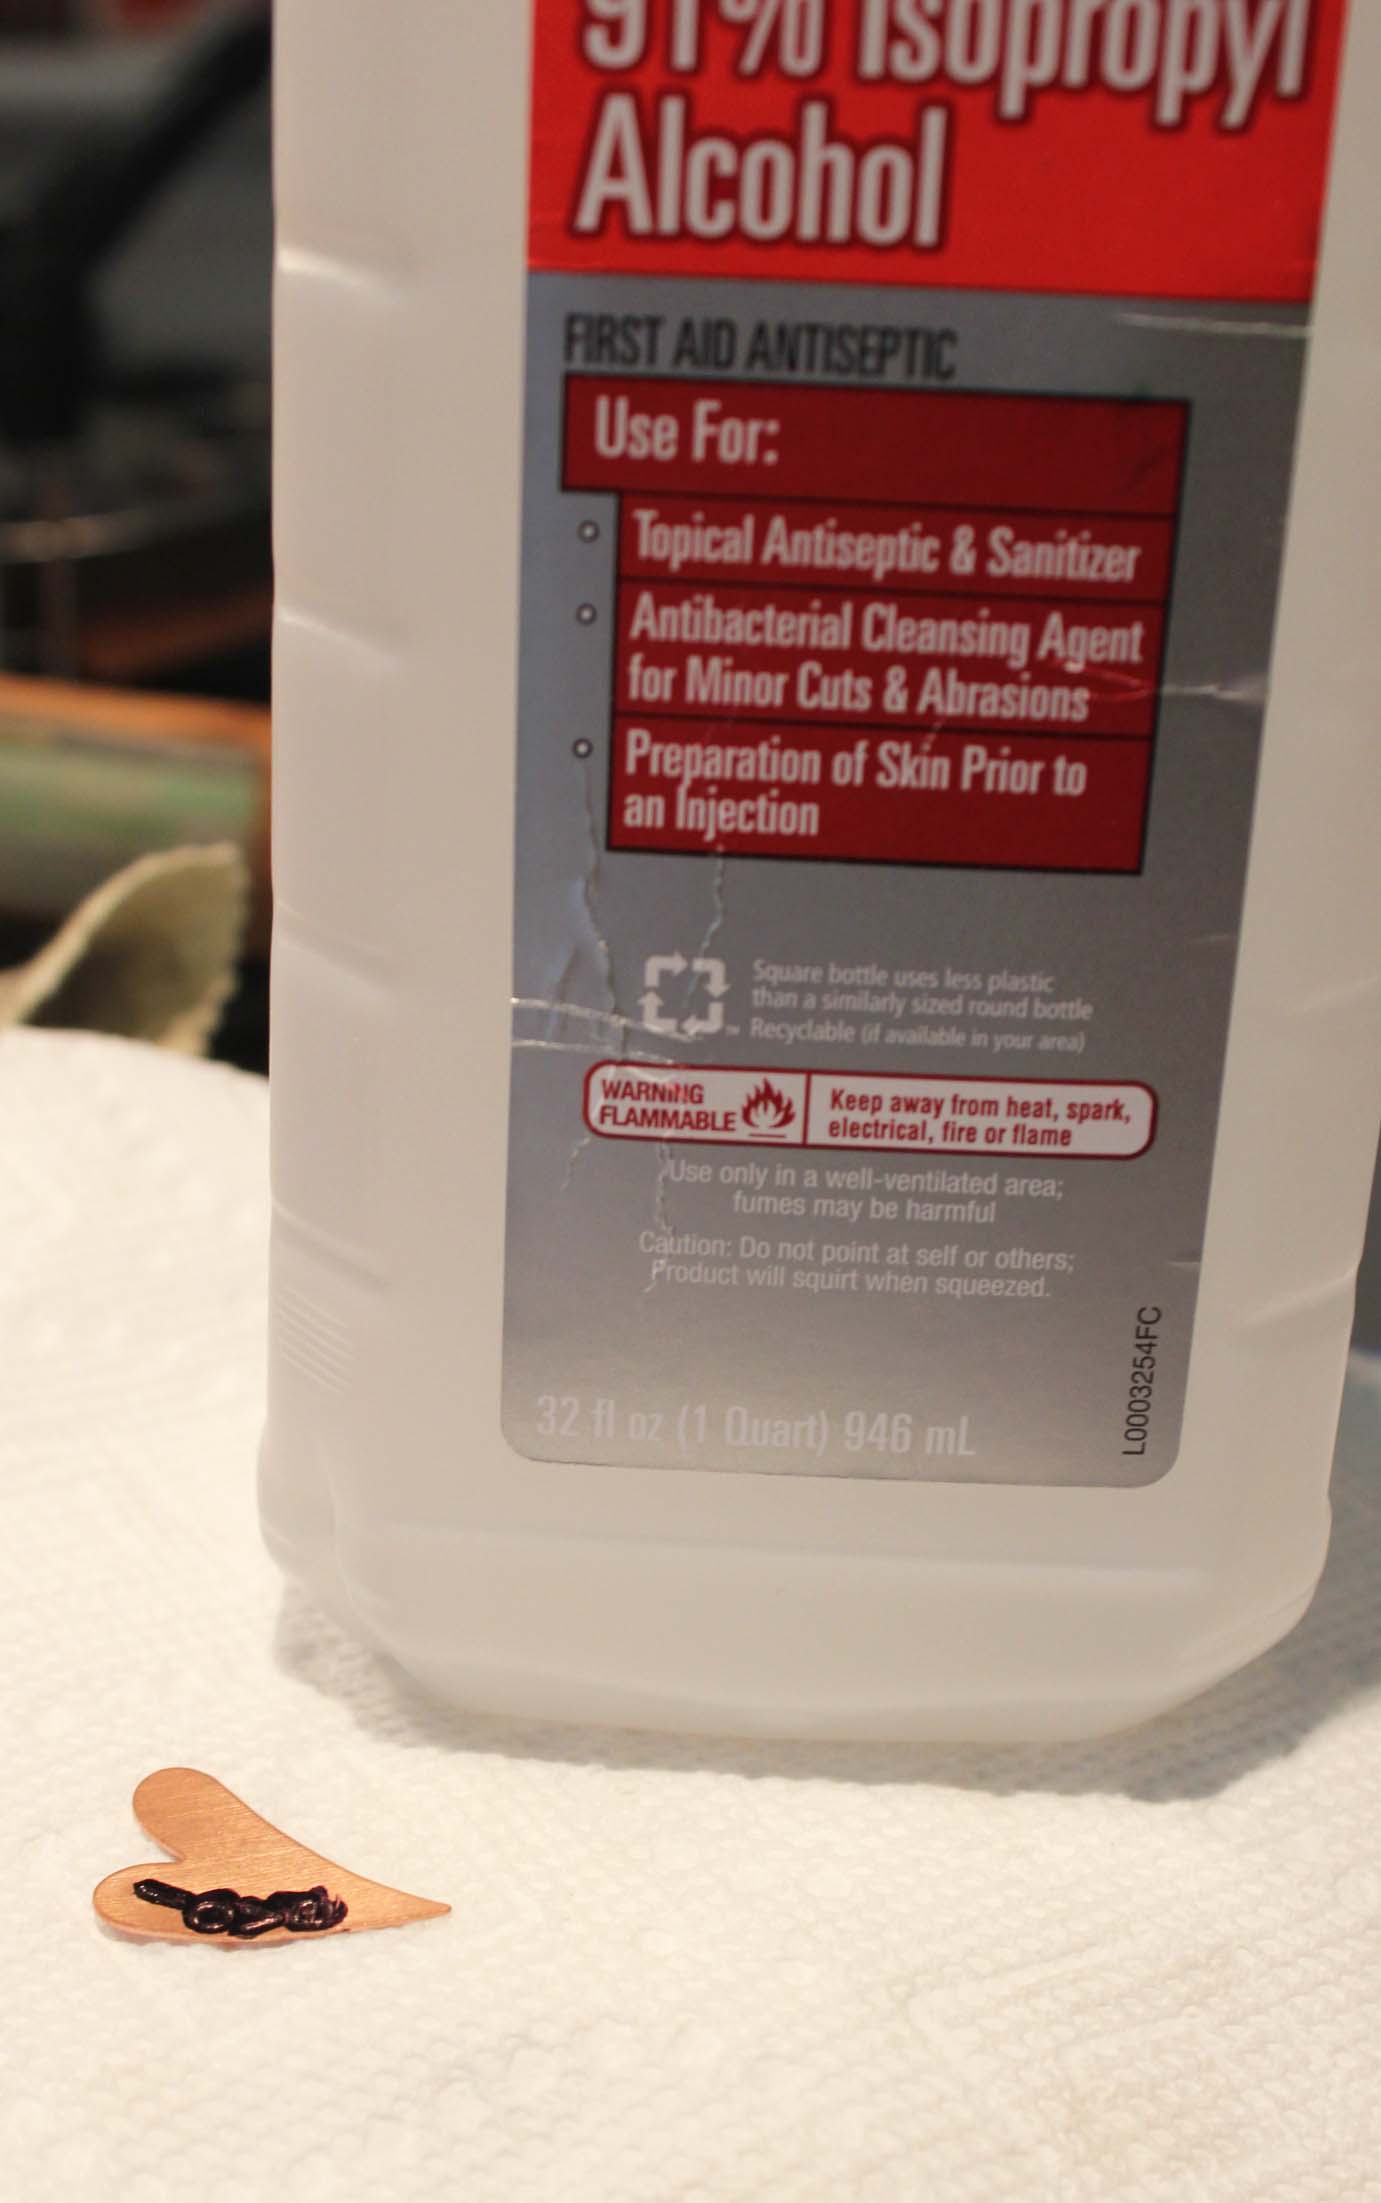
Use rubbing alcohol on a paper towel to remove excess permanent marker. A quick swipe or two removes the permanent marker easily.
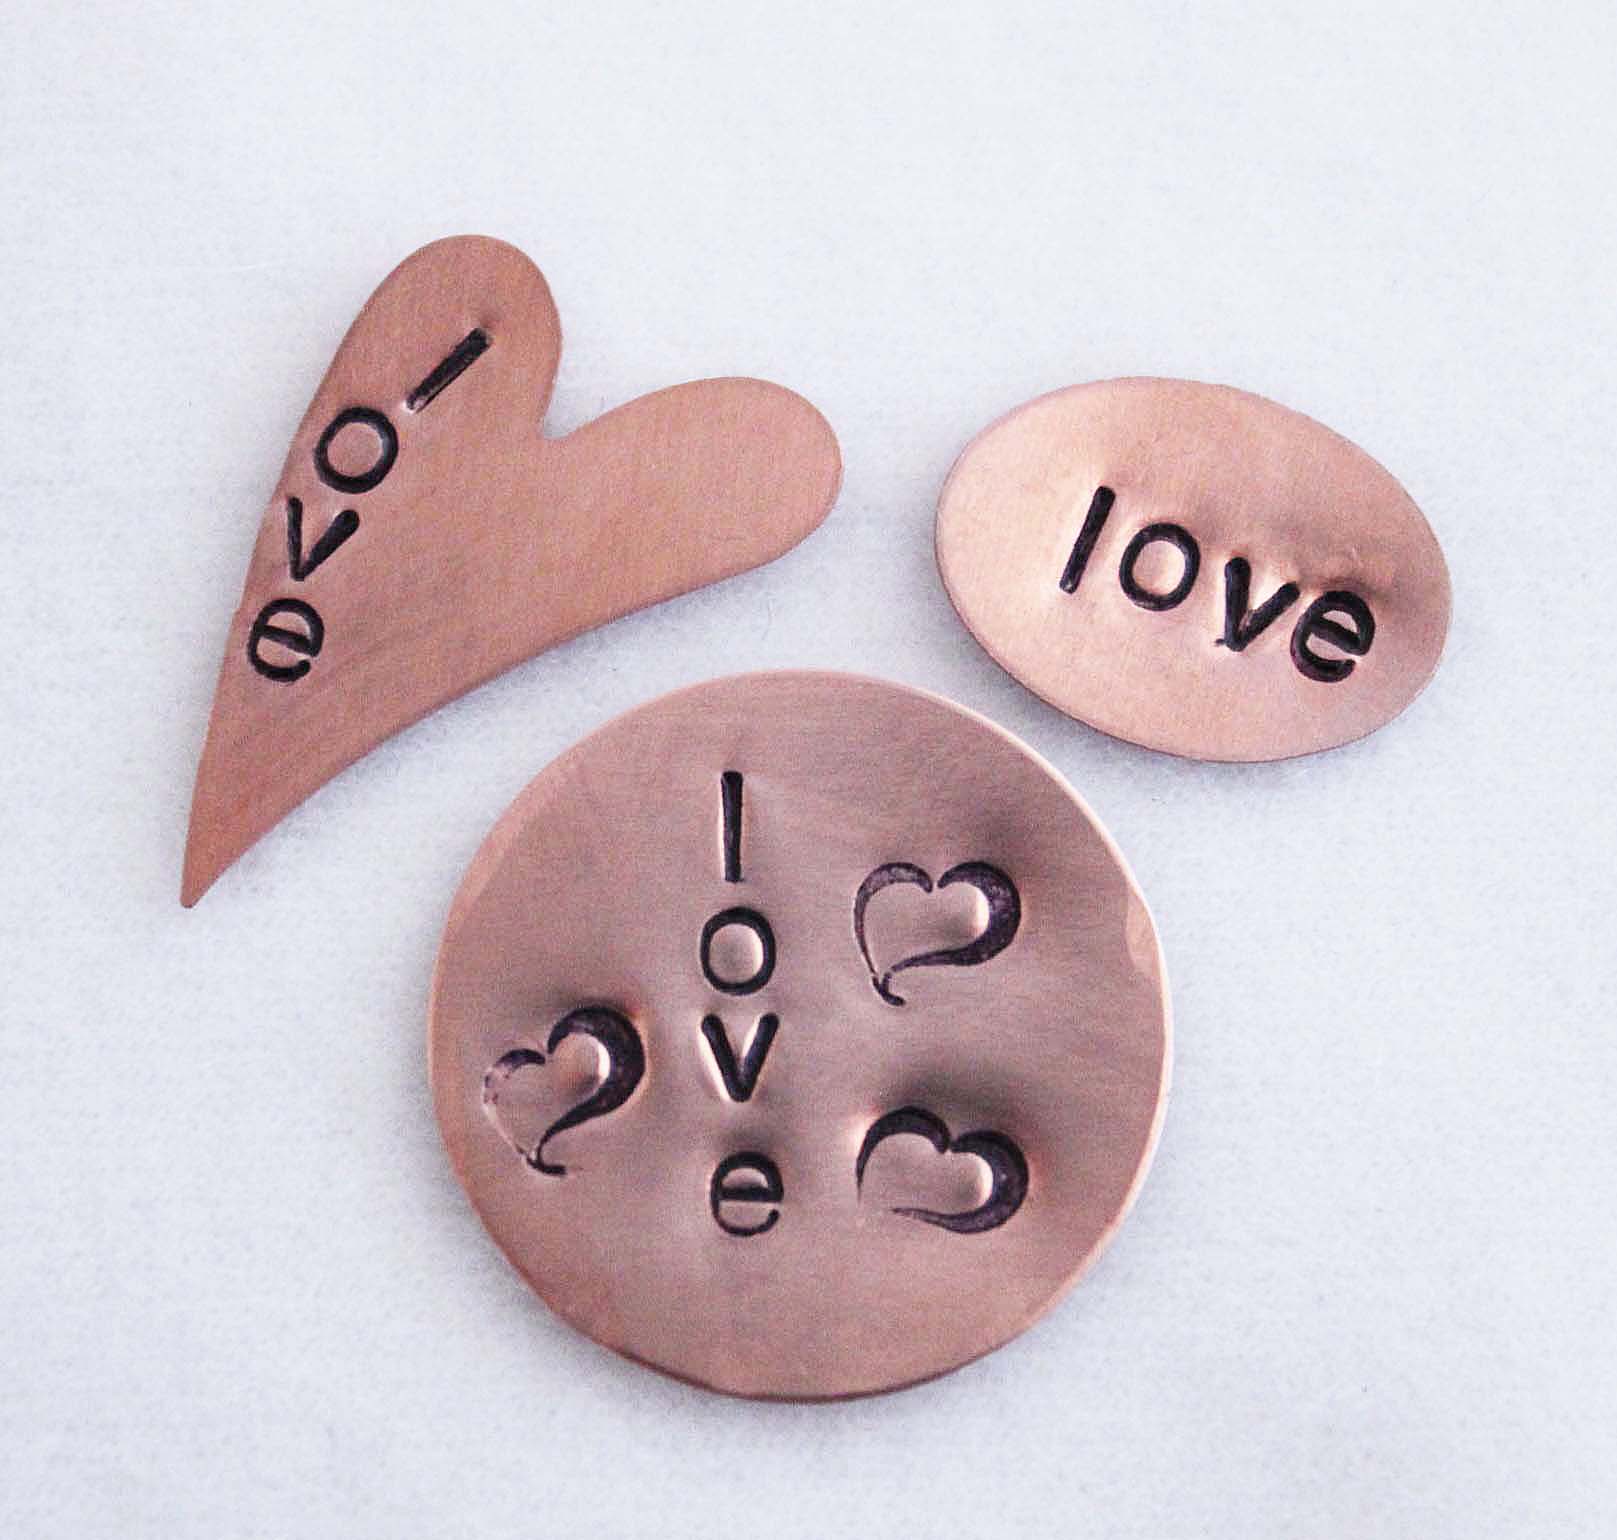
You can also purchase stamps with images to add further design elements to your hand stamped pieces. The pieces pictured above need a hole punched and a jump ring added and they are ready to be added to a finished jewelry design.
Learn more about metalsmithing plus splendid finishing techniques, like heat patina and high polish, in the Craftsy class Metalsmithing at Home with Kate Richbourg. You learn how to design five artisan accessories you’ll love to wear and gift!
Share tips, start a discussion or ask one of our experts or other students a question.
No Responses to “How to Hand Stamp Jewelry for Truly Custom Designs”