
Ice cream cakes are the ultimate in celebration cakes — and this incredibly decadent version is no exception. With homemade Oreo-cookie-like wafers, candied cacao nibs and homemade hot fudge, this recipe is everything you remember from your childhood and more.
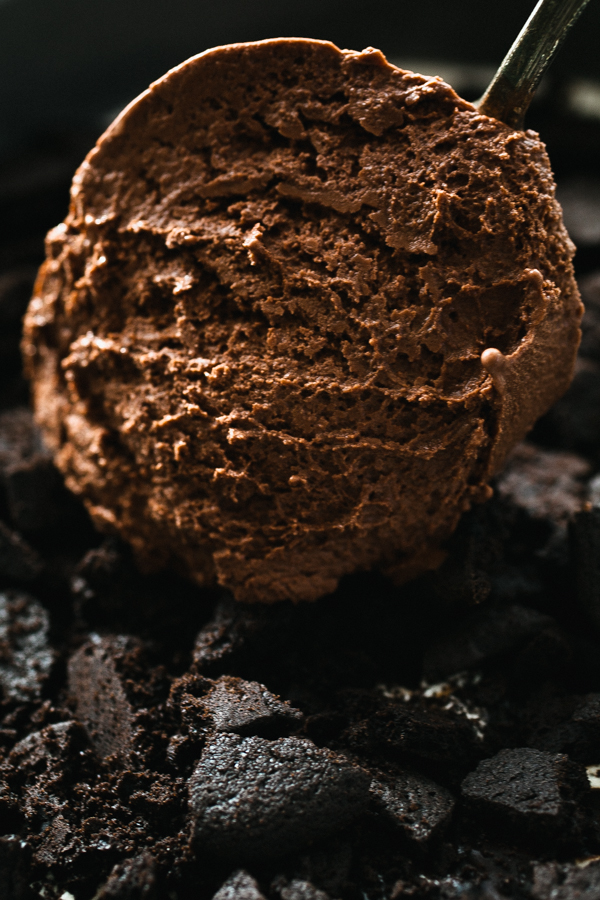
Every year, for my birthday, I asked for the same thing; a Dairy Queen Ice cream cake. There’s actually no cake in it and that’s how I like it. In it’s place is two layers of creamy soft serve. One of vanilla the other is chocolate. Separating those layers is chewy and rich hot fudge and little chocolate cookie crumbles to give each bite a satisfying crunch. All of that was topped with a whipped cream that magically never got icy in the freezer.
Ice cream cakes continue to be my idea of the ultimate in birthday desserts. These frozen creations are a modern version of the Victorian “bombes’’ which were made of ice cream and fruit frozen together in a beautiful copper mold. They are also a cousin of the popular “baked Alaska” dessert, which layers cake with ice cream and is then topped with a meringue.
The entire dessert spends just a moment in a very hot oven. Enough so that the meringue toasts and the ice cream doesn’t puddle. It is one of the most impressive and exciting desserts to unveil at the dinner table.
There really is no rules to an ice cream cake. Like I said, my favorite version doesn’t even contain cake but rather is layered in such a way that it resembles a cake.
The recipe I have for you today is a special one. It’s the dessert I made to celebrate finishing my first cookbook (Date Night In, December 2014), and it is my version of that Dairy Queen classic that I continue to crave every year. My favorite part of my version are the candied cocoa nibs. My childhood version never had these sweet, crunchy and pleasantly bitter little candies but they are the perfect addition.
This is one worthy of any celebration. There are a few steps, but they can be spread out over a number of days. I assure you, this one is worth the effort.
Hot fudge ice cream cake: the ultimate ice cream cake recipe
For the cake you’ll need the following recipes plus:
- 2 quarts ice cream (two flavors is ideal)
- 1 cup heavy cream, whipped to soft peaks
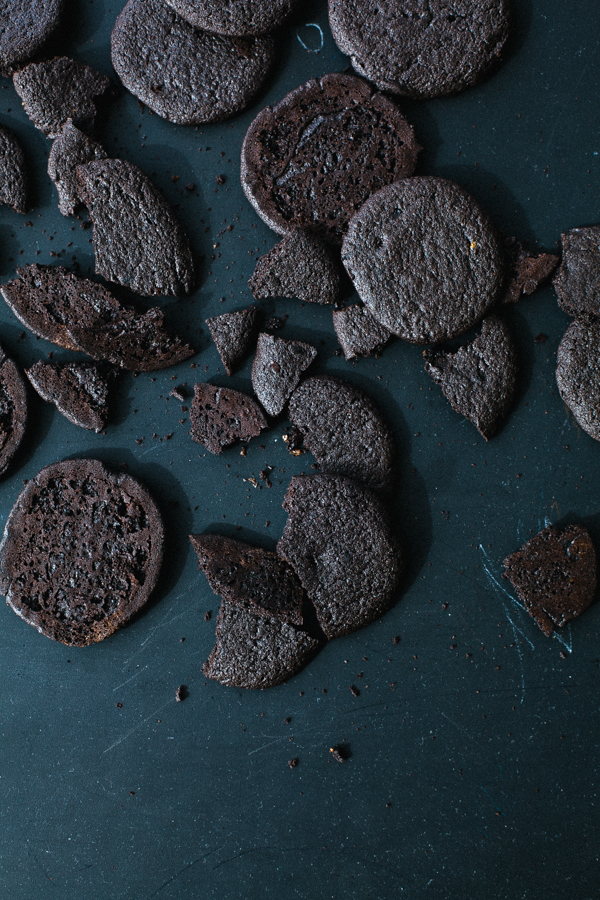
Chocolate wafers
Adapted from Alice
Medrich
Ingredients:
- 1 cup flour
- 1/2 cup cocoa powder
- 1/4 teaspoon baking soda
- 1/2 teaspoon kosher salt
- 6 tablespoons butter, soft
- 1/2 cup dark brown sugar
- 1/2 cup sugar
- 1 teaspoon vanilla extract
- 3 tablespoons milk
Directions:
1. Whisk together the flour, cocoa powder, baking soda and salt in a bowl. Set that aside while you cream the butter and sugars together until light, about 4 minutes on medium speed or a couple more minutes more if you are mixing the dough by hand. Add the vanilla extract and milk to the creamed butter and sugars.
2. Slowly mix in the dry ingredients until just combined. Gather the wet dough and place on a piece of parchment paper. Roll the parchment paper up and work the dough into a rough 2” log.
Note: If you are using these cookies for the ice cream cake the shape really doesn’t matter as they are destined for crumbs, but if you’d like to create a uniform log for perfectly formed round cookies refrigerate the dough for 10 minutes then reform the log and squeeze the ends to compress the dough into a perfect round. Continue this process until the log is uniform. If the shape isn’t a concern just chill until firm. About 45 minutes in the fridge or 20 minutes in the freezer.
3. Slice the roll of cookie dough into 1/4” discs and bake at 350*F for 12-15 minutes. You want them to be quite dry so they’ll hold their crunch when surrounded by ice cream. I fit the entire batch on two baking sheets, bake for 12 minutes then turn off the oven and leave the trays in for an additional 5 minutes. Just watch and smell them closely as you don’t want them to burn.
4. Let the cookies cool on the tray for 5 minutes before transferring to wire racks to cool completely.
5. Gather half of the cookies into a large ziplock bag and break up into small pieces.
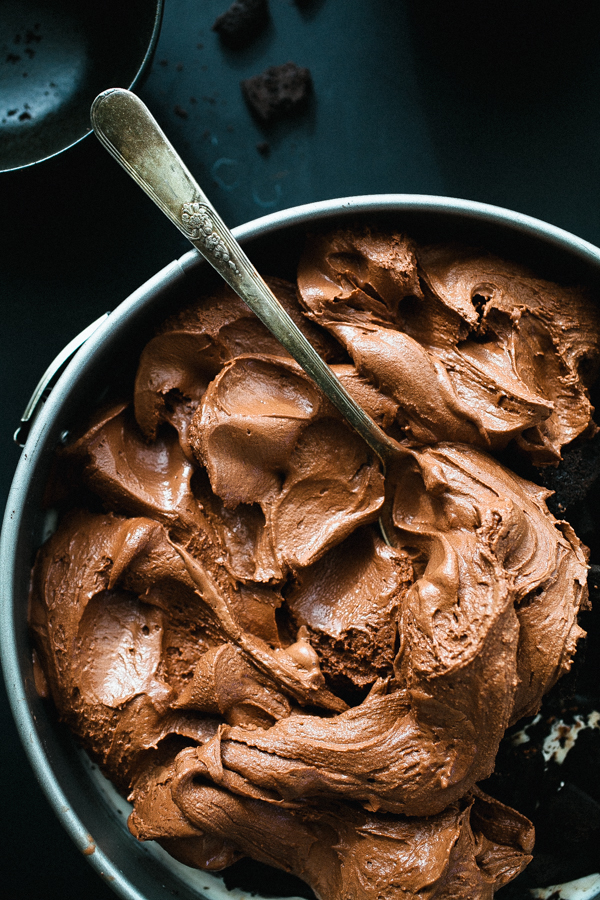
Homemade hot fudge
Adapted from Smitten Kitchen
Ingredients:
- 1 cup heavy cream
- 1/3 cup golden syrup (or corn syrup)
- 1/3 cup dark brown sugar
- 1/4 cup cocoa powder
- 1 cup (6 ounces) bittersweet chocolate, chopped or use chips
- 2 tablespoons butter
- 1/4 teaspoon kosher salt
- 1 teaspoon vanilla extract
- 1 teaspoon instant espresso powder
Directions:
1. In a sauce pan combine the cream, syrup sugar and cocoa powder. Bring to a boil, reduce the heat and then let simmer for 5 minutes, stirring occasionally.
2. Remove the pan from the heat and stir in the remaining ingredients. Once the chocolate and the butter have melted strain the entire mixture to ensure no pesky cocoa powder clumps remain.
3. Let cool to room temperature before assembling the cake. If you are making this in advance, refrigerate until ready to use then gently reheat on the stove or in a microwave until the hot fudge is pourable.
4. Will keep in the fridge for 2 weeks.
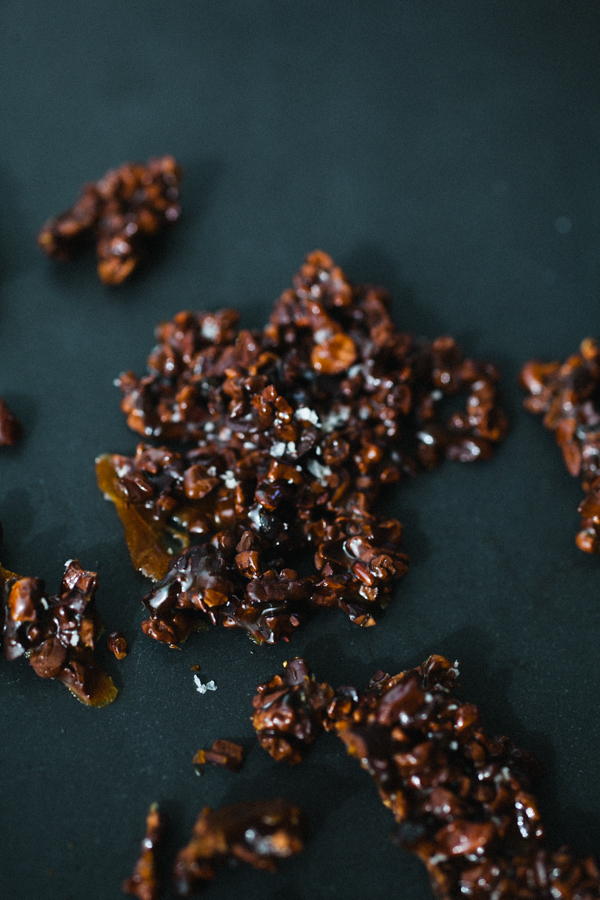
Candied cocoa nibs
Ingredients:
- 2-3 tablespoons sugar
- 1/4 cup cocoa nibs
- coarse salt (like Maldon)
Directions:
1. In a small, clean pan pour the sugar in an even layer across the bottom. Over medium-high heat melt the sugar, rotating the pan and gently stirring if the sugar is caramelizing unevenly. Once all is melted and the sugar is amber in color turn off the heat and immediately stir in the nibs.
2. Coat the cocoa nibs in the sugar then place on a parchment lined sheet tray, sprinkle a bit of salt on top.
3. Let the nibs cool completely then break into pieces.
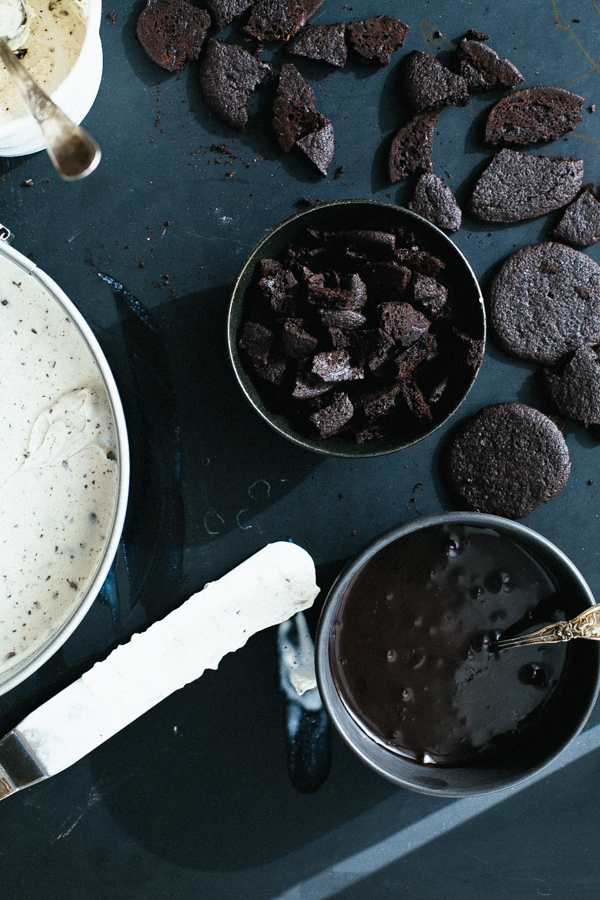
Assembling the ice cream cake
1. Line the bottom of a 8 or 9” springform pan with parchment paper (you only need the parchment paper if you are planning on removing the bottom of the springform pan, otherwise you can skip this step and serve it right on the base of the pan).
2. Add the first quart of softened ice cream to the bottom. Spread evenly with an off-set spatula.
3. Top that layer with half of the hot fudge and cookie crumbs. Now place the pan into the freezer for at least 30 minutes to set up.
4. Remove the pan from the freezer and add the second quart of softened ice cream over the cookie crumbs.
5. Top the ice cream with the remaining hot fudge. Put the cake back into the freezer until you are ready to serve.
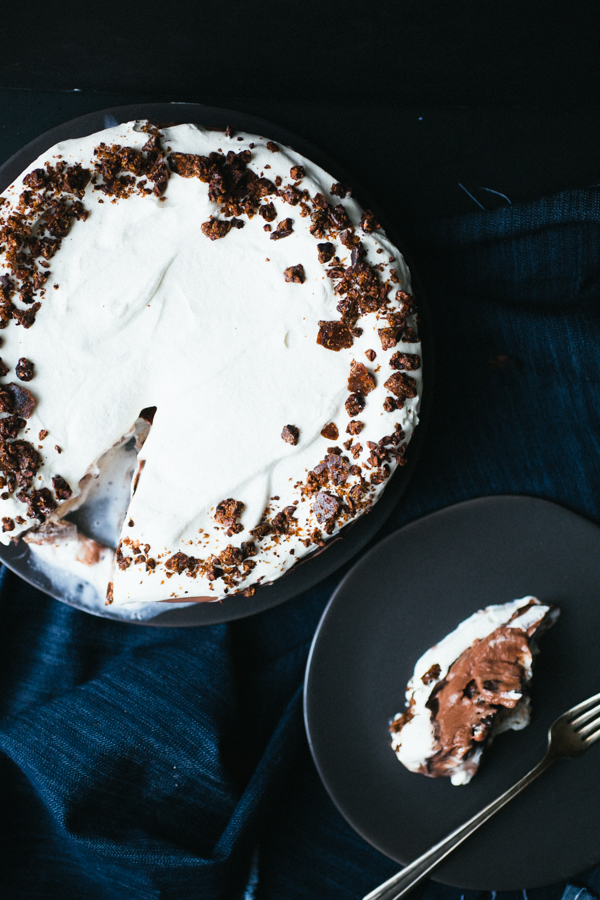
6. Unmold the cake, taking off the base of the springform pan and parchment if you used it. Top the cake with the whipped cream and candied cocoa nibs. Serve immediately.
Keeps in the freezer for 1 week, although the cream on top turns icy but really no one complains about it.
Recipe notes:
Of course one doesn’t need to bake their own chocolate wafers for this recipe. But, there is something so satisfying as creaming butter and mixing in a few ingredients in your own kitchen. The finished product is a flavor so reminiscent of childhood you’ll be reaching for a glass of milk and fighting the desire to lick the hydrogenated creamy center that’s not there.
Also note that the ice cream cake only requires the use of half of the cookies. I usually bake them all in one go, but you can freeze half of the dough for a later use.
For making the hot fudge, I recommend using Lyle’s Golden Syrup, if you have it. It’s deeper in color and adds a lovely subtle caramel flavor to the hot fudge. That combined with a bit of salt, bittersweet chocolate and coffee this rich hot fudge attempts to play the starring role in this cake.
What’s the bid deal with the candied cocoa nibs? It turns this extra little bit is totally worth it. With sugar and heat, these bittersweet little crunchy chocolate bites turn into caramel-y, lightly sweetened, bittersweet-chocolate bites. If you want more of a brittle texture, add more sugar. I prefer to have the nibs just barely coated in caramel as I love the bitter, almost savory flavor they bring to the cake.
Share tips, start a discussion or ask one of our experts or other students a question.
No Responses to “Hot Fudge Ice Cream Cake: A Celebration Dessert”