
The dog days of summer are here! Backyard barbecues, sunbathing at the pool or a day at the lake boating are typical activities to enjoy during the last of the hot summer months. But the summer months will be gone in a flash – I bring you the handmade tote that can do it all!
Carry your summertime supplies, like towels, flip flops and sunscreen with ease, using waterproof, flip-flop fabric, like what’s featured here. Then, remake the tote in fresh, new fall fabric for toting school supplies, books and more. It’s the perfect transition tote that you can make in no time at all!

Choosing the fabric
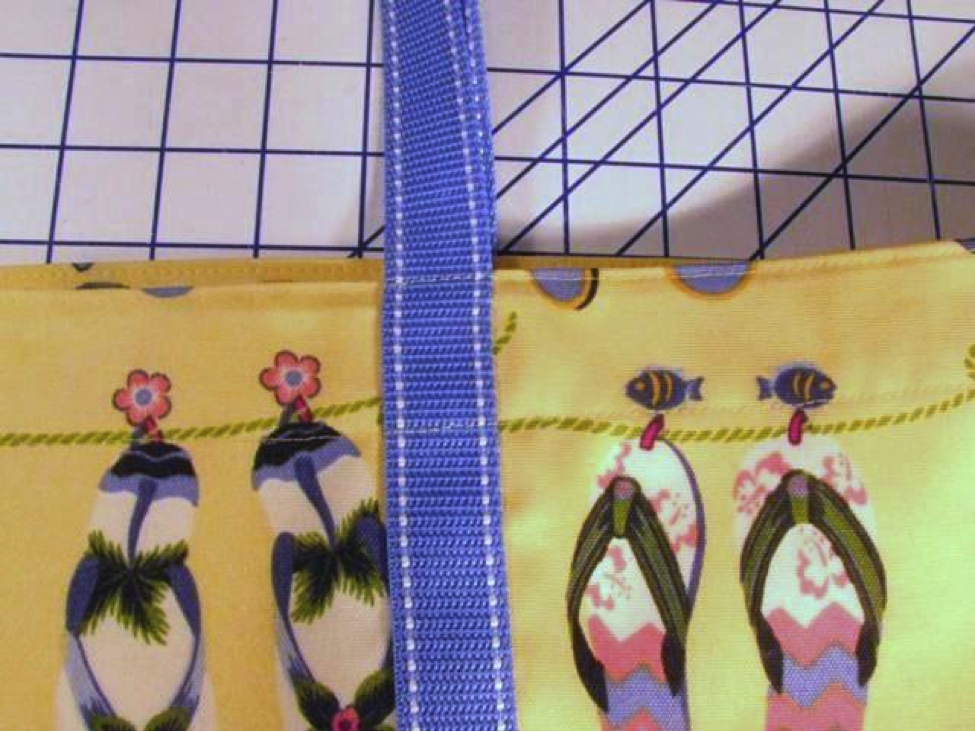
I made my tote in the height of summer. So for me, it all starts with a great summertime print, like this flip-flop one in bright sunshine colors. I choose a fabric specifically designed for outdoor use, so it is durable and can withstand being wet. Furthermore, it has a slightly stiff hand so the finished tote will stand upright, although a bit of stabilizing is recommended for added support.
These are great features not only for a tote you can take poolside, but also creating any bag that you are going to load with heavy things and still expect to withstand the test of time.
Tote pattern notes
The pattern for the tote is pretty basic, so it can be scaled up or down to create a wide variety styles, depending on your needs. Personalize it with extra pockets or embellishments, or even special monogram embroidery!
The original pattern features a single fully lined interior pocket along with two exterior pockets. But, as I mentioned, an inside zippered pocket or sectioned pockets can easily be added. Draft the pattern onto craft paper using the shape and dimensions illustrated in the photo. The pattern works for both the tote’s main fabric as well as the lining material. Simply note the dimensions of the two exterior pockets and cut them separately.
You will need:
- 1 yard of fabric – a sturdy, medium weight fabric, like outdoor fabric, is best.
- Matching thread
- 1 yard of tightly woven, sturdy cotton fabric for the lining
- 3 1/4 yards 1 to1 ½” wide strapping
- ¾ yd. medium weight fusible interfacing
- 8″ length of stiff fusible craft-type stabilizer for the tote’s bottom
Directions
1. Cut out the pattern pieces. Cut two main body pieces along with the two pocket pieces from the printed fabric. Cut another two main body pieces from the lining material. Mark the placement of the straps and pockets on the face of the main fabric with chalk or fabric pens.
Then, cut two lengths of the webbing to create the straps, each 56” long. Cut two pieces of the medium-weight interfacing and fuse to each of the main fabric pieces.
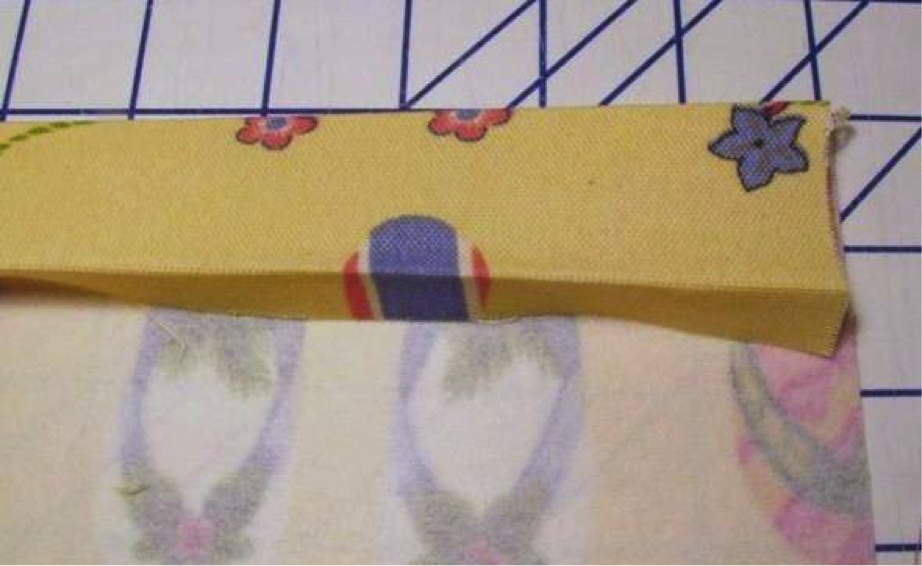
2. Prep the top edge of tote. Press the top edge of each main fabric piece ½” and then again another 1 ½”. This will prepare the fabric for attaching the lining later in the assembly process.

3. Construct and attach the pockets. Press a double ⅜” hem at the top of the pockets and stitch in place. Place the pocket’s bottom edge along the bottom placement mark on the main body and using a ½” seam allowance stitch in place.
Press the pocket up and then baste stitch the pockets along the sides to secure.
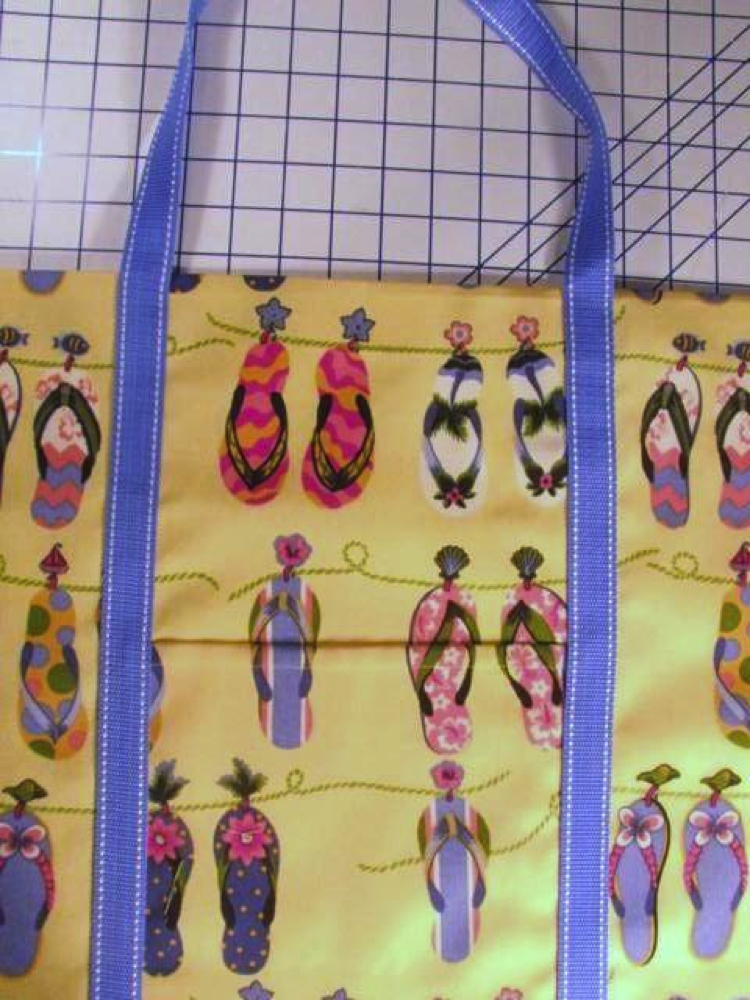
4. Attach the straps to each of the main fabric pieces. Lay the webbing strips along the placement lines and pin in place covering the raw edges of the pockets. Now stitch along both sides of the webbing up to the fold line at the top of the tote so they are securely attached.
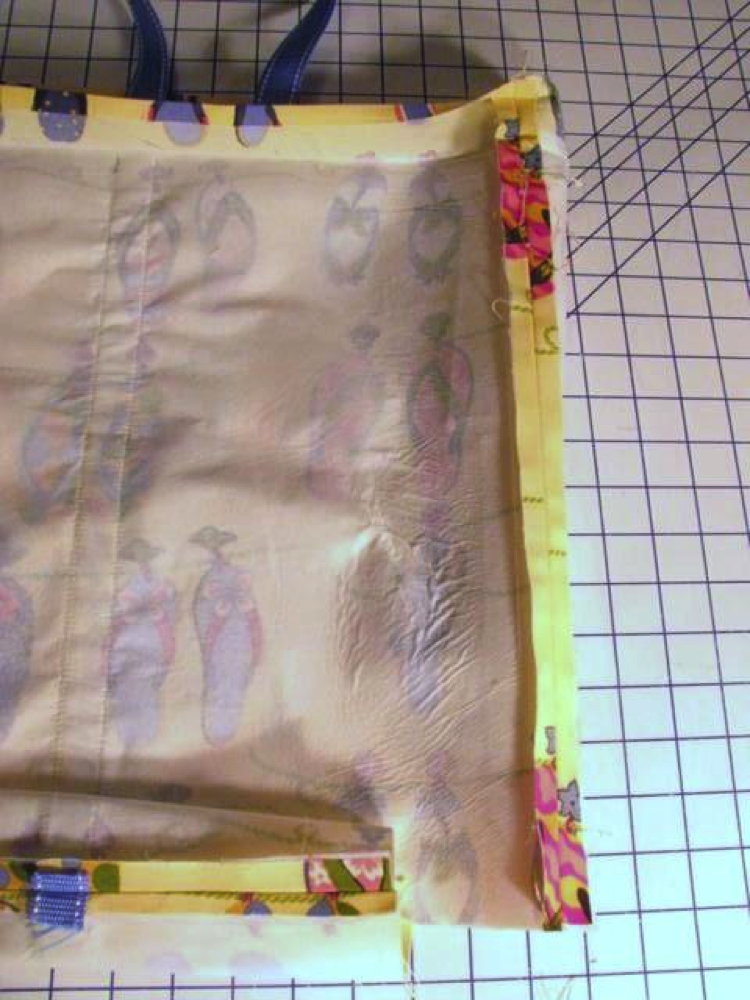
5. Sew the sides and bottom of the main body pieces, matching right sides together and using ½” seam allowances. Do the same with the two main lining pieces.Press all the seams open.
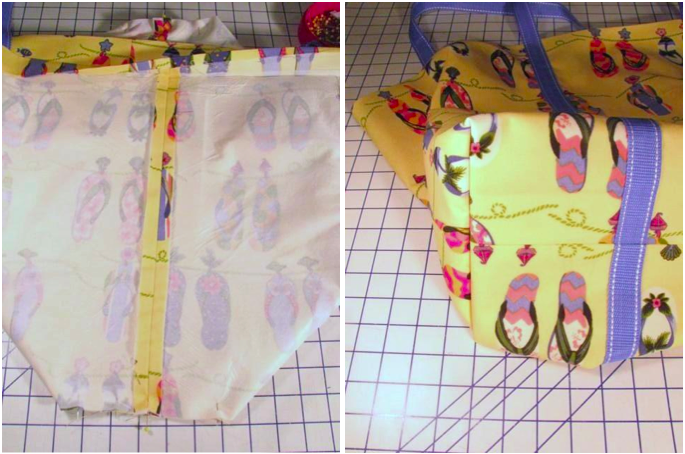
6. To create the tote’s square bottom, pinch the tote bottom and sides together as shown in the photo. Stitch in place and turn right side out. Repeat the same process for the lining.
7. Cut the stiff stabilizer to the dimensions of the tote bottom – roughly 6” x 19”. Press & fuse to the bottom of the tote.

8. To attach the lining first cut off 1 ½” from the top edge. Next, insert the lining into the tote with wrong sides together. It will rest 1 ½” below the top edge of the main fabric. Match the side seams and pin the lining to the main tote at the lining’s top edge.
9. Finish the tote’s top edge. Now, fold down the pre-folded top edge. Tuck the ½” fold over the lining and pin in place. Stitch the folded facing in place along the top edge and along the bottom fold to secure the lining to the tote.
That’s it!
Is the tote pattern posted yet?
I too am wondering........where is the pattern?
Still waiting for the pattern...
where is the tote pattern? There is no link to press where the instructions on how to make the tote is. It would have made more sense going through the instructions on how to construct the bag