
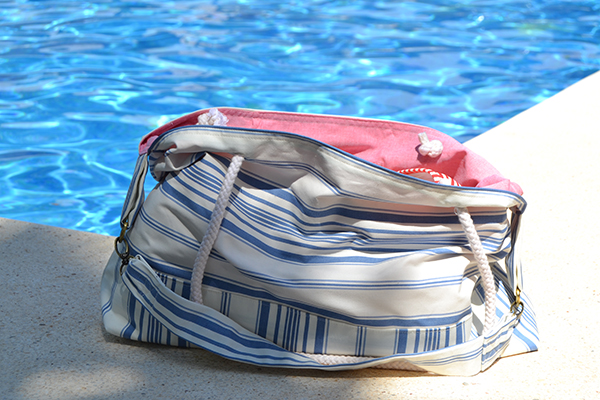
Don’t you wish you had a summer bag that was fashionable and functional? I often find that the big, functional bags (ideal because you can fit your wallet, bikini, a magazine or two and sunscreen, with room to spare) are usually kind of ugly, often made in cheap plastic fabrics. While the cute ones, with pretty fabric, nautical stripes and ropes, are never big enough to accommodate all the things you need.
This year, I chose not to compromise. So, I constructed a bag that using a cute fabric, big enough to bring everything I need. From pool style to street style, this tote will keep you looking fab!
Want to make it too? You can! Simply follow this step-by-step tutorial (pattern included!) for our summer tote. Let’s start!
You can start by downloading the FREE summer bag template. Now gather your choice of fabric along with some ropes for straps. Adding the additional removable shoulder strap is optional, but if you choose to include it, you’ll need some rings and clips.
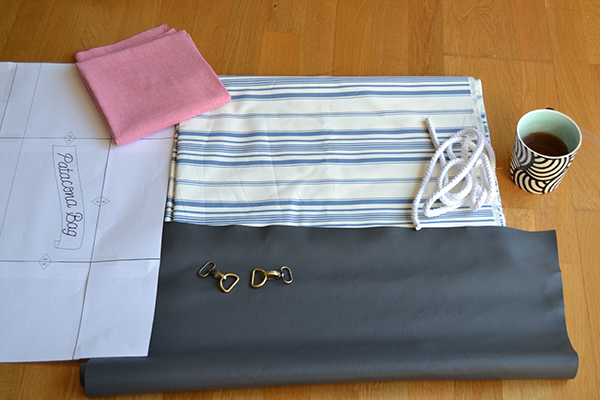
You will need:
- Main fabric: 80 cm x 60 cm (31 1/2″ x 23 5/8″)
- Lining fabric: 102 cm x 60 cm (40 1/4″ x 23 5/8″)
- Contrasting fabric (optional but nice to strengthen the bottom of the bag): 32 cm x 60 cm (12 1/2″ x 23 5/8″). You can use leather as in the picture for example. I ended up using the same striped fabric as the bag.
- 2 sets of rings and clips for optional removable shoulder straps.
- 2 m of rope (78″).
Note: I used a cup of tea to dye the white rope a color more similar to my selected fabric, making the rope closer to an off-white or light beige instead of bright white.
Directions
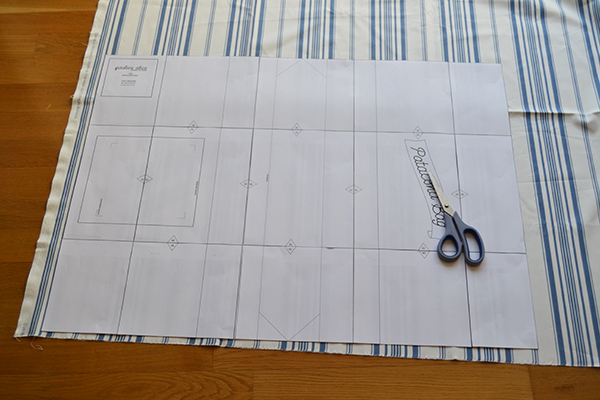
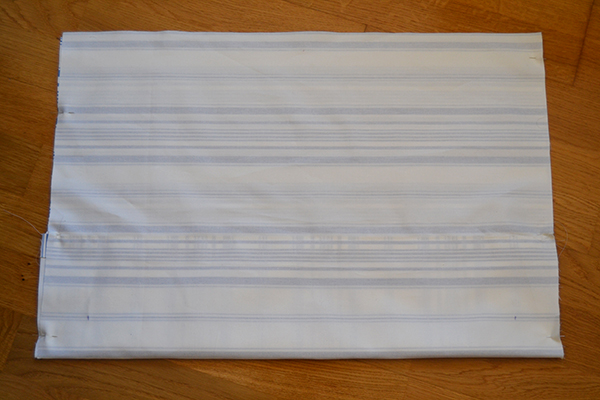
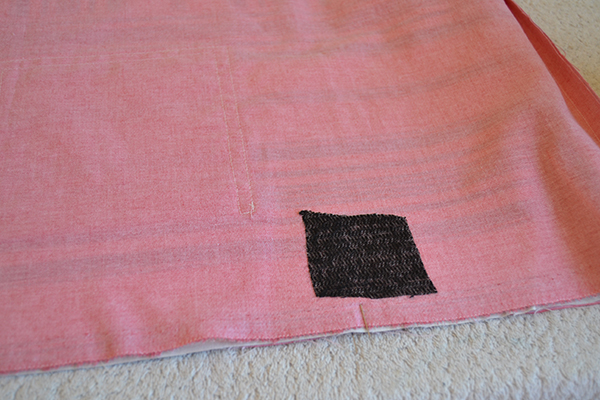
1. Print the Patacona bag template (sa included 5/8″), cut and tape the pages together and cut the fabric. First cut the whole rectangle in the main fabric. Mark the folding lines.
I also decided to cut the contrasting fabric in the same striped fabric but placed the stripes vertically instead of horizontally to give some visual interest.
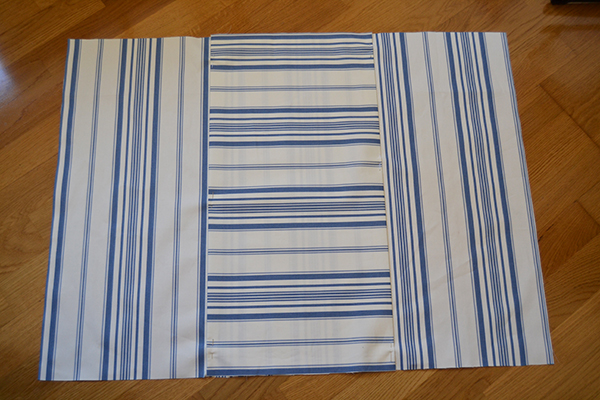

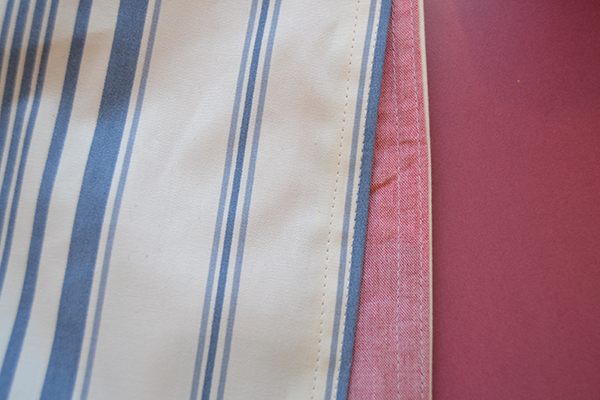
2. Place the contrasting fabric on the dotted lines (—–), pin in place and edgestitch.
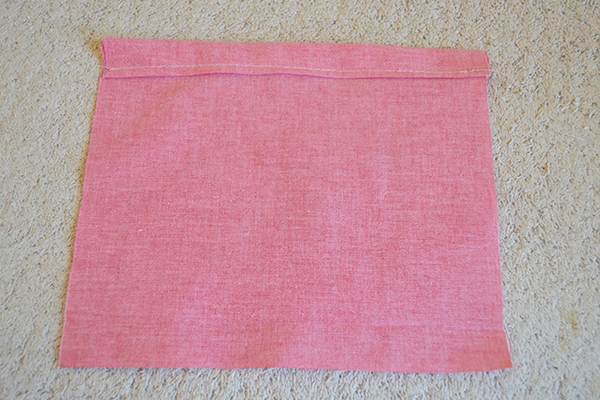
3. With right sides together, fold the rectangle and match the edgestitched edges. Pin and stitch with a 5/8″ seam allowance on both sides.
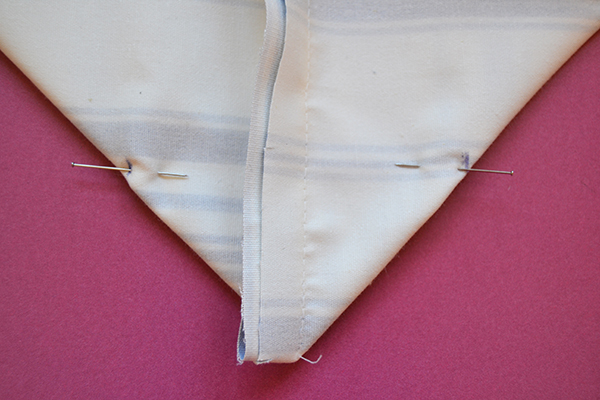
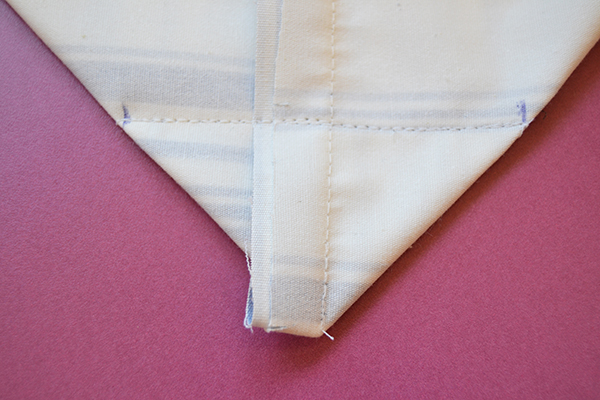
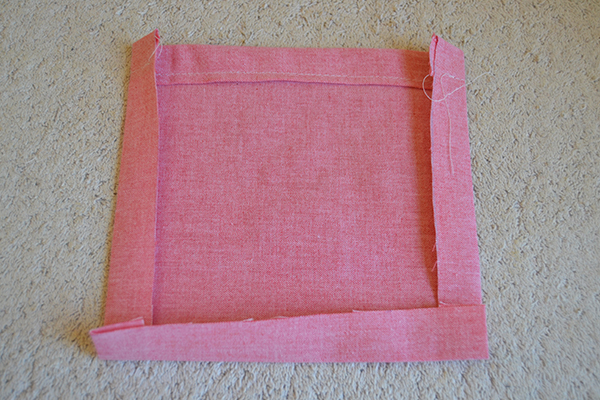
4. Fold the corners to form a triangle. Stitch from mark to mark. Repeat on the other side.
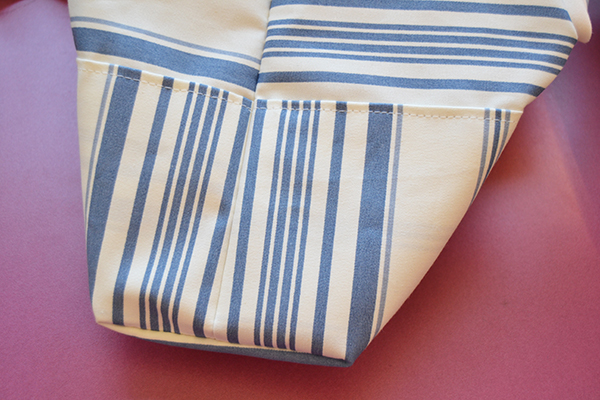
5. Here is how it looks from the outside — a clean bottom.
6. From the lining fabric, cut the whole template rectangle and the pocket template (in continuous line). You might want to interface the handle placements.
7. Fold the pocket top edge twice along the seam allowances (5/8″) and stitch it in place.
8. Fold the other seam allowances to the inside.
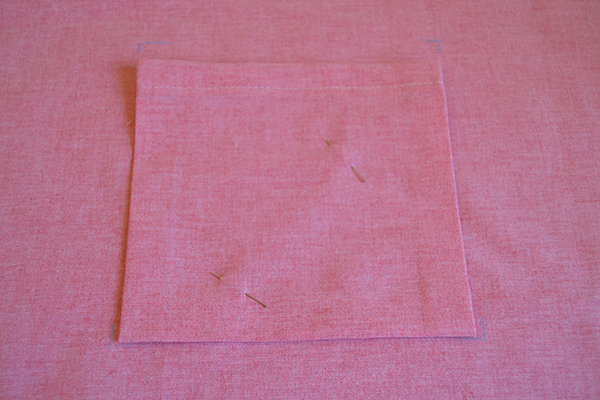
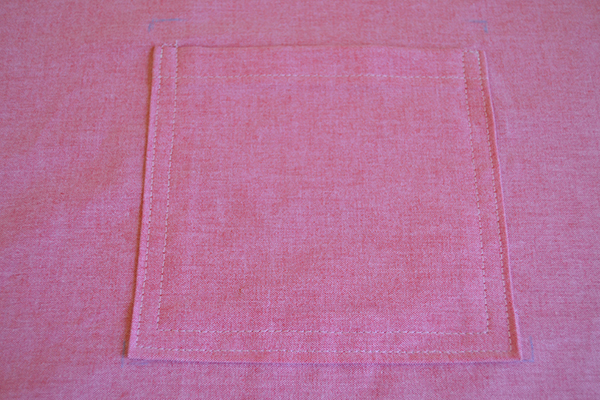
9. Pin the pocket on the pocket placement on the lining fabric and stitch in place. You can use two rows of stitches, like in the pictures, for more strength if you want to put something heavy such as your keys in the pocket.
10. Repeat steps 4, 5 and 6 for the lining.
Now let’s see how to add the removable straps:
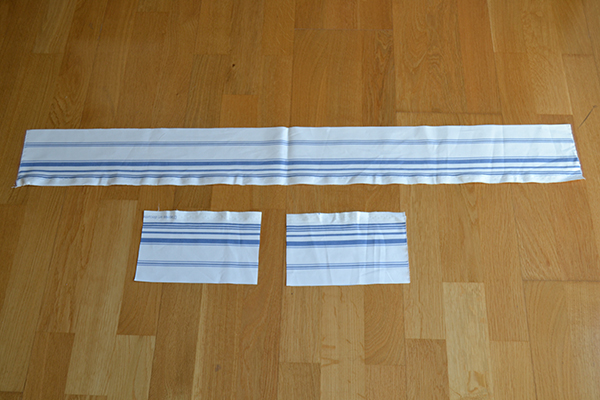
11. Cut a long strip of fabric to make the strap and 2 short ones to make the handles.
- Long strip: approx. 4″ wide x 30″ long
- Short strip: approx. 4″ wide x 8″ long
You can interface the long strip of fabric to give more strength to the strap.
12. Fold the pieces in two in the vertical side and stitch the edge together. Trim the seam allowances and turn them inside out. You can edgestitch them if you want.
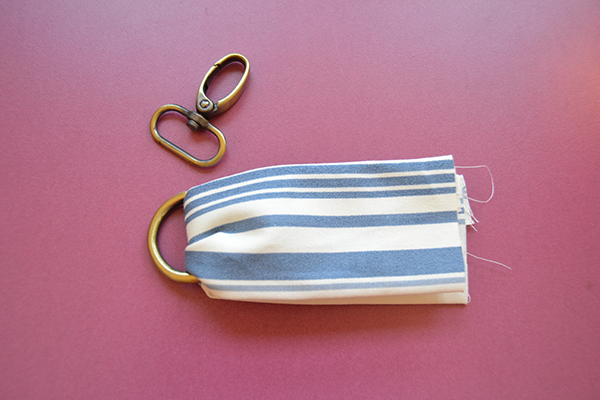
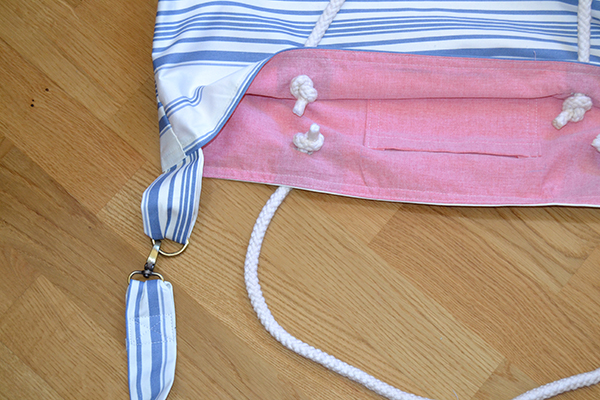
13. Pass the short strap through the ring and fold in two.
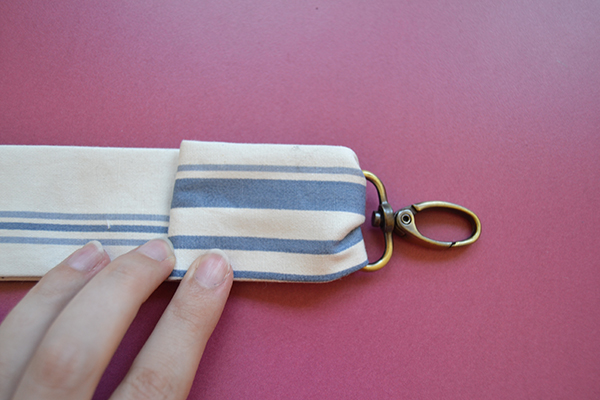
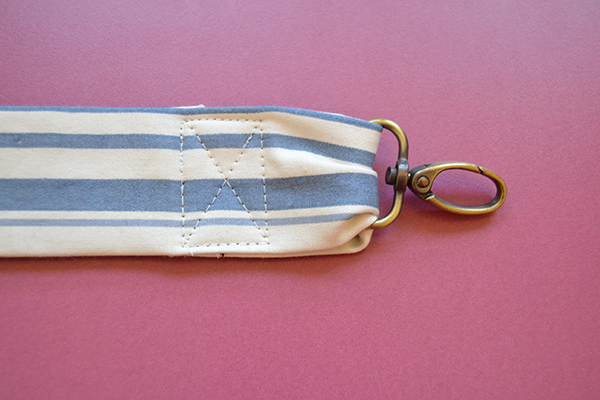
14. Pass the long strap through the clip and fold it. Stitch securely in place.

15. Place the bag inside the lining, right sides together, matching the outer edge.
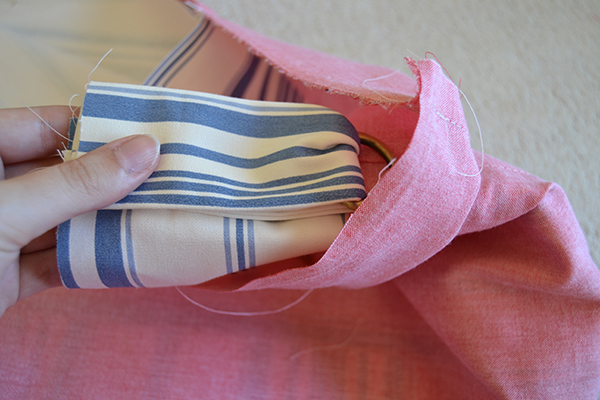
16. Place the short strap between the bag and the lining, over the sides seam allowances and facing down. Pin together.
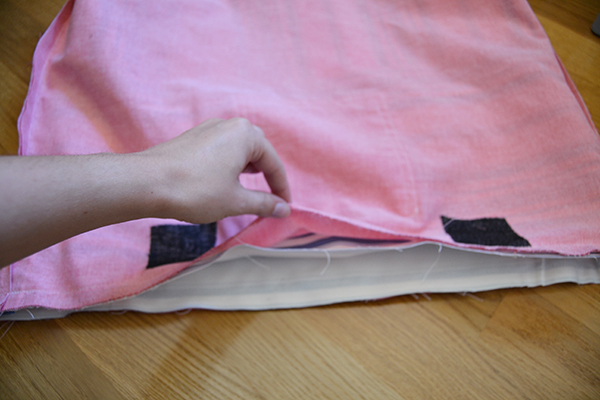
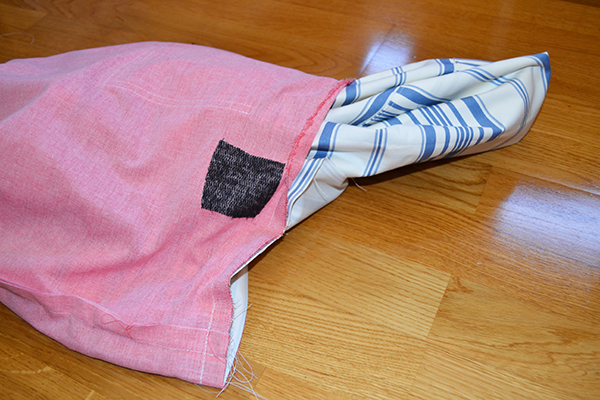
17. Stitch the lining and the bag together along the outer edge, leaving a space open. Pass the bag through the opening to turn it inside out.
18. Edgestitch the bag to close the opening. You can also use topstitching as a decorative and stronger stitch.
19. For the rope handles, I stitched machine-buttonholes, then passed the rope through them and made a knot. A stronger option would be to use metal eyelet (like the ones used for corsets but bigger, but I wasn’t able to find any at my local shops). However, even after a day of carrying the bag while it was quite full, I can tell you it’s strong enough like this for the moment…
All photos via Pauline Alice
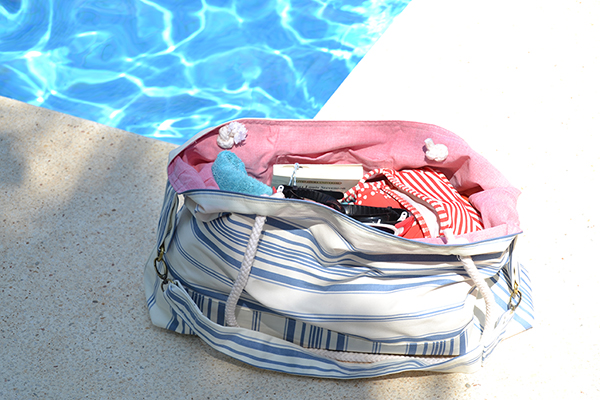
And now it’s time to pack your bikini and head to the beach!
*Looking for a French or Spanish version of this tutorial? Check out the translated version of the beach bag tutorial here on my blog.
If you are interested in making more bags, you can learn how to design your own handbag with Brett Bara or learn how to sew leather bags with Don Morin, right here on Craftsy.
Can I use this spray on waxed canvas purses?
No link for the template?
Hi, don't see the template for the bag.
"You can start by downloading the FREE summer bag template. " Where is this free summer bag template found, there is no link.
Is there a printable template for this bag?