
My all-time favorite sewing foot is the edgestitch foot. I use it all the time! The blind-hem foot is very similar to the edgestitch foot, but the there are two main differences: on the edgestitch foot, the metal guide does not extend all the way through the back of the foot, and there is a groove on the bottom of the foot. Both of these differences make it possible to use decorative stitches (including those with a raised pattern) instead of just a straight stitch with your edgestitch foot.
Learn how to identify and use 11 of the most common sewing machine feet in the FREE Bluprint mini-class, Sewing Machine Feet from A to Z.

Here are 5 techniques to try with your edgestitch foot:
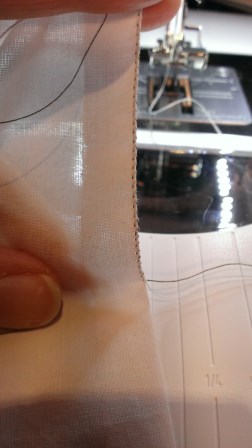
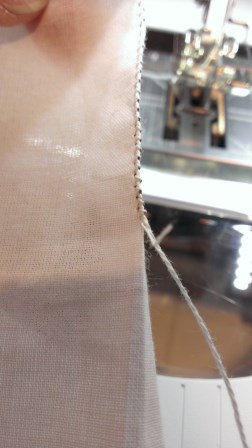
Fine edge finish
If you do not have access to the rolled hem function of a serger, you can create a similar look on lightweight fabrics. Fold and press a hem in your fabric, and place it right side up under the edgestitch foot. Set your sewing machine to a small zigzag stitch (w=1.5 – 2.0 and L =.5 – 1.0), and adjust so the right swing of the needle falls just barely on the folded edge of the fabric. Trim away the excess fabric on the wrong side.[/one_half_last]
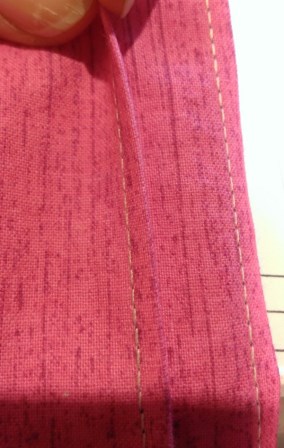
Stitch in the ditch
This technique is not just for quilters! Stitching in the ditch means to stitch in the little “well” that occurs on the right side of a seam. If you can get exactly into the “ditch,” the stitching is virtually invisible, and using an edgestitch foot simplifies this process tremendously. This is a great “utility” function using a straight stitch to anchor facings or casings to the inside of your garments, or if you use a decorative stitch pattern, you can apply a pretty embellishment on the right side. [/one_half_last]
Single needle tuck French seams
Perfect tucks are a snap when you use an edgestitch foot. Press the tuck folds into your fabric, and then just lay the pressed edge against the guide. Move your needle to the left — less for a narrow tuck and more for a wider tuck — and stitch the length of the tuck. Don’t you love how easy it is to get perfectly straight stitching with this foot? [/one_half_last]
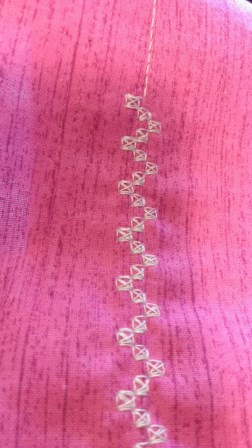
Corded edge
This technique is identical to the fine edge finish — just set a zigzag stitch the appropriate width for the cord you are adding and stitch away. It is easier if you take several stitches in the fabric first, and then slide the cord under the foot and next to the guide. This is a really pretty finish for tablecloths and other linens. [/one_half_last]
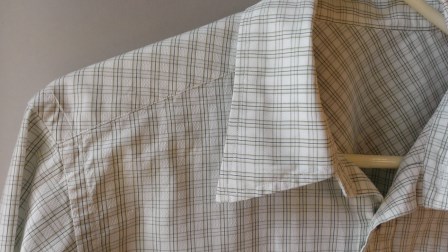
Edgestitching
If you want to produce perfect edgestitching on your shirt collars and any other item, definitely use an edgestitch foot. Set your stitch length, move your needle to either the right or left as needed, and keep your fabric flush against the guide as you sew. I had a 7-year-old sew perfect edgestitching on her skirt hem using this foot. You can also try using a double needle and this same technique. [/one_half_last]
You might also enjoy our posts on how to use a piping foot and how to use a pintuck foot.
Come back to the Bluprint blog tomorrow for a roundup of classic cocktail dresses to make for the upcoming party season!
Share tips, start a discussion or ask one of our experts or other students a question.
No Responses to “Stitching on the Edge: 5 Techniques to Try With an Edgestitch Foot”