
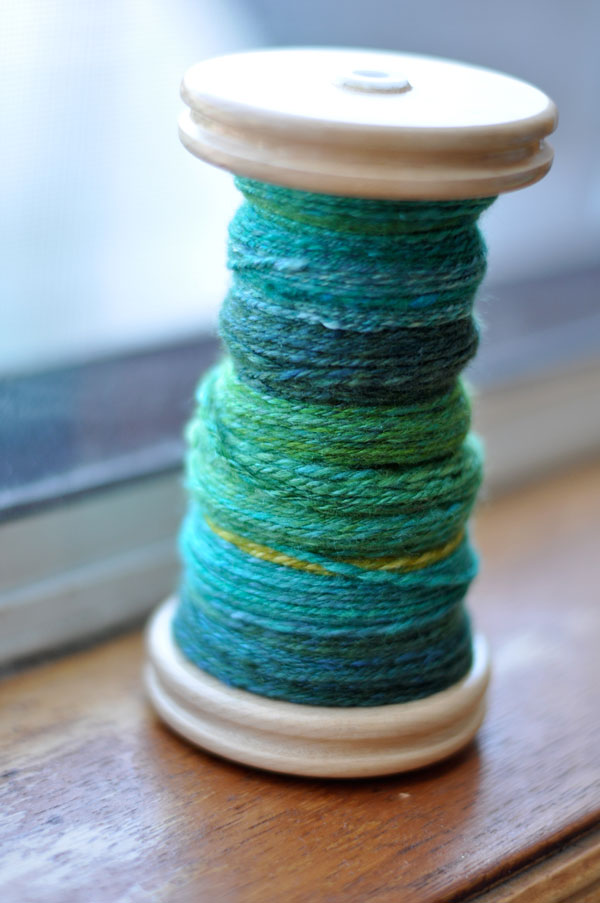
You’ve finished spinning and plying a bobbin (or spindle) full of yarn, congratulations! But what now? How do you get your handspun ready for knitting or crocheting? Here’s how to wind your skein and finish up your yarn so that it is polished and ready to impress!
 All photos via Laura Chau
Skeining
Whether you’re spinning on a wheel or a spindle, you’ll need to wind your finished handspun yarn off the bobbin and into a hank. A hank (also called a skein) is basically a large loop of yarn, which is secured in 4-5 places to keep it from tangling.
A niddy-noddy is an essential tool for winding off your yarn. This funny-looking device helps you create a compact loop of known circumference, which will help you figure out how many yards you’ve spun. Holding one end of the yarn in your hand against the central shaft, wind the yarn around the niddy-noddy as shown to create a loop.
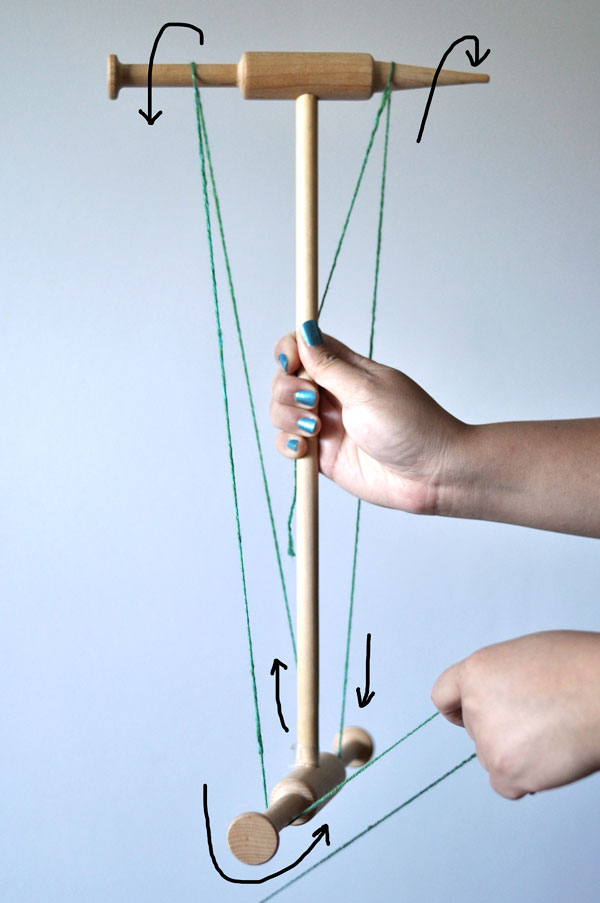
If you’re winding off a small amount of yarn or you don’t have a niddy-noddy, you can wind the yarn around your forearm from hand to elbow (like winding up an extension cord). Other alternatives include the back of a chair, a swift or a patient friend’s hands!
Figure-8 tie
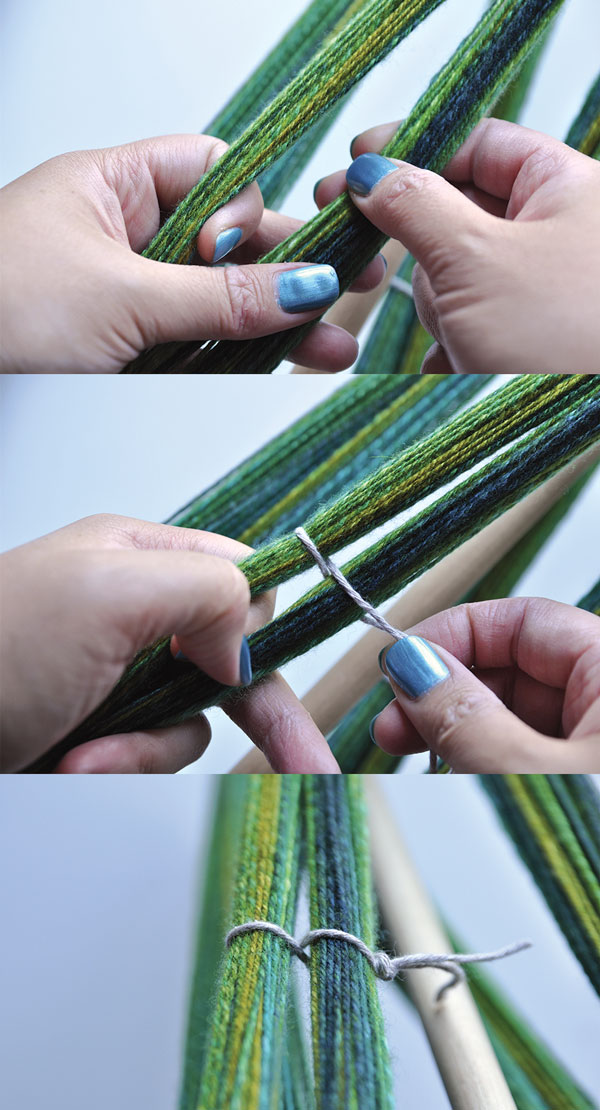
Have at the ready some scrap yarn or kitchen twine to tie around your wound hank. A contrasting color is good for locating the ties when you’re winding the yarn into a ball, but make sure your ties won’t rub off any unwanted colors onto your new yarn!
Four ties is usually a good amount, but you may need fewer if your hank is smaller, or more if you feel like it. Use one tie at each end of your yarn, and then place a couple more evenly around the loop. Tie your skein before you remove it from the niddy-noddy. A figure-8 tie is nice and secure, and is easy to remove later.
Wet finishing
Giving your handspun yarn a nice bath relaxes the fibers, allowing the twist to distribute itself more evenly and set, as well as washing out any unwanted oils or bits. Washing also helps compressed fibers puff up and out—you may find that your yarn is thicker after washing than you thought it was!
Fill a bucket, bowl or sink with warm to hot water and a bit of no-rinse wool wash like SOAK. Push your skein into the water with your hands, holding it under until it’s completely saturated, then let it hang out in the water for 10 minutes or so. Don’t agitate the yarn unless you are looking to full or felt it!
Once the time’s up, carefully lift out the yarn and squeeze out as much water as you can without wringing. Place the skein on a towel, roll it up and press (or walk) on it to squeeze out even more water. To help puff up the yarn, I like to “snap” the washed skein—hold it at one of the ties and snap the skein like a whip (outside is good if you don’t want to get wet!). Rotate the skein and repeat.
To block or not to block?
Hang up your finished skein to dry somewhere it can drip, like in the shower or outside. If you’re planning to weave with your yarn, you can hang a weight like a spray bottle on the bottom of the skein to help block the yarn straight. For knitting or crocheting, it’s usually better to just let the yarn dry under its own weight to retain elasticity.
Measure and record
When your skein is dry, measure the yardage. If you don’t know how long your skein is, measure the total circumference using a tape measure. Then count the number of strands in your skein, multiply by the circumference and divide by 36 to get the finished yards.
[skein circumference (inches) x number of wraps] / 36 = yards!
For this skein: [64″ circumference x 97 wraps] / 36 = 172.5 yards
It’s also helpful to weigh the skein on your scale and measure the WPI . Then record the information somewhere—a tag attached to the skein is ideal. You might think you’ll remember, but you probably won’t!
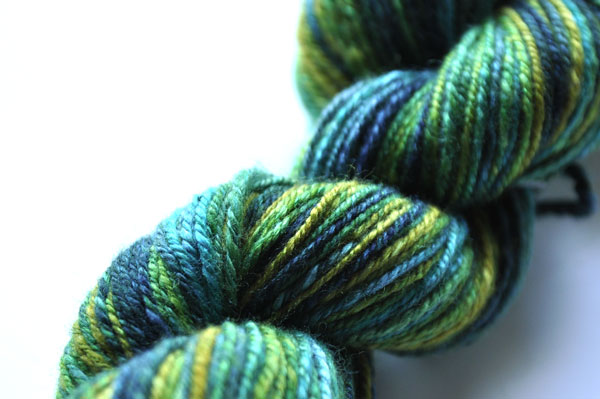
Twist up your hank for storage by holding one end of the hank straight and twisting the other end, until it’s nice and tight. Fold the hank in half and it will twist up on itself. Then just tuck one end into the other to finish, and admire your beautiful handspun yarn!
Learn to spin on Craftsy!
 Put your wheel to good use and learn the essentials of spinning with Foundations of Spinning, taught by renowned fiber artist Amy King. Sign up today to enjoy instant, unlimited lifetime access to crystal clear HD video lessons!
Share tips, start a discussion or ask one of our experts or other students a question.
No Responses to “How to Finish Handspun Yarn”