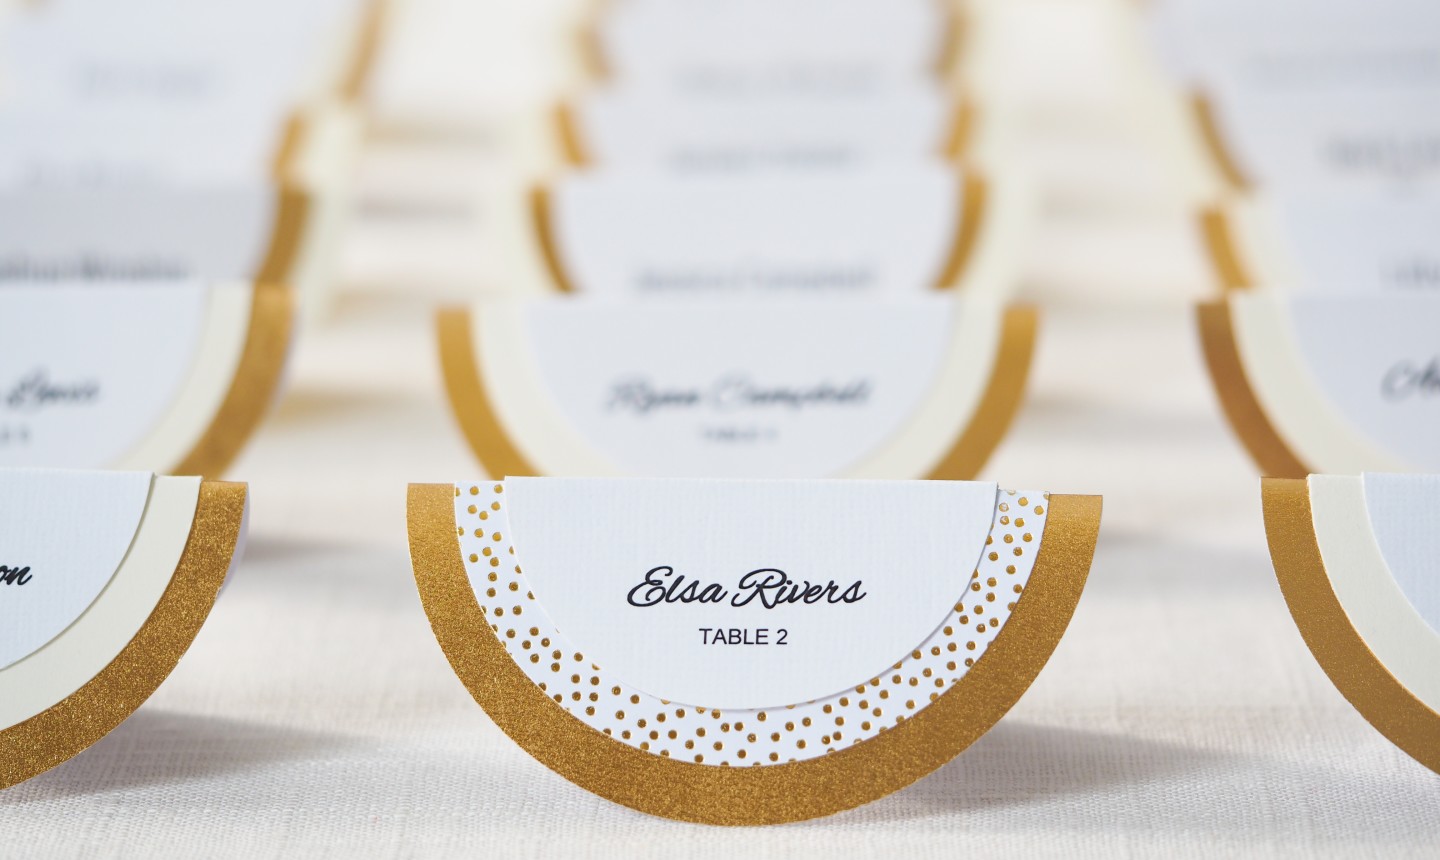
If you're throwing a wedding on a budget, you've got a few things to consider before DIY'ing place cards: They've gotta be easy enough so you can whip up dozens, but you can't sacrifice the beauty. This sweet circle fits the bill — and it's totally customizable to suit your color scheme and style.
Circle Place Cards
Level: Easy
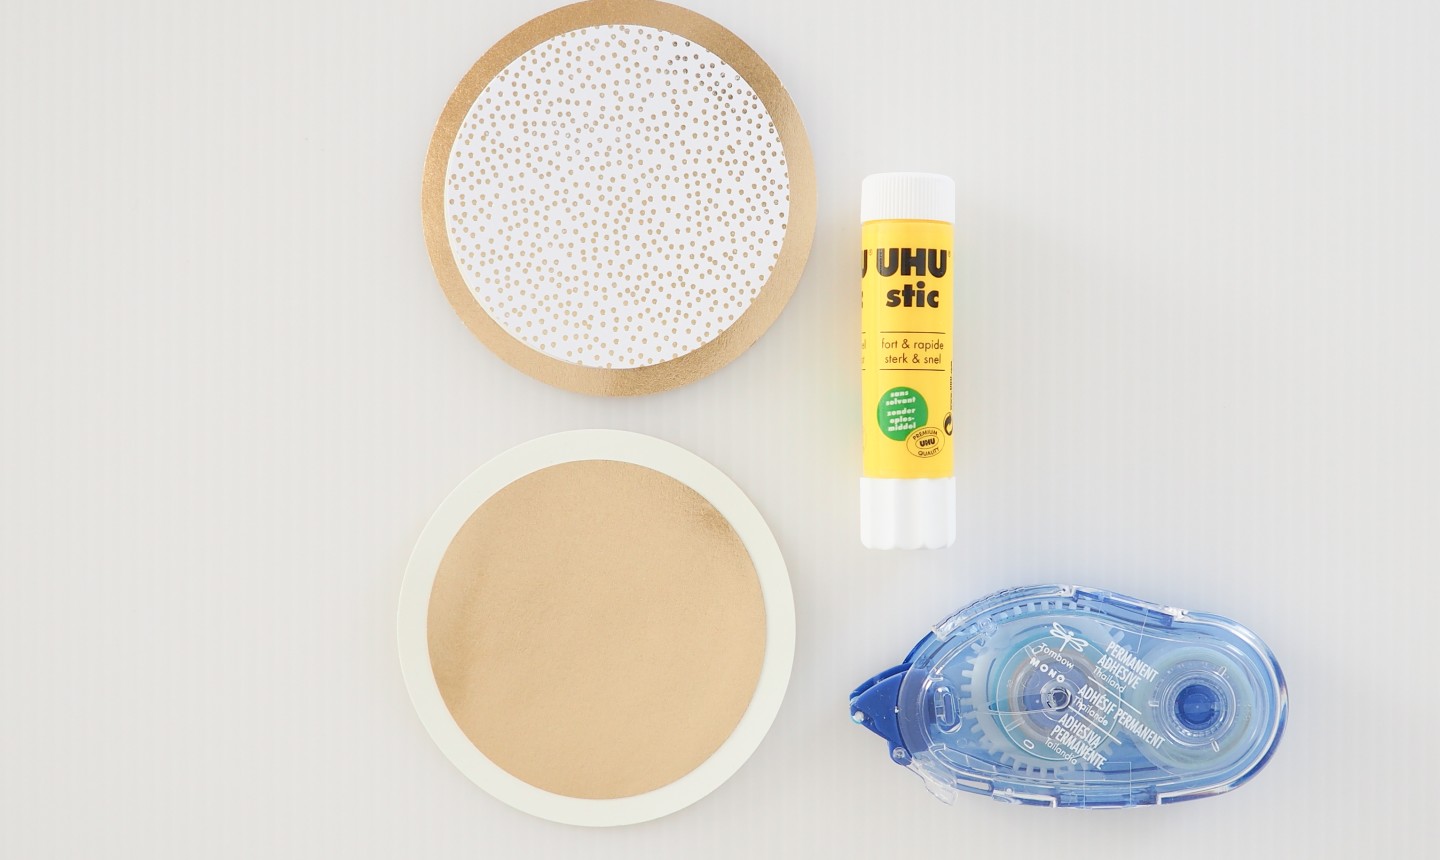
What You Need
Pro Tip: The easiest adhesive by far is double-sided tape that comes on a roller. It's less messy than glue, and it works much better than glue if you're using foil paper.
Instructions
1. Punch and Tape
Using the 3½" and 3" punches, cut out your card stock. Apply tape or glue to the back of the smaller cutouts and center them on top of the larger circles. Press until the papers are secured together. This is the base of your place card.
2. Create the Label
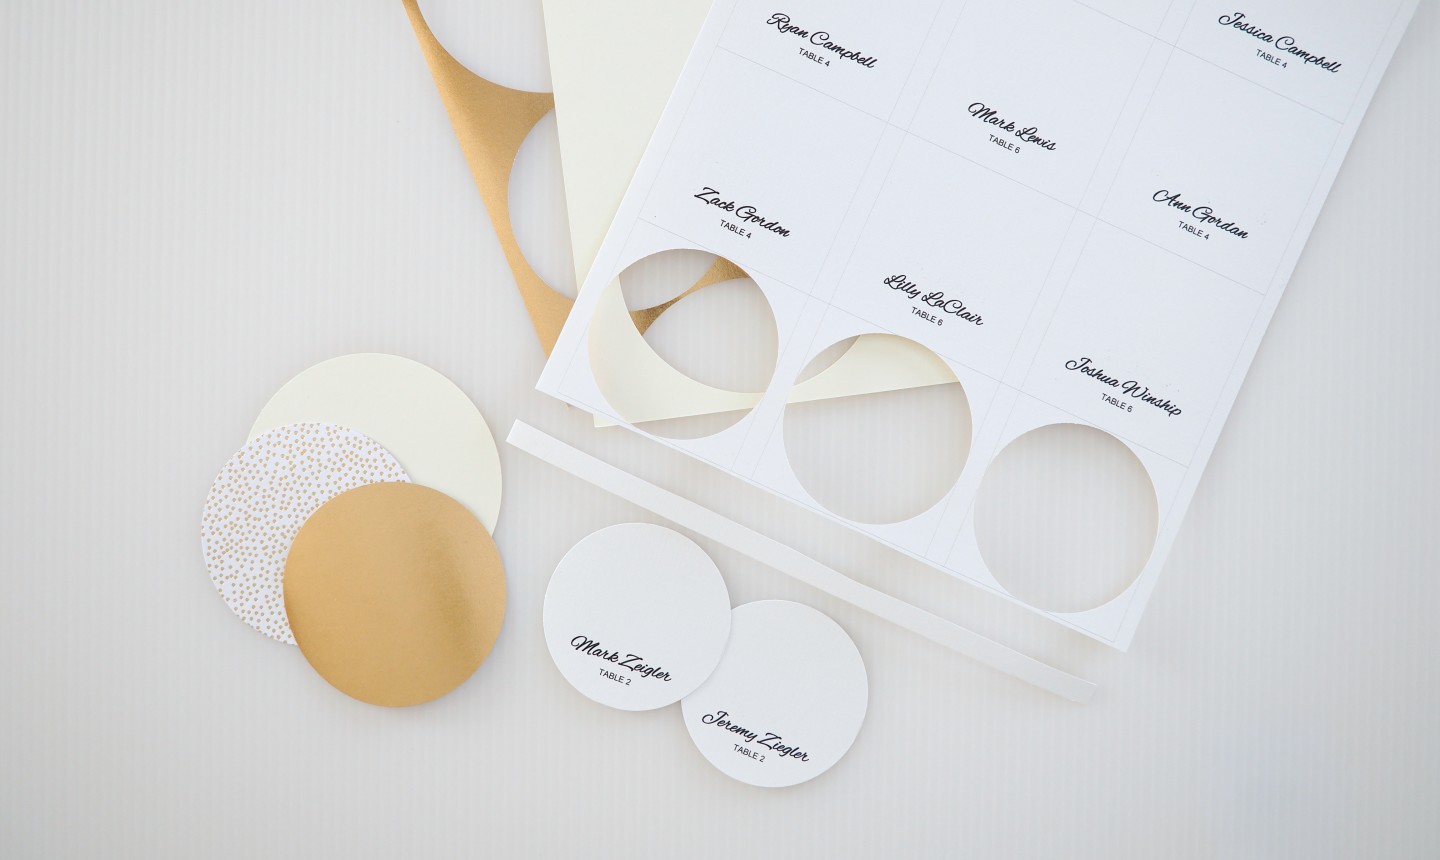
You can always hand-write your place cards or use stamps to personalize them. But since a typical wedding has dozens of guests, we're taking the quick route and using a printer.
Print the name and table number for each guest onto a 2" label template (which you can easily find free online). Once everything is printed, punch 'em out with the 2½" circle punch.
Pro Tip: When punching out the label, make sure the name and table number are at the bottom edge of the circle.
3. Fold in Half
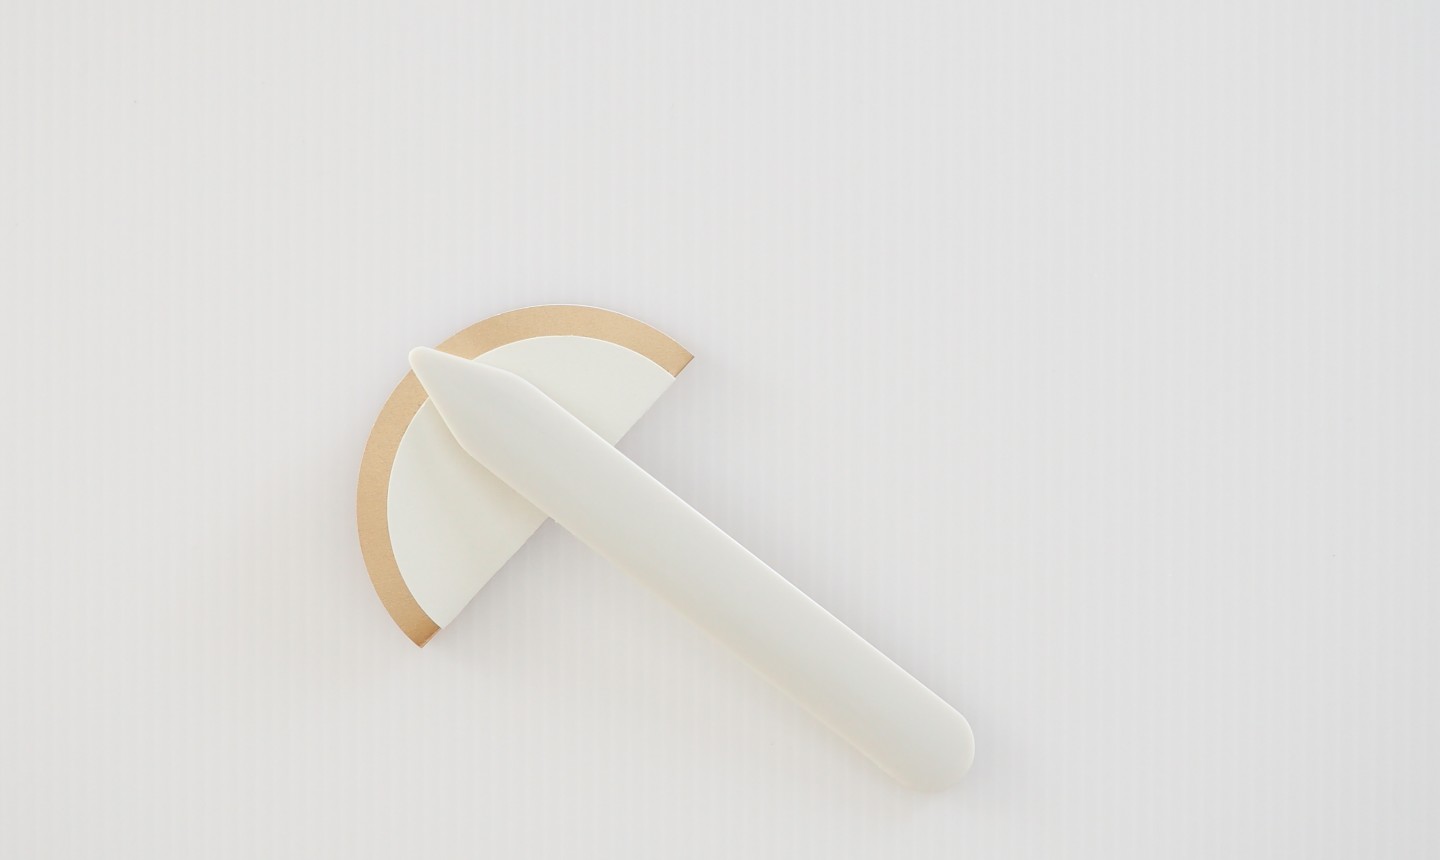
Fold the base of your place card in half. Press the bone folder tool over the crease to sharpen it.
4. Add the Label
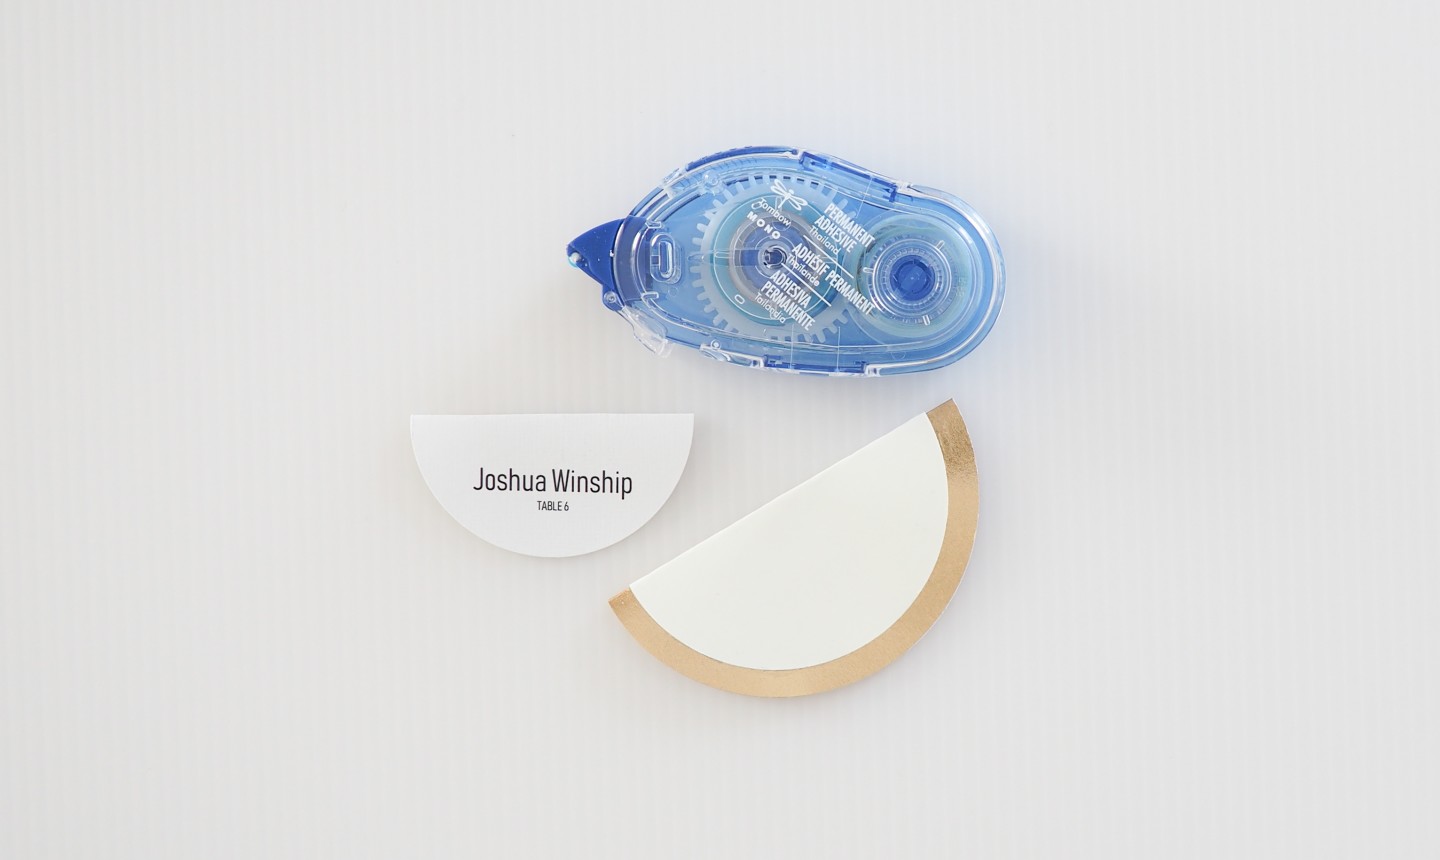
Now use the bone folding tool to crease your printed label in half. Add tape or glue to the back, line it up in the center of your place card base, and press it into place.
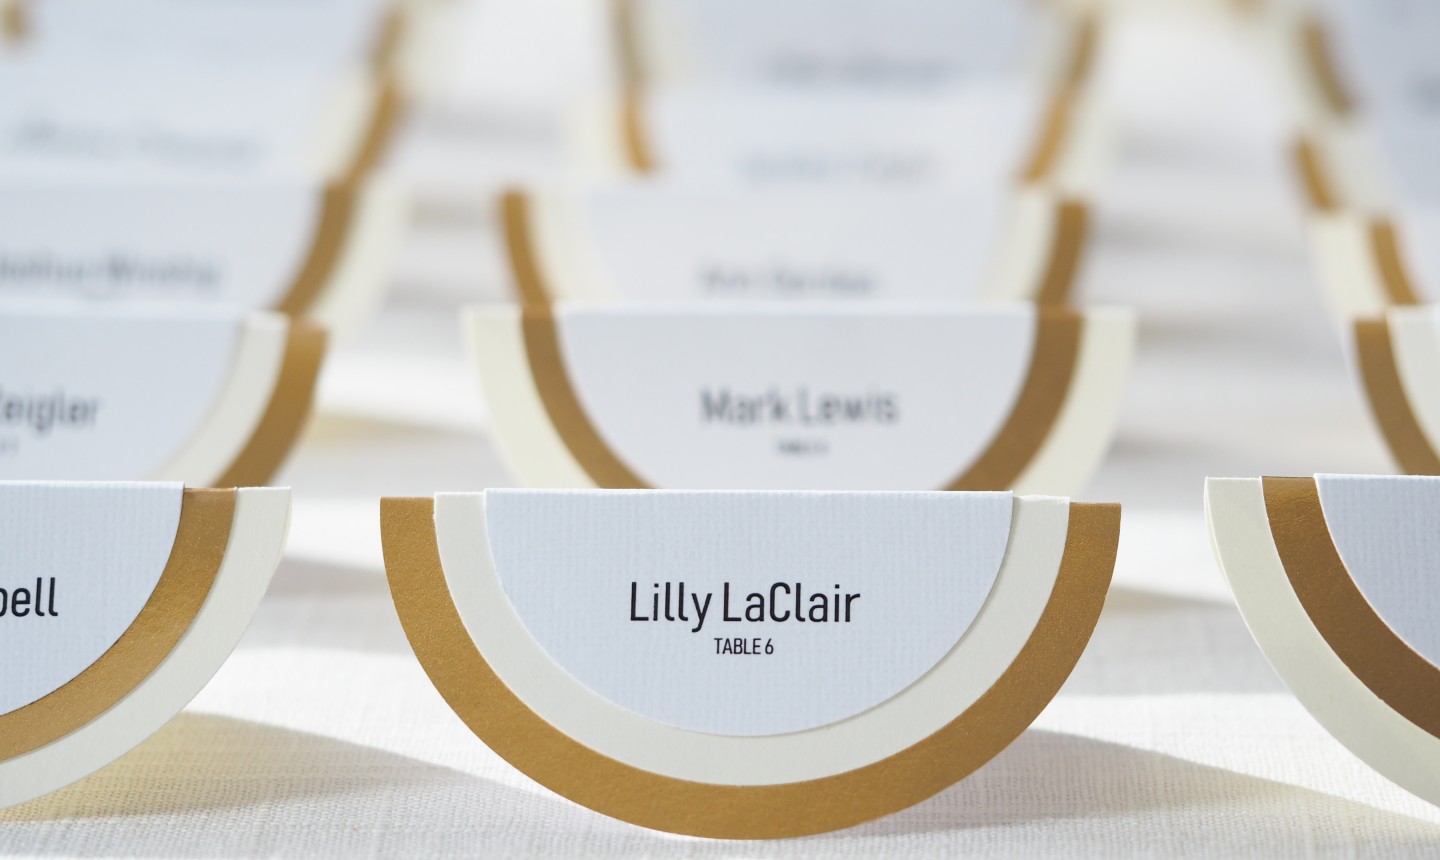
The coolest part about this project is none of your cards have to look the same —you can play around as much as you want! Switch up the order of what paper goes where, throw in some patterned paper, or move the circles to the side.
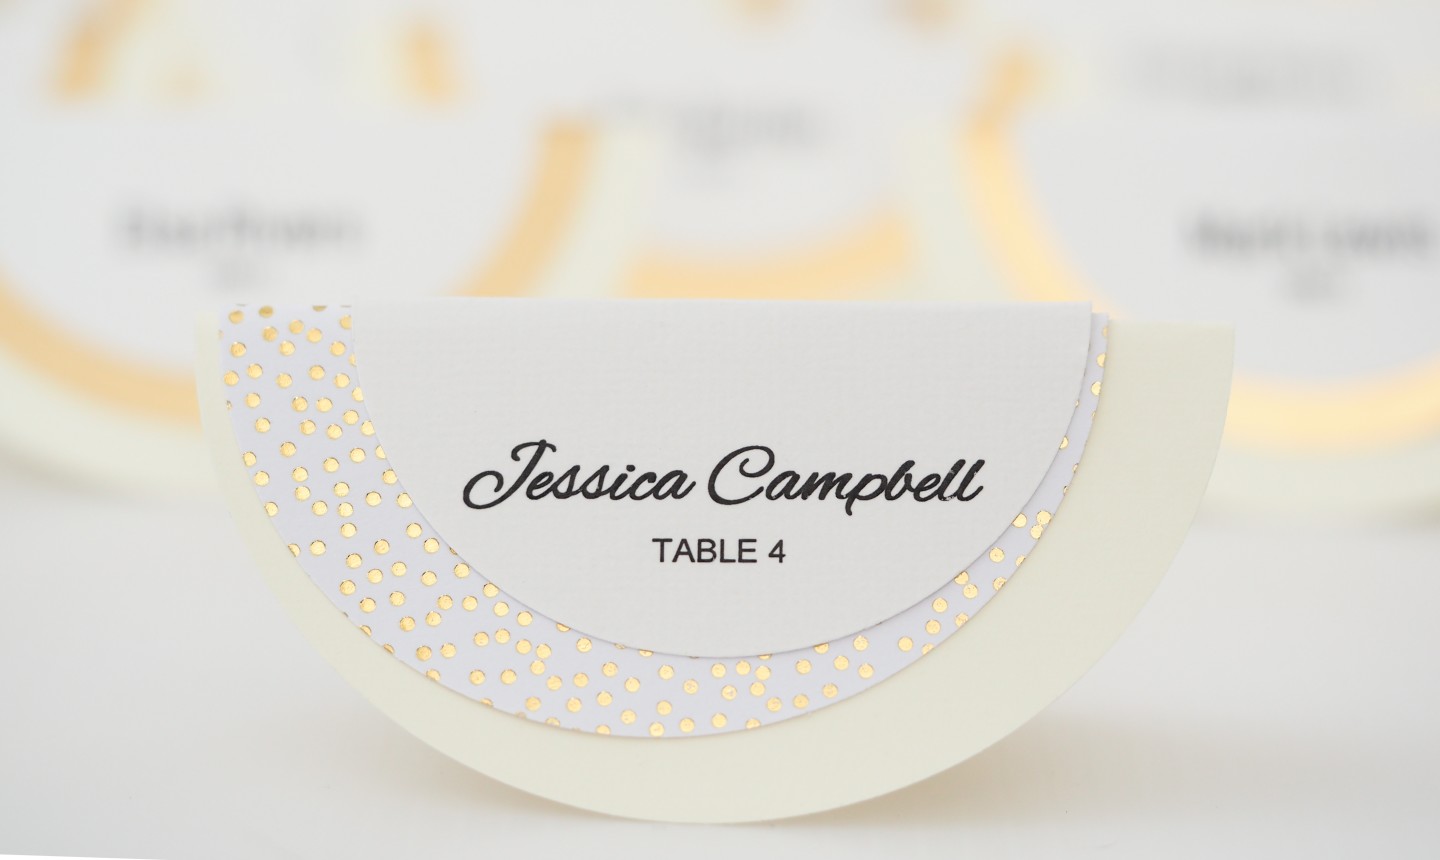
There are sooo many ways to keep it fresh! (After all, once you've taped your 50th card together, you might be ready to mix it up a bit).
Photos by Kimberly Stoney

My Granddaughter is getting married later this year and this is perfect for rehearsal dinner and reception!
This is great.