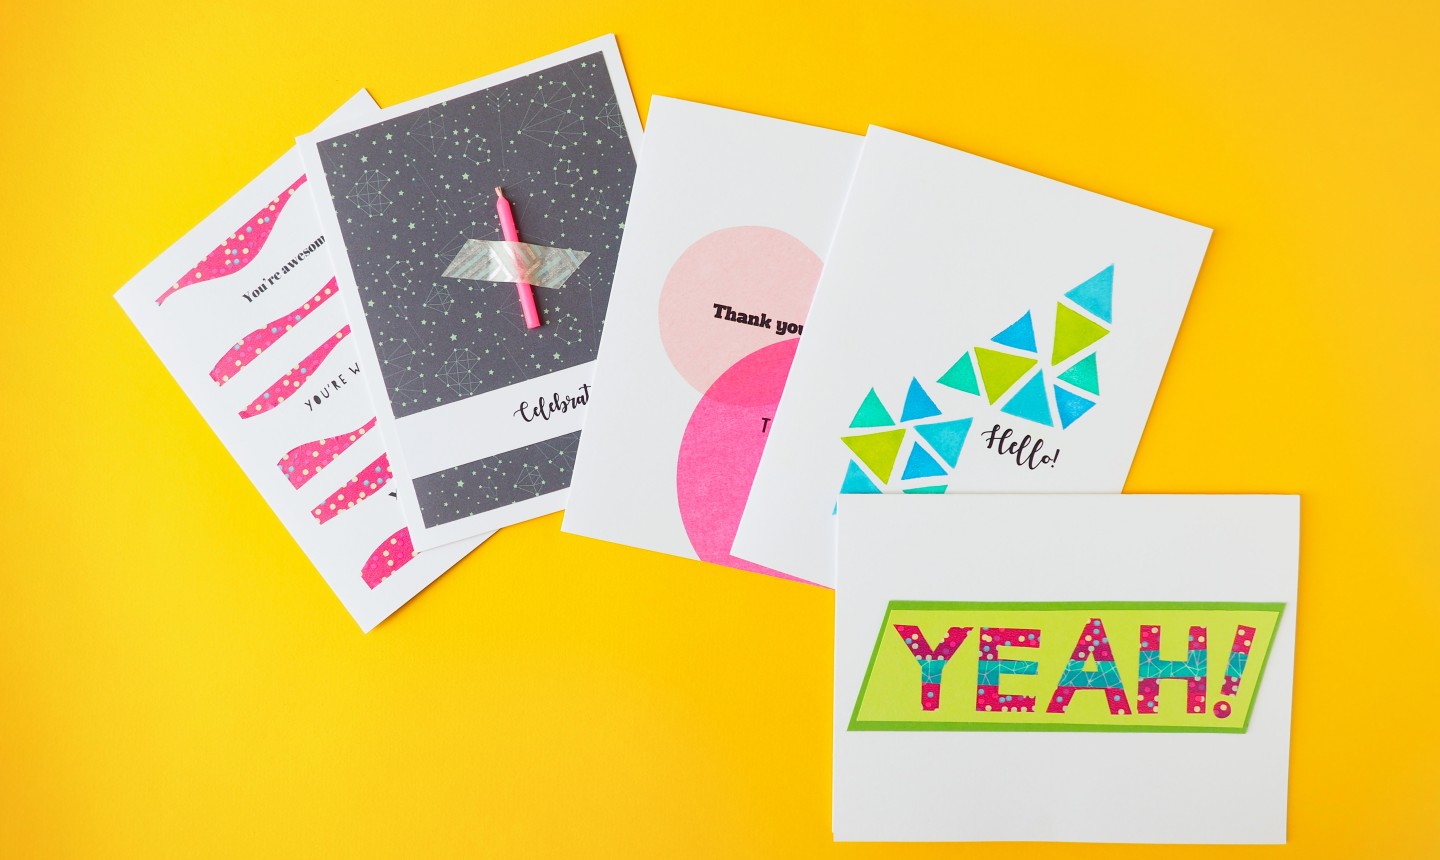
Need a card, like, now? Been there. But here's the good news: we've got all the inspo for quick cards that still look cute. You can make these cards in under 30 minutes, with supplies you probably already have around the house (or buried in your craft room). Score!
Pro Tip For each of these projects, you need some basic supplies: card stock; blank white cards and envelopes; cutting tools like scissors, an X-ACTO knife or a paper trimmer; and a paper-friendly adhesive . Additional supplies for specific cards are detailed below.
1. Get Lit
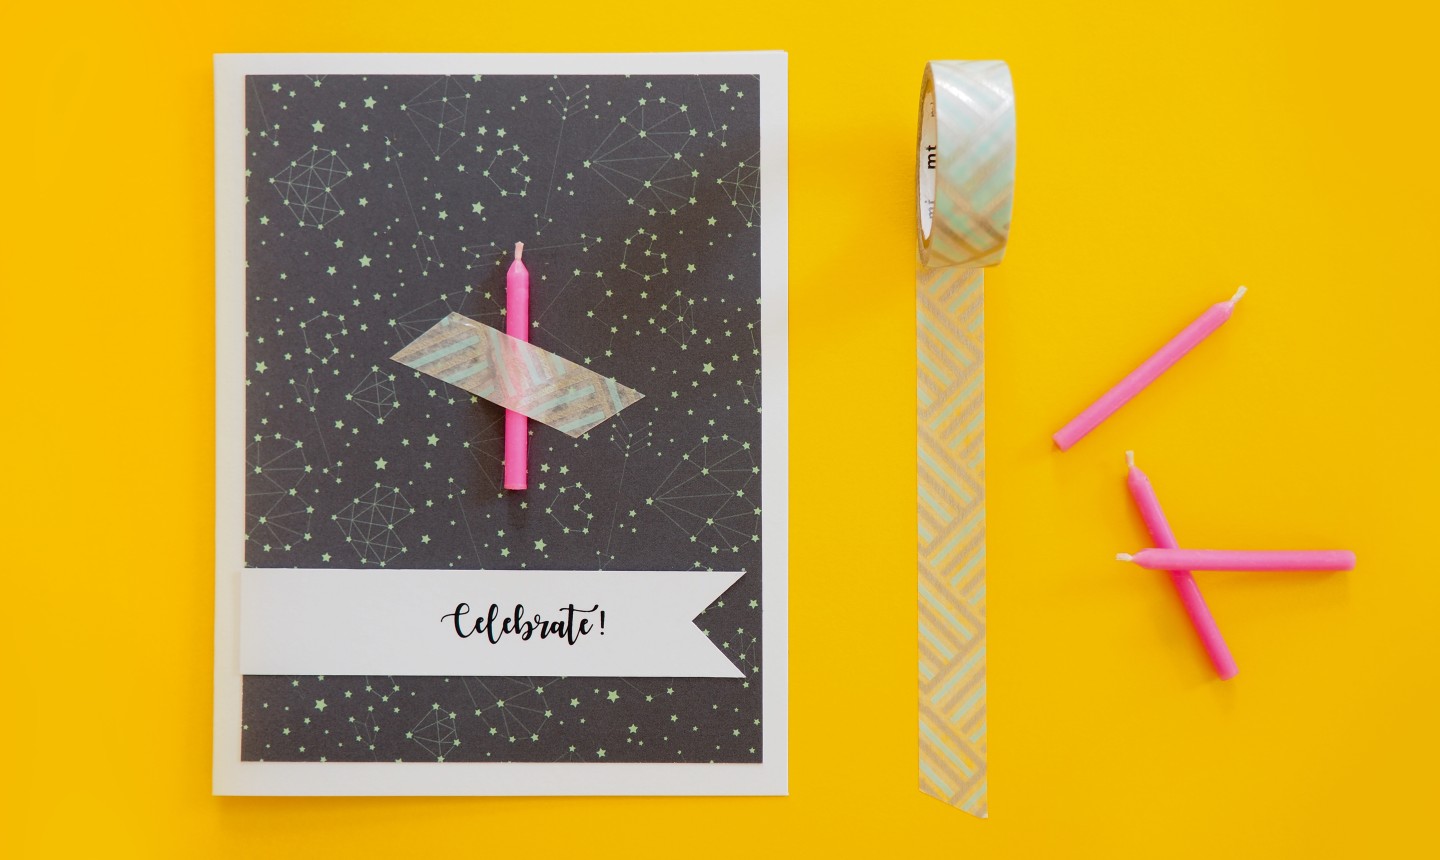
What You Need
- Washi tape
- Birthday candle
Sometimes making a cute card is as simple as... taping something to the front. Glue a pretty piece of card stock to the front of a blank card, add a message and grab an old birthday candle from your kitchen junk drawer. Voila — a perfect (and unique!) birthday card, in no time flat.
2. Washi Waves
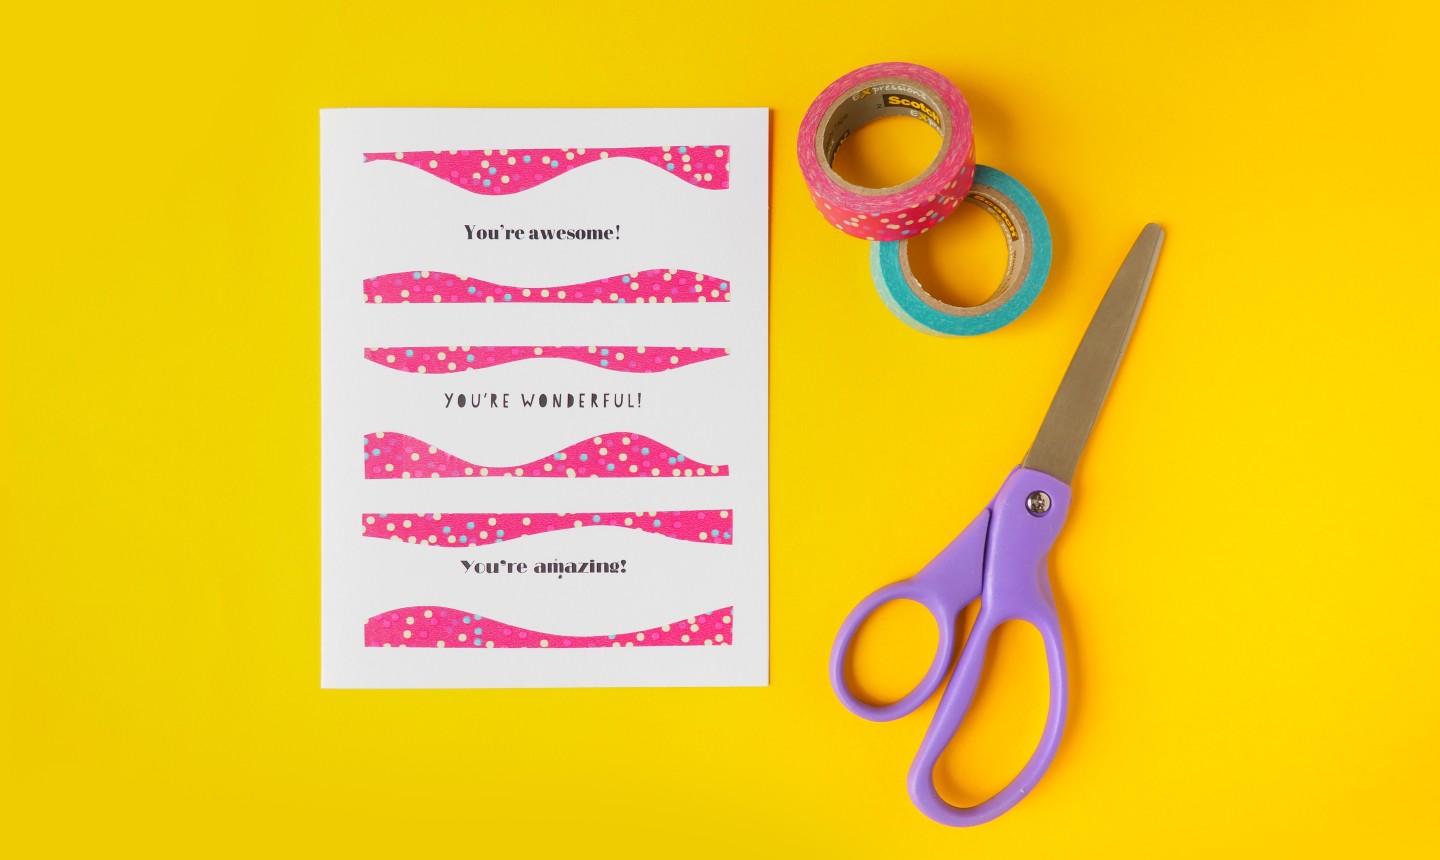
What You Need
- Washi tape
Make this cool design by printing or stamping your message (or, in this case, messages) onto the blank card. Then cut a length of colorful washi tape and use scissors to make ripple-y organic shapes. Use these waves to frame your lettering, and your card's ready to roll!

3. DIY Your Own Stamps
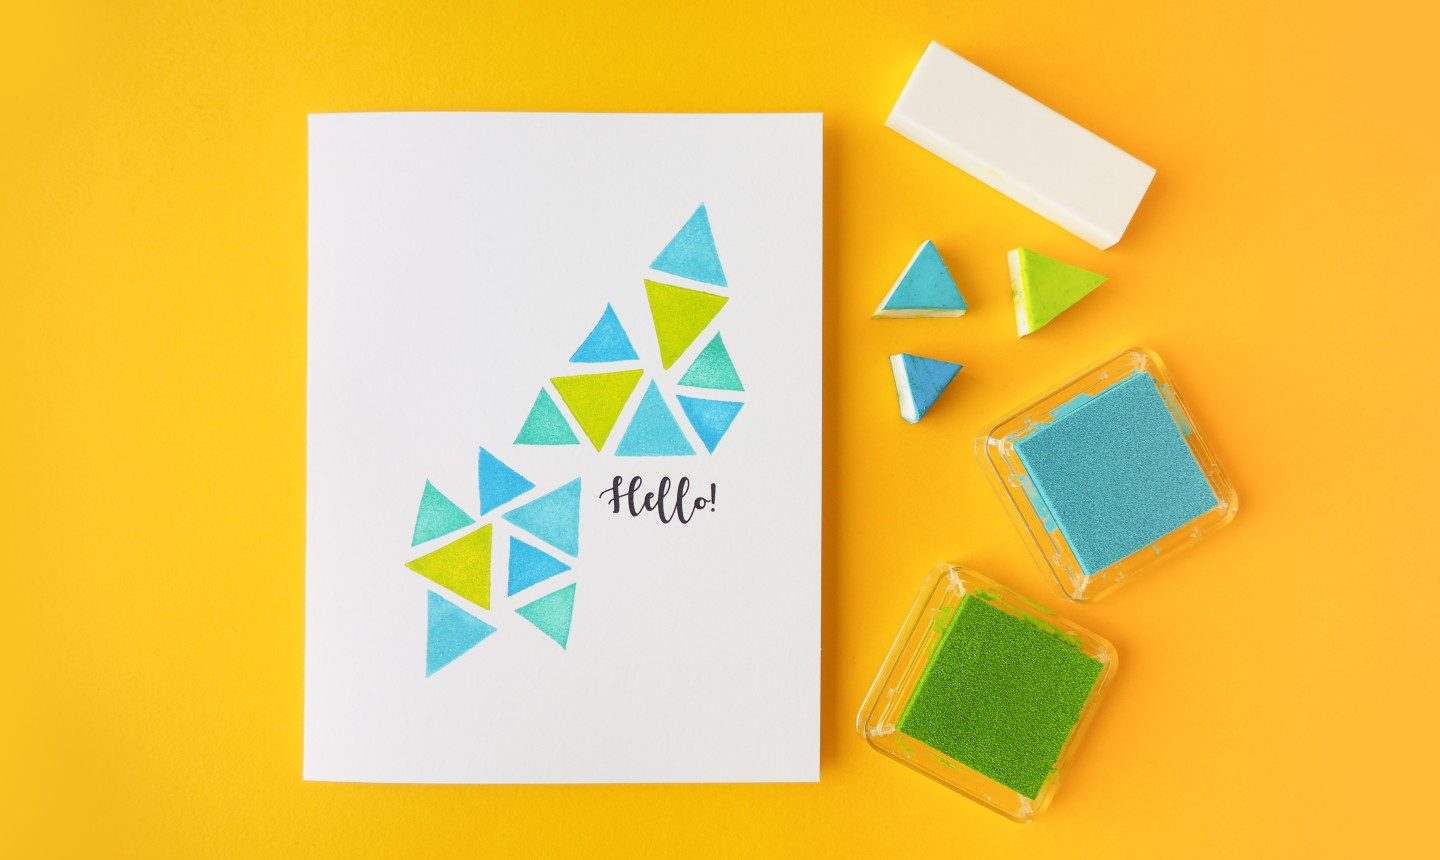
What You Need
- White eraser
- Ink pads
When it comes to paper crafting, you can't go wrong with stamping. This card uses simple triangles to make a geometric layout we LOVE. Don't have a stamp? No sweat — you can DIY one by cutting up a white eraser. If you have a little extra time, use a box cutter or X-ACTO knife to carve a pattern into your stamp for extra detail!
4. We All Scream for This Card
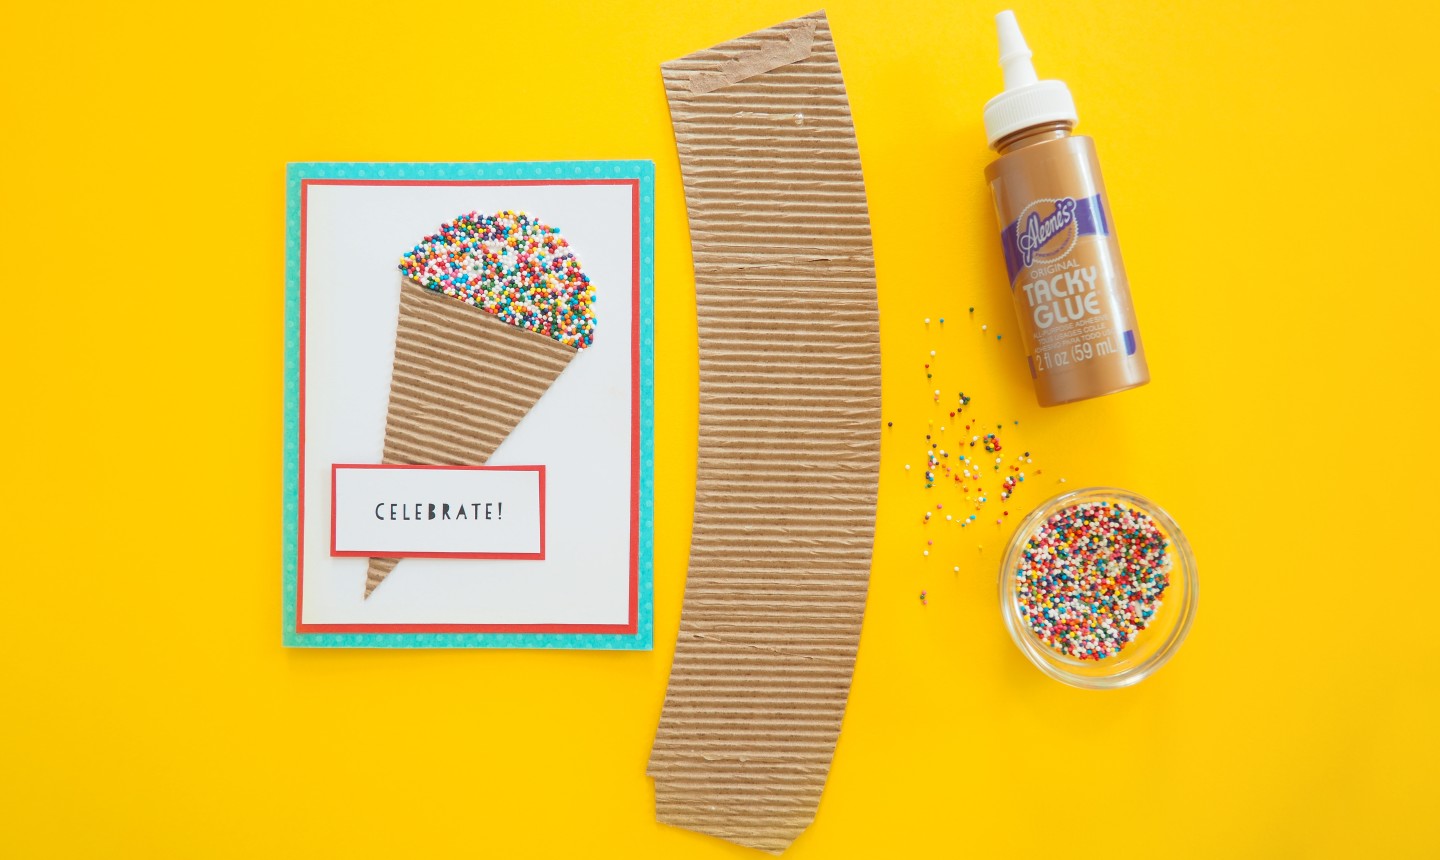
What You Need
- Coffee sleeve
- Tacky glue
- Nonpareils
Finally, a card that combines two of our favorite things: ice cream and coffee. (Kind of). If your crafting obsession is fueled by caffeine, cut an old coffee sleeve into a cone and glue it to your card. Top it off with some nonpareils, and you've got the scoop on a gorgeous greeting.
5. Get a Tissue
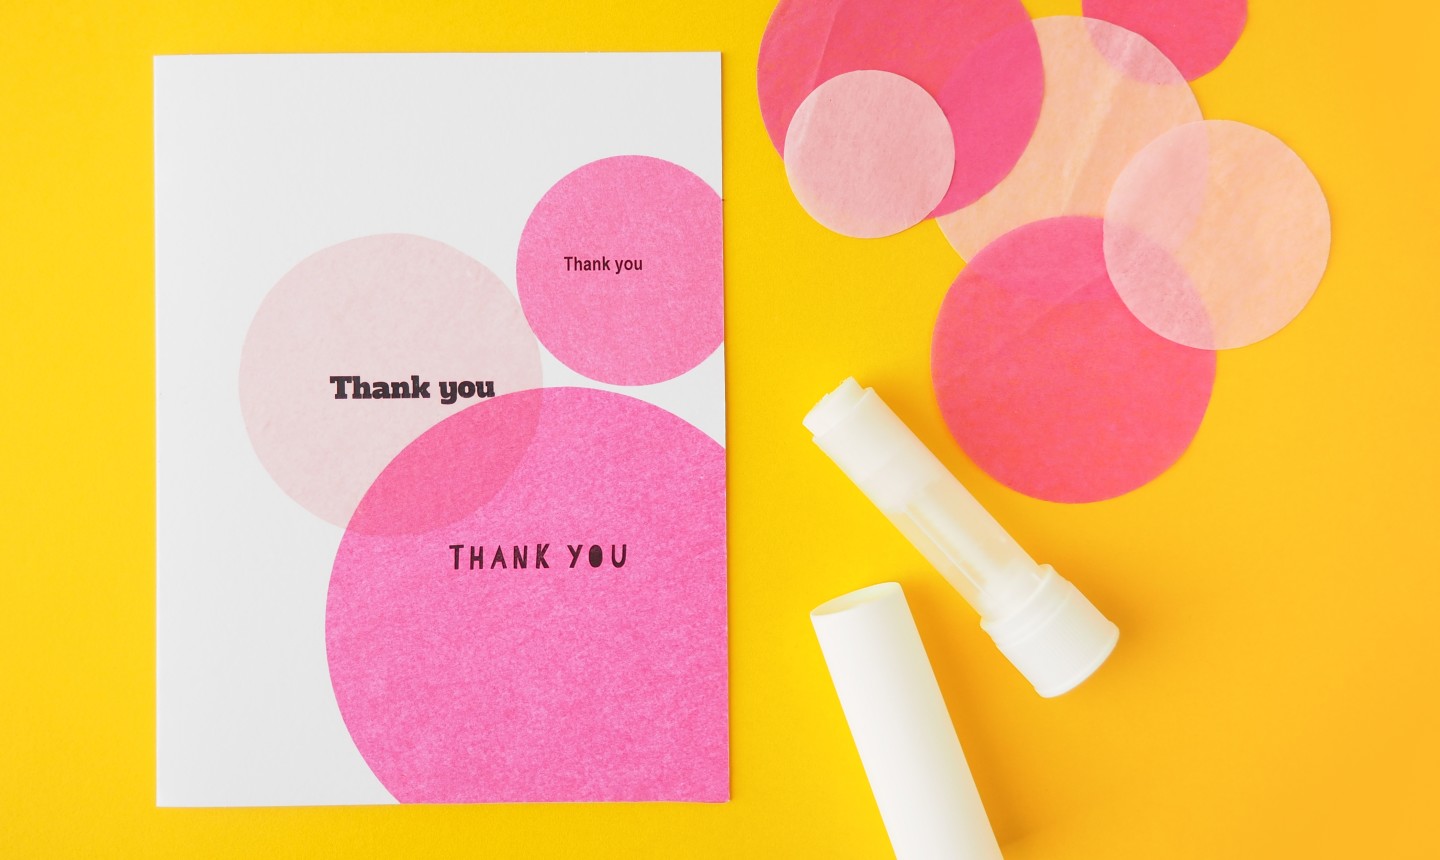
What You Need
- Tissue Paper
- Glue stick
- Circle punches in different sizes
To get this fun look, print or stamp the card's message and simply add some tissue paper. Tissue paper is see-through, so you can use a glue stick to paste the paper right on top of your letters with no fear of obscuring them.
Pro Tip You can trace and cut the circles by hand, but using circle punches is easier (and a LOT faster, too!).
6. Stamp It Out
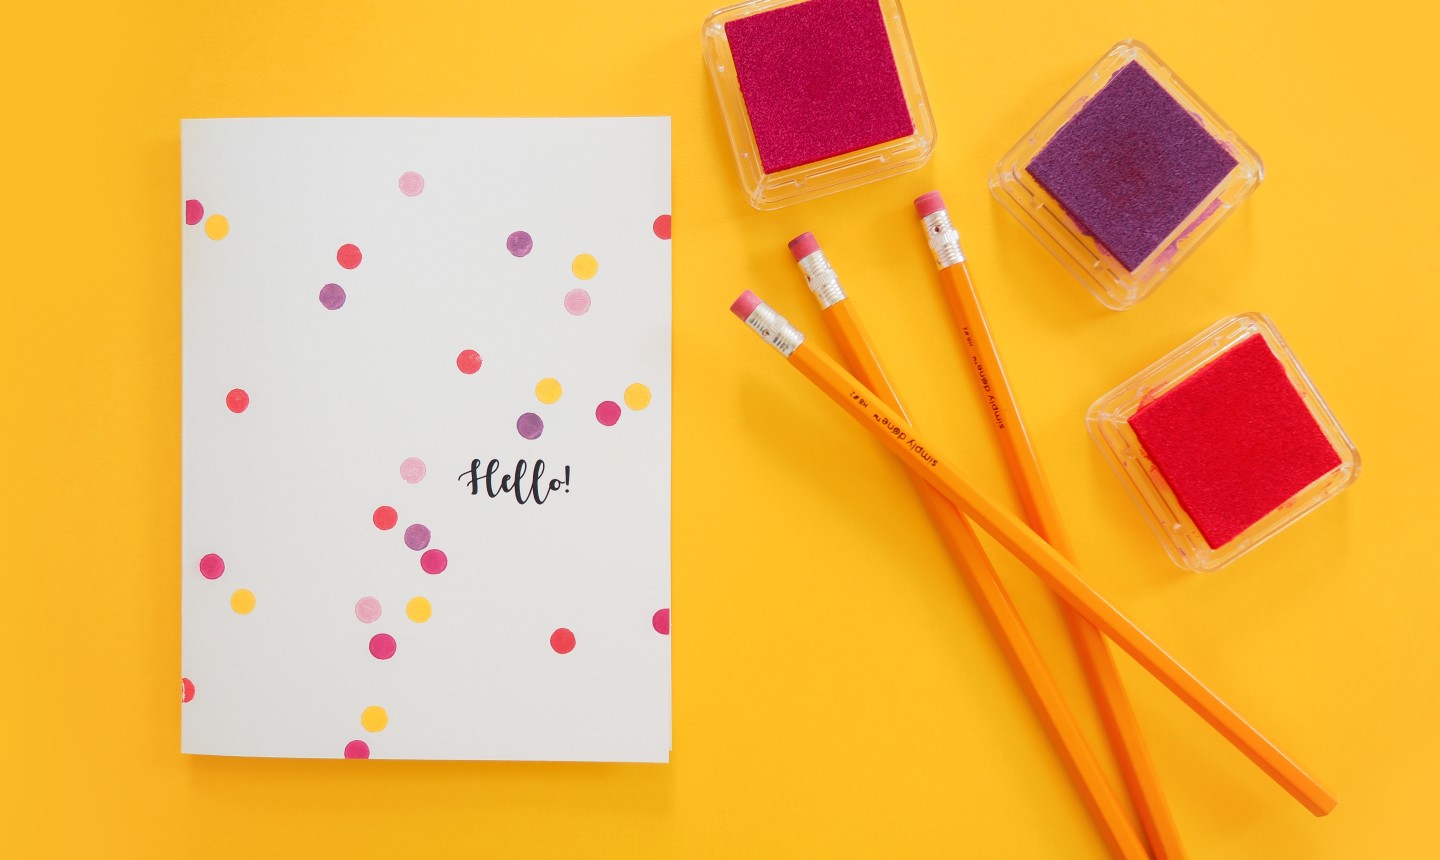
What You Need
- Pencils with erasers
- Ink pads
We are all. about. the polka dots. Print, stamp or hand letter your message, then just press an unused pencil eraser to an ink pad and start dotting!
7. We "Like Like" This Card
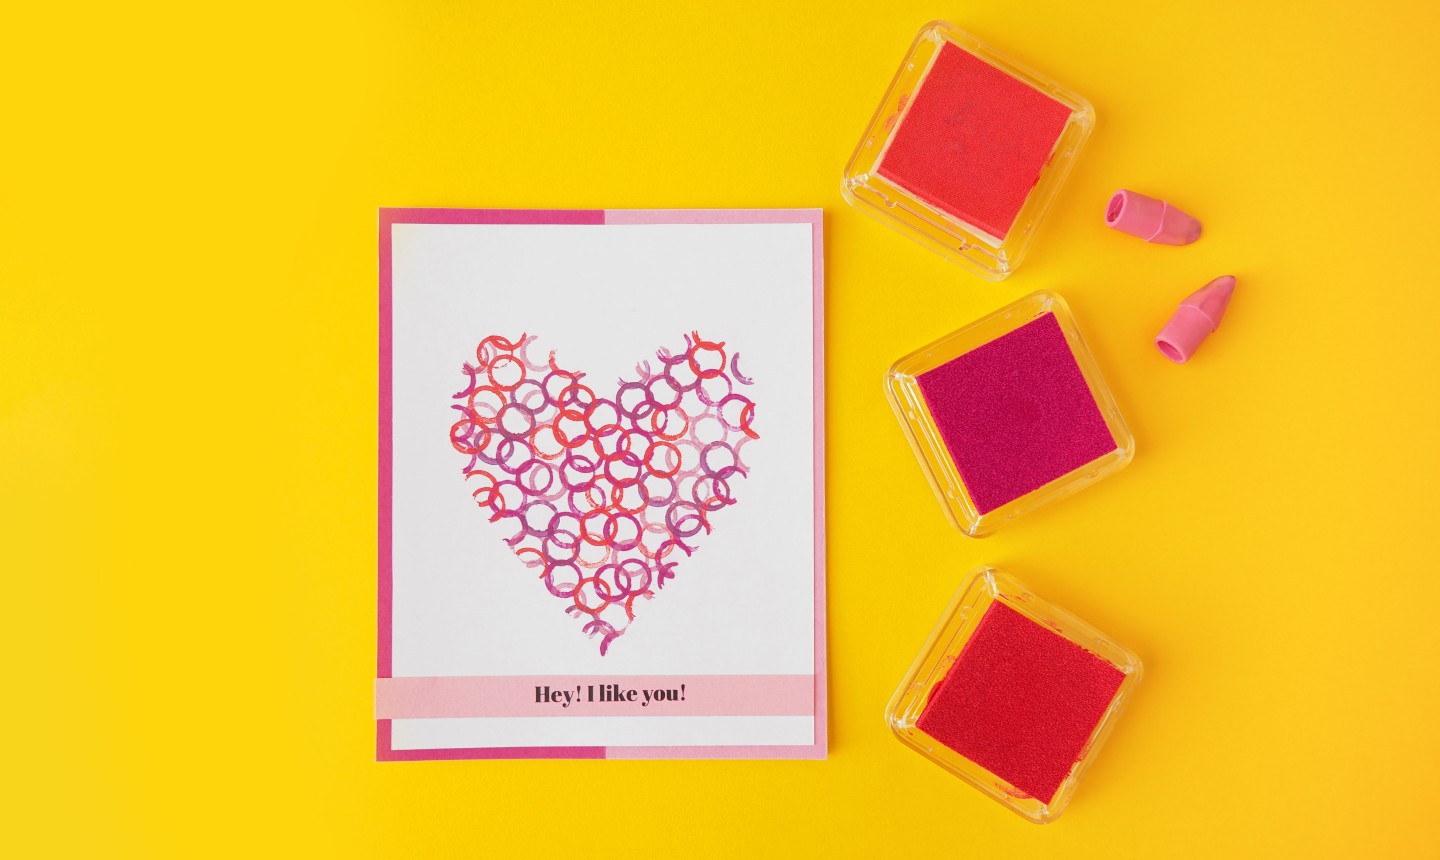
What You Need
- Ink pads
- Pencil cap erasers
- Pencil
- Stencil or scrap piece of paper
When it comes to stamping, erasers are your BFF for sure. Use pencil cap erasers to create a cool ring effect and grab a stencil of your choosing to stamp out the design. If you don't have a stencil on hand, just draw your shape on a scrap piece of paper, cut out the inside and use that as a work-around!
8. Yeah, Baby!
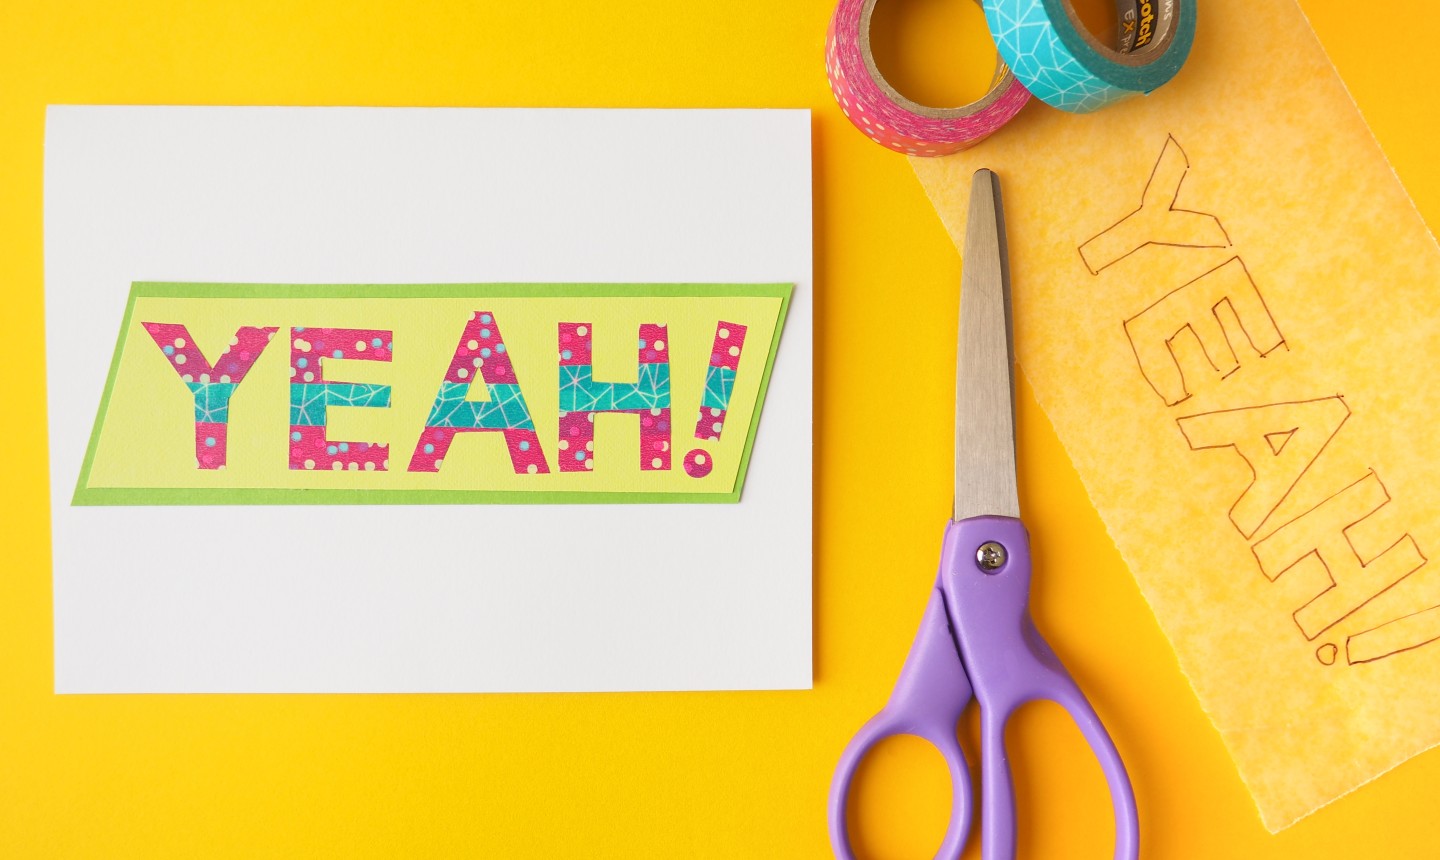
What You Need
- Washi tape
- Wax paper
- Pen or marker
Bring the energy with washi tape letters. Write out your message in big block letters on wax paper and cover 'em with washi tape. Then just flip it over, cut out the letters and add them to your card with a few other accents!
9. Add Emphasis... in Glitter!
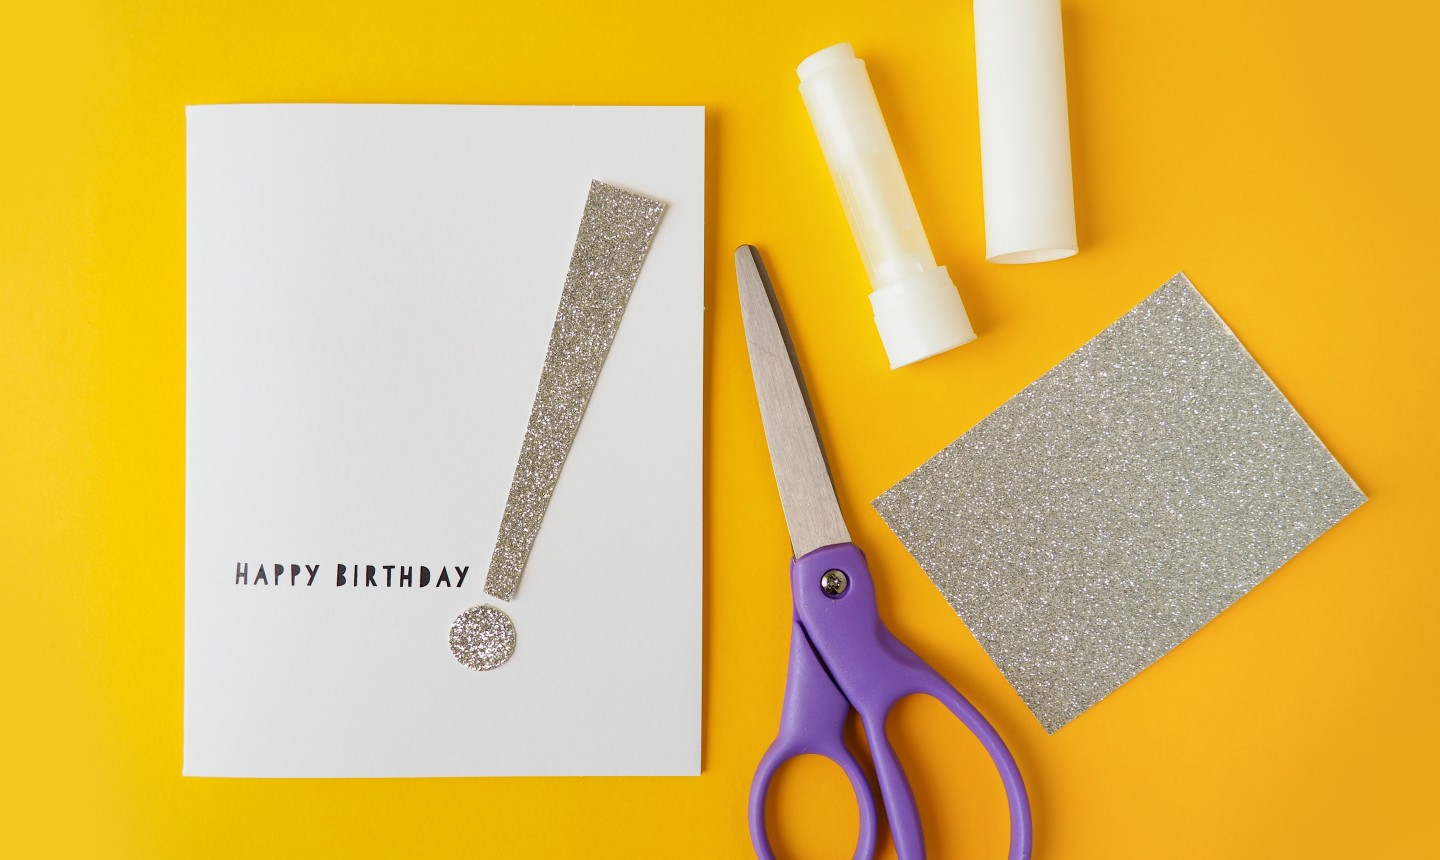
What You Need
- Glitter paper
- Glue stick
A giant, glittery exclamation point is juuuust the right amount of extra. Print or stamp your message onto the card, cut out some glitter paper and paste. It's that simple!
10. A Balloon Bouquet, But Make It Mini
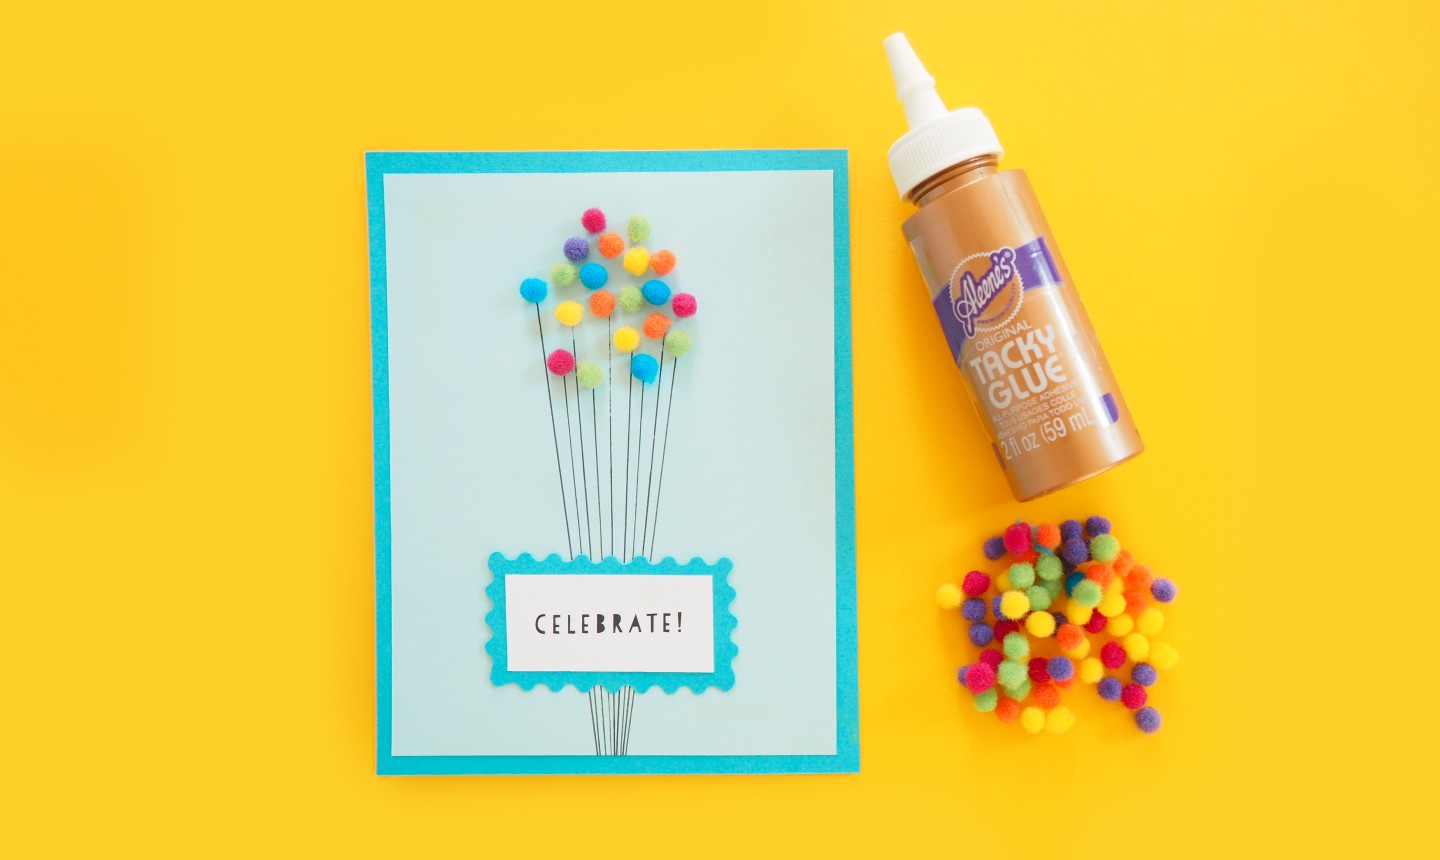
What You Need
- Mini pom poms
- Tacky glue
- Pen
Three words: mini pom poms. We're diggin' this design for all birthday and non-birthday celebrations. Use a small dot of tacky glue to stick on your mini pom poms, then once they're dry draw the strings with a simple pen stroke.
11. DIY Confetti
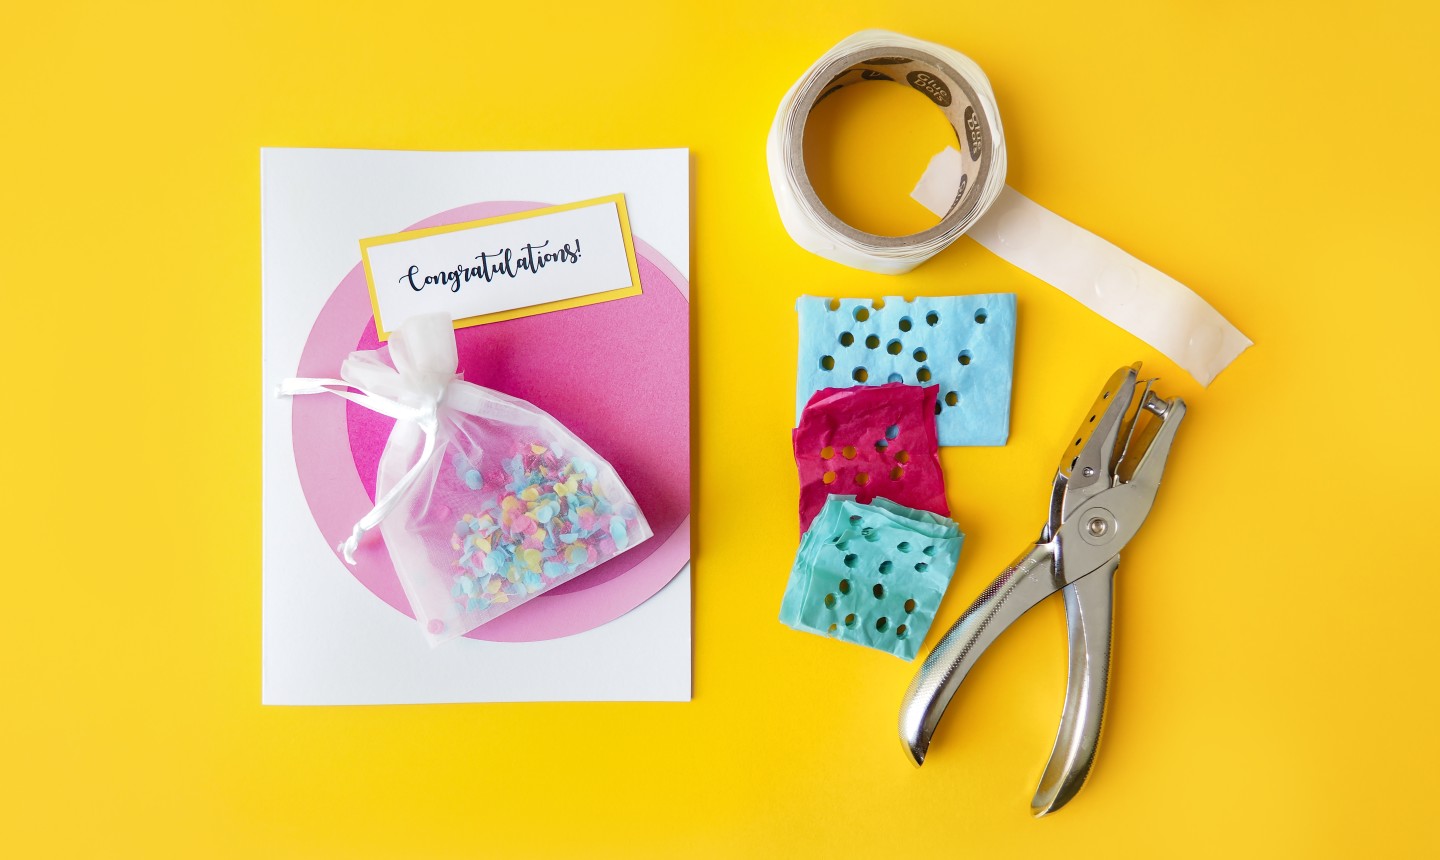
What You Need
- Tissue paper
- Hole punch
- Washi tape
- Circle punches, two different sizes
- Gauze bag
Confetti is cool, but it's even better when you make it yourself! This card is like a mini, mobile party all on its own. Use a hole punch to make confetti pieces out of tissue paper, pour 'em into a pretty gauze bag and tape 'em to your card. So cute!
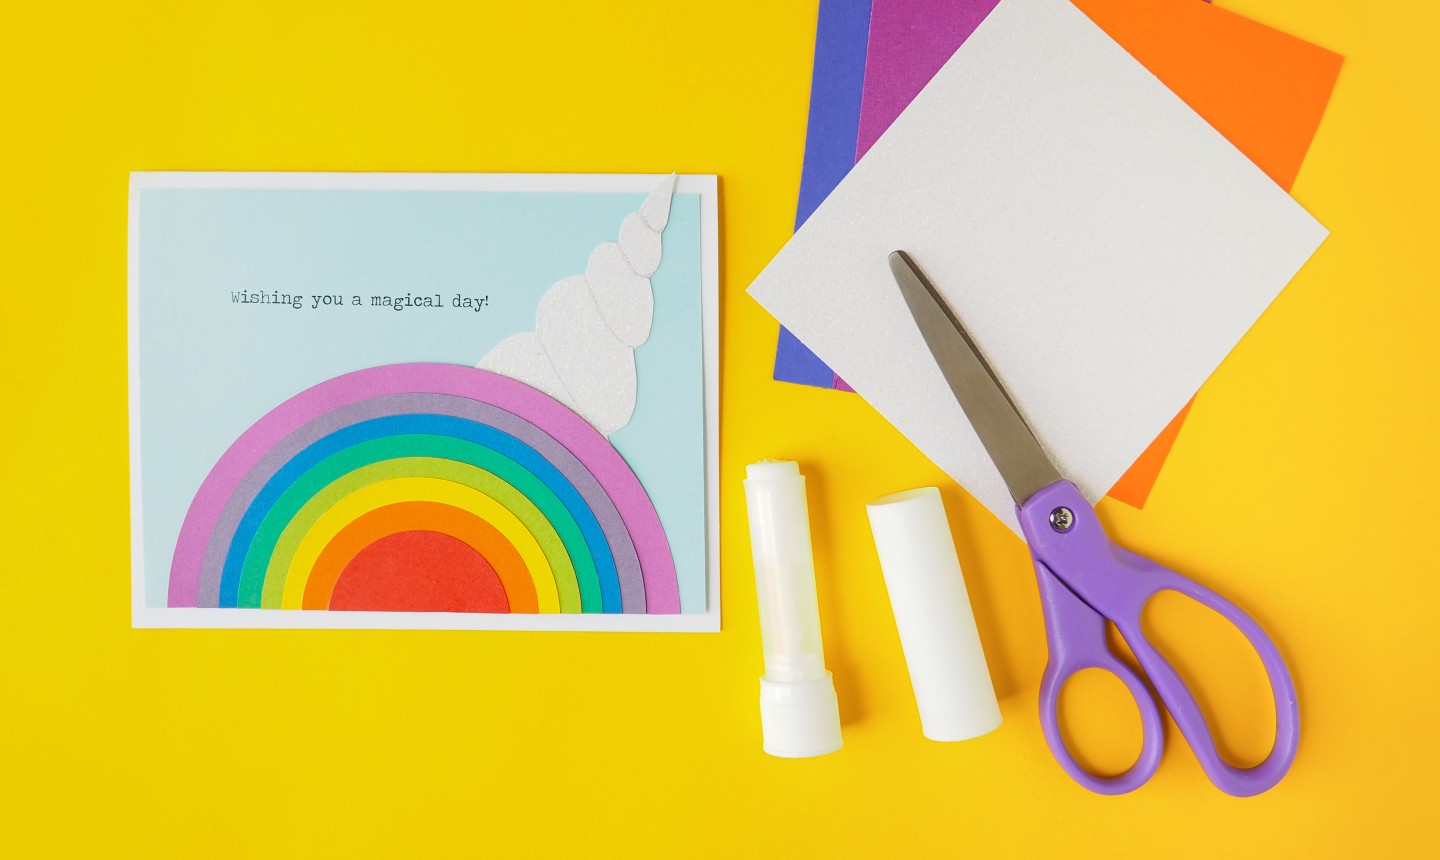
12. Make Something Magical
What You Need
- Card stock in white and in each color of the rainbow
- Glue stick
- Unicorn horn and circle template
The perfect card for a fairy tale-loving kiddo... or an adult who appreciates some whimsy. This card might look like it takes a bit longer to make, but we've got templates for that — just print 'em out, trace the images onto card stock, cut the pieces and glue it all together.
Pro Tip In the template, the rainbow rays are complete circles. You can either slice them in half before transferring them to card stock, or you can fold them in half afterwards. Whatever makes sense to you!
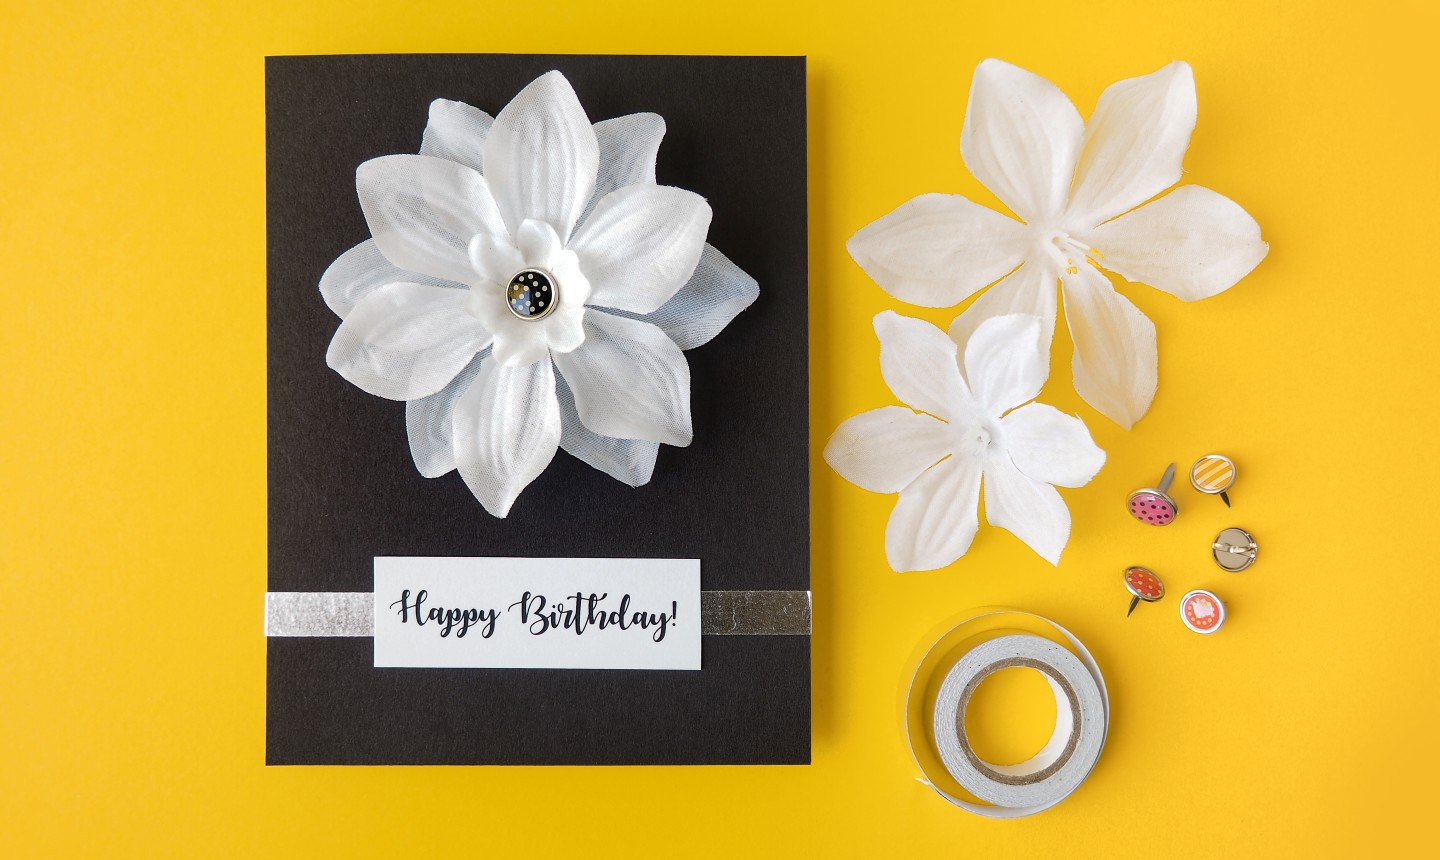
13. Poppin' Petals
What You Need
- Fake flower
- Washi tape
- Paper fasteners
Flower lovers, this one's for you. It's easy to attach a bold bloom to a card with a paper fastener, and it looks so pretty! Embellish your design with some washi tape and a message, and you're good to go.
Photos by Kimberly Stoney.


Happy Birthday
Hey there! This post couldn't be written any better! Reading this post reminds me of my previous room mate! He always kept chatting about this. I will forward this article to him. Pretty sure he will have a good read. Thank you for sharing! Feel free to surf to my web site - <a href="https://www.angelsofsouthlondon.com/escorts/zuki/" rel="nofollow ugc">https://www.angelsofsouthlondon.com/</a>
fantastic ideas for beginners, or for new ideas and updates. Thank You.
Super
These cards are so creative. I struggle to get started, but once the creative juices get to flowing...
Hi, I read your sharing Very nice post. I think you might want to check other resources here https://en.ac-illust.com/blog/?p=11267&preview=true&_thumbnail_id=11274
All those look so cool can I have more?
excellent tips thanx easy too
This sounds fun.
shut the duck up