
This time of year it seems like I need an abundance of wedding cards to have on hand, and why would I buy any when I can make unique, customized wedding cards at home? It’s always a nice “wow” factor and is sure to please the recipient!
How to make your own wedding cards
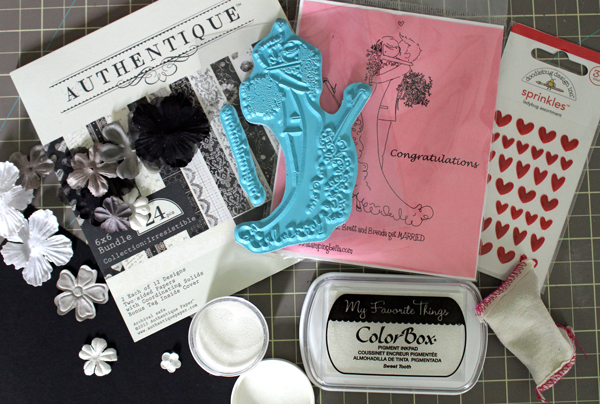
Supplies needed:
- Line image stamp (I used this one)
- Black card stock
- White pigment ink (or VersaMark)
- Detail white embossing powder (it’s finer than regular embossing powder and picks up more detail, which is key with a line image like this)
- Embossing Buddy
- Heat tool
- Card stock, patterned papers, embellishments of choice
Step 1: Stamp the image and apply embossing powder
First off, when embossing I highly recommend an Embossing Buddy. They go by a variety of names (Magic Bag, powder tool, etc.), and are necessary to get the best results when using embossing powders. If you don’t own one, cornstarch applied with a fluffy brush works great.
Basically all you need to do is coat the card stock with the powder from your Embossing Buddy to help remove any static before you stamp and apply embossing powder. That way the embossing powder sticks just to the inked image and not all over the card stock.
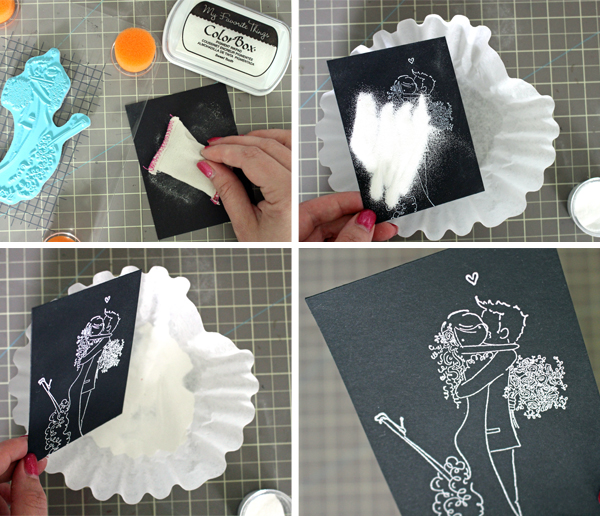
Stamp the image with white pigment ink (which I prefer when embossing with white embossing powder, in case I miss any spots the white pigment ink can hide that). Then, pour on the detail white embossing powder and heat with your heat tool.
You’ll know the powder is melted when the image has a raised, shiny surface and there aren’t any “grainy” areas — if there are, heat them until they’re melted.
I use a coffee filter to catch the stray embossing powder and funnel it back into the container.
Step 2: Layer patterned paper
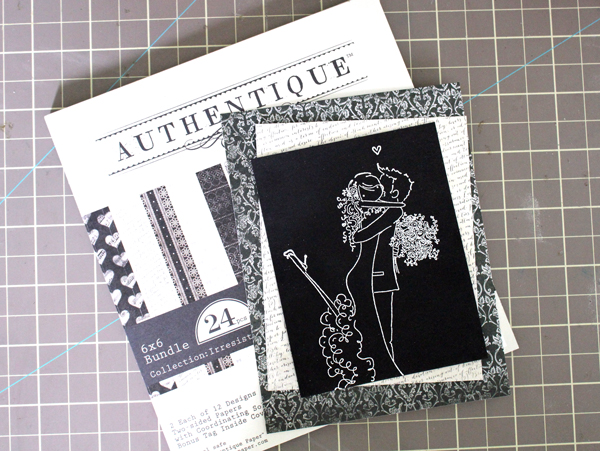
Cut out a couple different pieces of patterned paper to fit on your card front.
Step 3: Stamp the sentiment on vellum
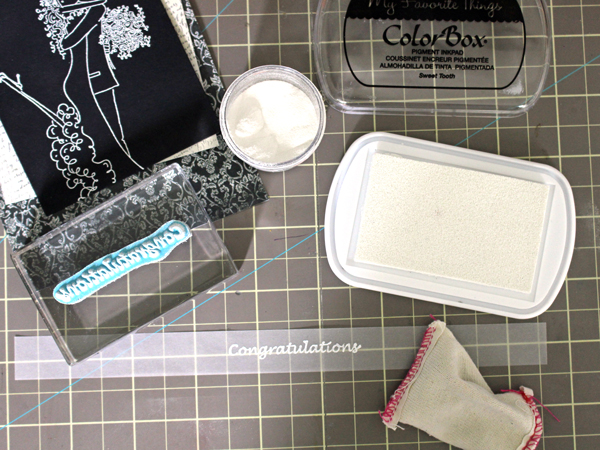
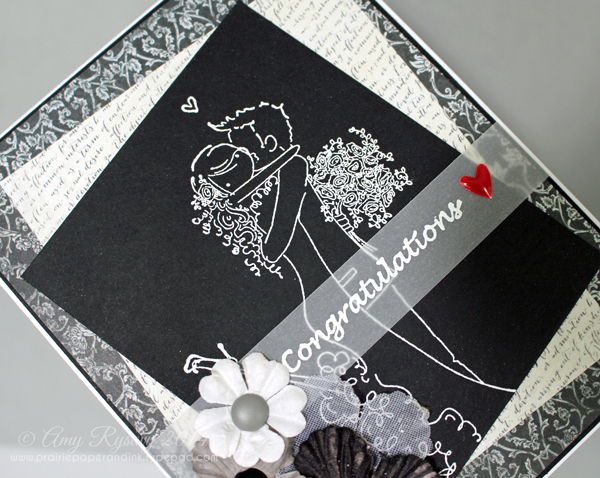
My stamp set came with a “Congratulations” stamp, so to incorporate that onto my card, I stamped it with the same white pigment ink onto a strip of lightweight vellum. I heat embossed it using the same steps as described above.
Step 4: Attach the vellum piece
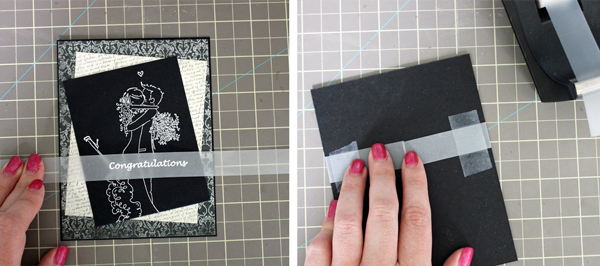
When it comes to attaching vellum to cards, you need to hide where it’s adhered. This can be particularly tricky with vellum — almost all adhesives, even those that claim to be invisible, will show through.
One of my “go-to” methods for attaching vellum is to wrap it around my card front and tape it down. Then when I adhere the card front to the card base, it’s all hidden and you can’t see the mess behind it.
Step 5: Add 3D embellishments
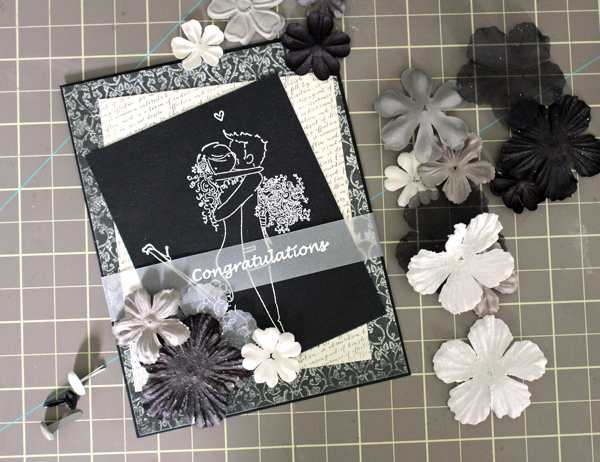
I found paper and fabric flowers to embellish my card. You can die cut your own flowers from card stock, patterned paper, felt or fabric, or hand cut if you don’t have dies.
I used brads to attach the flowers. Brads seem to be fading in popularity in the paper crafting world, being replaced by enamel dots (which I love), but nothing attaches embellishments like fabric flowers better than a brad!
Step 6: Add final pops of color
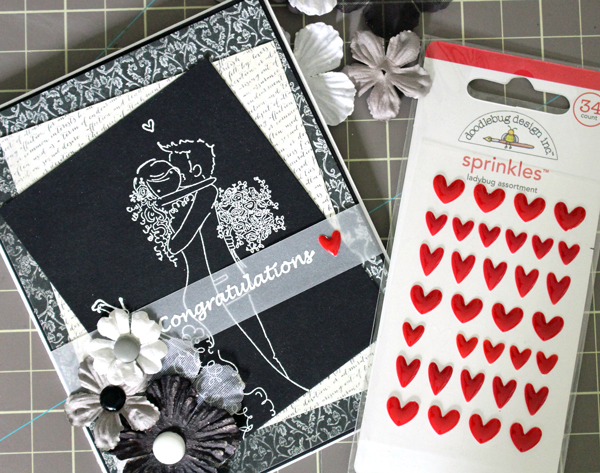
As a final touch I added a little red enamel heart beside the sentiment. I thought it added a cute pop of color to an otherwise monochromatic card. You could easily punch or die cut a small heart from red card stock, too.
Step 7: Give the inside a little love
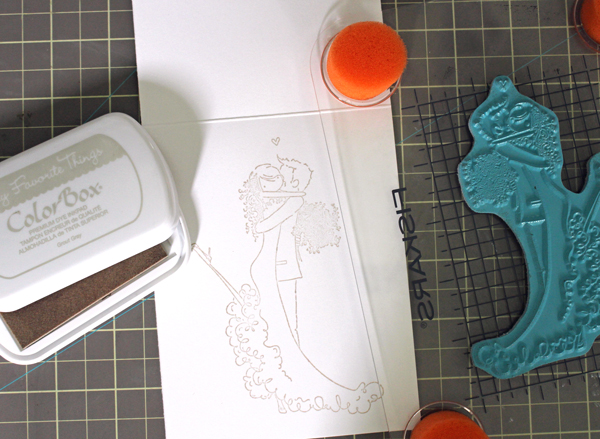
In my opinion, a card is never finished until the inside is finished! I keep the insides of my card fairly simple. In this case, I stamped the main image with a light gray ink. That way it’s still light enough that you can write over it and see what you’ve written.
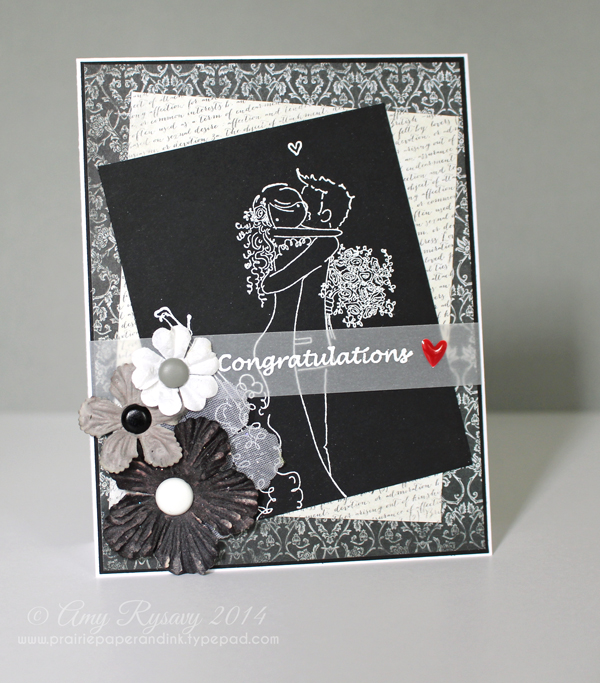
Finished! With the high contrast of the white embossing on black card stock, the image pops without any extra coloring needed.

Even with the detail and all the embellishment, this card came together quite quickly! That’s my favorite type of card — one that looks like it took a lot of time and effort, but in reality, didn’t. I hope you will try out embossing line image stamps rather than coloring them in on your next card!
Editor’s note: This post was originally published in July 2014 and was updated in March 2018.
Share tips, start a discussion or ask one of our experts or other students a question.
No Responses to “Make Wow-Worthy DIY Wedding Cards at Home”