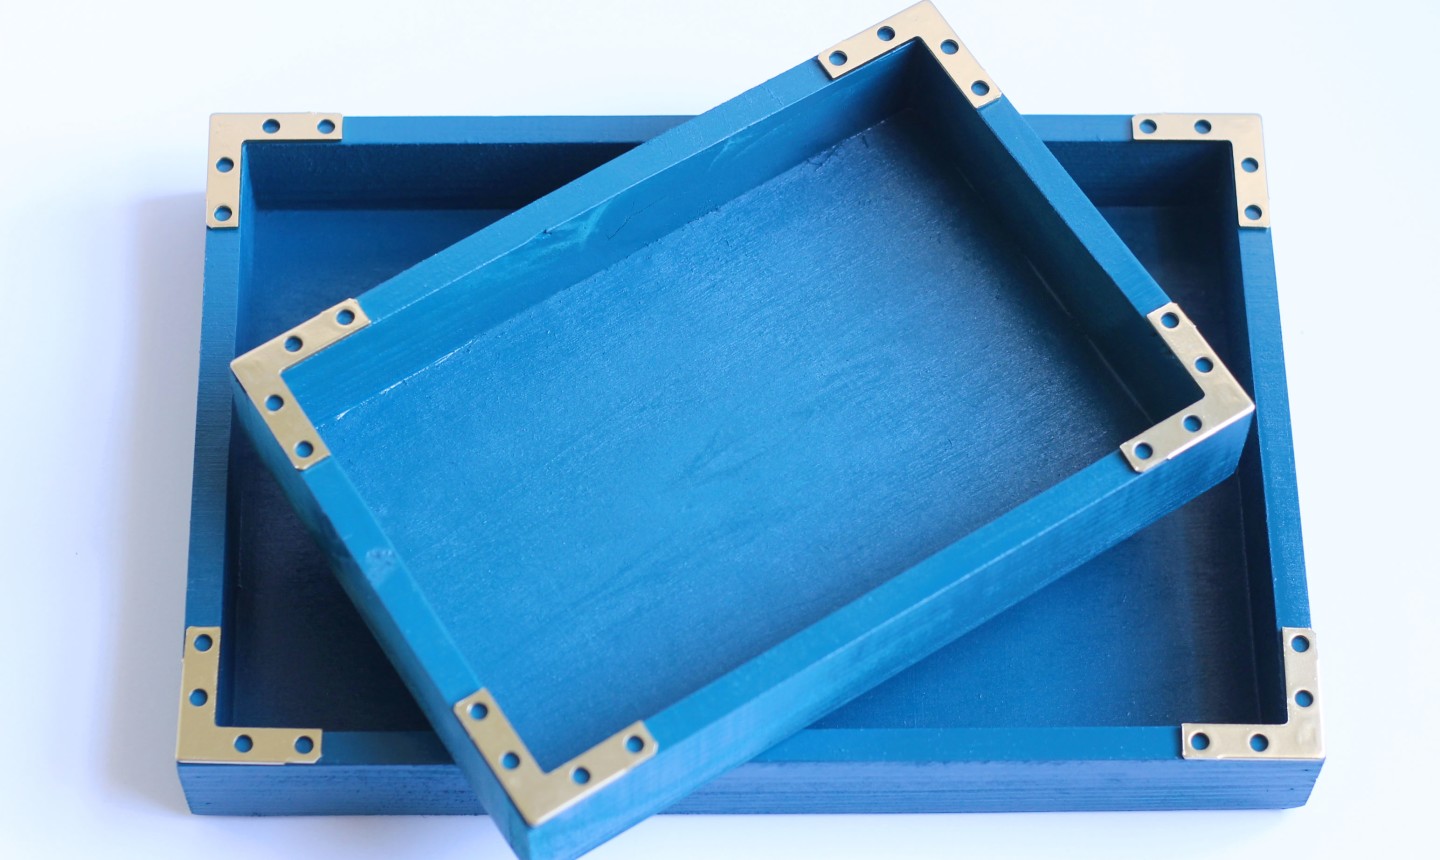
Making a set of bold, colorful trays is a great way to add a pop of fresh energy to your coffee table. And with this DIY, it's super affordable. Get ready to get organized in style!
Painted Storage Trays
Level: Easy
What You Need
Instructions
1. Start by Sanding

Start with your unfinished trays on a work surface. Use the sand paper to smooth out the surface as needed. When you're finished, brush away any dust that's left behind.
2. Gloss It and Prime It
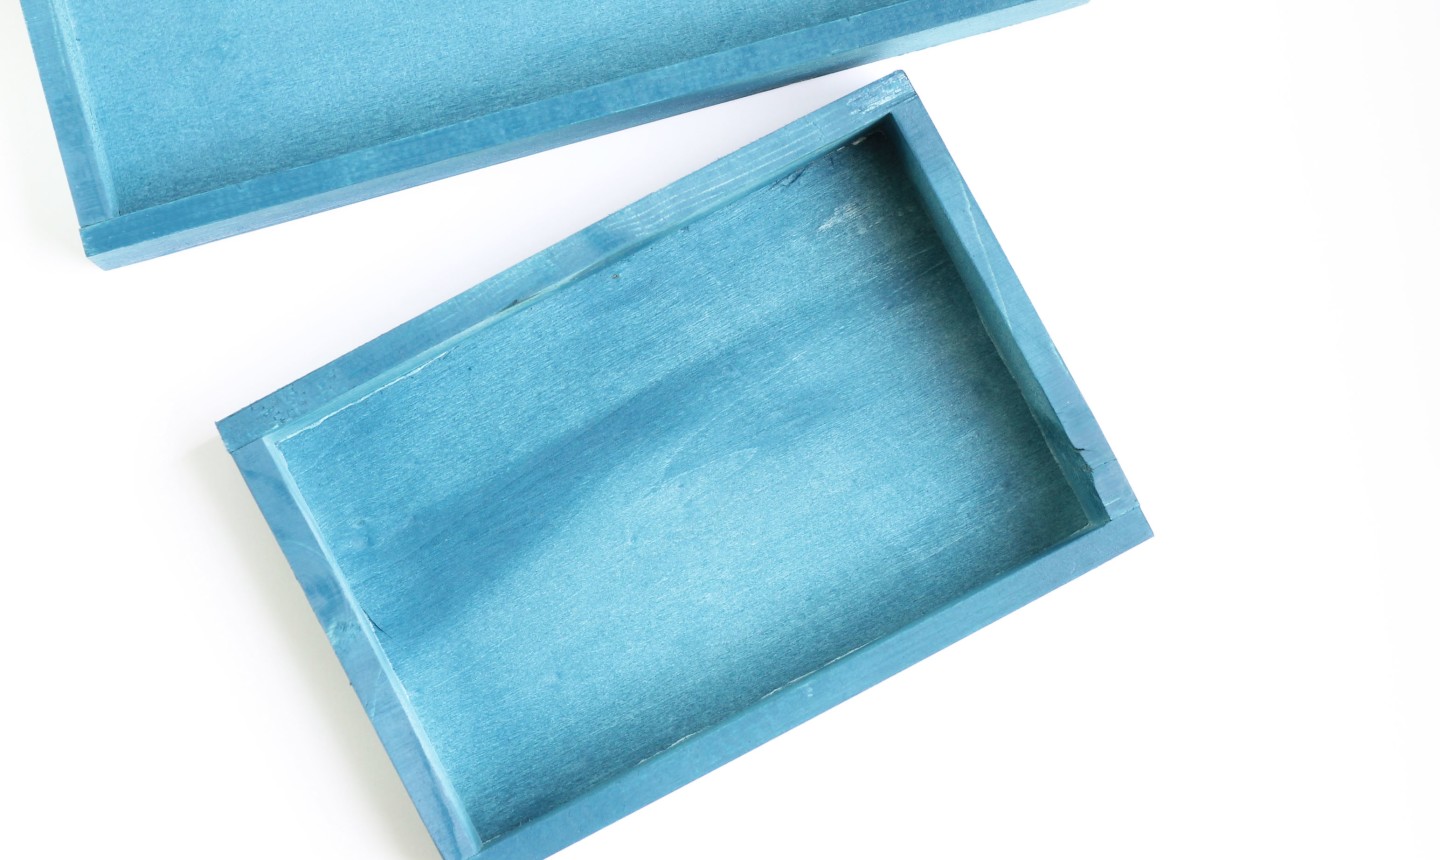
Make sure the trays are in a well-ventilated area and break out your spray can. To save on time, we used a two-in-one gloss spray paint and primer. Simply coat all sides of each tray with the spray paint and set them aside to dry. You're going to need to add a couple of coats to get a deep, rich color. Then let it dry thoroughly.
3. Paint the Brackets
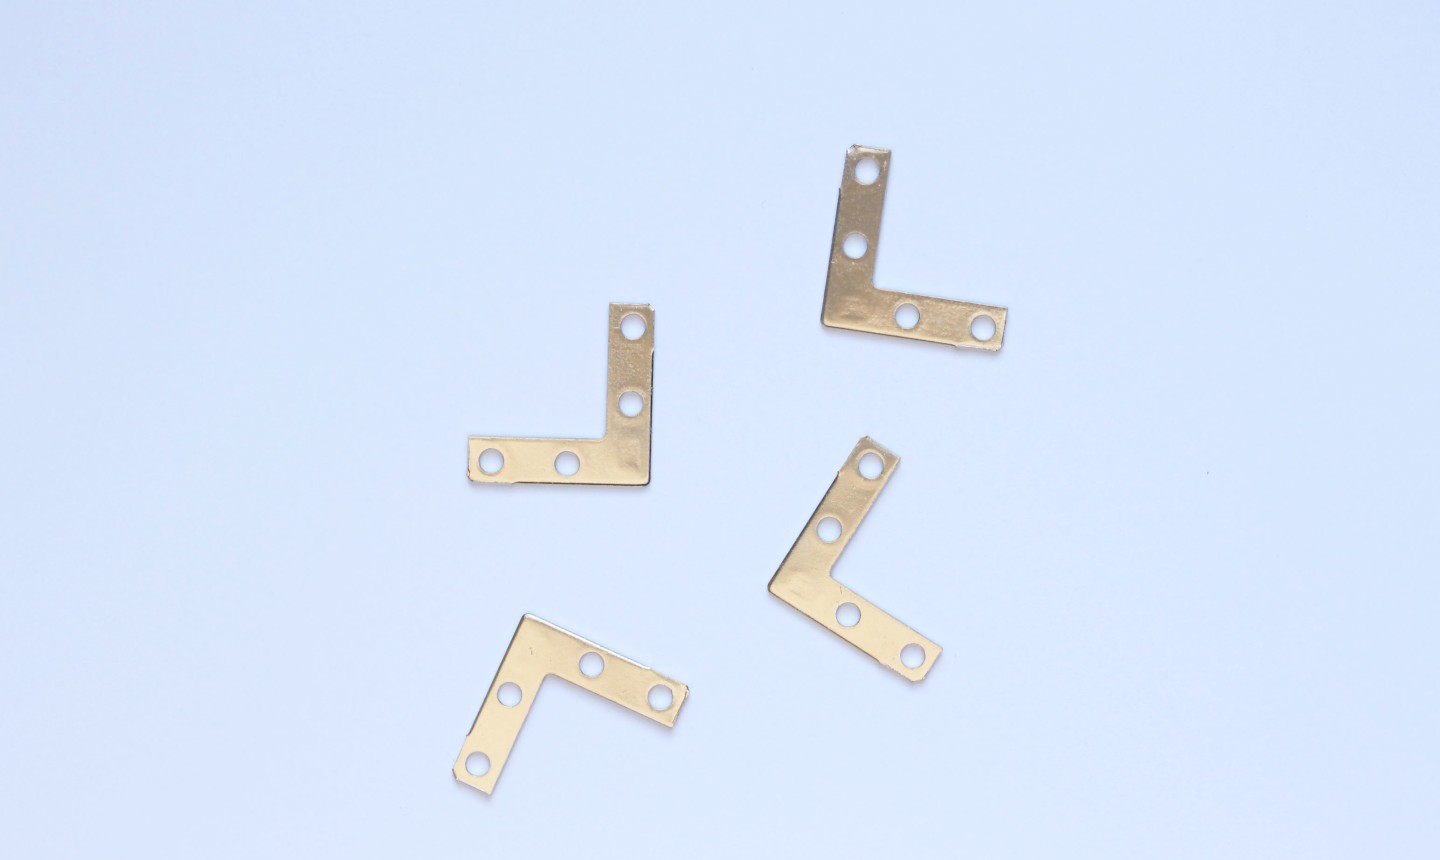
Coat your brackets with metallic spray paint to give 'em an extra shine. Again, make sure you're doing this in a well-ventilated area. When the hardware is coated, set it aside to dry.
4. Glue 'Em Down
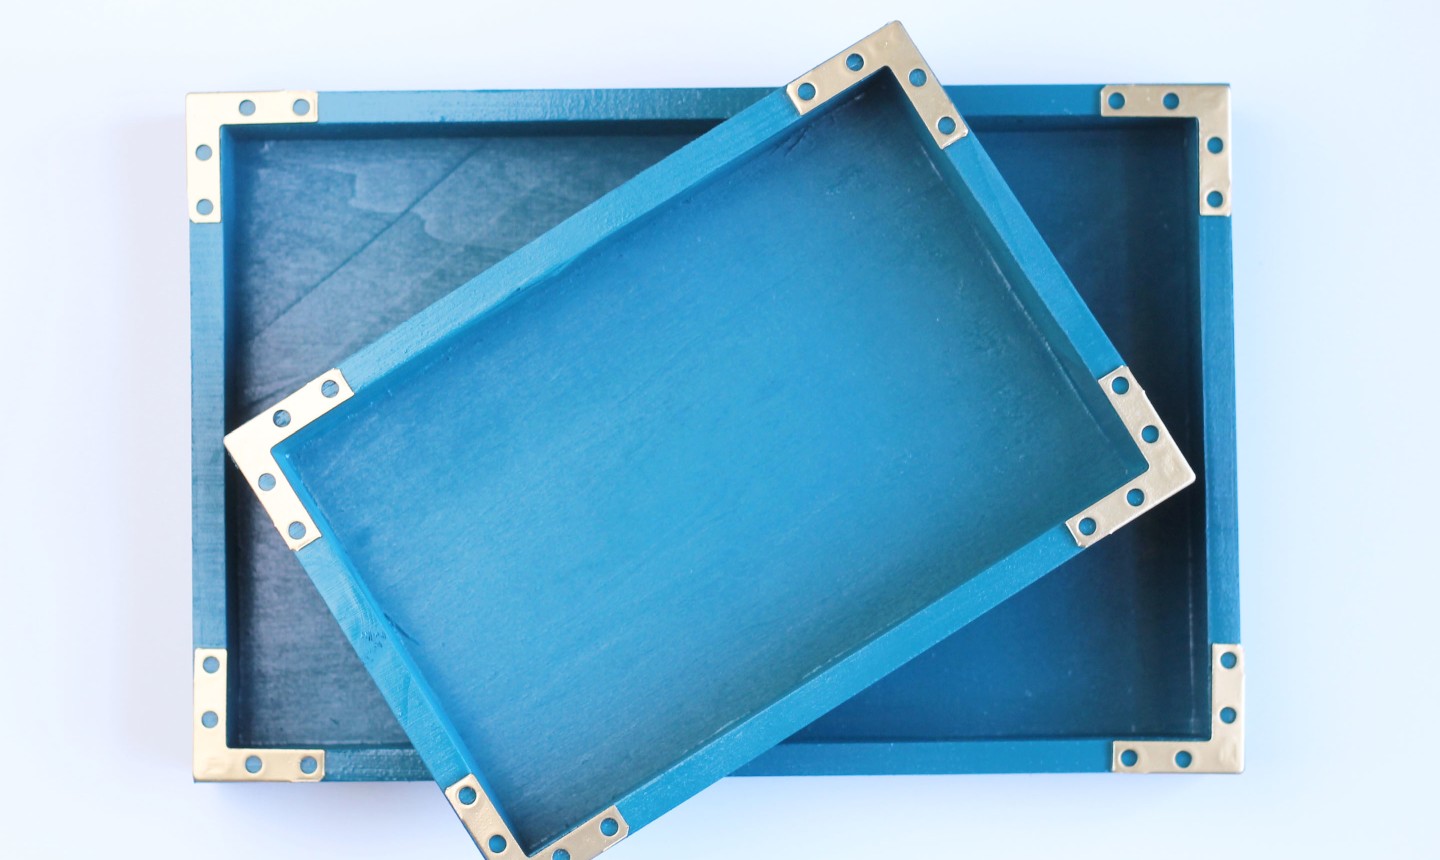
Use strong glue, such as E600, to secure the hardware to the corners of the trays. Once the glue is dry, feel free to de-clutter your space with your snazzy new trays!

Where do you find unfinished trays like this?