
Churn dash quilts are everywhere these days, from traditional quilt designs to more modern approaches. The name itself should tell you that this design is an old one, coming from the shape of a butter churn and its stick (or “dash”). The block itself is a great way to play with contrasting colors and graphic designs, and it makes a great simple skill-building for quilting beginners.
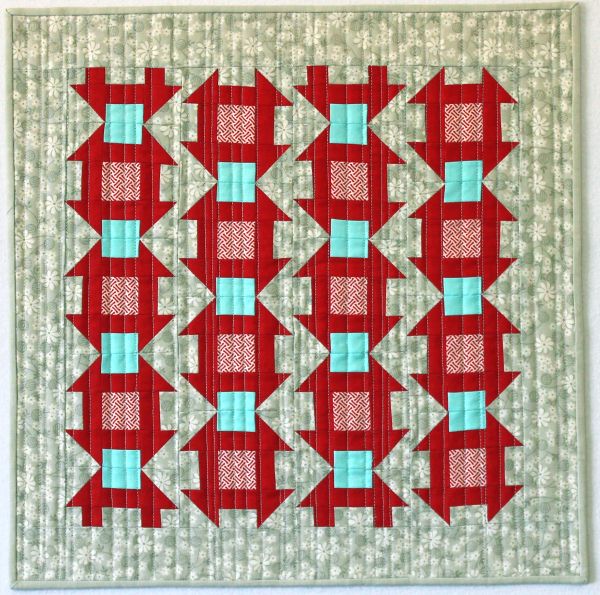
Photo via Craftsy member ChristaQuilts
At first glance, a churn dash quilt block might look complicated, but it’s all an optical illusion. The block itself is just a different take on a regular nine-patch block.
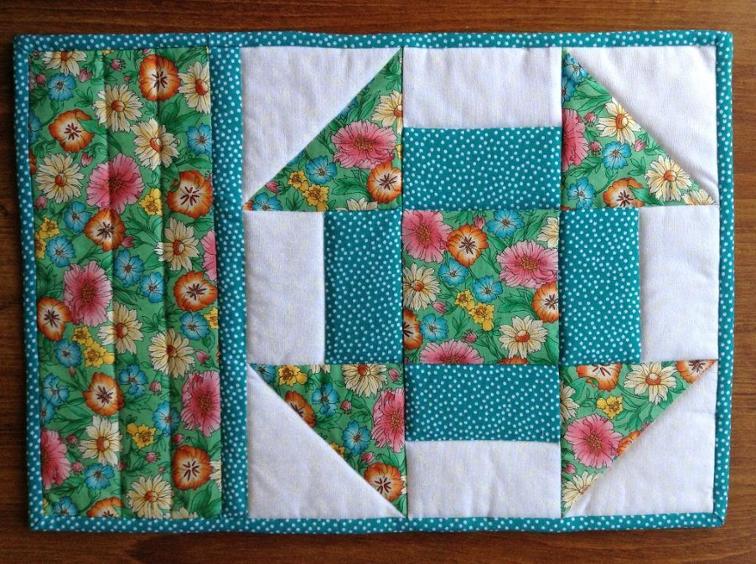
Churn Dash Mug Rug by Craftsy member Annies Quilt Craft
Want to make your own churn dash quilt block? Follow the simple steps below!
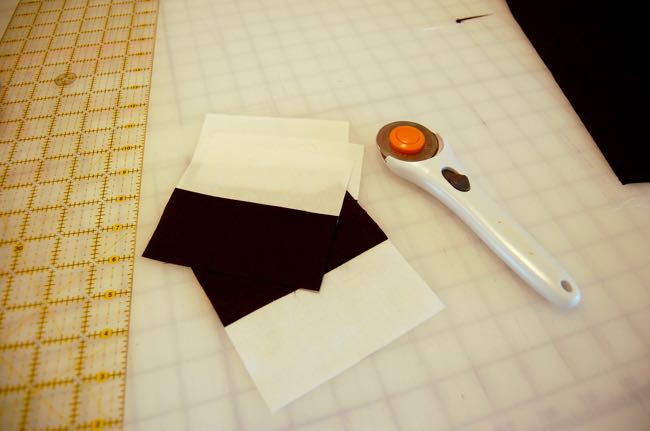
Choose two contrasting colors for your block. My block here will measure 12″ wide, finished. Once you understand the building blocks of a churn dash, though, you should be able to make it in any size you prefer.
Step 1: Make four half-square triangles.
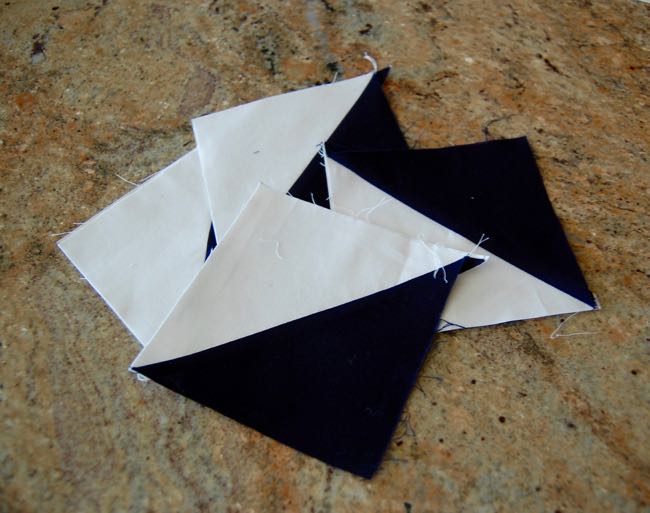
Photos via Right Sides Together
Using the method of your choice, make four half-square triangles. Each square should measure 4½” and will become one of the corners of your block.
There are many approaches to half-square triangles. The simplest method is to lay two squares right sides together (for this block they’ll each measure 5 3/8″), draw a diagonal line from one corner to the other, then sew a ¼” seam allowance on either side of the line and trim on the line.
This method, on the other hand, will give you eight at once (enough for two churn dash blocks). Personally, I prefer using paper templates for my half-square triangles, only because it’s less measuring and cutting and less room for error.
Once you have your four half-square triangle blocks, set them aside.
Step 2: Strip piece four side blocks.

Next, you’ll need to assemble the side blocks. This part is easy! Cut two strips the same two colors as your half-square triangle blocks. Both of these strips should measure 2½” x 18″. (If you want to be extra careful, feel free to cut them a bit longer than 18″ and trim down after the fact.)
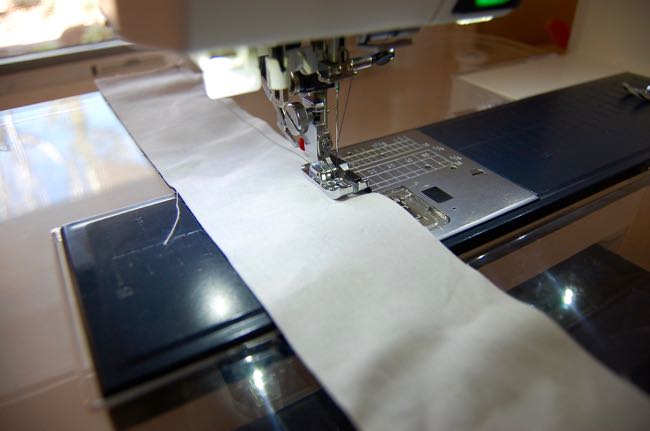
With right sides together, sew a ¼” seam along the long side of the strips. Open the strips and press the seam allowance to the darker side.
Next, cut the strips into four 4½” squares.
Step 3: Assemble your block
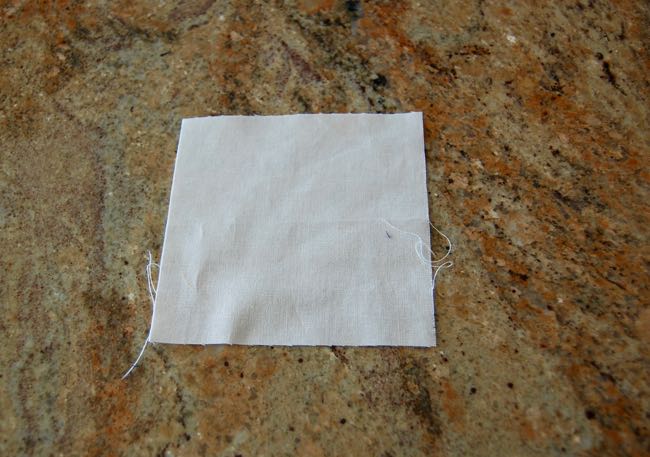
Now you have eight of the pieces for your nine-patch block. The only piece that’s left to cut is the center square. Determine which color or print will be the “churn” and which will be the background. Then cut a 4½” square in the background fabric.
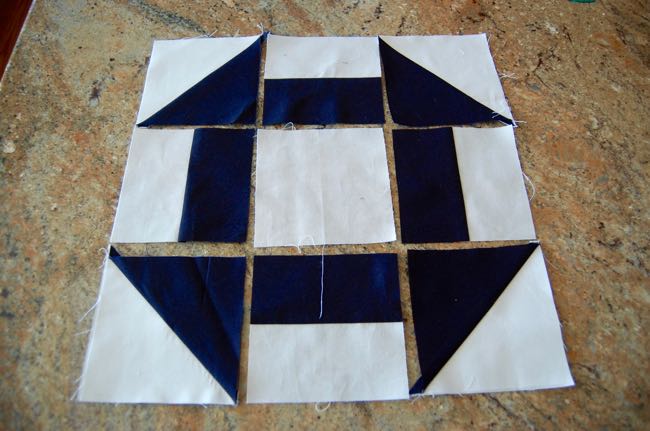
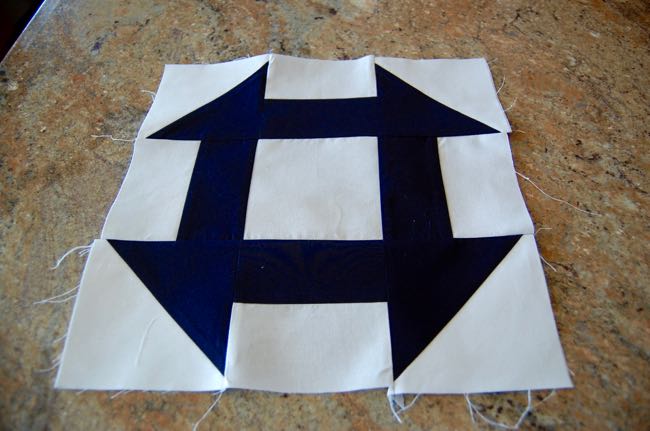
With the background colors facing outward along the perimeter, arrange the blocks in a churn dash pattern (as shown below). Sew the blocks into three rows, press open and then sew the rows together.
What I love the most about churn dash blocks is that they’re instantly scalable without much extra time.
Make a batch of half-square triangles and cut several fabric strips and you’re ready to rock.
And if you’d like to experiment, play around with the color in the negative spaces — like Christa Watson did in the quilt at the top of this page. Or create a block-within-a-block by replacing the center background square with another churn dash. Or combine different block sizes. The possibilities for the churn dash quilt block are endless!
Share tips, start a discussion or ask one of our experts or other students a question.
No Responses to “A Simple Method for Making a Churn Dash Quilt Block”