
Black and white doesn’t have to mean boring — a dynamic black and white photo has impact and force.
The key to creating powerful black and white portraits is knowing when to convert. While any image can be converted to a black and white, it doesn’t mean all images should be black and white. When picking which images to make a black and white, I like to ask myself these three essential questions first to determine if it’s dynamic or not.
Does this image evoke an emotion that is better translated without color?
What I mean by this is whether the image’s message is lost in a sea of color and would be better translated in black and white. How can you tell? Look at your image and decide whether you notice the color or the feeling first.
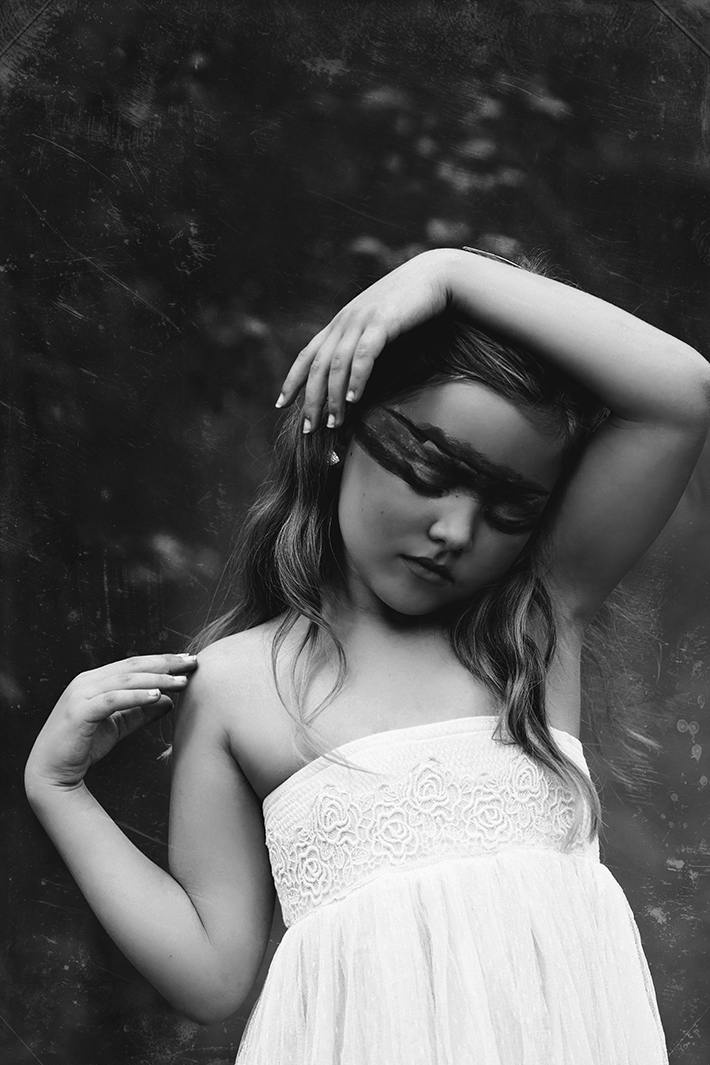
The image below is a technical disaster. Even so, converting to black and white doesn’t “save” the photo (as we will touch upon later in this post), but it captures the emotion, the feeling and the mood I was looking for. I can only say I “felt” this image. The technical aspect of it meant nothing to me. That is what evoking emotion is all about.
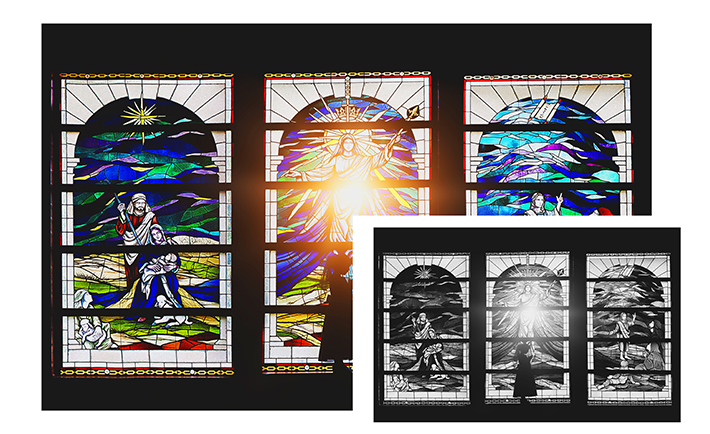
Below is a sample where color was the best option. There would have been no way to convey the warmth and the feeling of the image through a black and white. It’s dynamic without being monochromatic.
Is this image too bright or too dark to be black and white?
This might seem like an odd question. To demonstrate, I have a few samples of scenes that are too bright, too dark or too varied in the lighting.
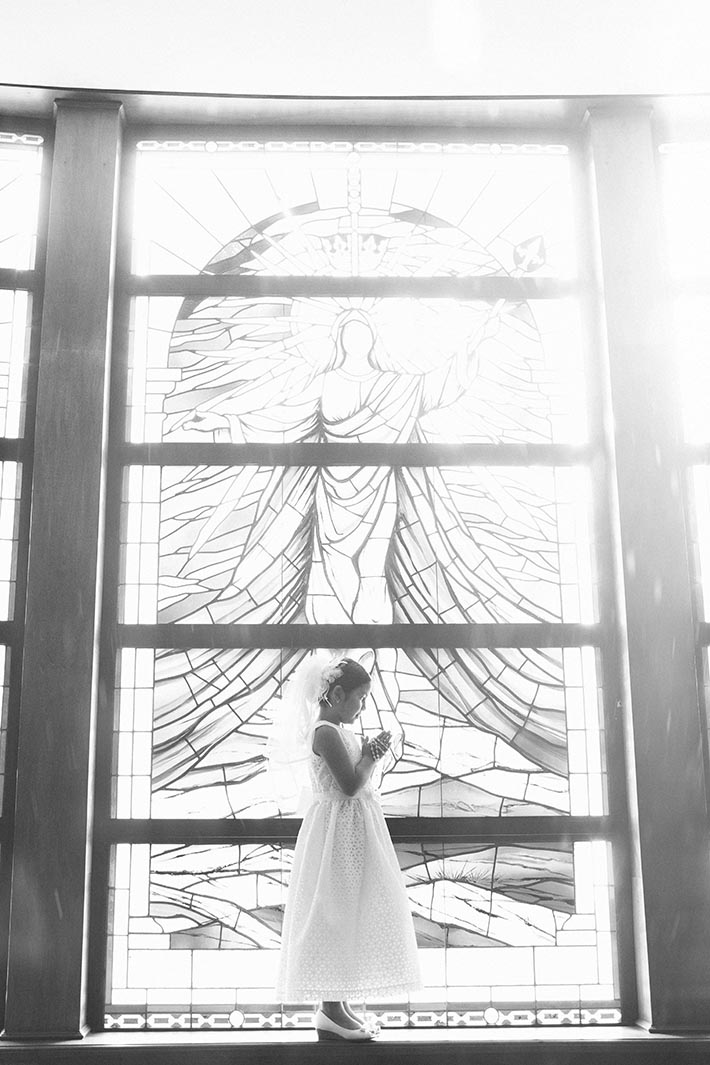
Too bright
This image is not only too bright, but it also has no depth. It worked better as a color image. Even trying to darken some of the areas of detail would have proven futile. The image is just too bright.
Too dark
This image is too dark for a black and white conversion. I would need to brighten up areas of her face so that the viewer would know what they are looking at.

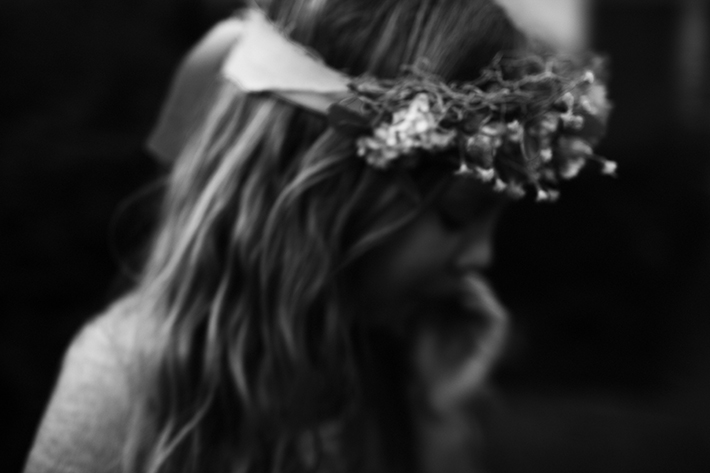
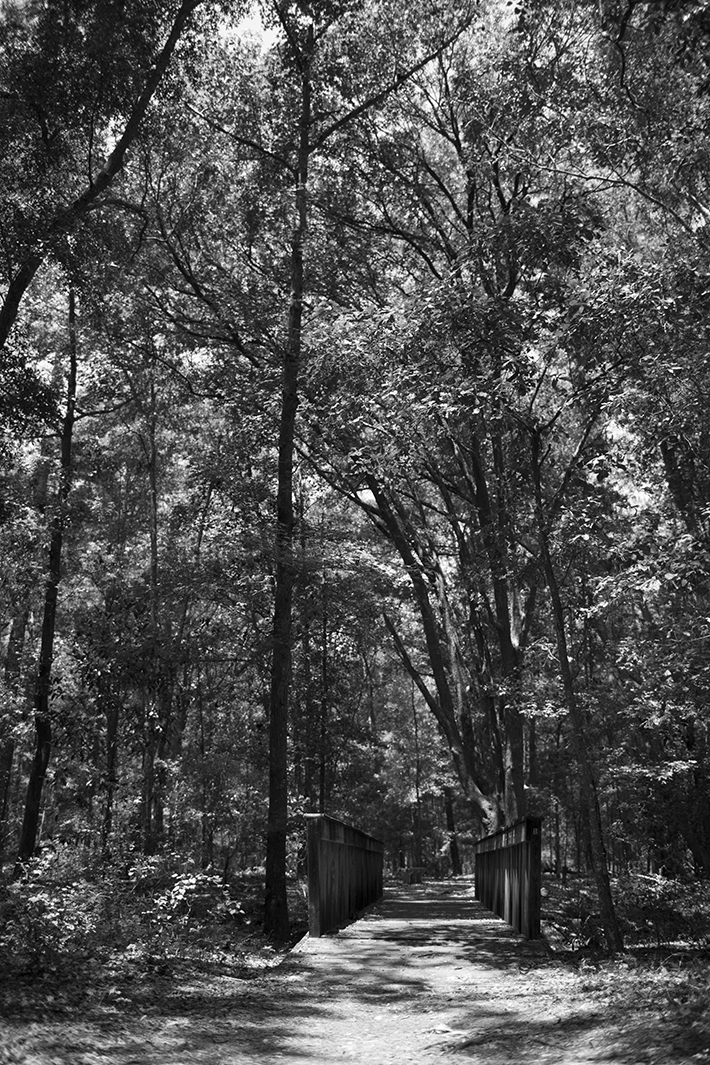
Too many variations in light
This image demonstrates why dappled light does not usually make for a very good black and white conversion. This just has too much going on — the eye has no clue where to go.
Why do I want this in black and white?
At first, you might think this is a really ridiculous question, but it’s not. If you are converting for the sake of converting or to hide flaws, then it’s best to put that image to the side. A dynamic black and white photo is screaming to be seen. It’s not just there for the sake of being there.
How to create a dynamic black and white photo
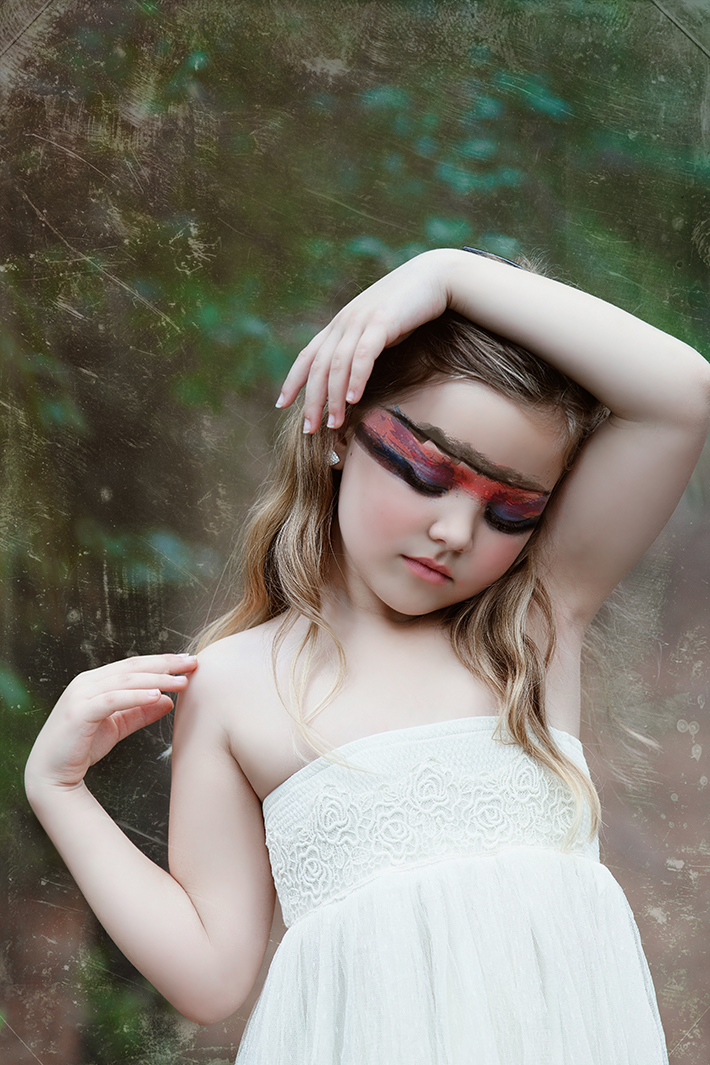
To start, I do a basic portrait edit, cloning out flaws to get the image where I want it. Here is the already finished image.
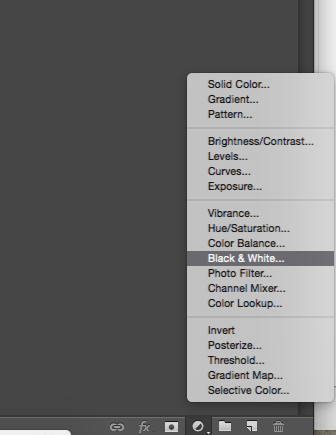
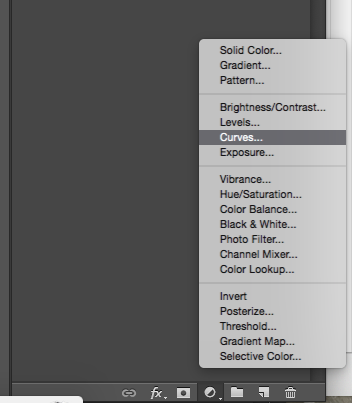
Next, I pull up a few menu items to get the conversion on its way. I start with two new layers: the black and white adjustment layer and a curves layer. You can also add grain for a filmy look, but we will wait to do that last. We’ll walk through each step below.
Black and white
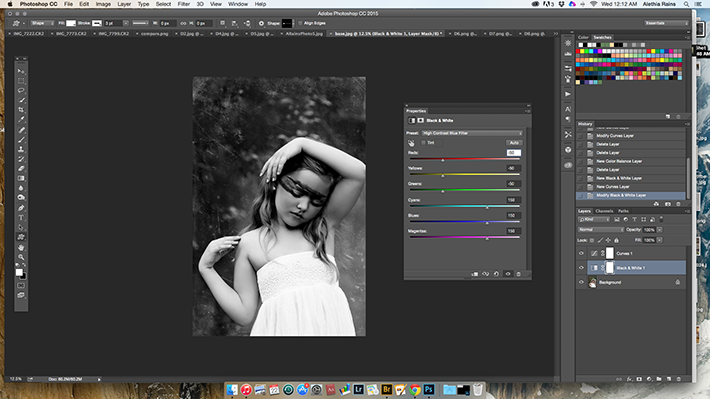
Your black and white adjustment layer is up first. Double click on the little half-and-half icon on your black and white layer and the dialog box will pop up.
Play with the sliders. This will determine how bright or dark the areas of your image are.
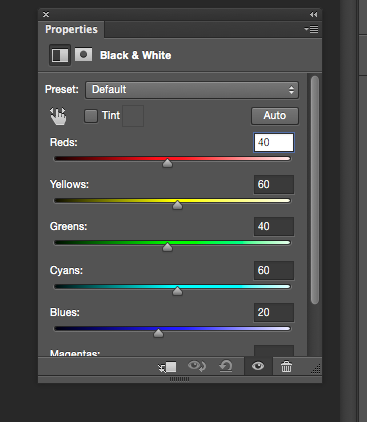
There is even a preset menu you can choose from. I used the “High Contrast Blue filter” here. It happens to be one of my favorites.
Curves
I like to add a little bit of matting and some darker shadows to my images, but’s all up to the photographer in this part. Click on the curves layer and open the panel.
I dropped the shadows down quite a bit and brought up the blacks.

Grain
The last thing we can do is add grain. This is a simple filter, which you can find in the menu under Filter > Noise > Add Noise. Play with the settings to get your desired look. Be sure to do this on either a flattened image or a duplicate of your background.
My final image is to my liking, but there are some areas I could readjust, such as the brightness of the reds in the black and white filter. But playing around and finding what you like is part of the fun of Photoshop!
These are some of my favorite dynamic black and whites. What are some of yours?
Share tips, start a discussion or ask one of our experts or other students a question.
No Responses to “The Foolproof Method for Shooting and Editing Dynamic Black and White Portraits”