
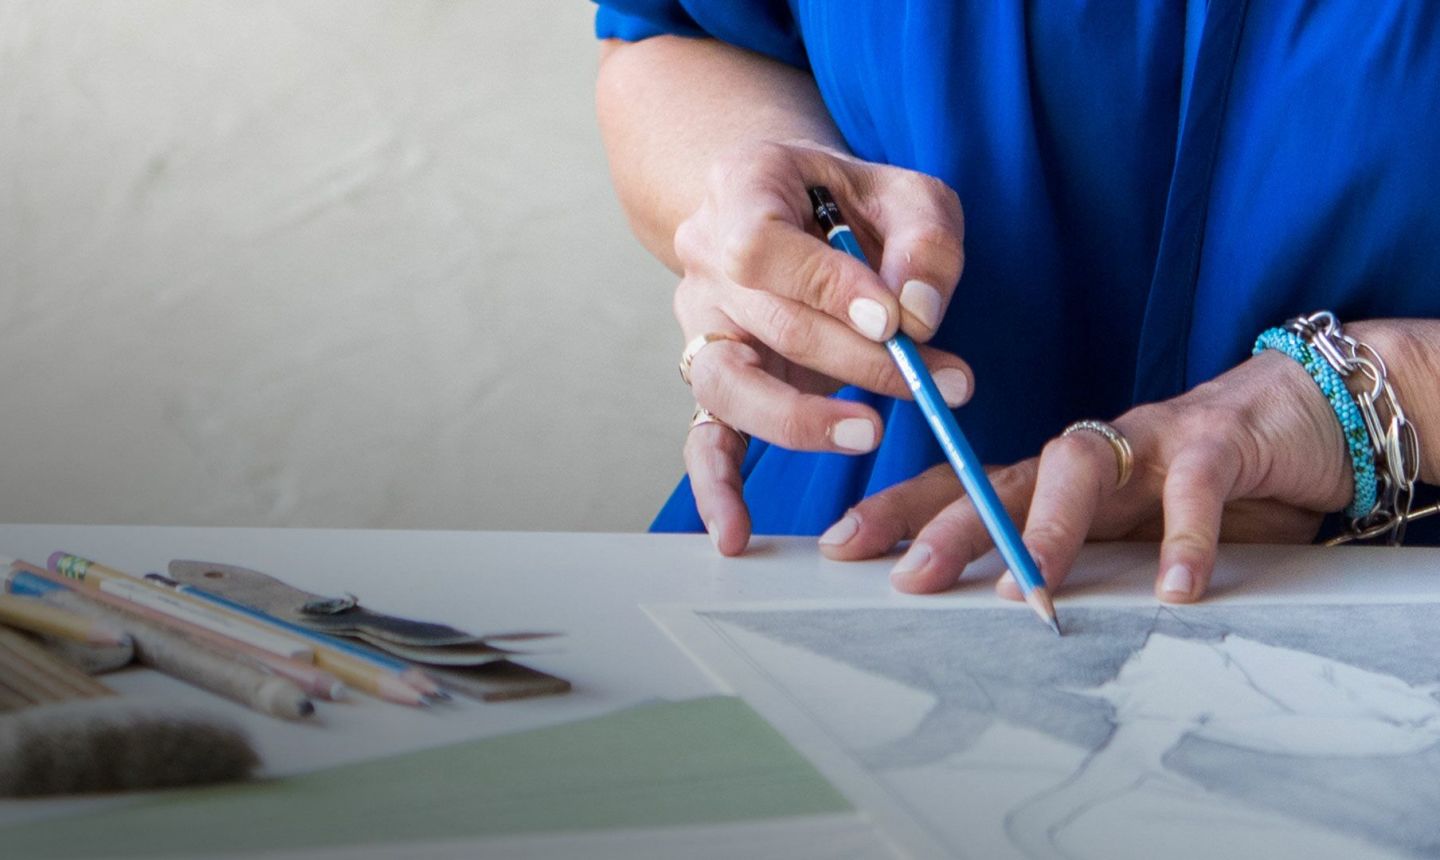
Drawing with pencil is an art form that you can jump into at any age. It requires very few supplies and — honestly! — isn’t hard to learn. In fact, if you know how to hold and use a pencil (check!), you already have the basic graphite skills needed to start working with this versatile medium. Our beginner’s guide to drawing with pencil can help you with the rest.
Skeptical? Try the quickie sketching tutorial below. You’ll be amazed at how easy it is to make your first pencil drawing of a simple object. And once you master these basics, you’ll have the skills (and confidence) to move on to more complex subjects. Get ready to make your mark!
What You Need
There are a few tools you need to get started on your sketching journey.
Pencils
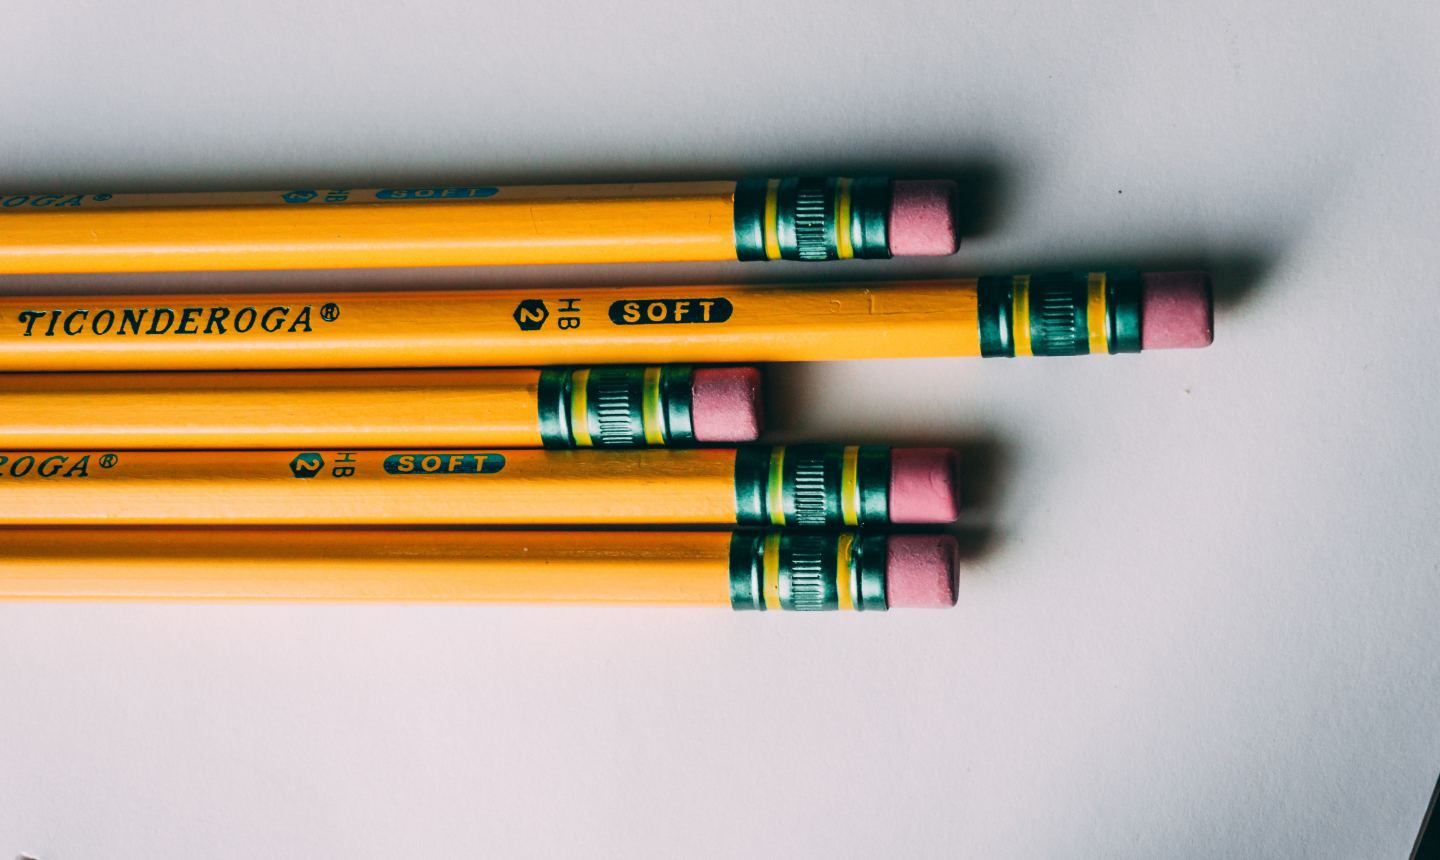
David Pennington/Unsplash
Clearly! But in the art world, there’s more to choose from than the standard #2. Pencils are graded by both number and letter, with “H” being harder and “B” being softer (or blacker). Within each letter category, there are numbers denoting degrees of hardness or softness; the higher the number, the softer the pencil.
Confused? That’s okay! You don’t have to know exactly what letter/number you need, or even what you’ll be drawing, to buy pencils. Simply pick up a variety of H and B pencils (even fancy models won’t set you back much) and you’ll be covered.
What about mechanical pencils? Yes, they can be great. They never require sharpening and are terrific for line work, hatching and cross-hatching. They’re not as good as regular pencils for soft shading, though. If you’re serious about drawing with pencil, it’s a great idea to figure out what types of tip (fatter? finer?) and graphite hardness you like, and then take the leap into buying a high-quality mechanical pencil.
Pencil Sharpener
You’ll need a good one. A great choice for beginners is a manual pencil sharpener with two openings. Each will sharpen the pencil to a different type of tip, so this will give you a lot of drawing versatility.
Eraser
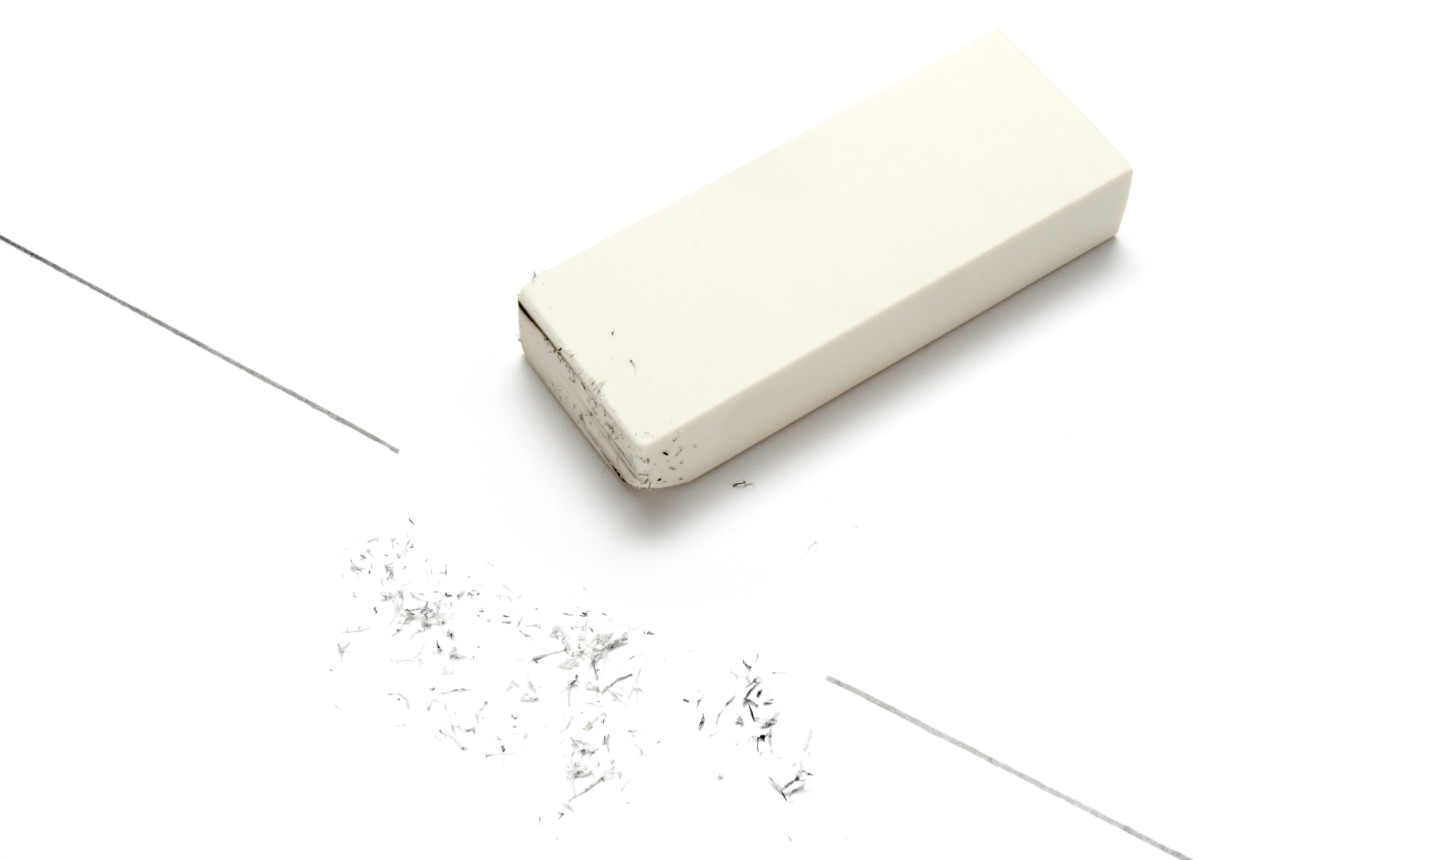
Picsfive/Getty Images/iStockphoto
Erasers aren’t just for do-overs and clean-ups. They can also used for shading and special effects. Even if your pencil has an eraser on the end, it will be worn down in no time. A soft gum eraser or a “big pink” eraser (like the eraser on the end of a pencil but larger) are both great, low-cost choices.
Paper
If you’re just getting started with pencil drawing, you probably don’t want to be using expensive paper from the get-go. You’ll want to invest in two types of paper: sketch paper, which is cheap and ideal for testing out ideas and refining techniques; and higher-quality archival drawing paper , which is thicker and has a gentle “tooth” that’s ideal for graphite, for when you’re ready to work on a final piece. You can even transfer the sketches you’d like to develop into finished pieces onto good paper using transfer paper.
Drawing with Pencil in Four Easy Steps
Apply the basics of this tutorial in all your drawing endeavors.
1. Choose a Reference Image

If you’re just getting started, a photograph is a great reference choice because it won’t move or change on you as you work. Go with something basic like a flower or simple object. In this example, we’ll use a donut.
2. Make an Outline
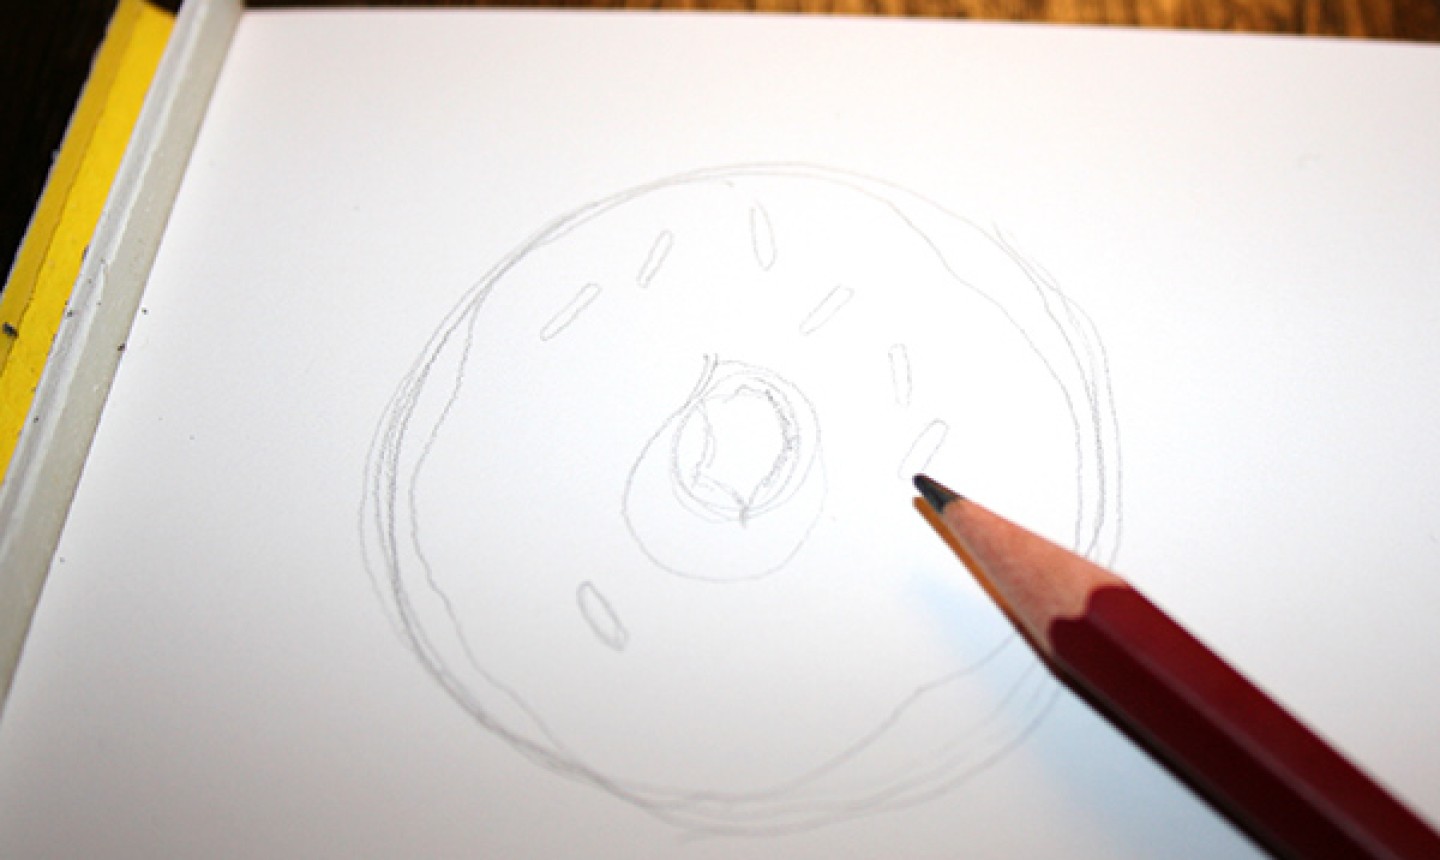
Draw the basic shape of your object, but don’t worry about realism here. It’s okay to take some liberties.
3. Add Tones and Textures
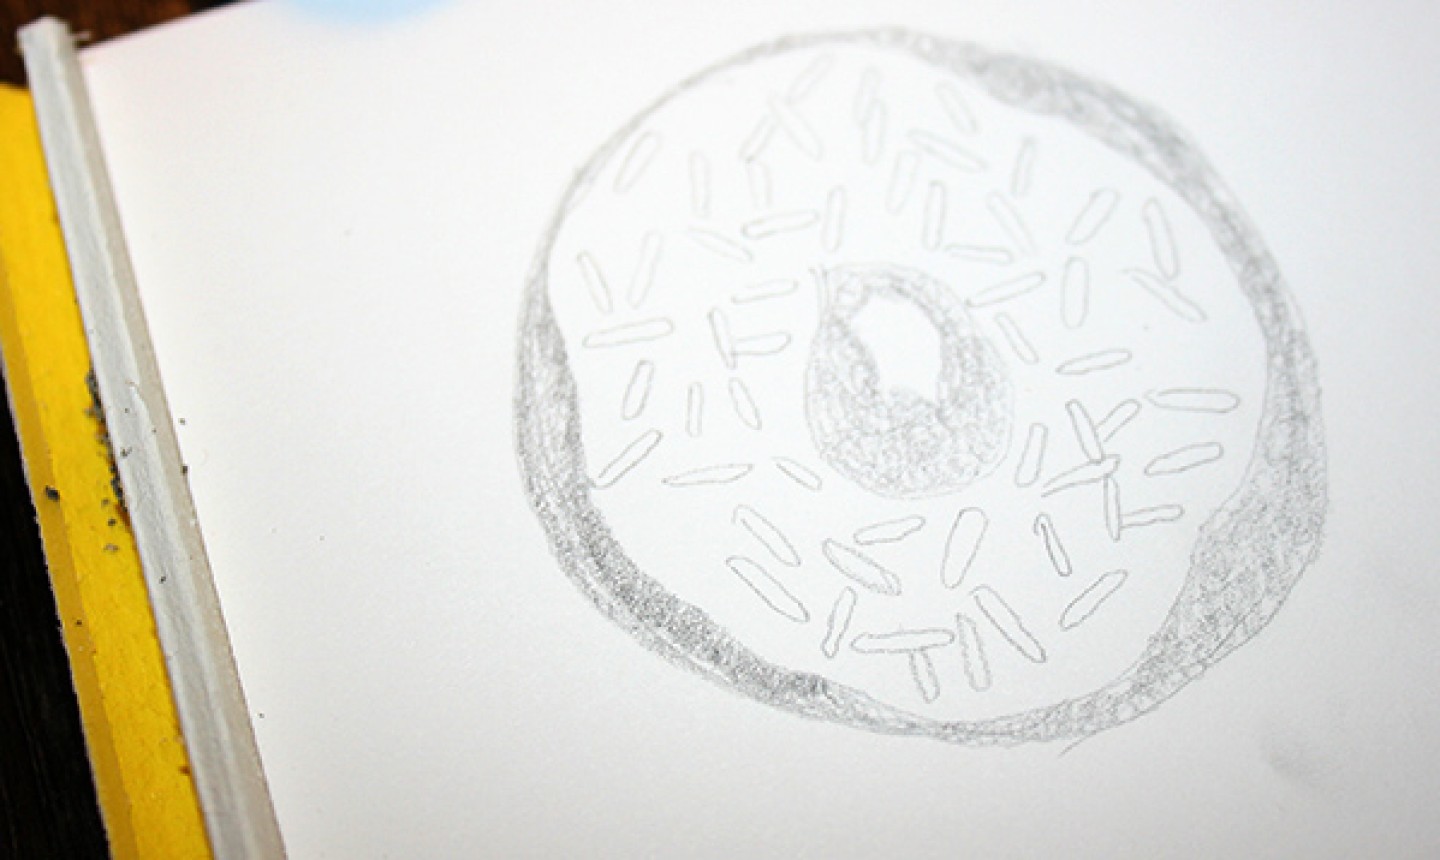
Once you’re happy with your basic sketch, you can start filling in and refining your drawing. Evaluate your reference image for distinct textures to convey in your drawing. In the case of the donut, the “cake” part has a slightly uneven texture. You could start by filling in that area using small light circular motions (known as scumbling).
To add some definition, darken the scumbling around the edges or add hatching (linear lines) or cross-hatching (crisscrossing lines) to portions of the radius of the donut that correspond with the darker portions of the reference image.
4. Refine Your Drawing
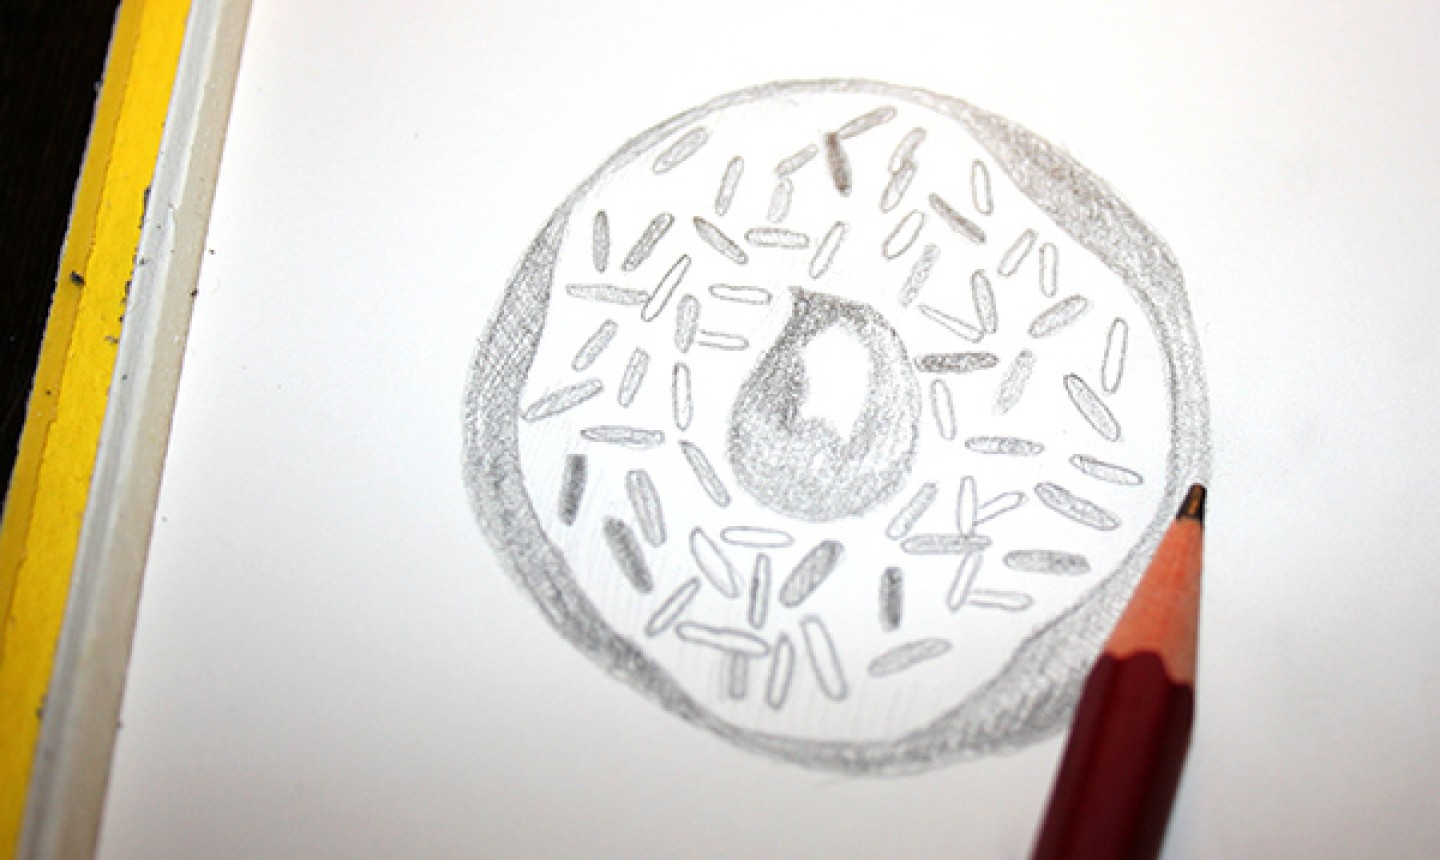
Finesse your drawing by using various pencil marks to shade and highlight certain areas. Using a variety of tones will suggest color even in a black-and-white piece. Start slow (you can always make an image darker, but making it lighter is more difficult) and pause every now and again to look at your image from a distance. It will help you determine what areas need more shading.
You can take the drawing as far as you’d like from this point, working it into a highly detailed work or leaving it more loose. Follow your intuition and make the drawing your own!
Photos via Unicorn Love unless otherwise noted
Learn More Now
Get more must-know tips from a pro and complete four projects step-by-step in our class Startup Library: Learn to Draw.
I want to start my drawing career
I want to know how to create so I can be making money 🥲
I was scech some objects,on my childhood.want to be start my drawing skills now,more information.thanks for your support.i will follow this platform, when i start my sceching clearly...
I love to draw I’m not very good at drawing but I’m getting better I’m only 10 and I started at 3 and this guide is very helpful
I love drawing and I'm good but my imagination sucks....I have drawers block!
Interested in learning to sketch
This is a terrible guide
I would like to pencil draw . Would like to learn black and white & colors.
I would like to learn
I want to learn how to draw