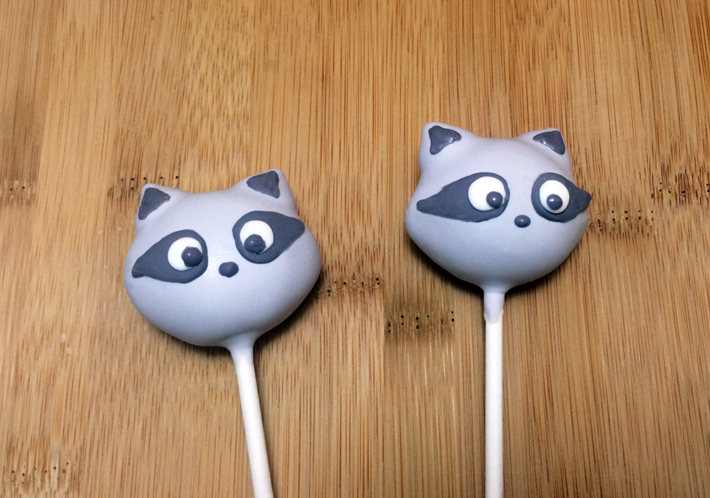
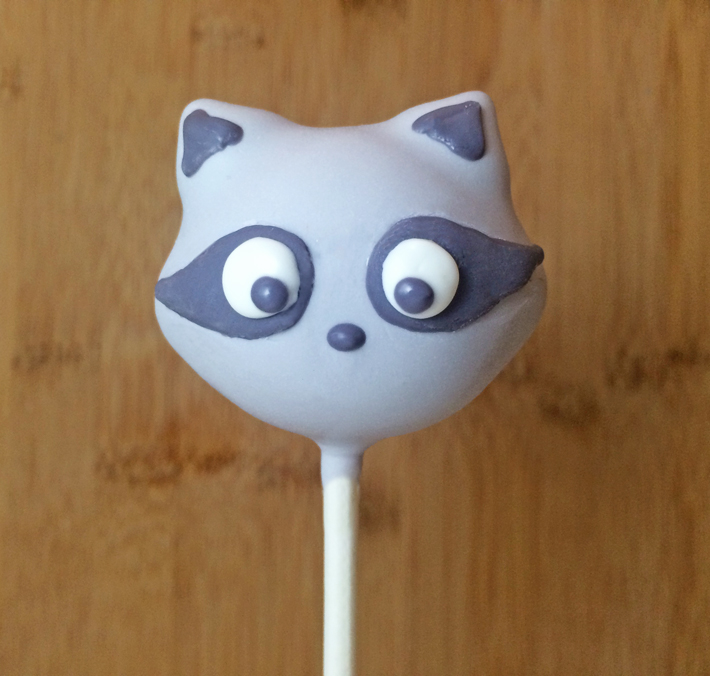
These cute raccoon cake pops are part of my Woodland Cake Pop Series, perfect for events like children’s birthdays and baby showers. Raccoons, although incredibly cute, are known for being mischievous rascals. However, I can assure you, making them in cake pop form will prove them to be the exact opposite of their real personalities — they’ll be tame, simple and not to mention delicious!
Learn how to make these baby raccoon cake pops in eight easy steps.
You’ll need:
- Cake pop dough
- White candy wafers
- Black candy wafers
- Chocolate chips
- Lollipop sticks
- Wax paper
- Ziplock bags
- Toothpicks
- Cake pop stand or styrofoam block
Line your work surface wax paper. Having the perfect pliable dough consistency is key.
Step 1:
Use a cookie scoop to portion the dough so all of your cake pops are uniform in size.
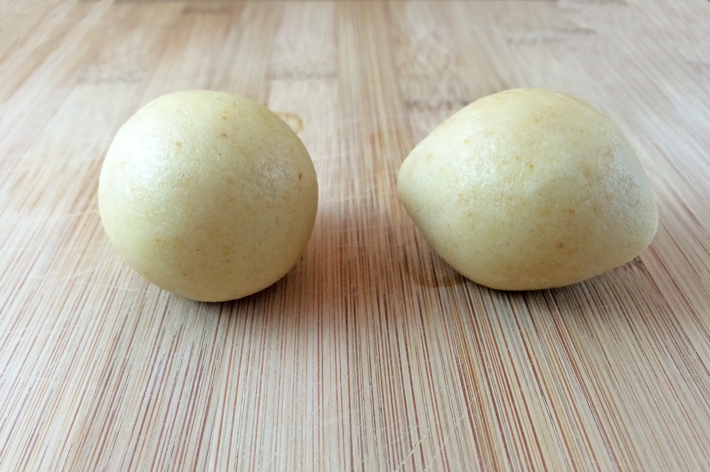
Roll into a ball and then into a plump lemon shape. Place the pieces on a wax paper-lined cookie sheet and refrigerate.
Step 2:
While the pieces are chilling, we’ll organizing and melt the candy coating.
Place about 20 white candy wafers in a ziplock bag. Set aside, we will melt this later to pipe the eyes.
In one bowl melt white candy wafers. In another bowl, melt about 2oz of black wafers. Black tends to be very thick, this is normal.
Tip: Dark chocolate candy coating may be substituted if black candy wafers aren’t available in your area.
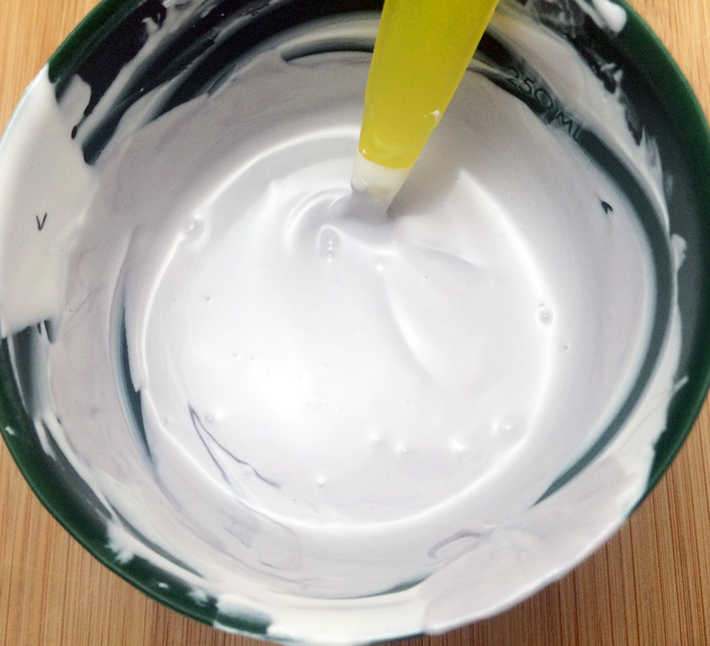
When the white coating is smooth, stir in a little bit of the black coating, about 1-2 teaspoons per cup of coating, until it’s light gray in color. Set the remaining black coating aside, we’ll come back to it later.
Step 3:
Remove the tray of uncoated pieces from the fridge.
Dip ⅓ inch of a cake pop stick into candy coating and push into the bottom of the heads until it’s about halfway through. Do this for all the pieces.
Step 4:
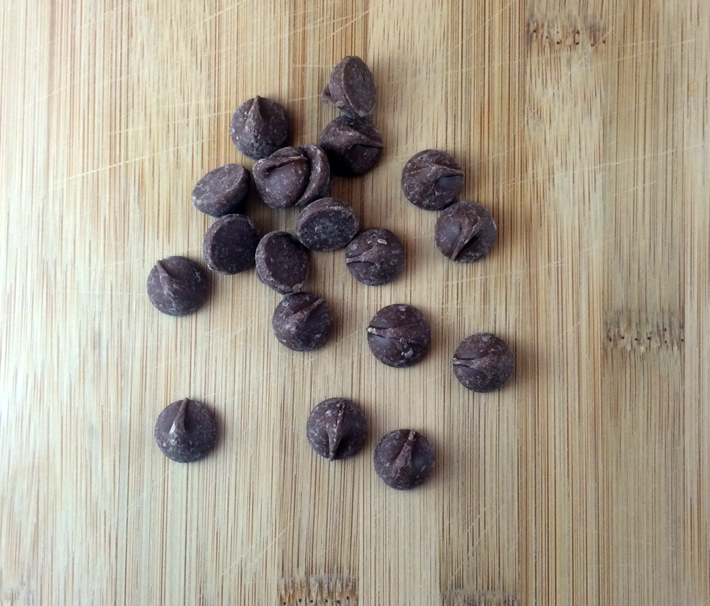
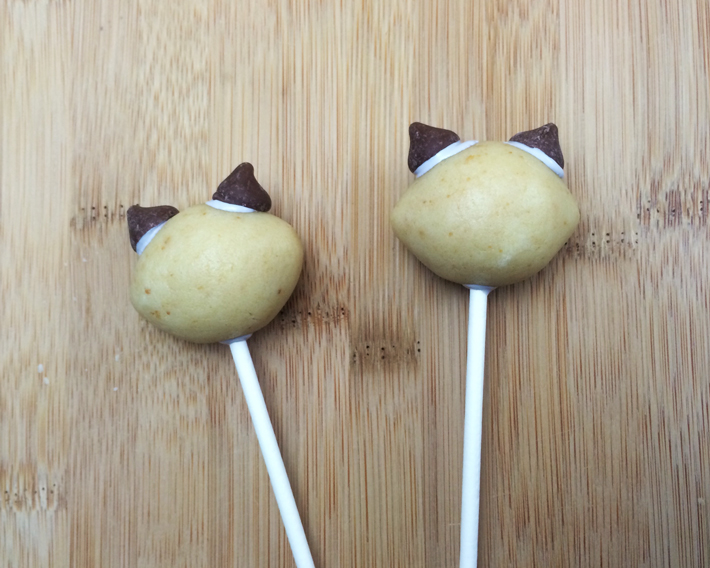
Next, we’ll add the chocolate chips to the top of the heads to create ears. Dip the base of the chocolate chip into the white coating (or use a toothpick) and affix onto the head. Add two ears to each cake pop.
Step 5:
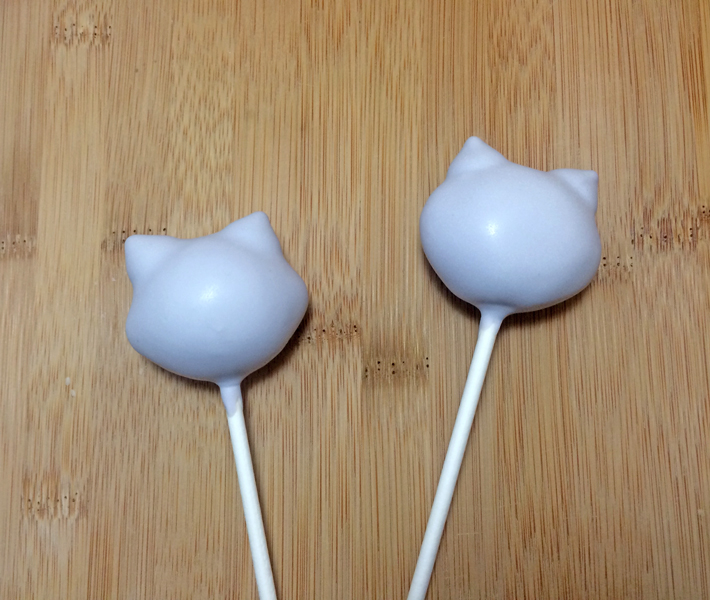
Dip the cake pop into the light gray candy coating, shake off excess. Place on the cake pop stand and let dry completely.
Step 6:
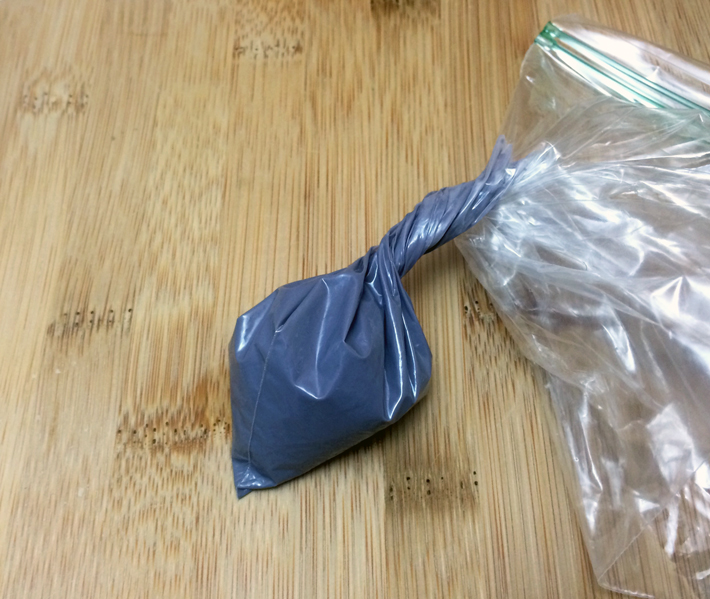
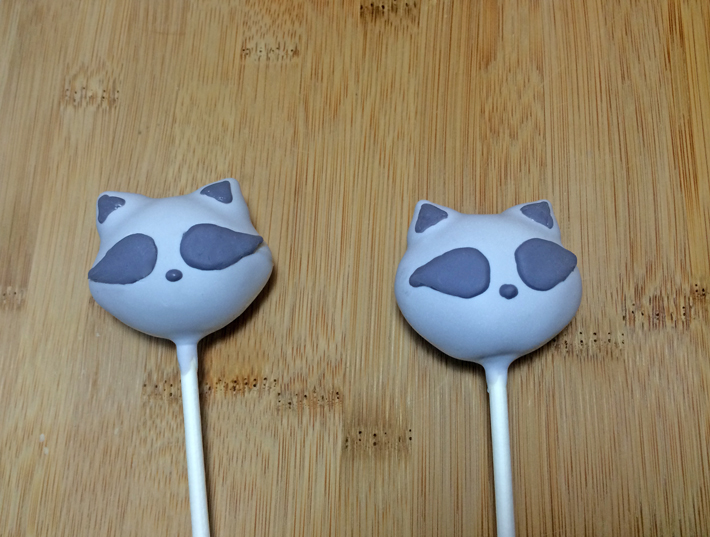
Grab the bowl containing the black candy coating. Reheat if necessary. Add about ¼ cup of the remaining light gray coating into the bowl of black to make dark gray. Transfer the dark gray coating into the corner of a ziplock bag. Snip the tip with scissors and pipe two horizontal teardrop-shapes onto the raccoon face, a small oval nose and little triangles within the ears. Let dry completely.
Tip: Use a paper towel to “sand” and smooth the piped areas once dry if you find them to be uneven.
Step 7:
Melt the white candy coating in the ziplock bag by microwaving it for 30 seconds at 50% power. Repeat until the wafers are melted, using your fingers to move around and kneed the wafers between each interval.
Step 8:
Snip the tip of the bag containing the white coating and pipe large circle eyes, then follow with the dark gray coating, adding an iris to each eye. Let dry completely.
I hope you enjoyed this tutorial. Keep an eye out for more tutorials of little woodland creatures and things with my Woodland Cake Pops series.

Share tips, start a discussion or ask one of our experts or other students a question.
No Responses to “Woodland Cake Pop Series: Baby Raccoon Cake Pops”