This dip-dye wall hanging is going to make your DIY decor dreams comes true — seriously! We're talking no hassles, and alllll the tassels. And if you can make a knot (or two), you've basically got all the skills you need.
It's easiest to create this from a hanging position as shown in the video. But if you have to work on a flat surface that's okay too, as long as you anchor your dowel to something sturdy so you can keep a little tension in the ropes as you tie your knots.
Macrame Wall Hanging
Level: Easy
What You Need
Instructions
1. Cut the Cord
Cut 36 pieces of macrame rope, making each 110" long. Cut 50 more pieces of rope; these should be only 24" long.2. Dip Dye
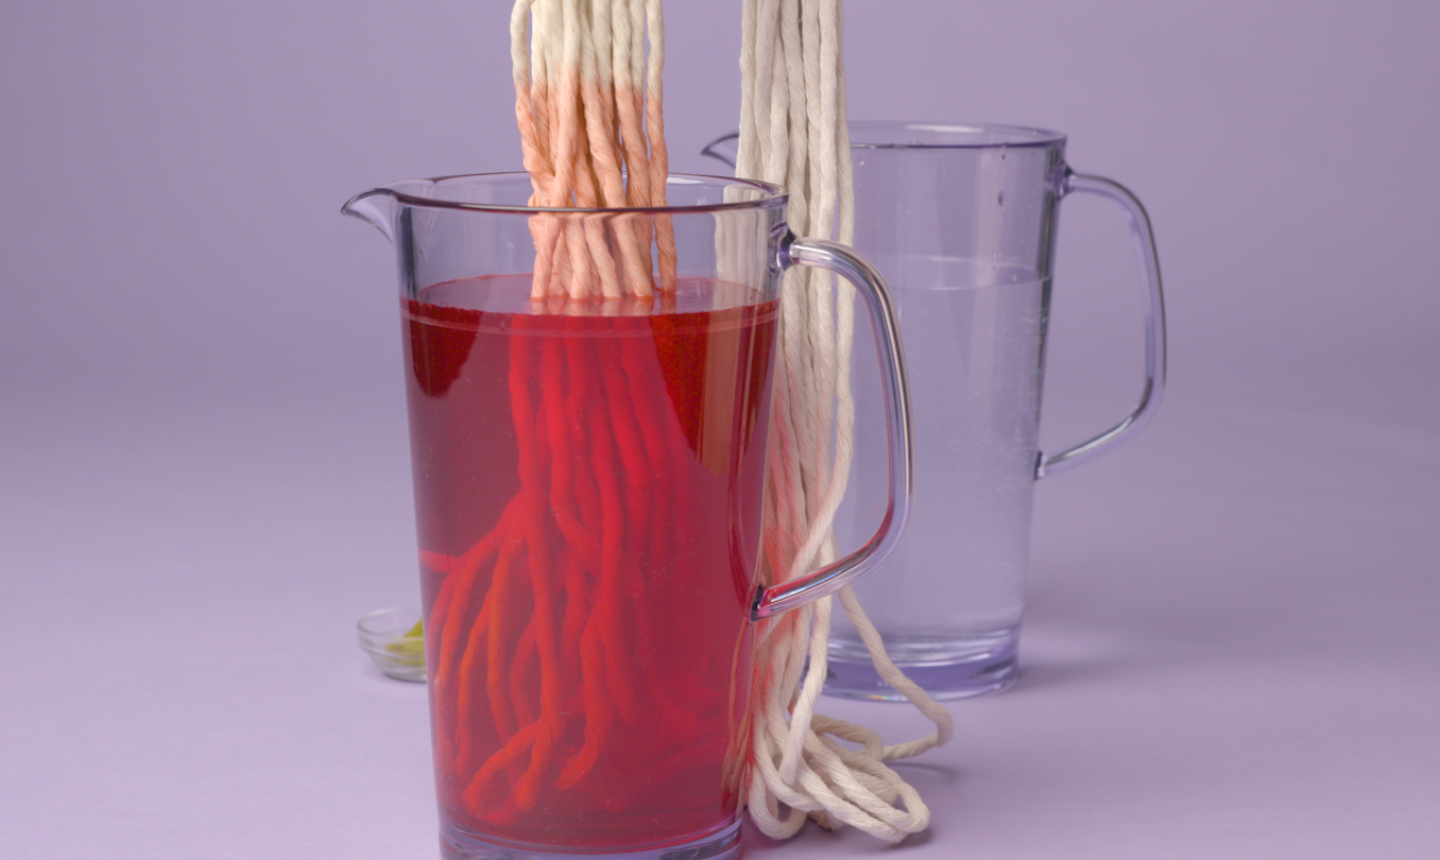
Pour fabric dye into a pitcher of water. You should have two pitchers of color (one pink and one blue) and one pitcher of clean water.
Fold the 110" lengths of rope in half, all bundled together. While wearing gloves, dip the ends of the rope into the water and then into the pink dye bath. Wring it out and hang the rope to dry for about half a day.
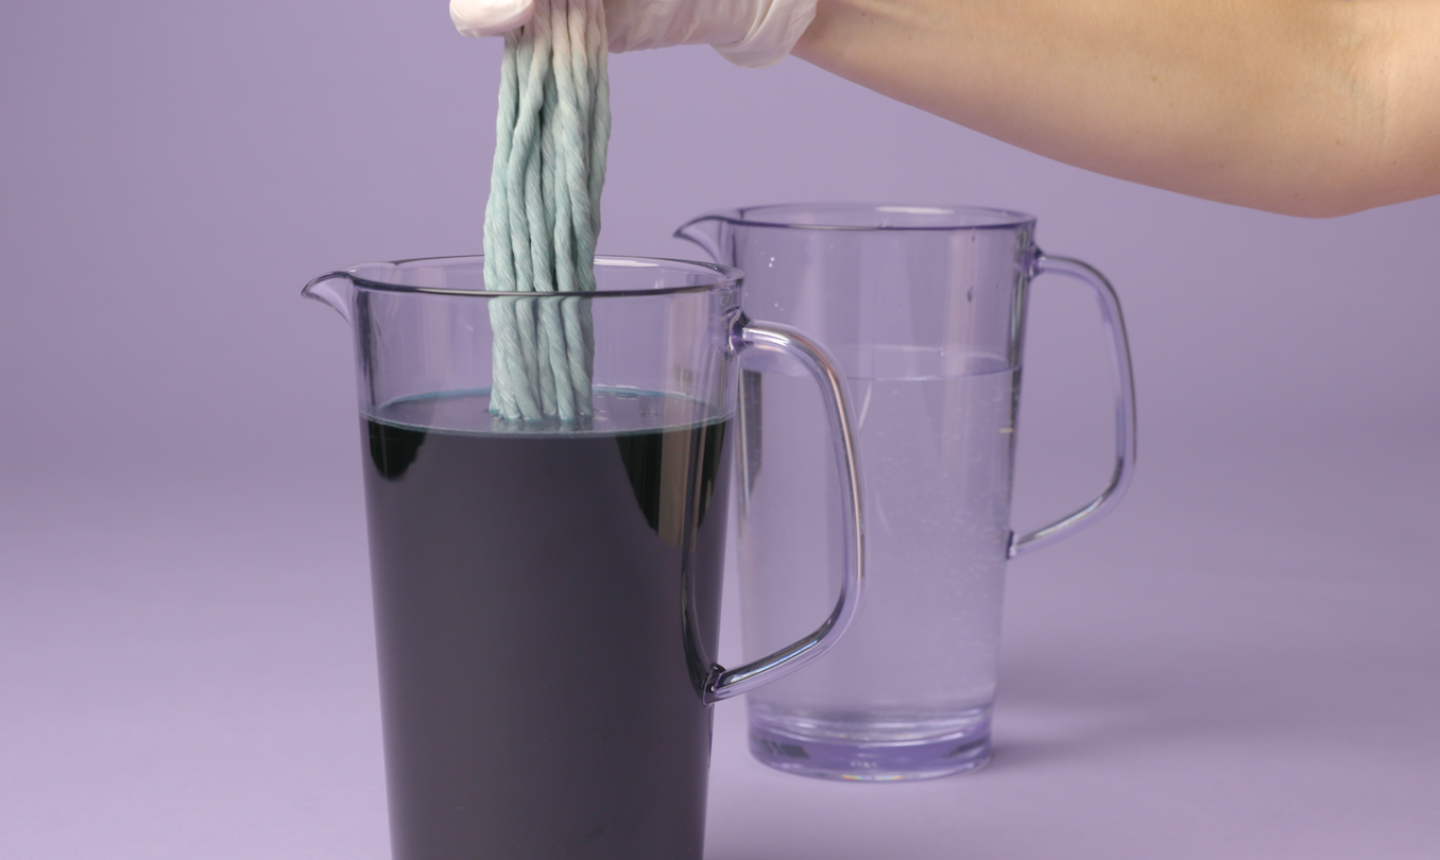
Now repeat this process for the bundle of 24" long rope — dip the ends into the water bath, then the blue dye bath, wring it out and let it dry.
3. Loop On the Rope
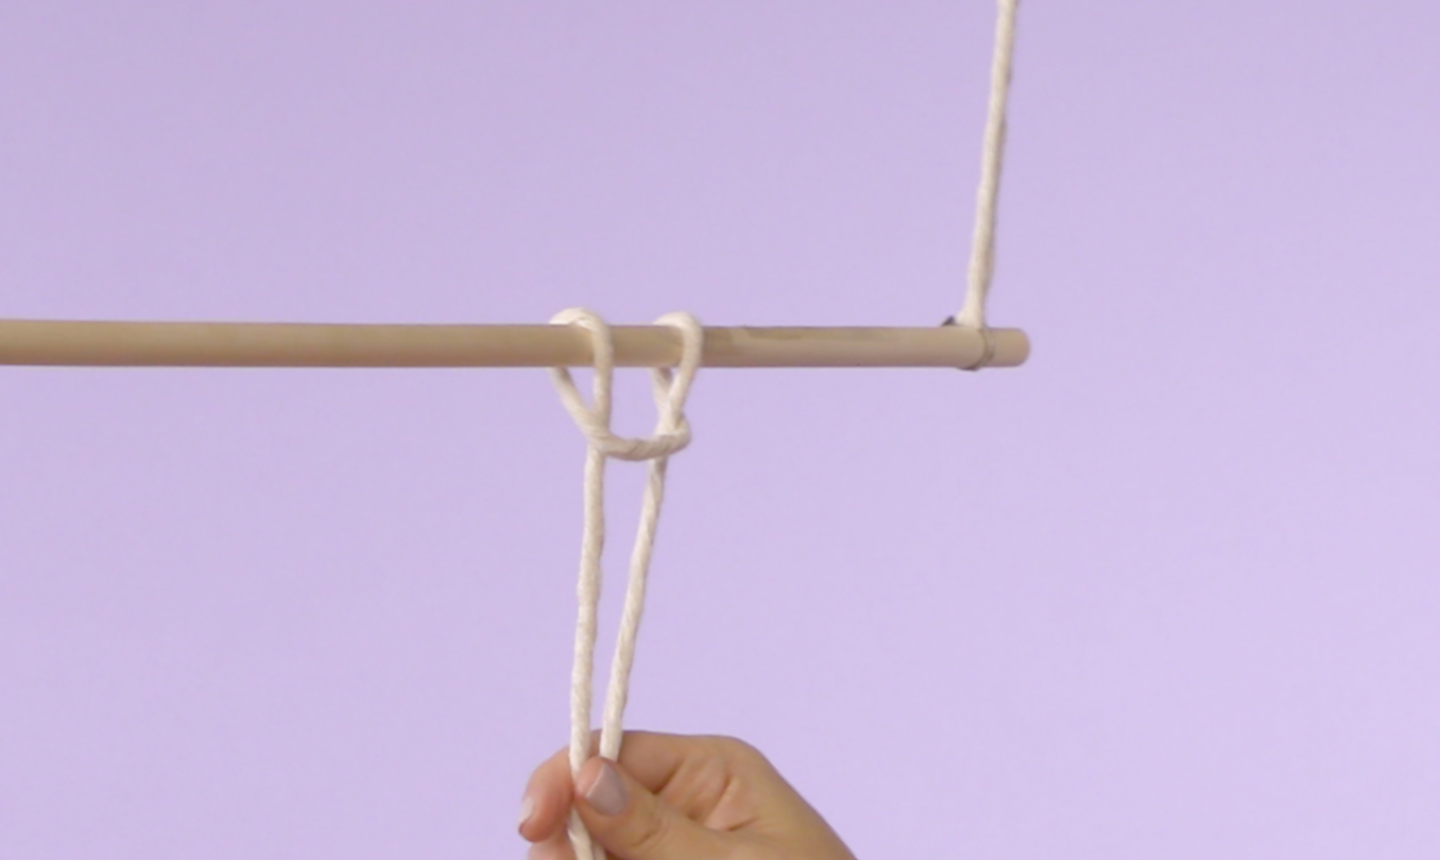
Once the dye is dry, loop 12 pieces of the long cord around a dowel with a simple larks head knot (loop the center fold over the rod and pull the ends through). Arrange the rope so all 12 pieces are pressed together on one side of the dowel.
4. Make Your First Square Knot
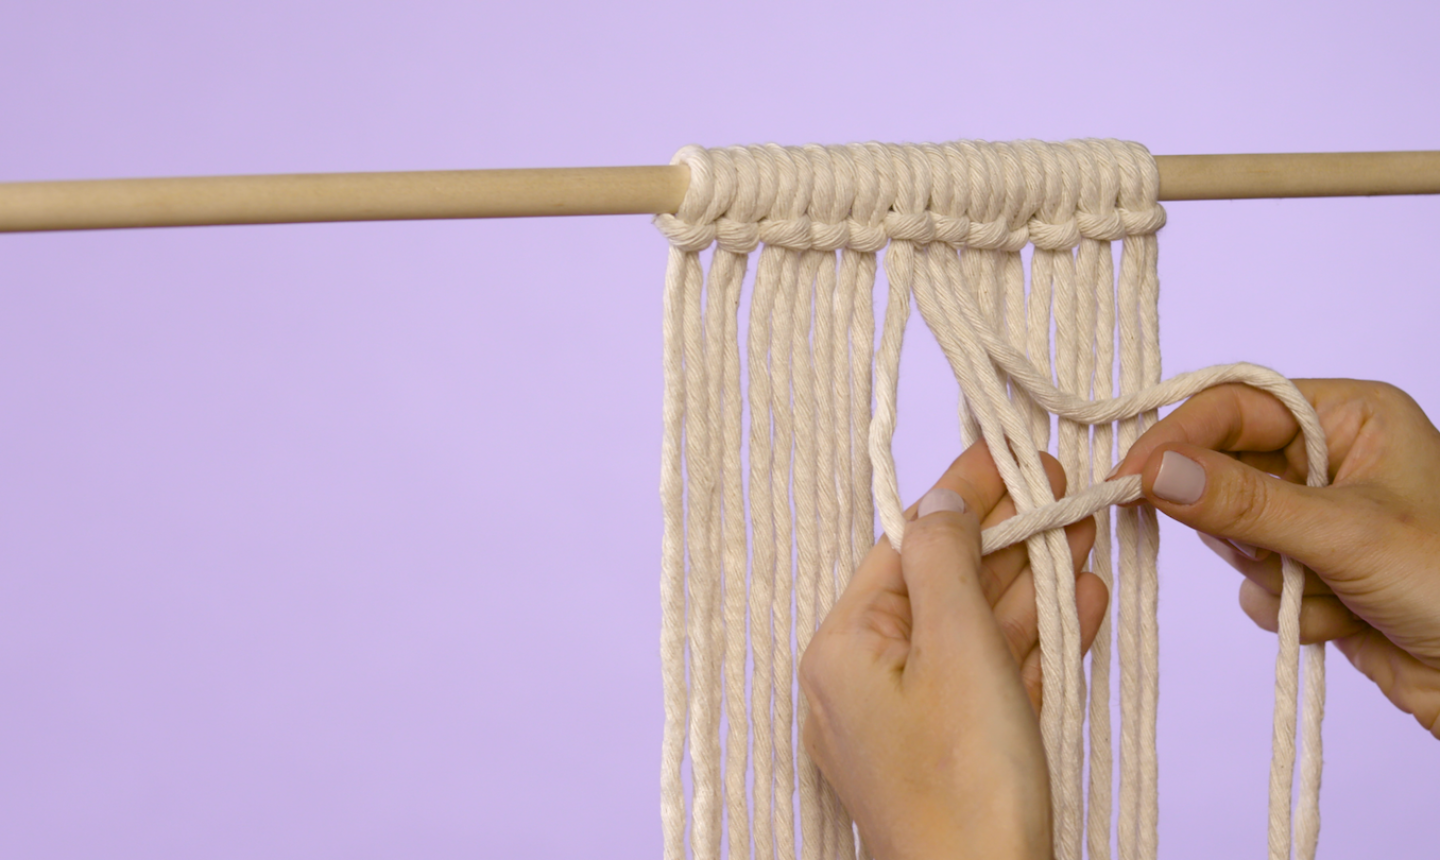
Now it’s time to start making square knots! To do so, start with the center four strands. Hold the center two strands together, then take the far left strand and cross it over the center two strands, making a “4.”
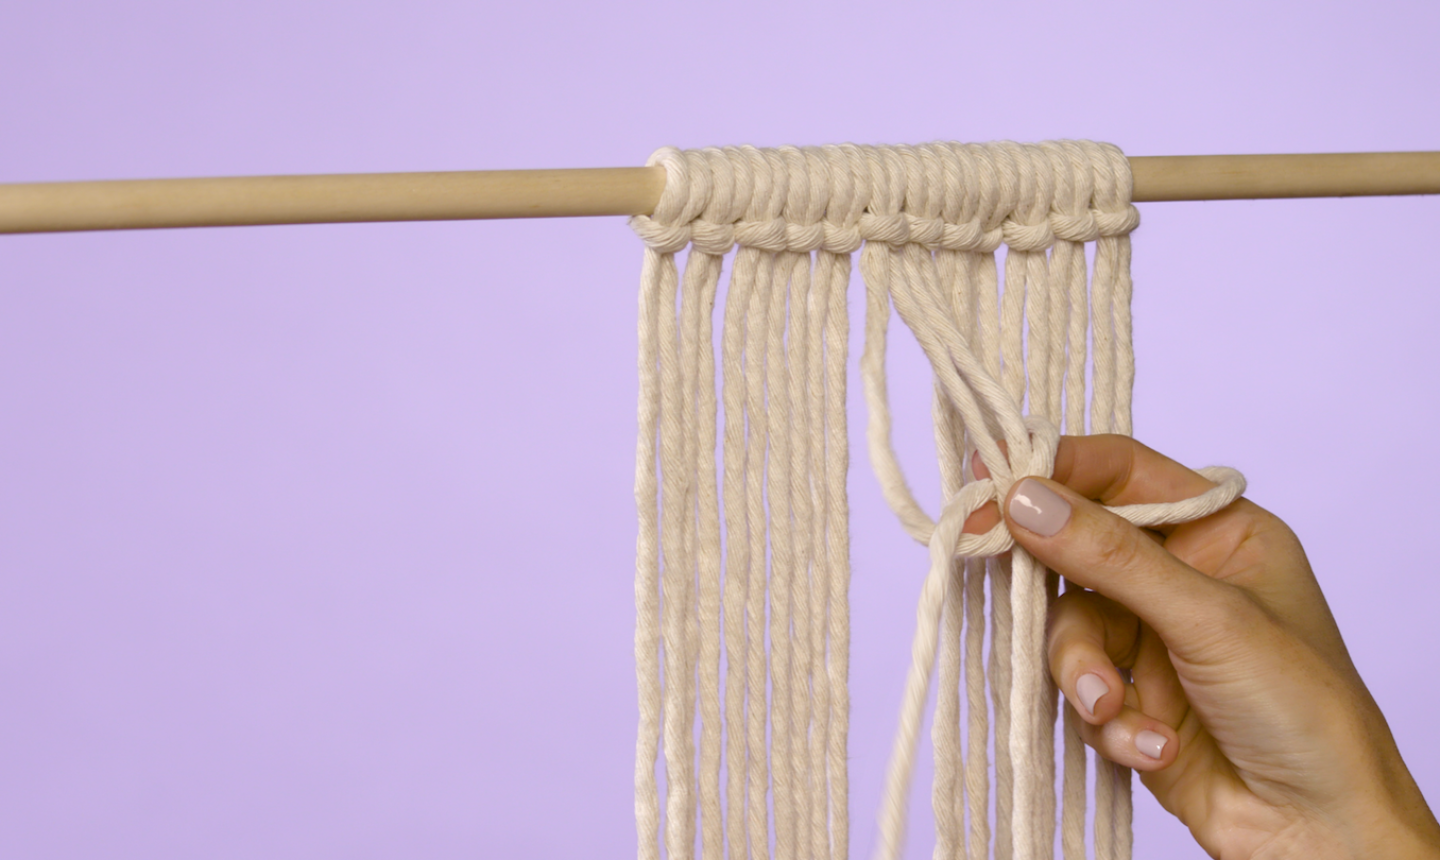
Take the right far strand and cross it behind the two center strands and over the left strand — it should be threaded through the hole in the “4.”
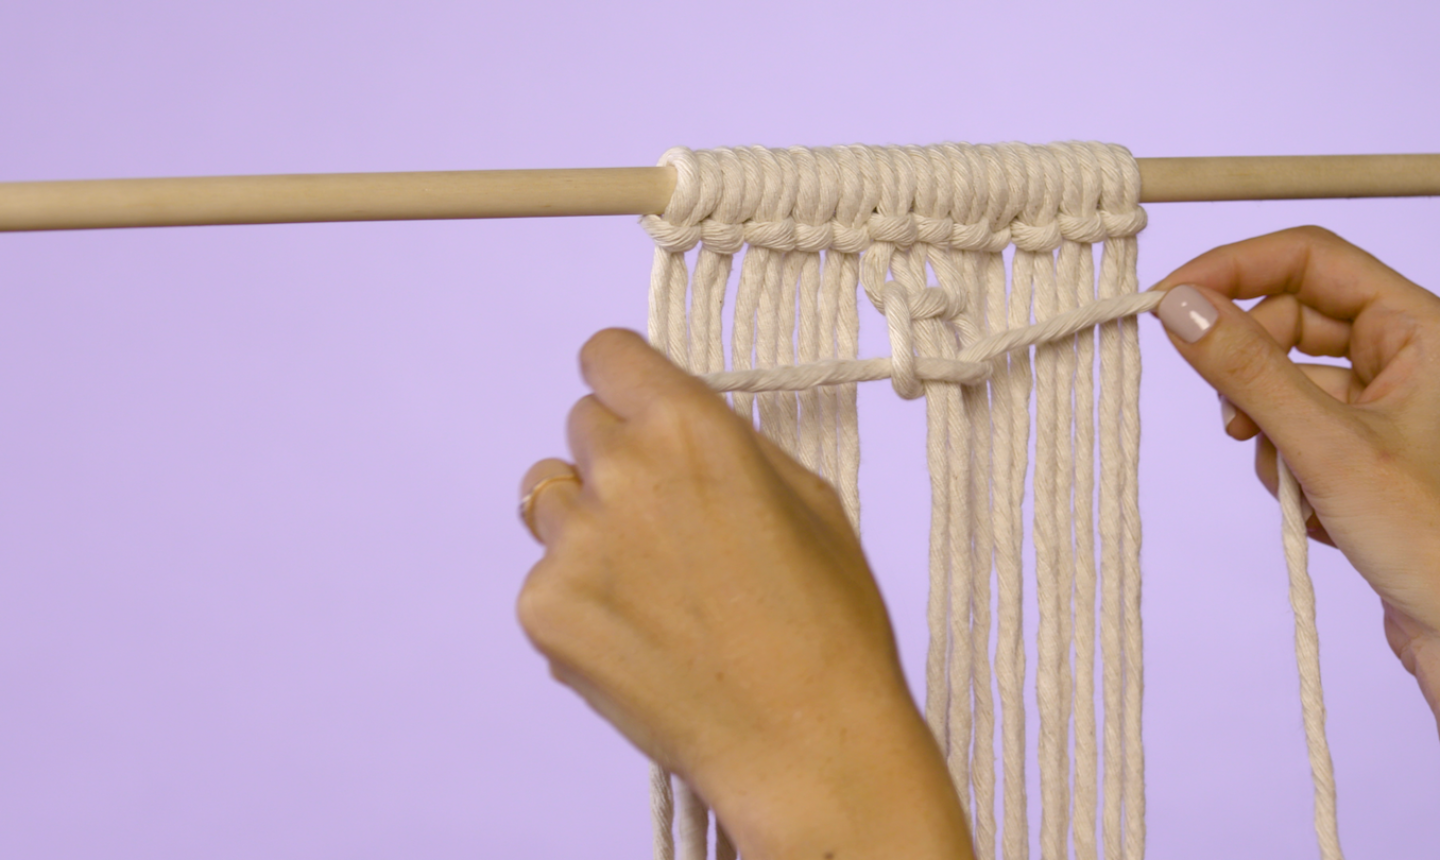
Pull the strands tight, then repeat this step with the opposite strands (crossing the right string over and looping the left through) to finish the knot.
5. Keep Knotting!
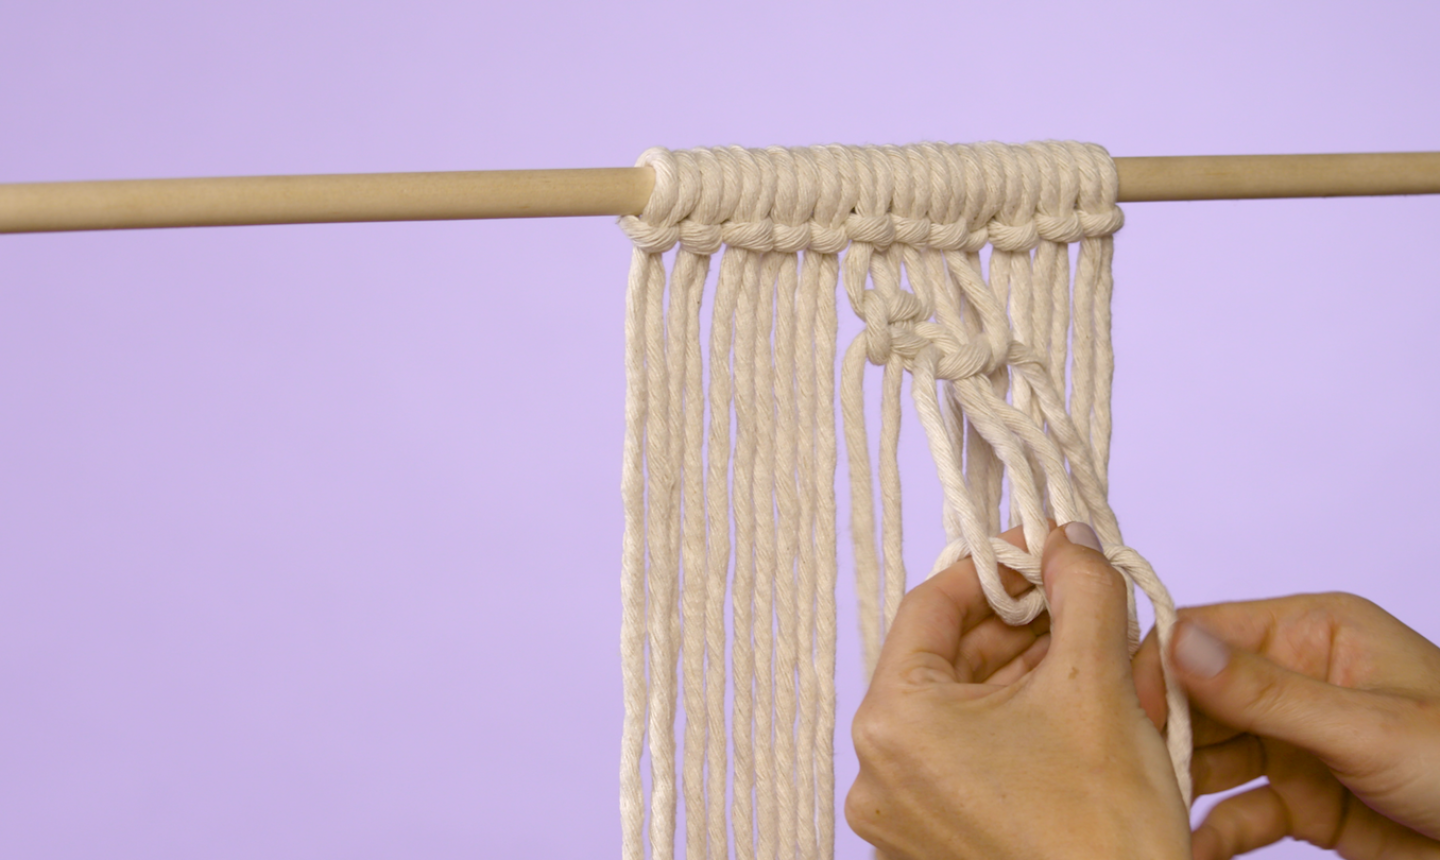
Each time you make a new knot, pick up two new strands and leave two behind. As you move left, drop the two right strands and pick up two more on the left. As you move right, drop the two left strands and pick up two more on the right.
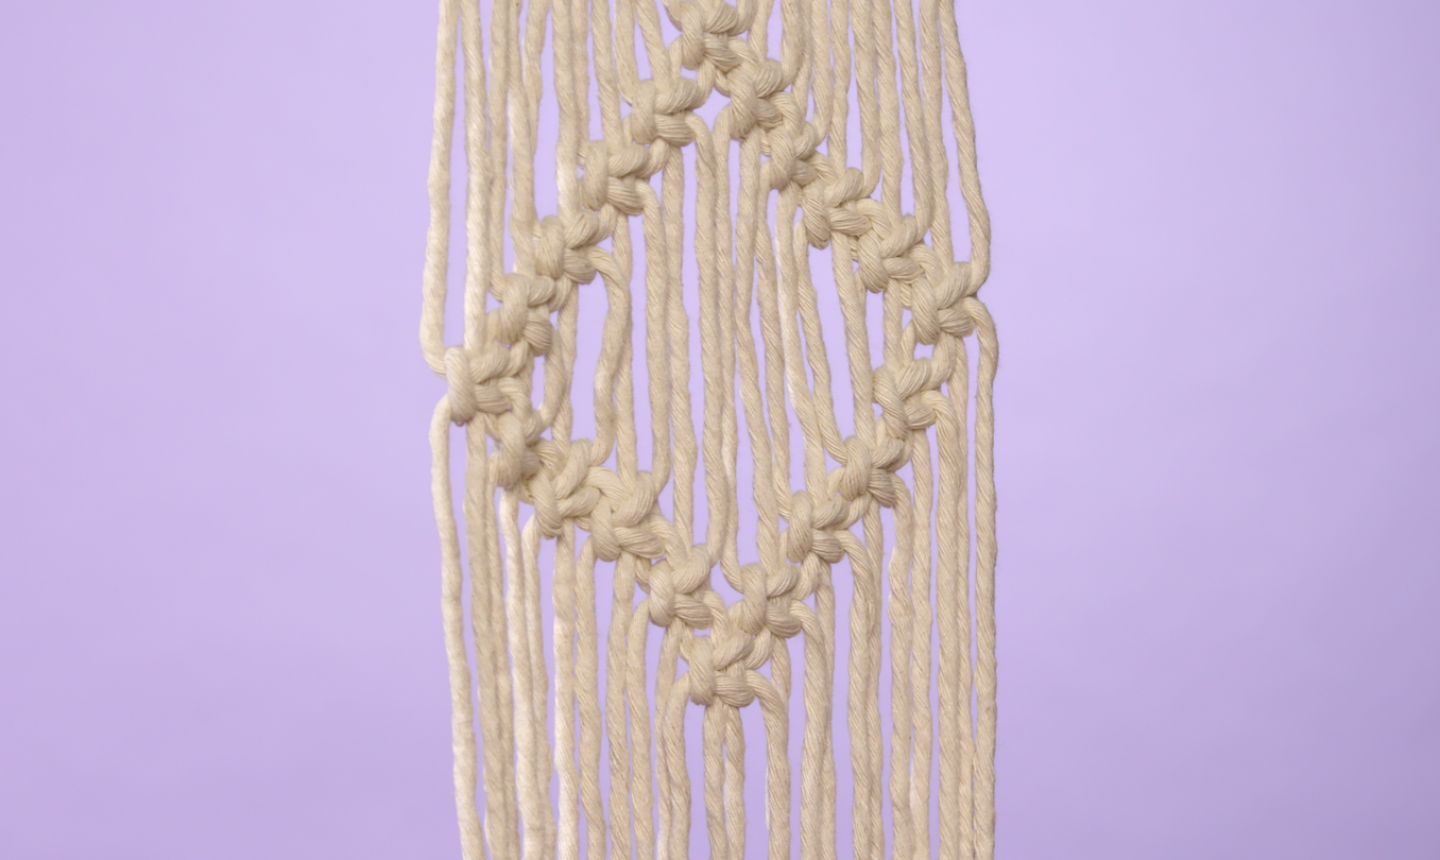
Keep making square knots until you reach both edges of the ropes. Then work your way back to the center four ropes. When you’re done, you’ll have a diamond pattern.
6. Repeat
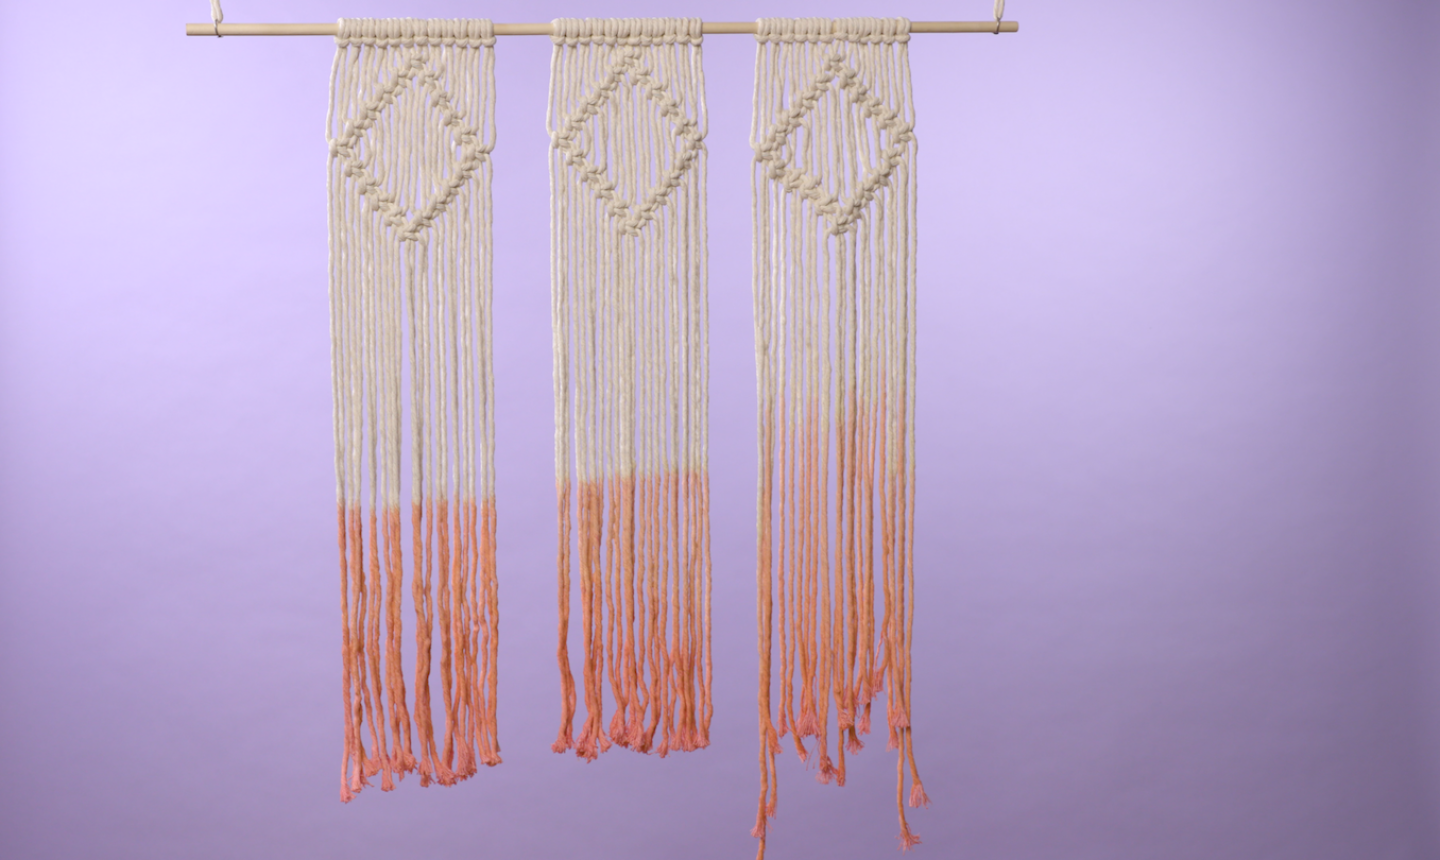
Tie two more groups of 12 ropes to the dowel, and repeat the knotting process until each group has the same diamond shape.
7. Trim the Ends
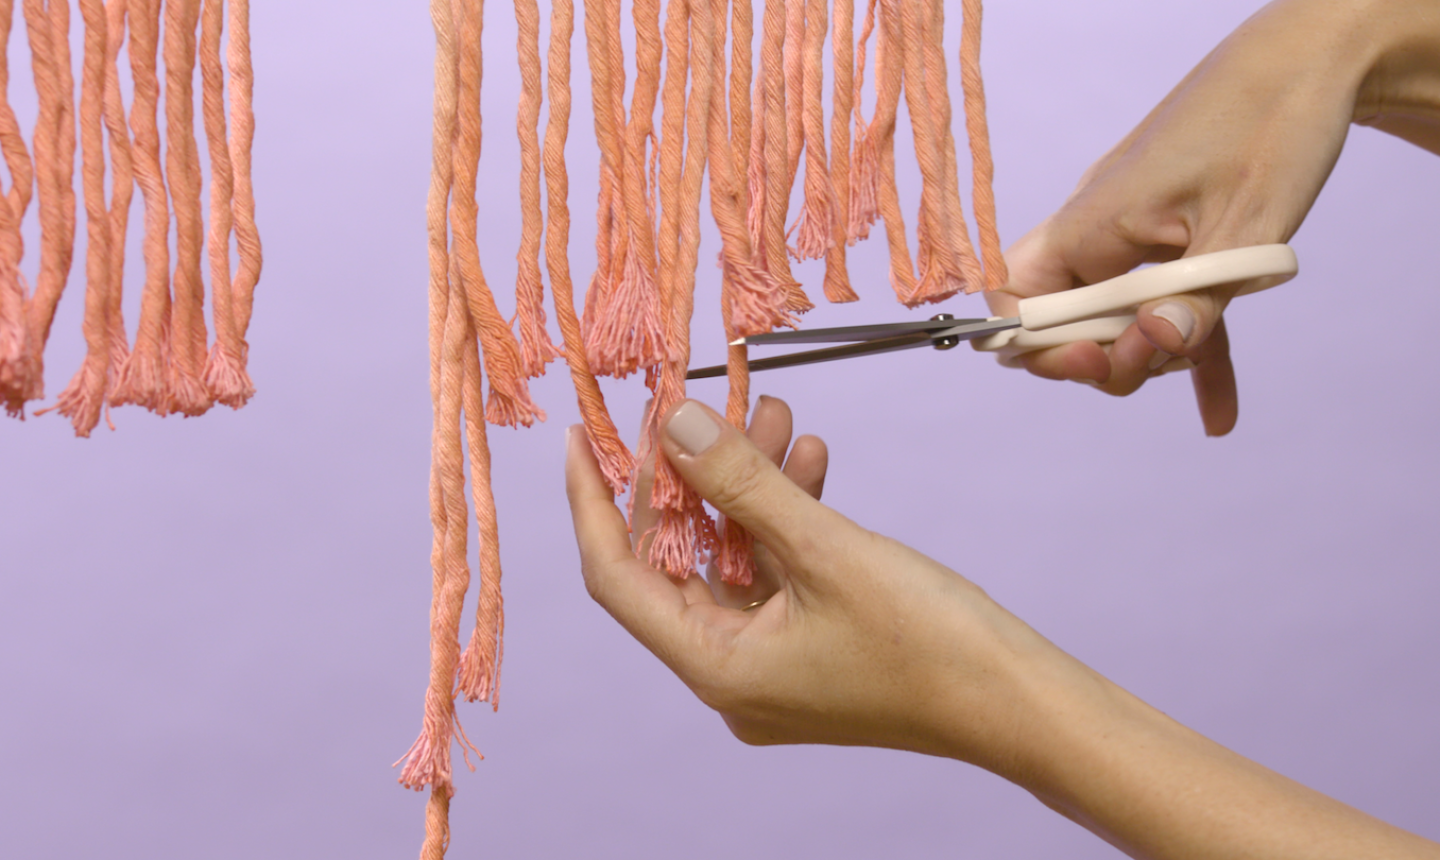
When these long cords are all knotted, trim the ends so they’re even.
8. Add the Shorter Ropes
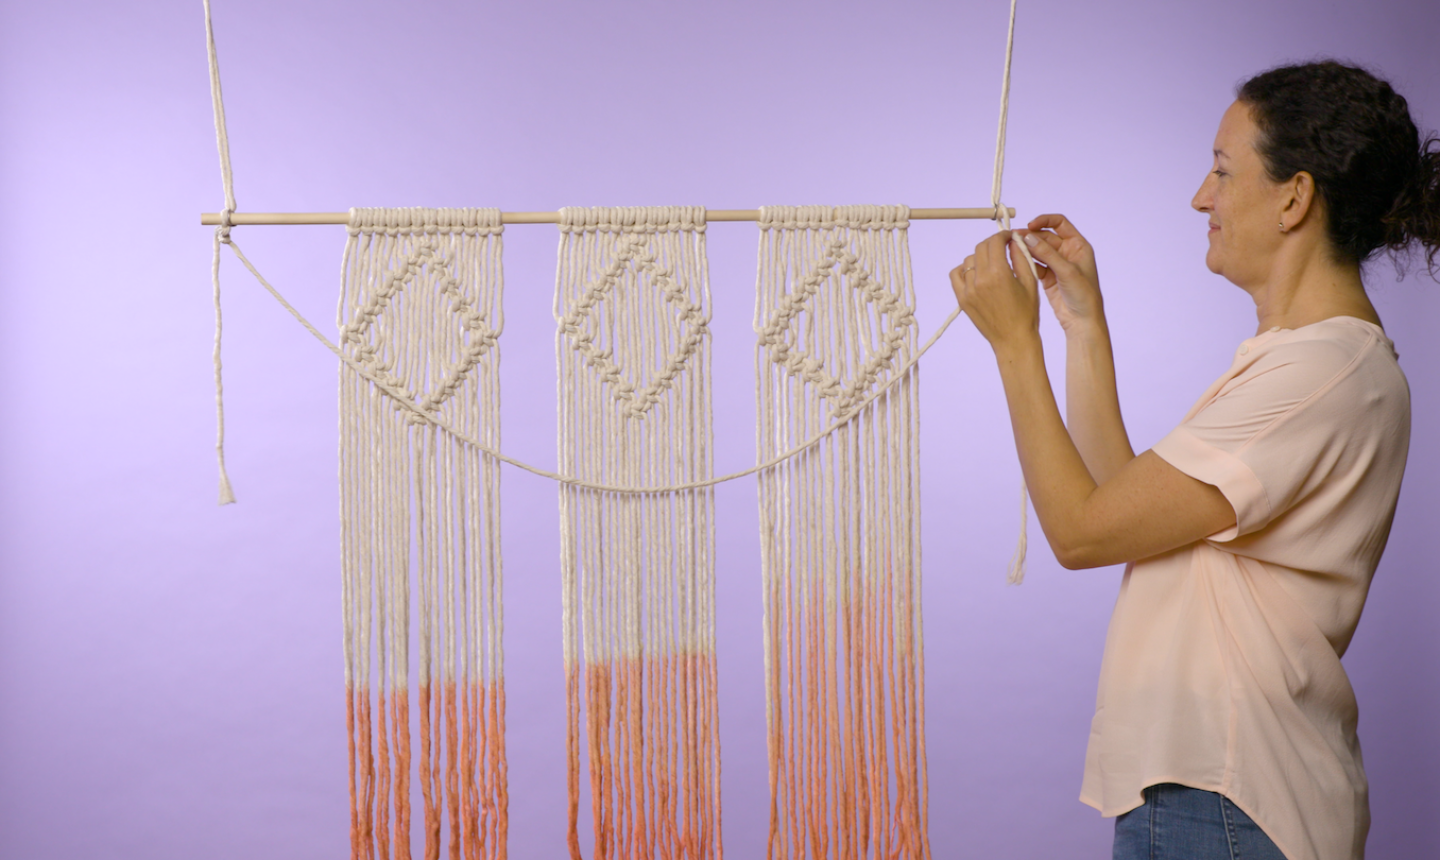
Cut a new, long length of rope and tie it to each end of the dowel. The rope should have plenty of slack.
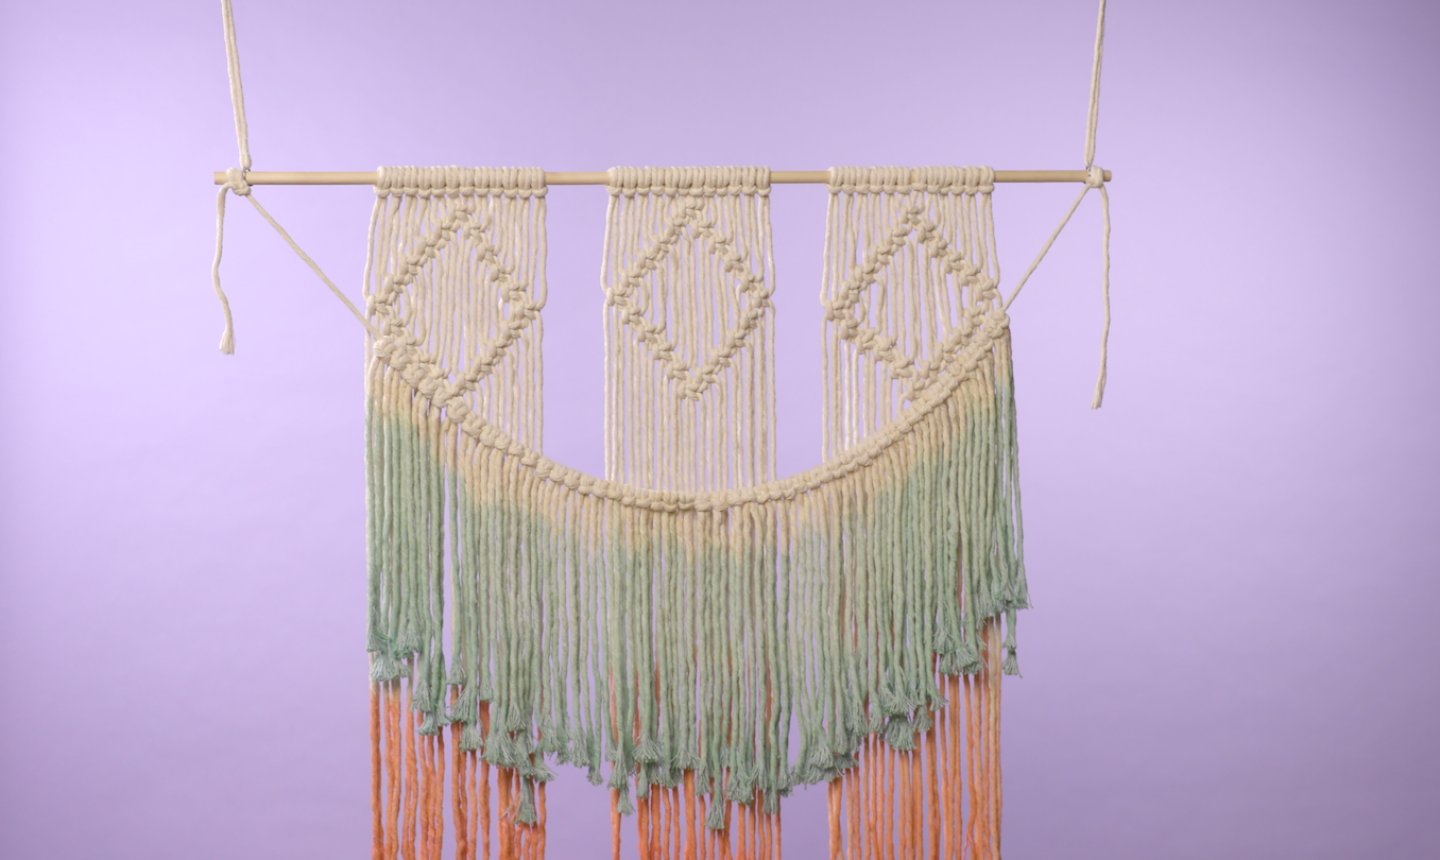
Tie all 50 pieces of blue rope to this new cord, again using the larks head knot.
9. Fray and Trim
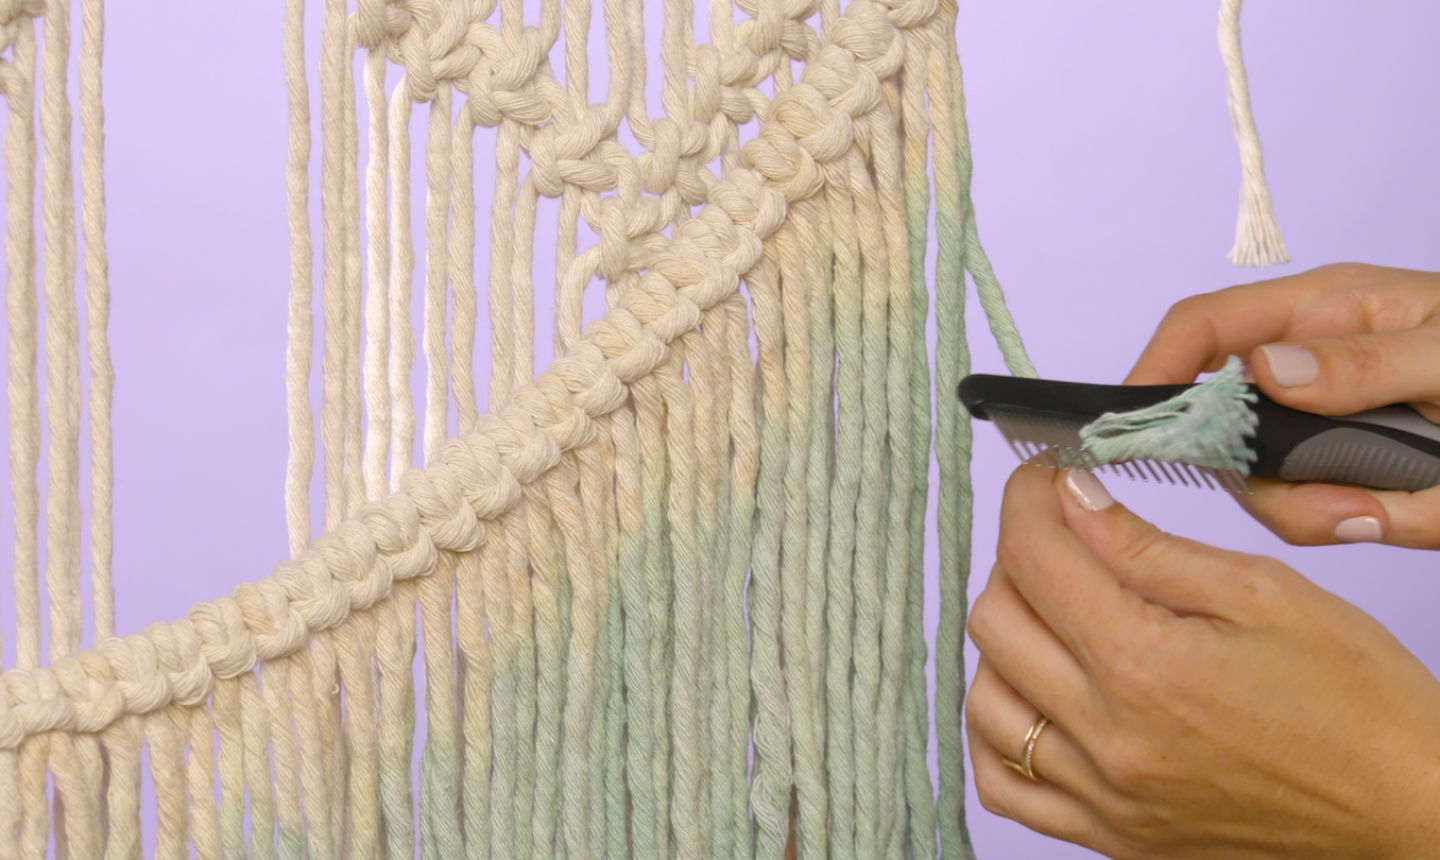
With a pet comb, fray each length of blue cord by brushing bottom to top. Trim the ends into a clean curve. If you have any excess cord hanging from the ends of the dowel, trim those now.
Once your blue cords are all frayed, brush the pink ends to fray them as well.
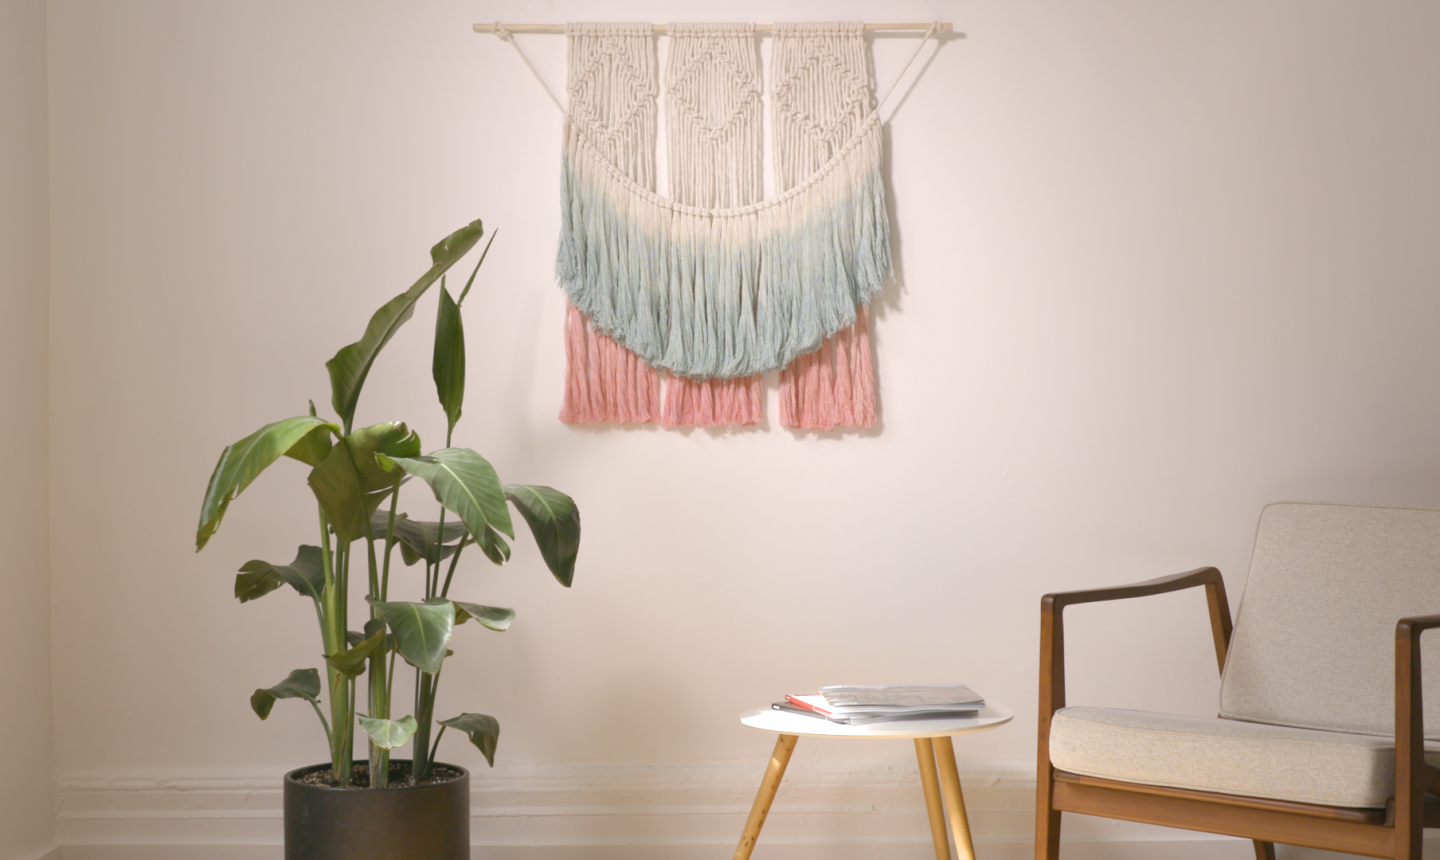
Then just hang it on the wall and you're done!

This would have been so much better with verbal instructions with slow hand motions to show EXACTLY HOW these knots are made! I'll probably learn more searching for tutorials on YOUTUBE!
What type of fabric dye is best to use?