
You’ve got the pump. You’ve got the piping and hose. You’ve got the valves to control the vacuum. All you need now is to create a few versatile chucks to get going with this woodturning system. We’ve saved the easy part for last.
There are a few commercially made vacuum chucks available but they are expensive and your requirements may demand a specially built chuck, making it worthwhile in both cases to make your own.
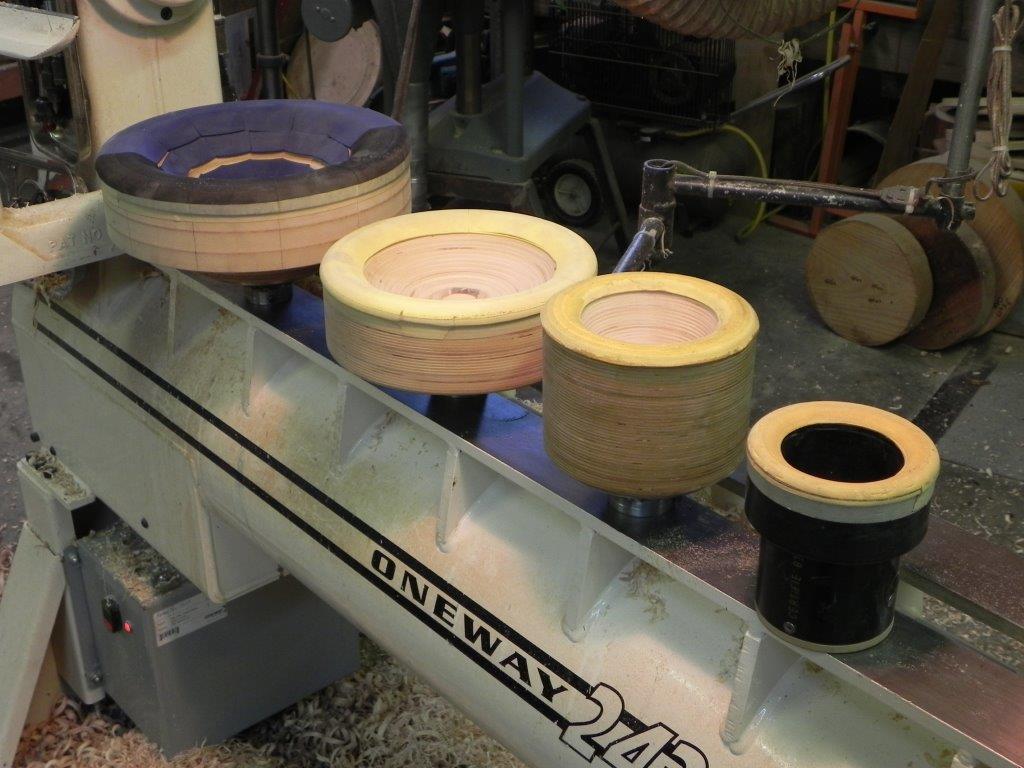
Front view of vacuum chucks showing seal face.
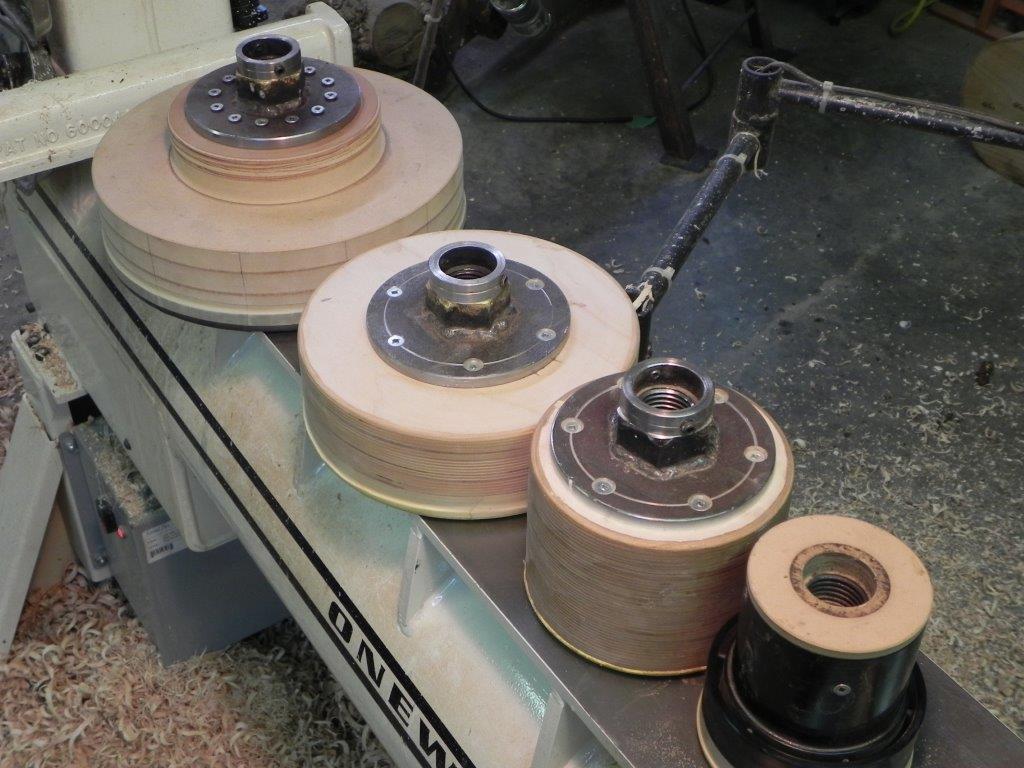
Back of vacuum chucks showing adapter.
Material required
I have chucks made from ABS plumbing material and built up Baltic Birch plywood, a high quality product with no voids. I have friends who made theirs from built up solid wood, fabricated steel and PVC pipe. The only requirements for the material for a chuck is that it doesn’t leak and that it is something that you can work with. You will also require some sort of foam material for the mating surface. Lastly, you’ll need a means of adapting the chuck to your spindle such as a small dedicated faceplate.
Adapter
Ideally, the adapter should be a dedicated piece since once it is removed, you will never get it truly centered again. The smallest size faceplate for your lathe is sufficient in most cases, but if the chuck will be holding large pieces, then the adapter should be proportional.
It would be possible to turn a pocket that fits the faceplate perfectly in all your chucks to allow you to possibly use the same faceplate for all of them. I used a sealant on mine to eliminate leaks at that interface, it’s a good idea to consider some way of provide that if yours will be removable.
Chuck body
My built-up plywood chucks were made from 3/4″ birch plywood glued together then turned to shape. Once that material is glued up and set, attach your adapter.
Turn the outside to the desired shape. When hollowing the interior to allow for any convex shapes, remove as little material as possible. “Stout” would be a good description for a chuck body.
Even though the plywood I used has no voids, I still had to apply a few sealing coats of lacquer to eliminate leakage through the end grain portions, so you can see that any cheaper plywood would be unsatisfactory. Hollowing the interior slightly will leave a ring on the face which should be about 1 inch between outer and inner diameters. Turn a radius on that face so that it will create a line contact with either the convex of concave surface of a turning.
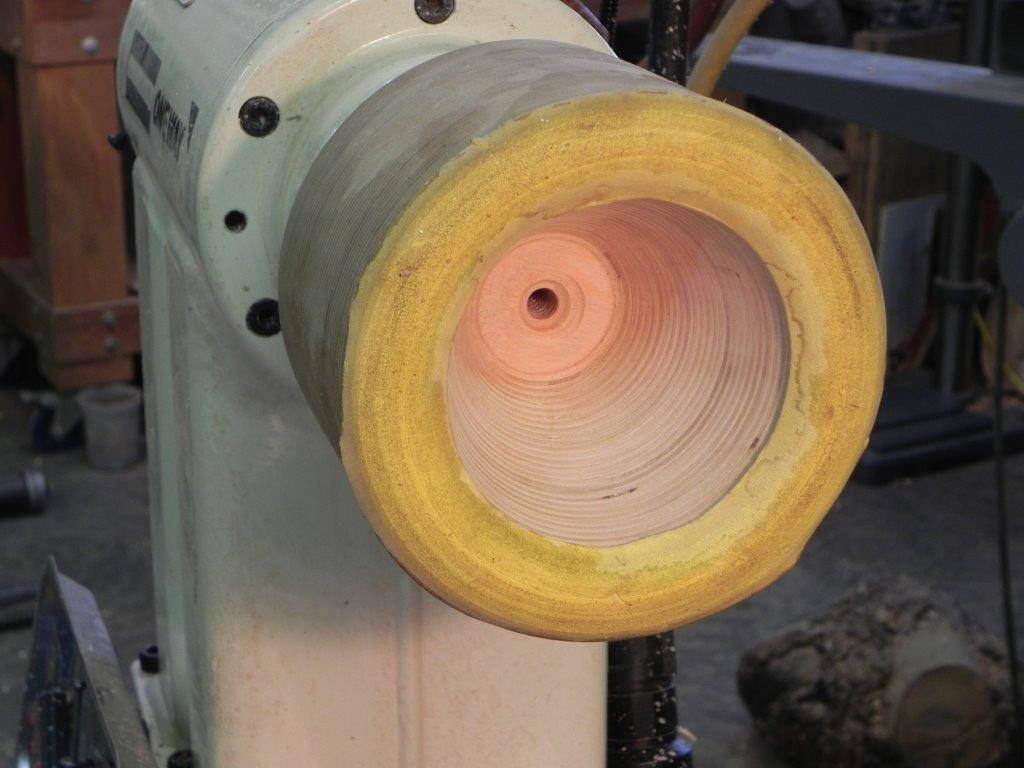
Baltic Birch body, “Fun Foam” seal.
My ABS chuck is made from built-up pipe and fittings attached to a medium density fiberboard (MDF) adapter with its own threads. Beall Tools makes taps for all popular lathe spindle threads (see photo below).
Drill and tap a glued up piece of MDF (minimum 1 1/2″ thick), mount it on your lathe then turn it to fit the I.D. of the plastic pipe (ABS or PVC) you will be using. It’s a good idea to make a rabeted joint to index the end of the pipe to help take some of the forces of turning. Drill and screw the pipe to the MDF adapter then turn the face as required. I used an additional fitting to make the face wider then just the wall thickness of the pipe.
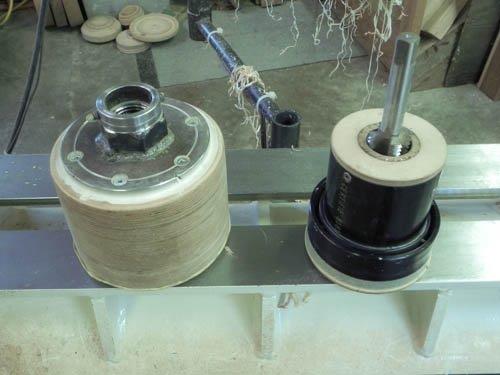
Chuck on right shows the tap used for threading MDF.
If you are going to make a metal chuck body, I doubt I will have to describe how to make one because if you are considering that, you already have the skill set to put that into practice. Typically welding a pipe (size as required) to a plate, threading that plate or adding an adopter creates the body, then truing the face up on a metal lathe completes the chuck.
Foam interface
I used a product called “Fun Foam” purchased at Michael’s or any other craft supply store. It’s a closed-cell foam with pressure sensitive adhesive on one side. I cut the rings (or sections of rings) from this material then attach it to the chuck face radius. It’s easy to replace if it gets damaged.
Before I found this product I use expanded polyethylene, a common packing material. You can use this with or without adhesive. When using without adhesive, it’s easier to use a sheet large enough to cover the chuck face but it’s imperative that you cut a small hole in the center to allow the vacuum to enter the entire space. Again, it is a closed-cell product.
Key features
The chuck must be free of any air leaks including the body and the joint between the body and the adapter. It must be sturdy enough to take the forces applied during turning and should be well balanced radially. Seal material must be closed cell material so that there is no leaking through the foam itself. It should also not be too thick, otherwise the interface will be too soft and the piece will tend to wobble or vibrate while turning.
The shape of the chuck face will determine the variety of shapes that it will hold, so a bit of creativity will reduce the number of chucks that you require.
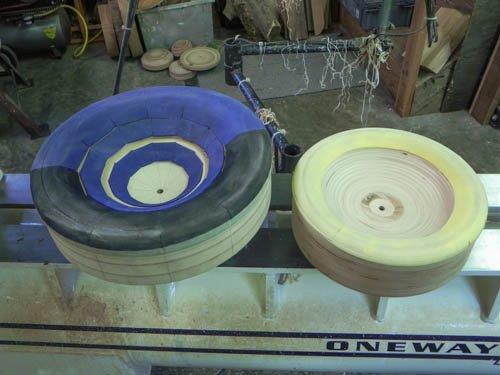
These larger chucks are seldom used but are handy for turning large bowl and platters.
The complete package
Congratulations! You’ve completed the whole system: pump, piping and hose, manifold and chuck(s)!
You will find that this system is very versatile, allowing you to complete turnings with exquisite details on the bottom of vessels or even to complete whole turnings. Considering the time it takes to create individual jam chucks, the investment in time and money for a system like this is very worthwhile. Depending on your available resources you may have spent very little or perhaps a little more. Either way, you saved quite a bit on the cost of a store-bought one and have a system that’s customized to your needs.

Share tips, start a discussion or ask one of our experts or other students a question.
No Responses to “Making Vacuum Chucks for Your Wood Lathe”