
So, you’ve decided to take the leap to learning wirework? This guide should help you get started making lots of great jewelry pieces with minimal investment.
The tools listed below not just what I would choose for a introductory kit, they’re my personal go-to tools when using wire. These tools can be used to grip, pull, wrap, cut and straighten, in addition to a many other tasks that you have yet to imagine.
Essentially, these tools will be extensions of your hands, so try a few different brands and see what is the most comfortable for you. Keep in mind that just because one pair is more expensive than another, that doesn’t necessarily make them better. There are plenty of tools that can be bought on a budget and could be some of your favorites well into the future.
Pliers
In addition to helping you make more elegant curves, pliers will help you make loops, connectors and will be instrumental in wire working.
Note: Most pliers that you’ll find will have a spring between the jaws. This helps keep them separated. That way, when you’re working, your hands are working to keep the jaws closed. There are pliers many people swear by that don’t have this spring. I find them to be less than ideal since your hands then work to keep your tools open as well as working to close them. This will just be a matter of personal preference.
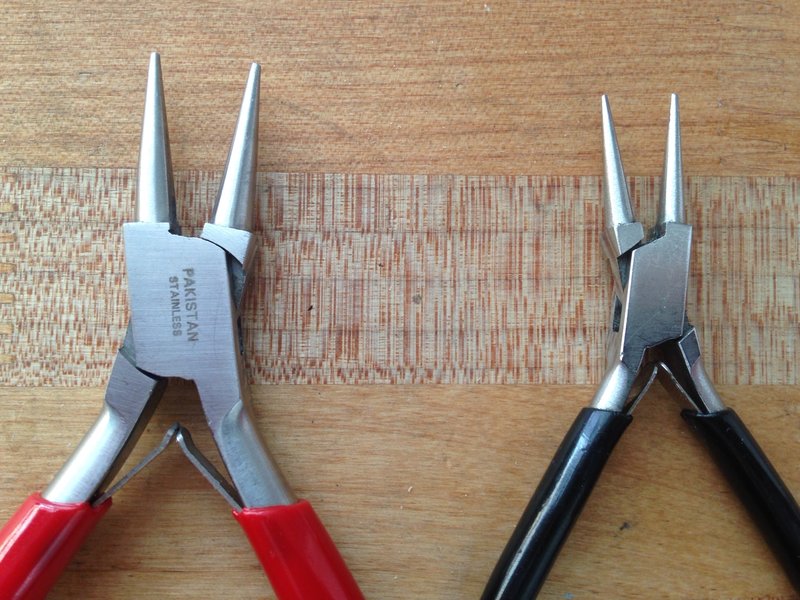
Round-nose pliers
Before you go buy the first pair that you see, take a little time and think about what kind of work you’ll want to be doing. If you have pretty large-scale designs with thick wire in mind, you’ll want to look for a pair that are on the larger side of the spectrum. Having that extra heft will help you really move your metal.
Thinking on a more delicate scale? Consider a pair of pliers that will help you make smaller circles. I’d also recommend looking to find a pair where the jaws fit pretty tightly from the tips to the bases. If you’re using a pretty thin gauge wire, this will allow for you to use the entire length of your pliers. This is a benefit especially when you’re just learning.
Flat-nosed pliers
These pliers are my favorite for making sharp turns, maintaining tension and overall assisting the grip on wire when working.
Again, think about what would be the best use of them for you and definitely look for a pair that do not have any texture on the jaws. While it might seem like a good idea to grab the ones from your garage, they will make things harder for you in the long run. The texture will mangle your metal and leave you with gouges that will not only give your pieces a less finished look but that can also create sharp edges that can snag on clothing or skin.
It’s a good idea to walk yourself through the entire project before you get started. That way, you can potentially avoid time pitfalls (like extra finish work) if at all possible.
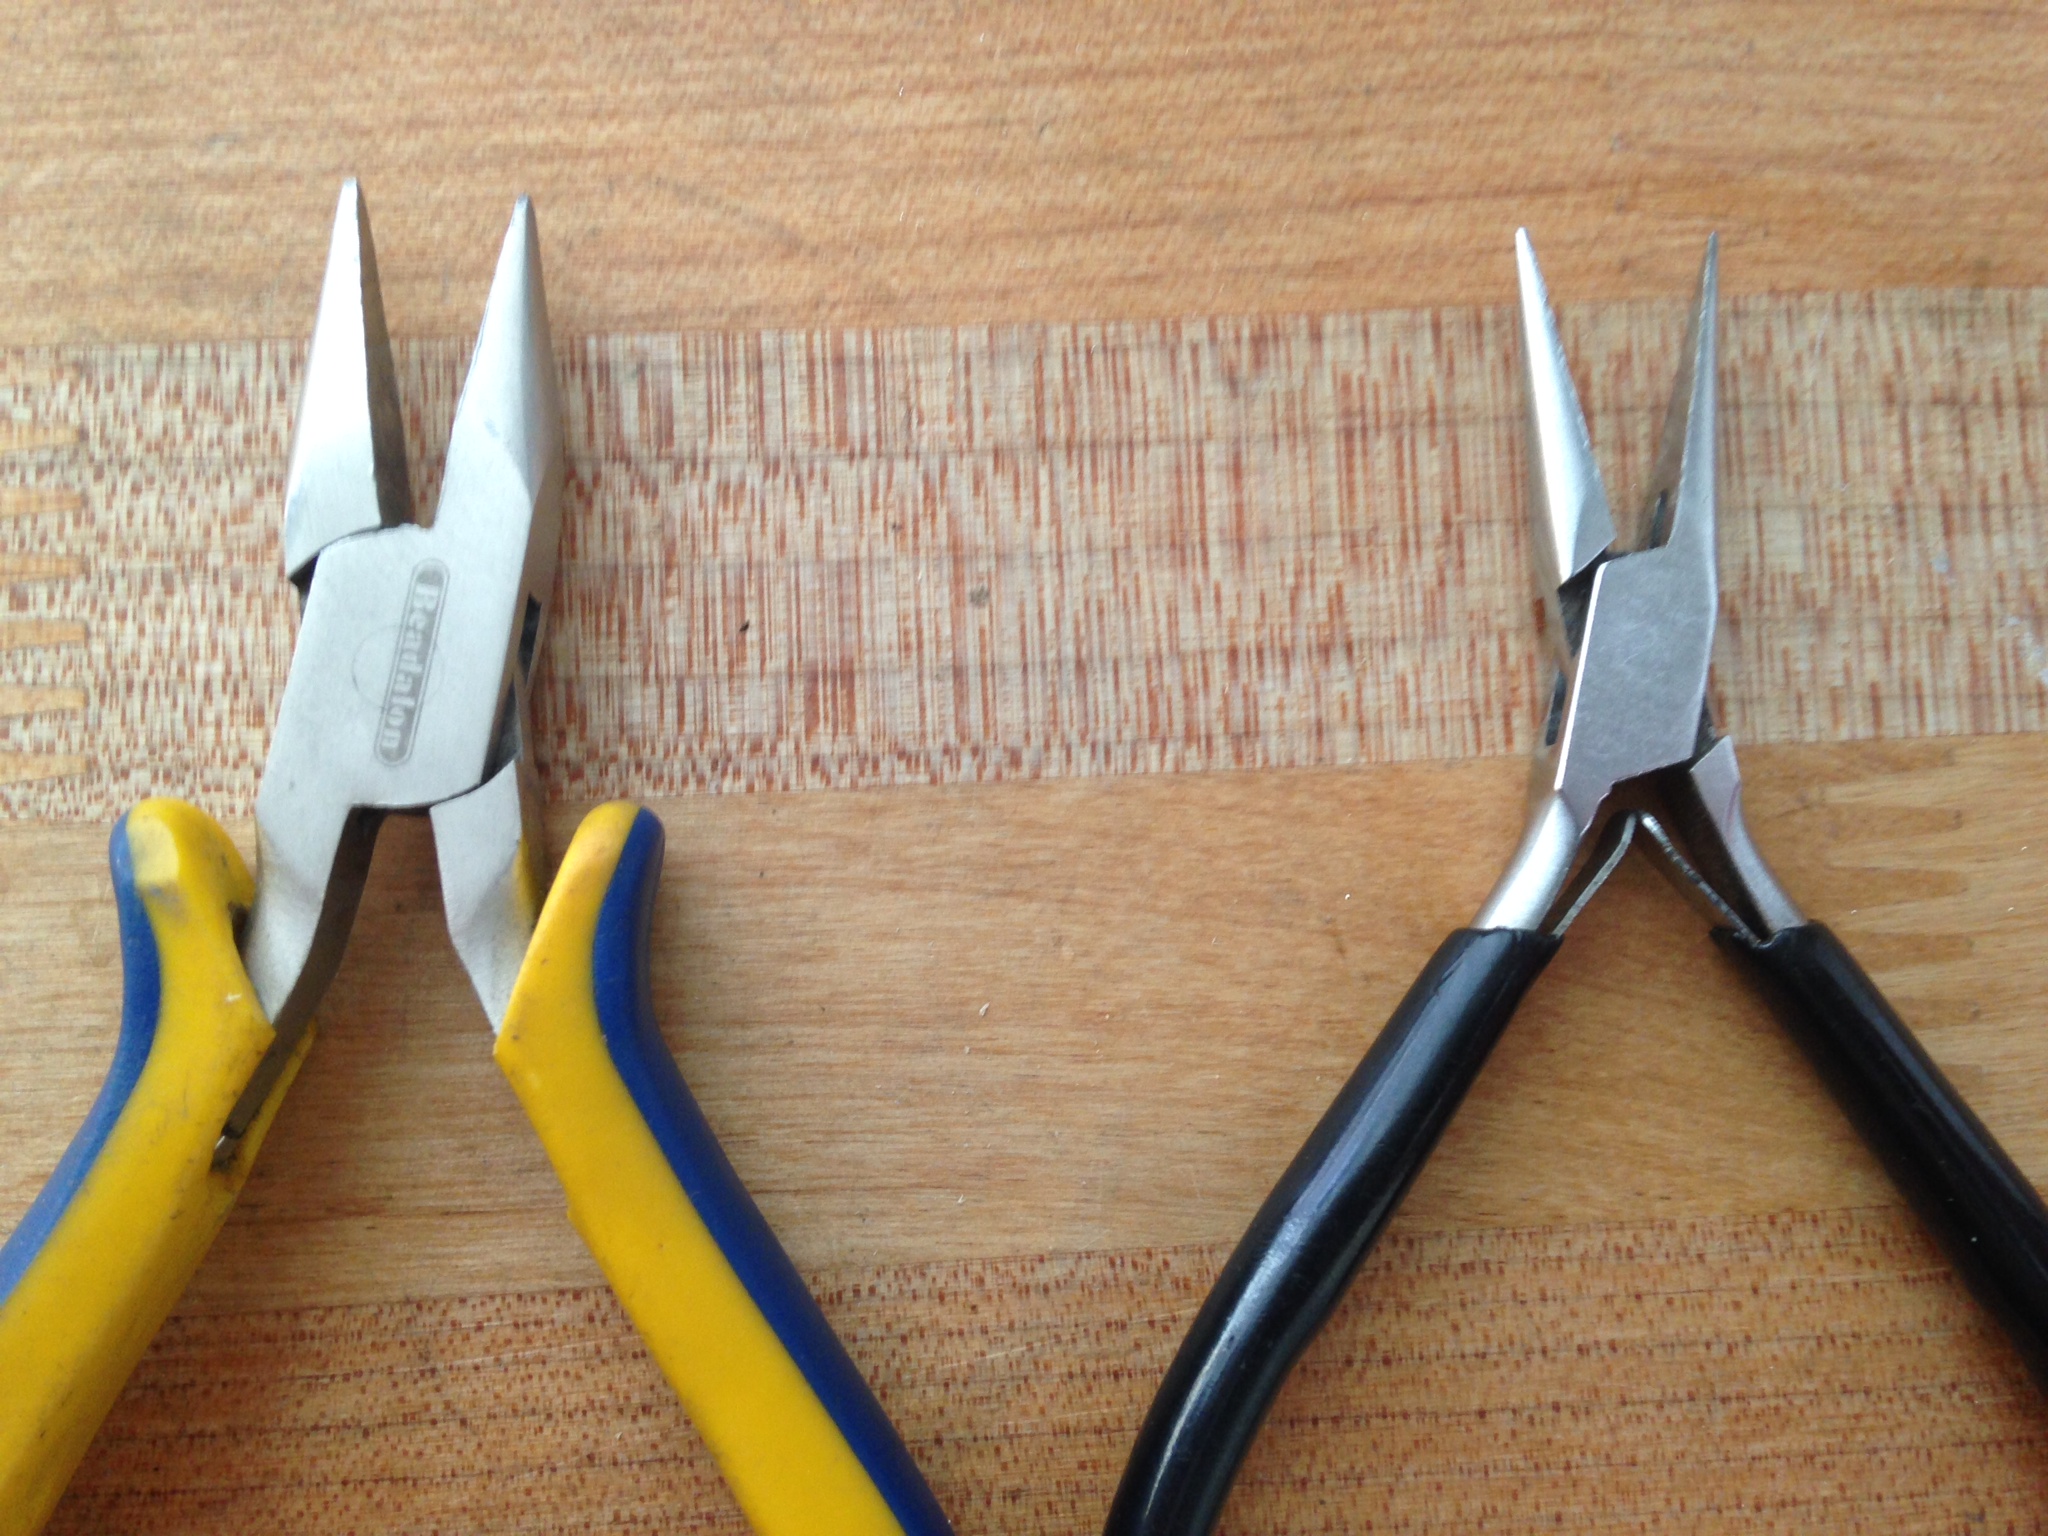
The pair on the left are my more heavy-duty pair which allow me to shape hoops, open and close thick gauge jump rings, and any other heavier duty projects that present themselves. They would probably be overkill on smaller projects. While the big ones get a lot of use in the studio, the pair on the right are my favorite flat-nosed pliers. I find them to be the perfect mix of tiny tips and strong centers. Keep your eyes peeled in any bead stores for a pair that are just what you are looking for.
Nylon-jawed pliers
If you’re still learning and you find that you continually end up with wire that’s crimped, textured and overall a lot harder to use, these might be the lifesaver you’ve been looking for. Put one end of your wire between their jaws, hold tightly and pull through, straightening your wire as you go. This can be repeated more than once if necessary. Keep in mind that this is a form of work hardening your piece of wire, so you might end up with wire that is a bit more springy and not as easy to manage.
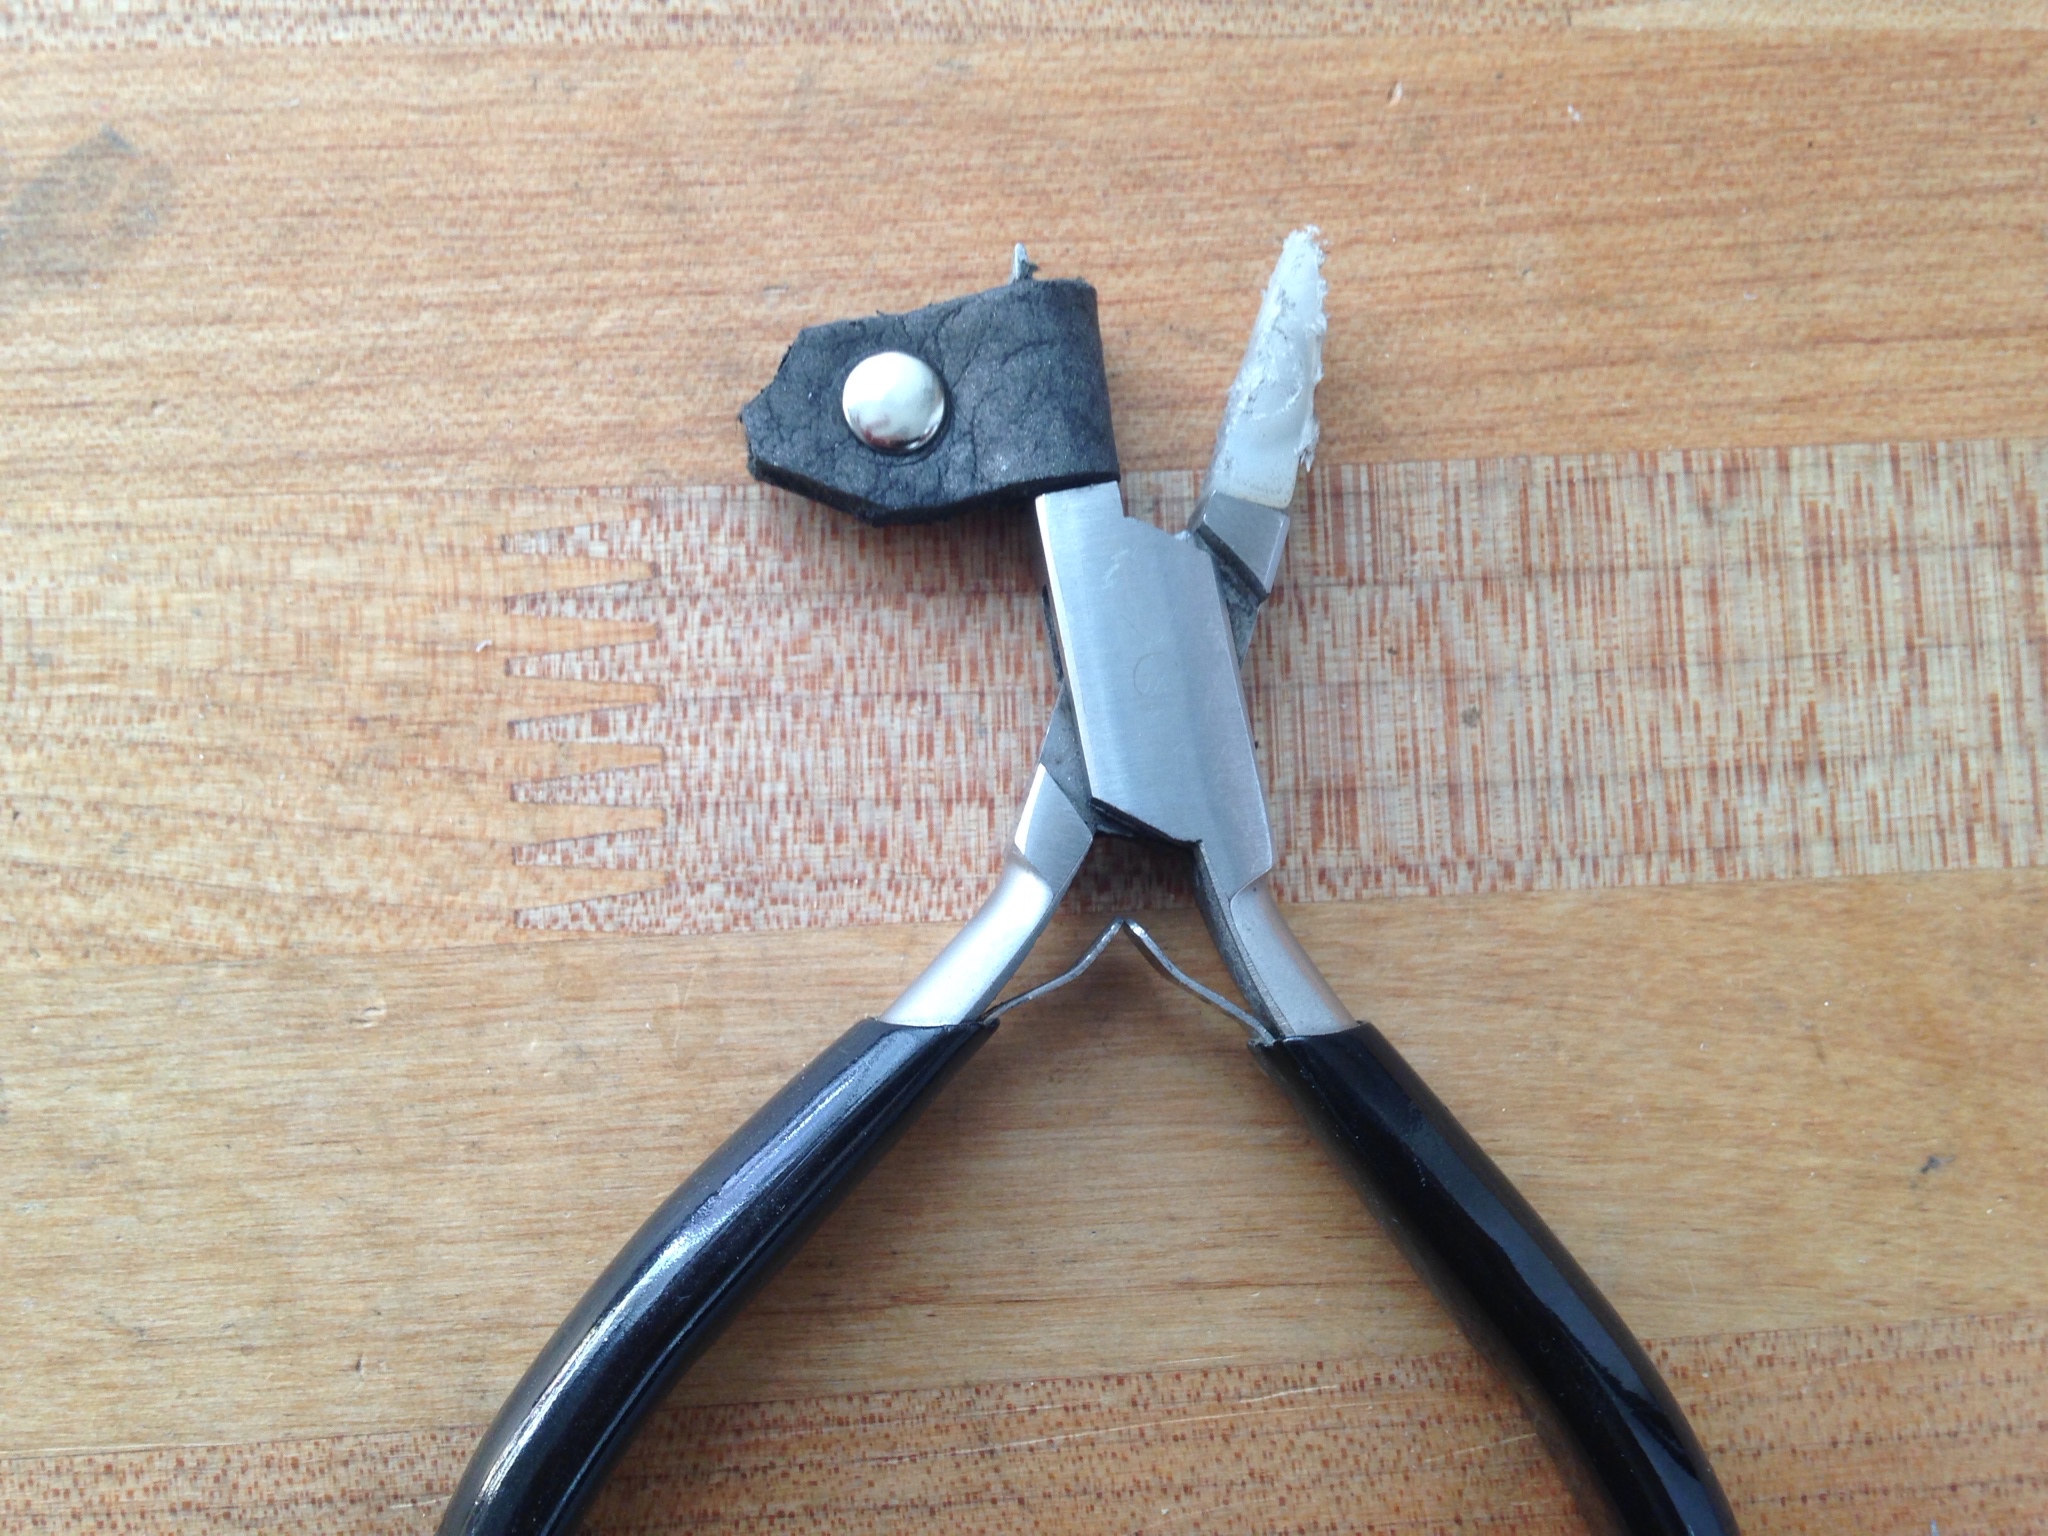
Don’t want to invest in these just yet? You can fold thick leather scraps over the jaws of your flat-nose pliers and get a similar result. Give them a try and see if they help you. Mine are an equal mix of well loved nylon and leather. They might not be the prettiest things but they work!
Wire cutters or fingernail clippers
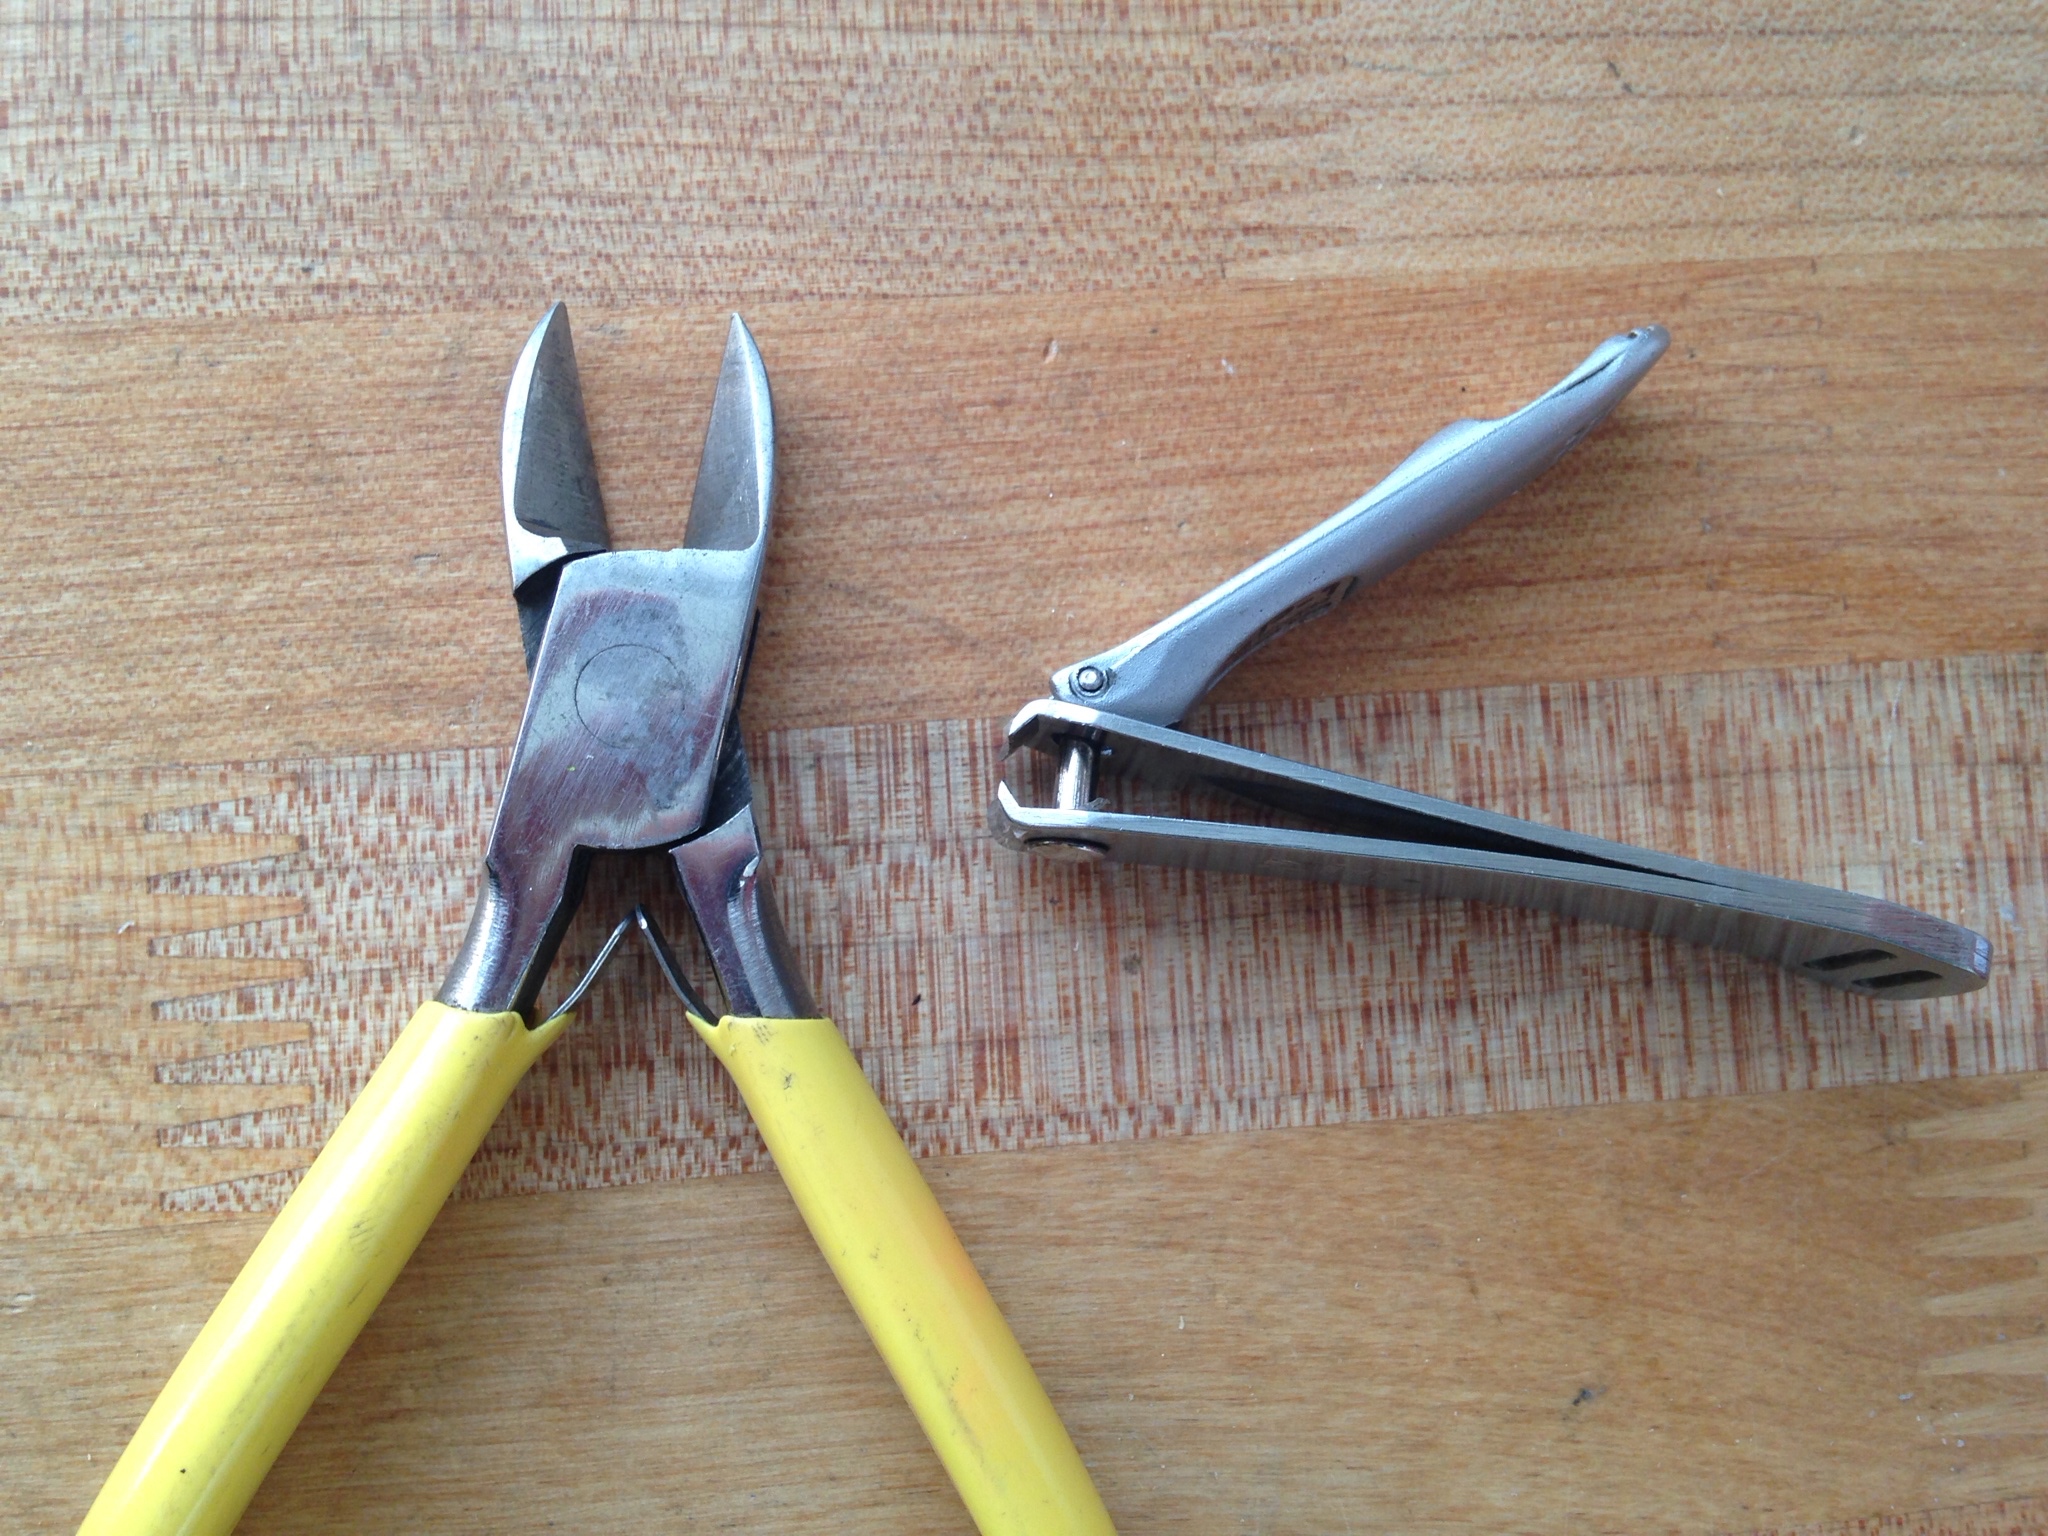
It’s important to have a reliable way to cut your wire. Some people prefer flush cutters or wire cutters like the ones pictured on the left which are great if you’re wanting to cut thicker gauge metal. For the longevity of your tool, it’s best to use the area closer to where the jaws meet so that you don’t wear out the tips.
If you’re cutting smaller gauge wire, one of my favorite tricks is to use a pair of fingernail clippers. Grab a new pair to be used especially for jewelry. They’ll allow you to get into tiny areas that bulky cutters can’t. For slightly thicker wire, toenail clippers work great.

Wire
Depending on your supplier, the number of available gauges of wire can make your head spin. No need to get overwhelmed though, there are a few basic sizes that you’ll be able to use for many a project.
24-gauge wire
This size is great for projects that need a little extra strength or for beads that might have larger holes.
26-gauge wire
This size that will fit through the majority of the beads that you get. It’s also hefty enough that you know your wraps will be secure. Be careful not to crimp or bend the wire multiple times as that will weaken it.
28- or 30-gauge wire
If you are using small precious stone beads, you’ll find that often the holes will be extra tiny and you’ll have trouble getting a 26-gauge wire through them. That’s when you’d want to reach for this wire. However, this is probably not the best choice if you are planning on wrapping those stones into a bracelet or a piece that will encounter a lot of wear.
I hope that this will give you the confidence to know the basic tools of wire wrapping jewelry. If you’re an experienced wire worker and have any other favorite tools or gauges of wire that you think the community would benefit from learning, leave a comment below. We’d love to learn what works for you!
Share tips, start a discussion or ask one of our experts or other students a question.
No Responses to “A Guide to Jewelry Wireworking Tools and Wire”