
Are you curious about wire-wrapping with beads? Do you look at jewelry online or in stores and think to yourself, ” I know I could make that!” Or, perhaps you have a necklace that you love, but it needs that ONE link fixed. Here we’ll take a look at a basic wire-wrapping technique that can be used in an incredible variety of ways. Make your wirework designs stand out with unique accents, fix old pieces or create new ones. This will undoubtedly be a skill you want to have in your jewelry making arsenal!
How to make a wire-wrapped chain link for wire-wrapping with beads
Tools you’ll need:
- Round nose pliers
- Flat nose pliers
- Wire Cutters
- Beads of your choosing (I’m using 5mm tourmalines)
- Wire that will fit through your chosen beads. (I’m using 26 gauge 14K gold fill)
- Chain is optional (but really fun to work with!)
Curious about these or any other basic jewelry making tools? See my post on what you need to make jewelry.
Step 1:
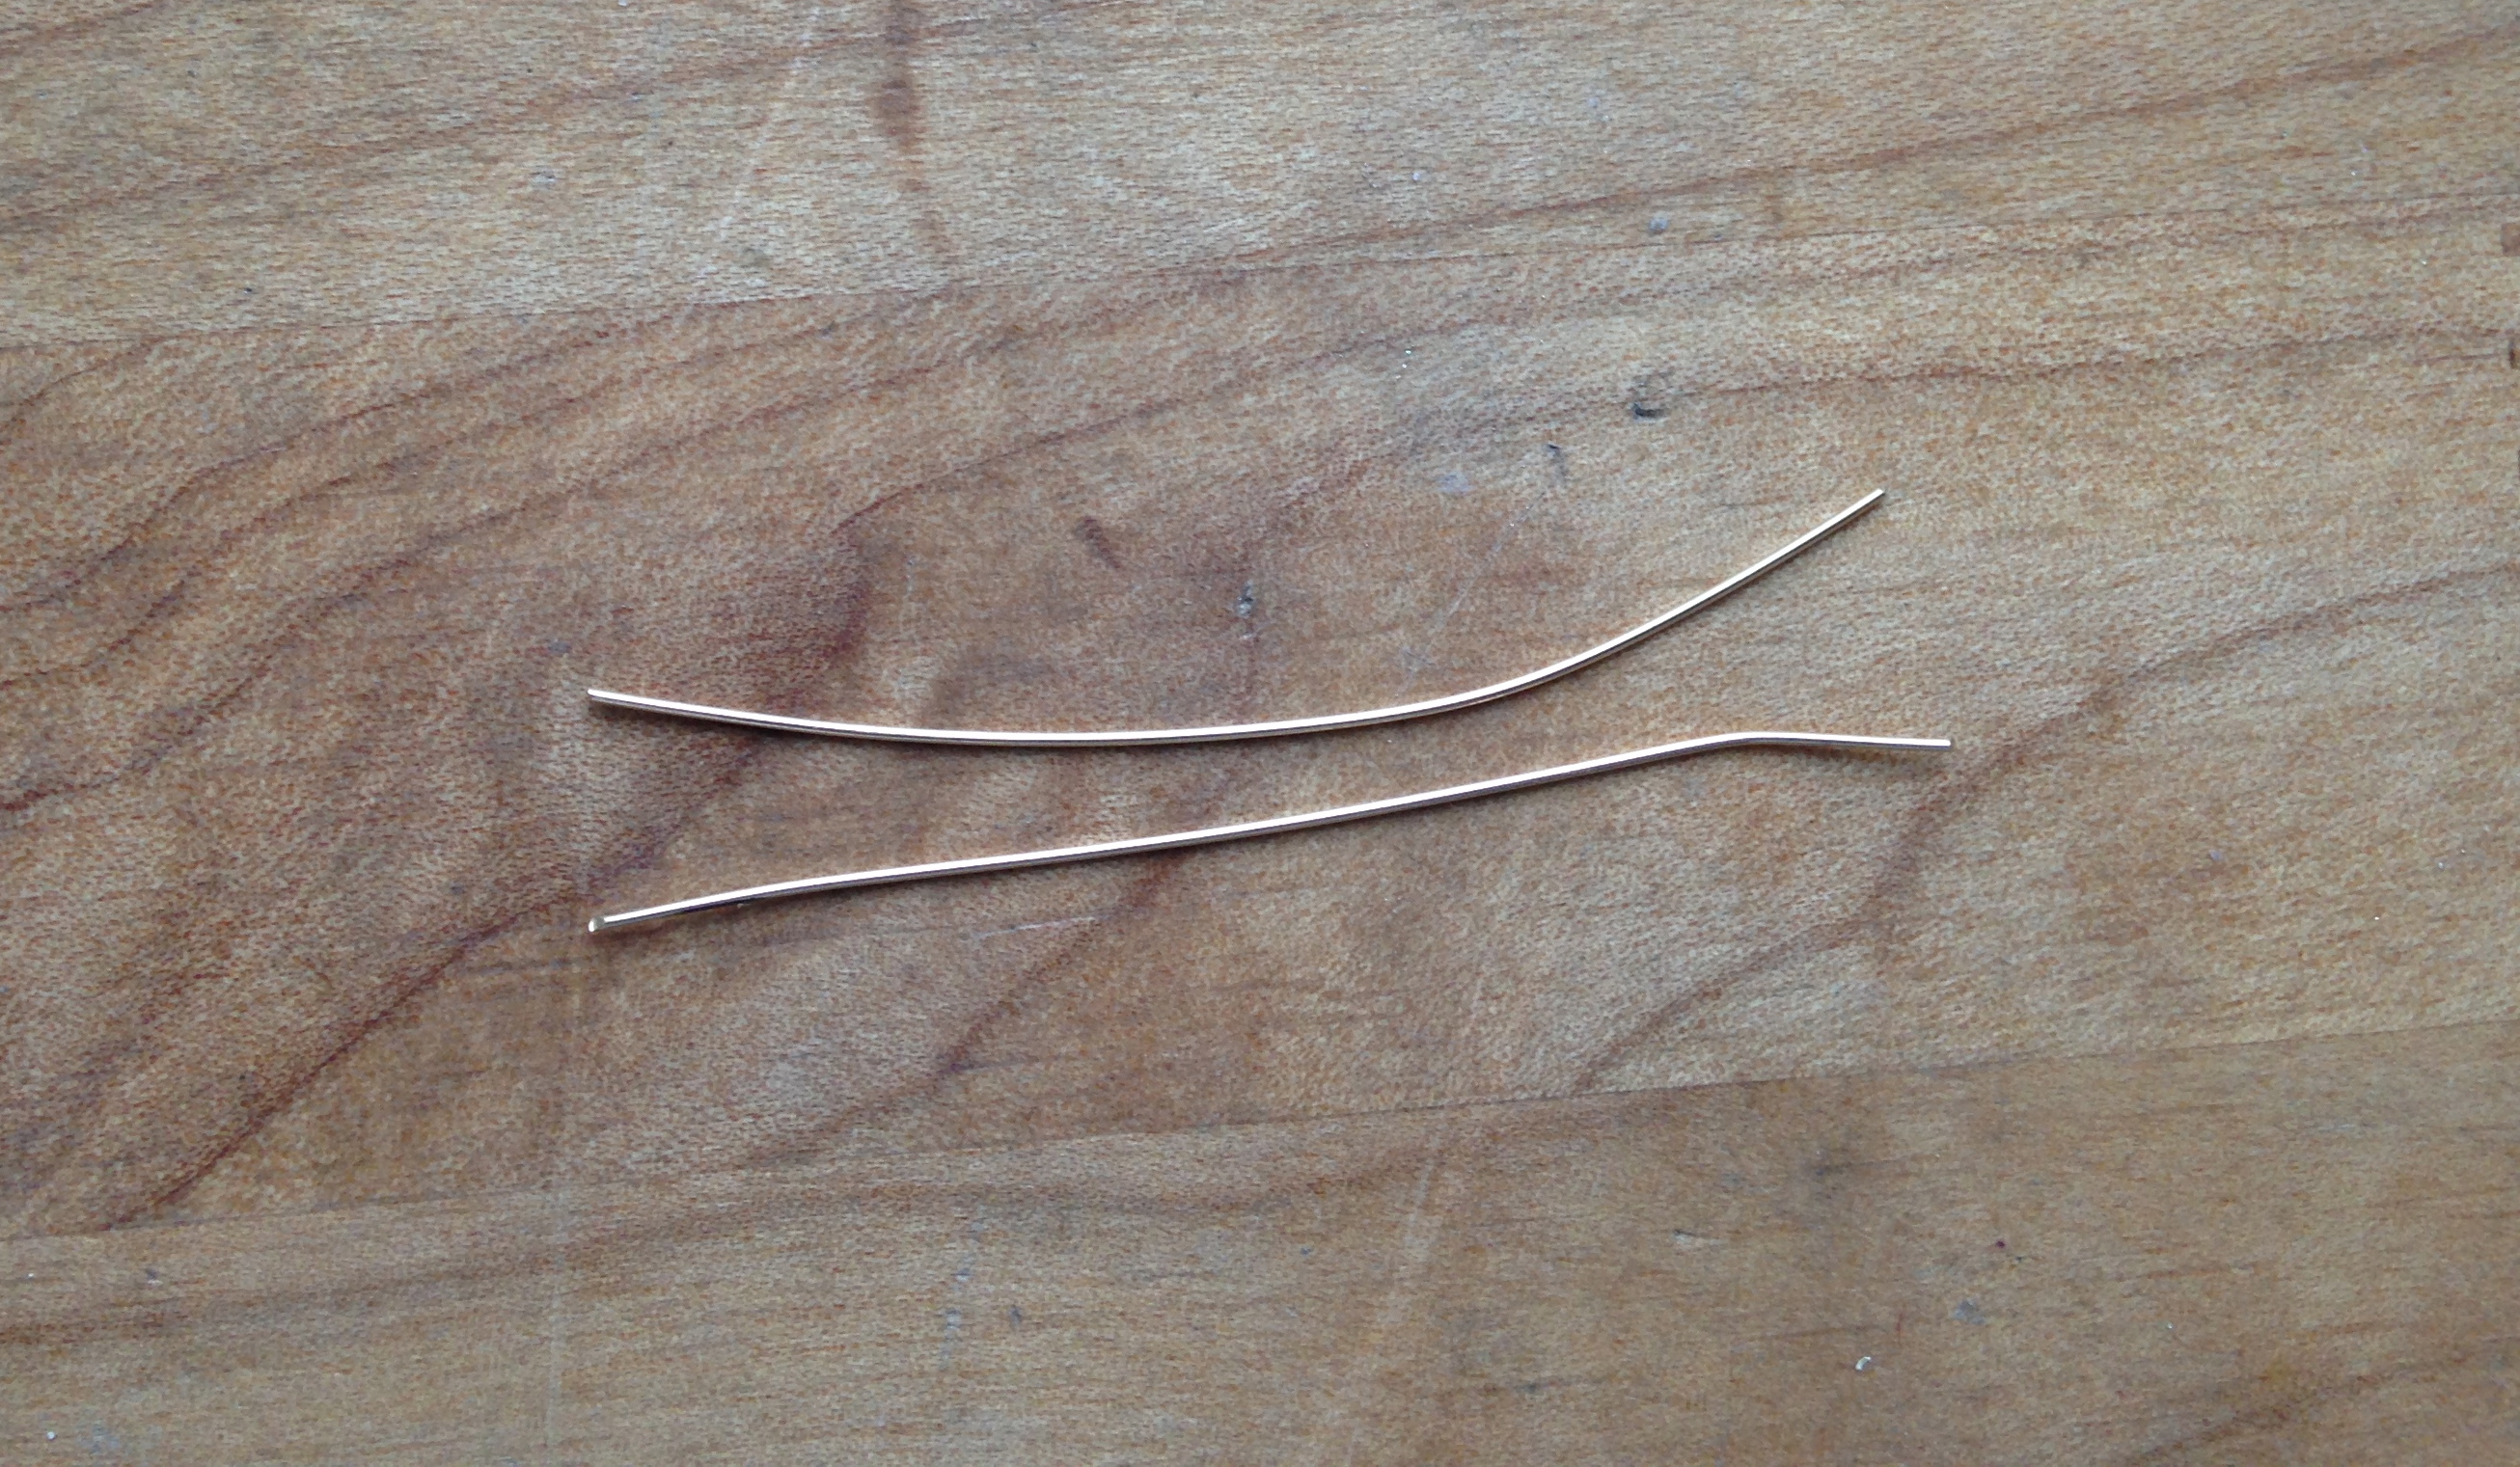
Begin with a piece of wire about 3″ in length if you are using beads similar in size to mine. If you’re using bigger beads, you’ll need more wire. When beginning beading with wire, I like to make a guess as to how much wire I think it will take to make one link, and then cut two pieces that size. Put one aside and we’ll get to that reasoning a little further down.
Step 2:
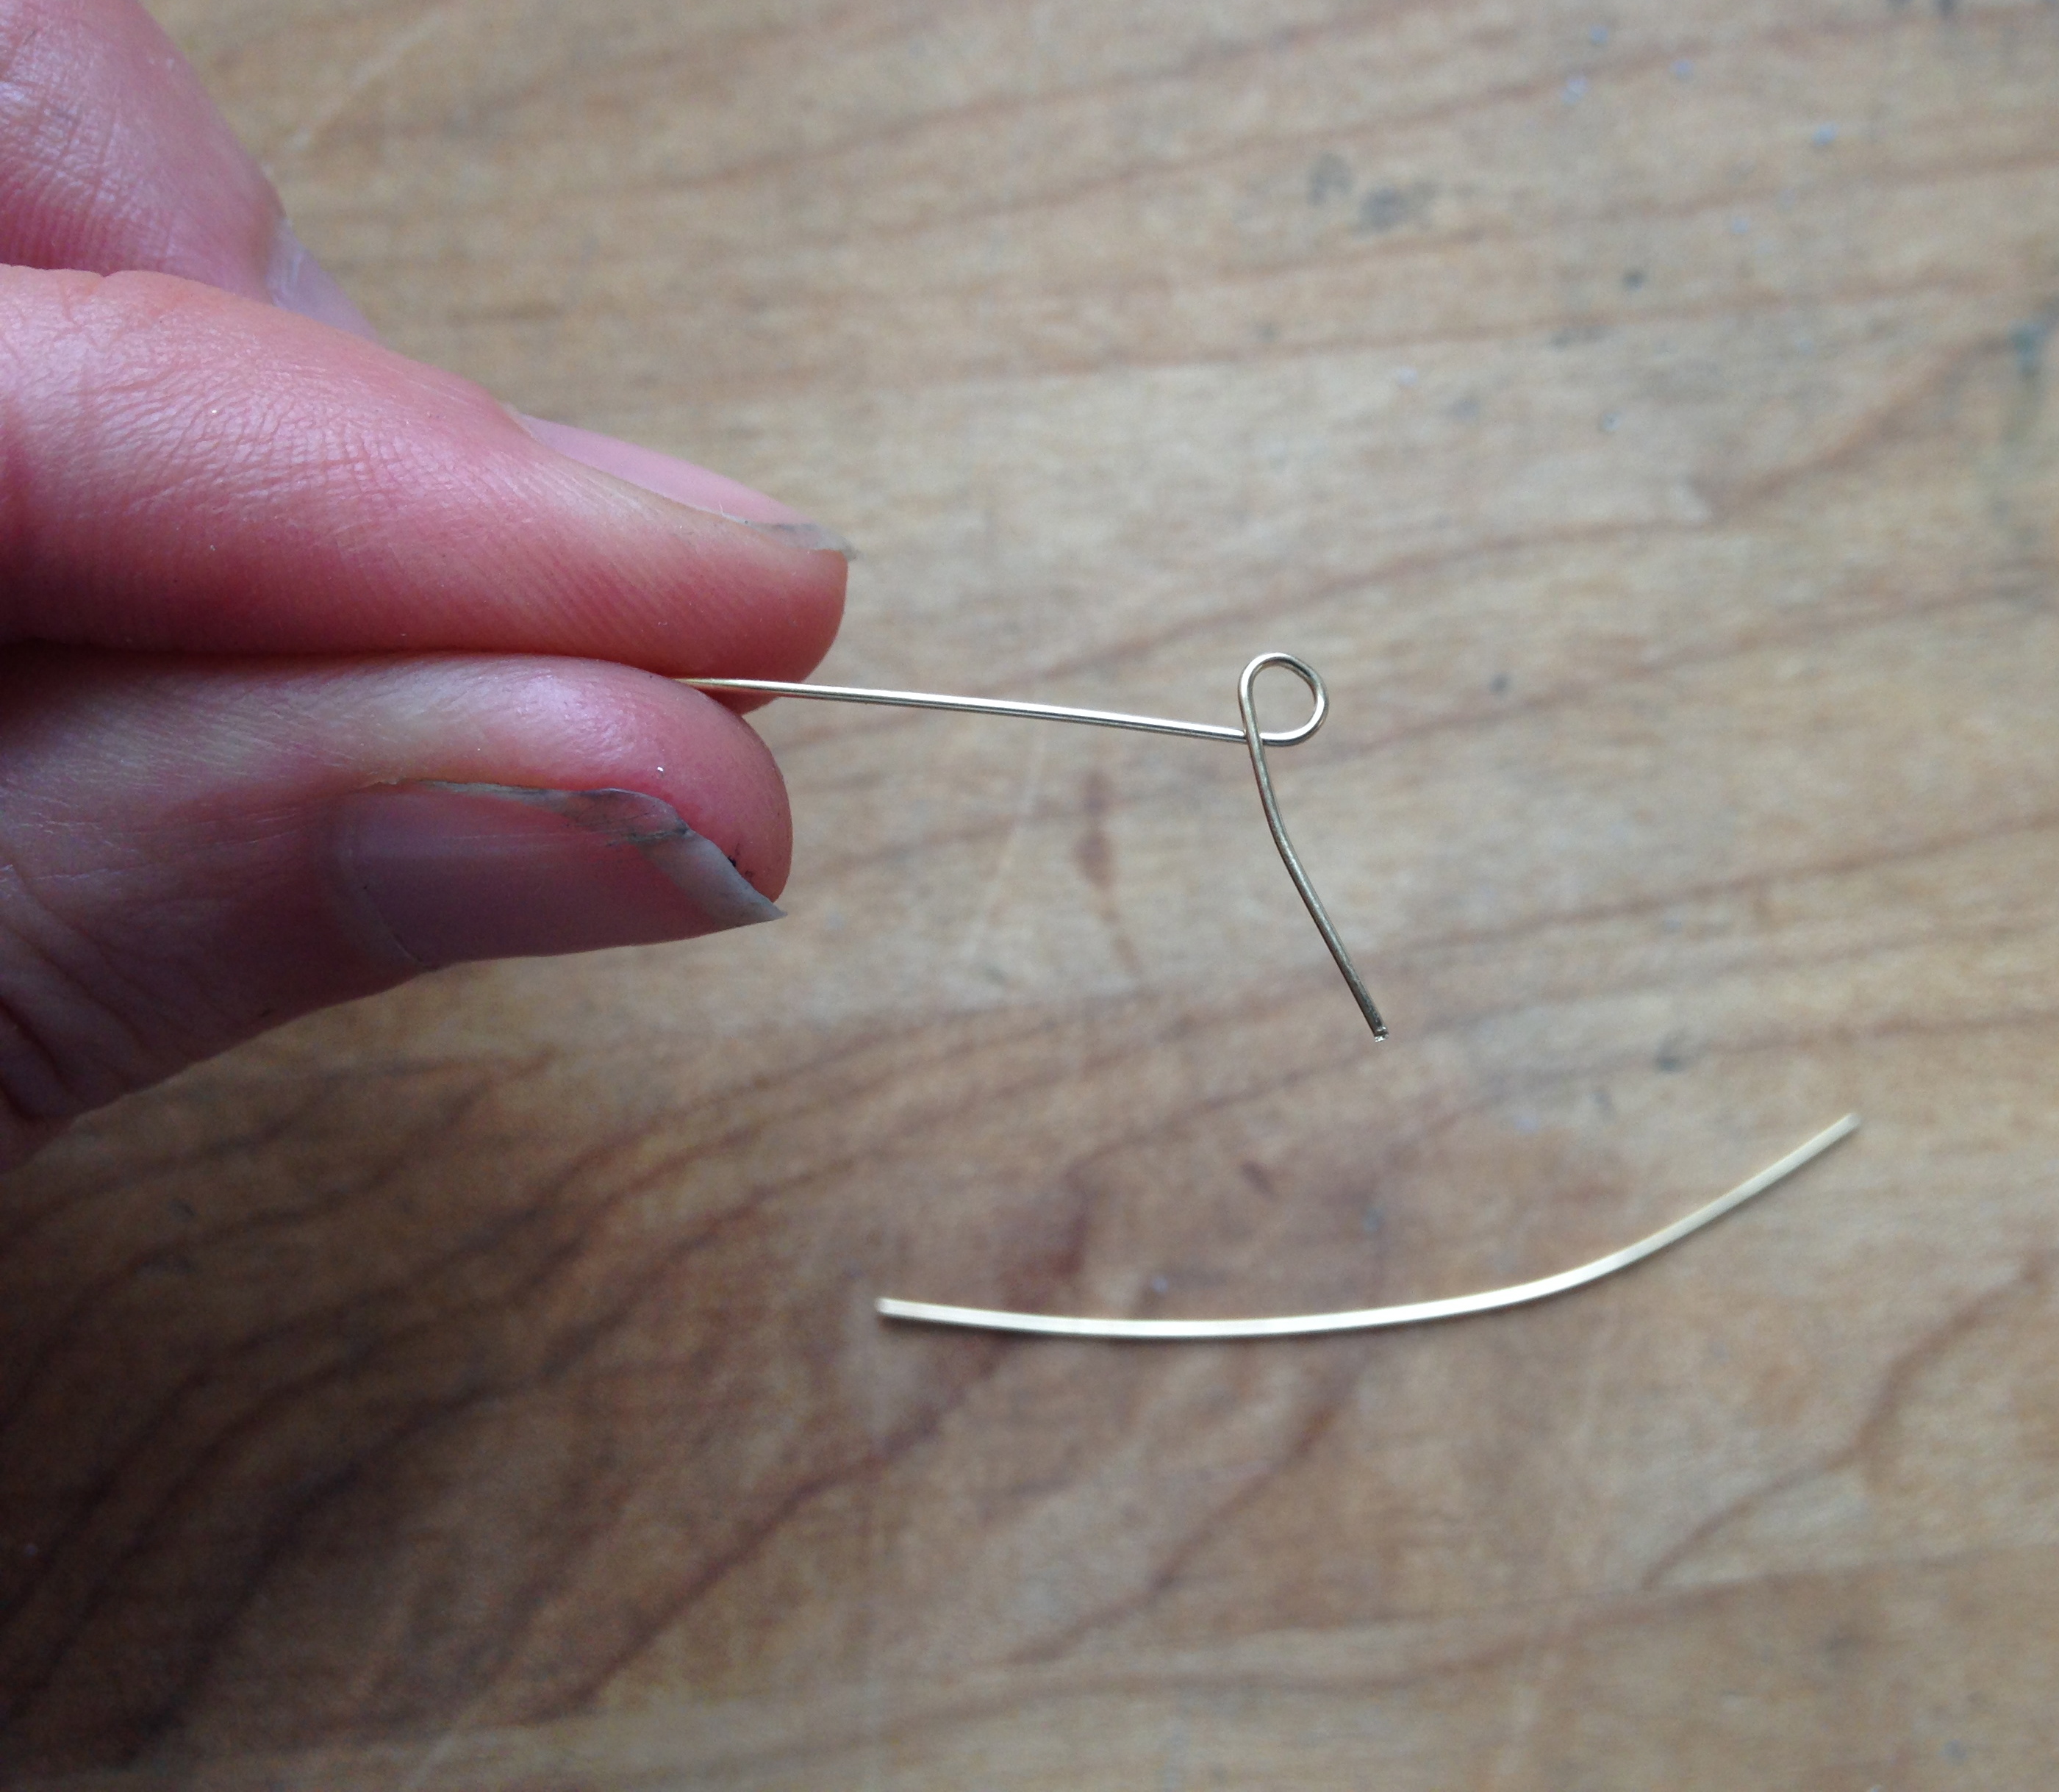
Using your round pliers, form a loop about 1/4 of the way down on your wire. Let’s start this round going counterclockwise.

Step 3:
Note: You have a few options here, so I recommend that you read all the way through and see what makes the most sense to you. My way of learning might be different than yours and that’s OK!
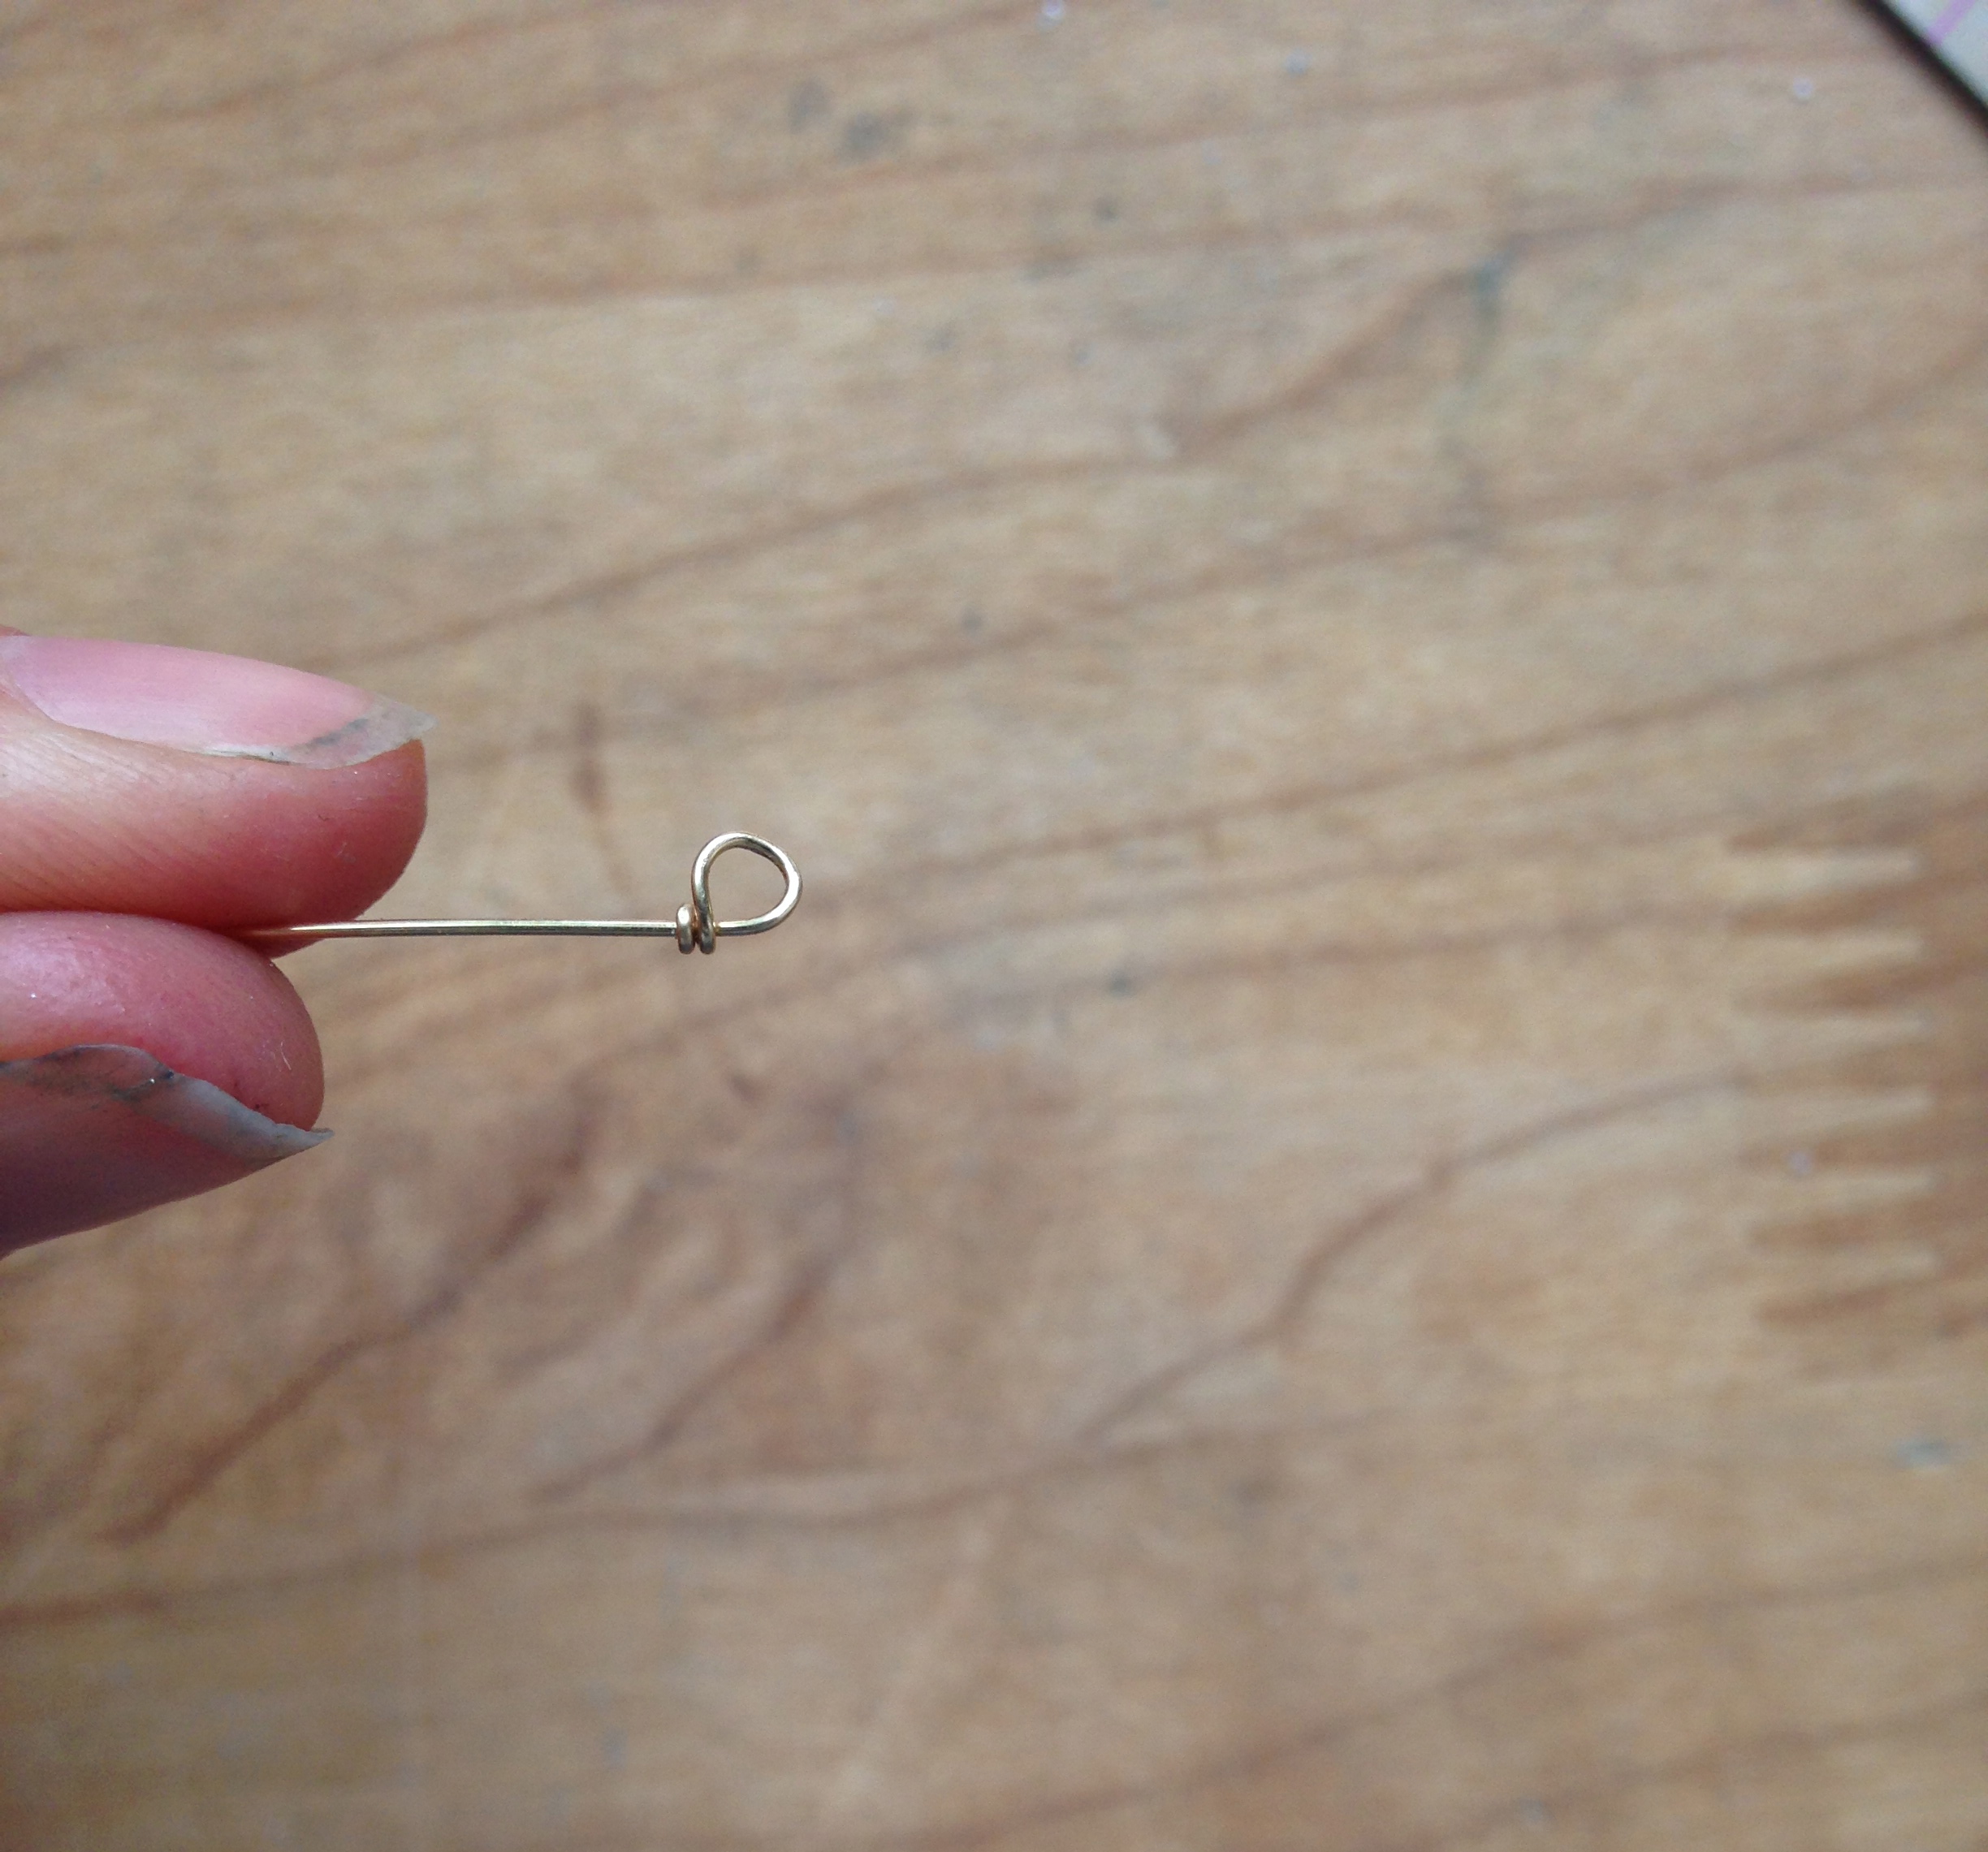
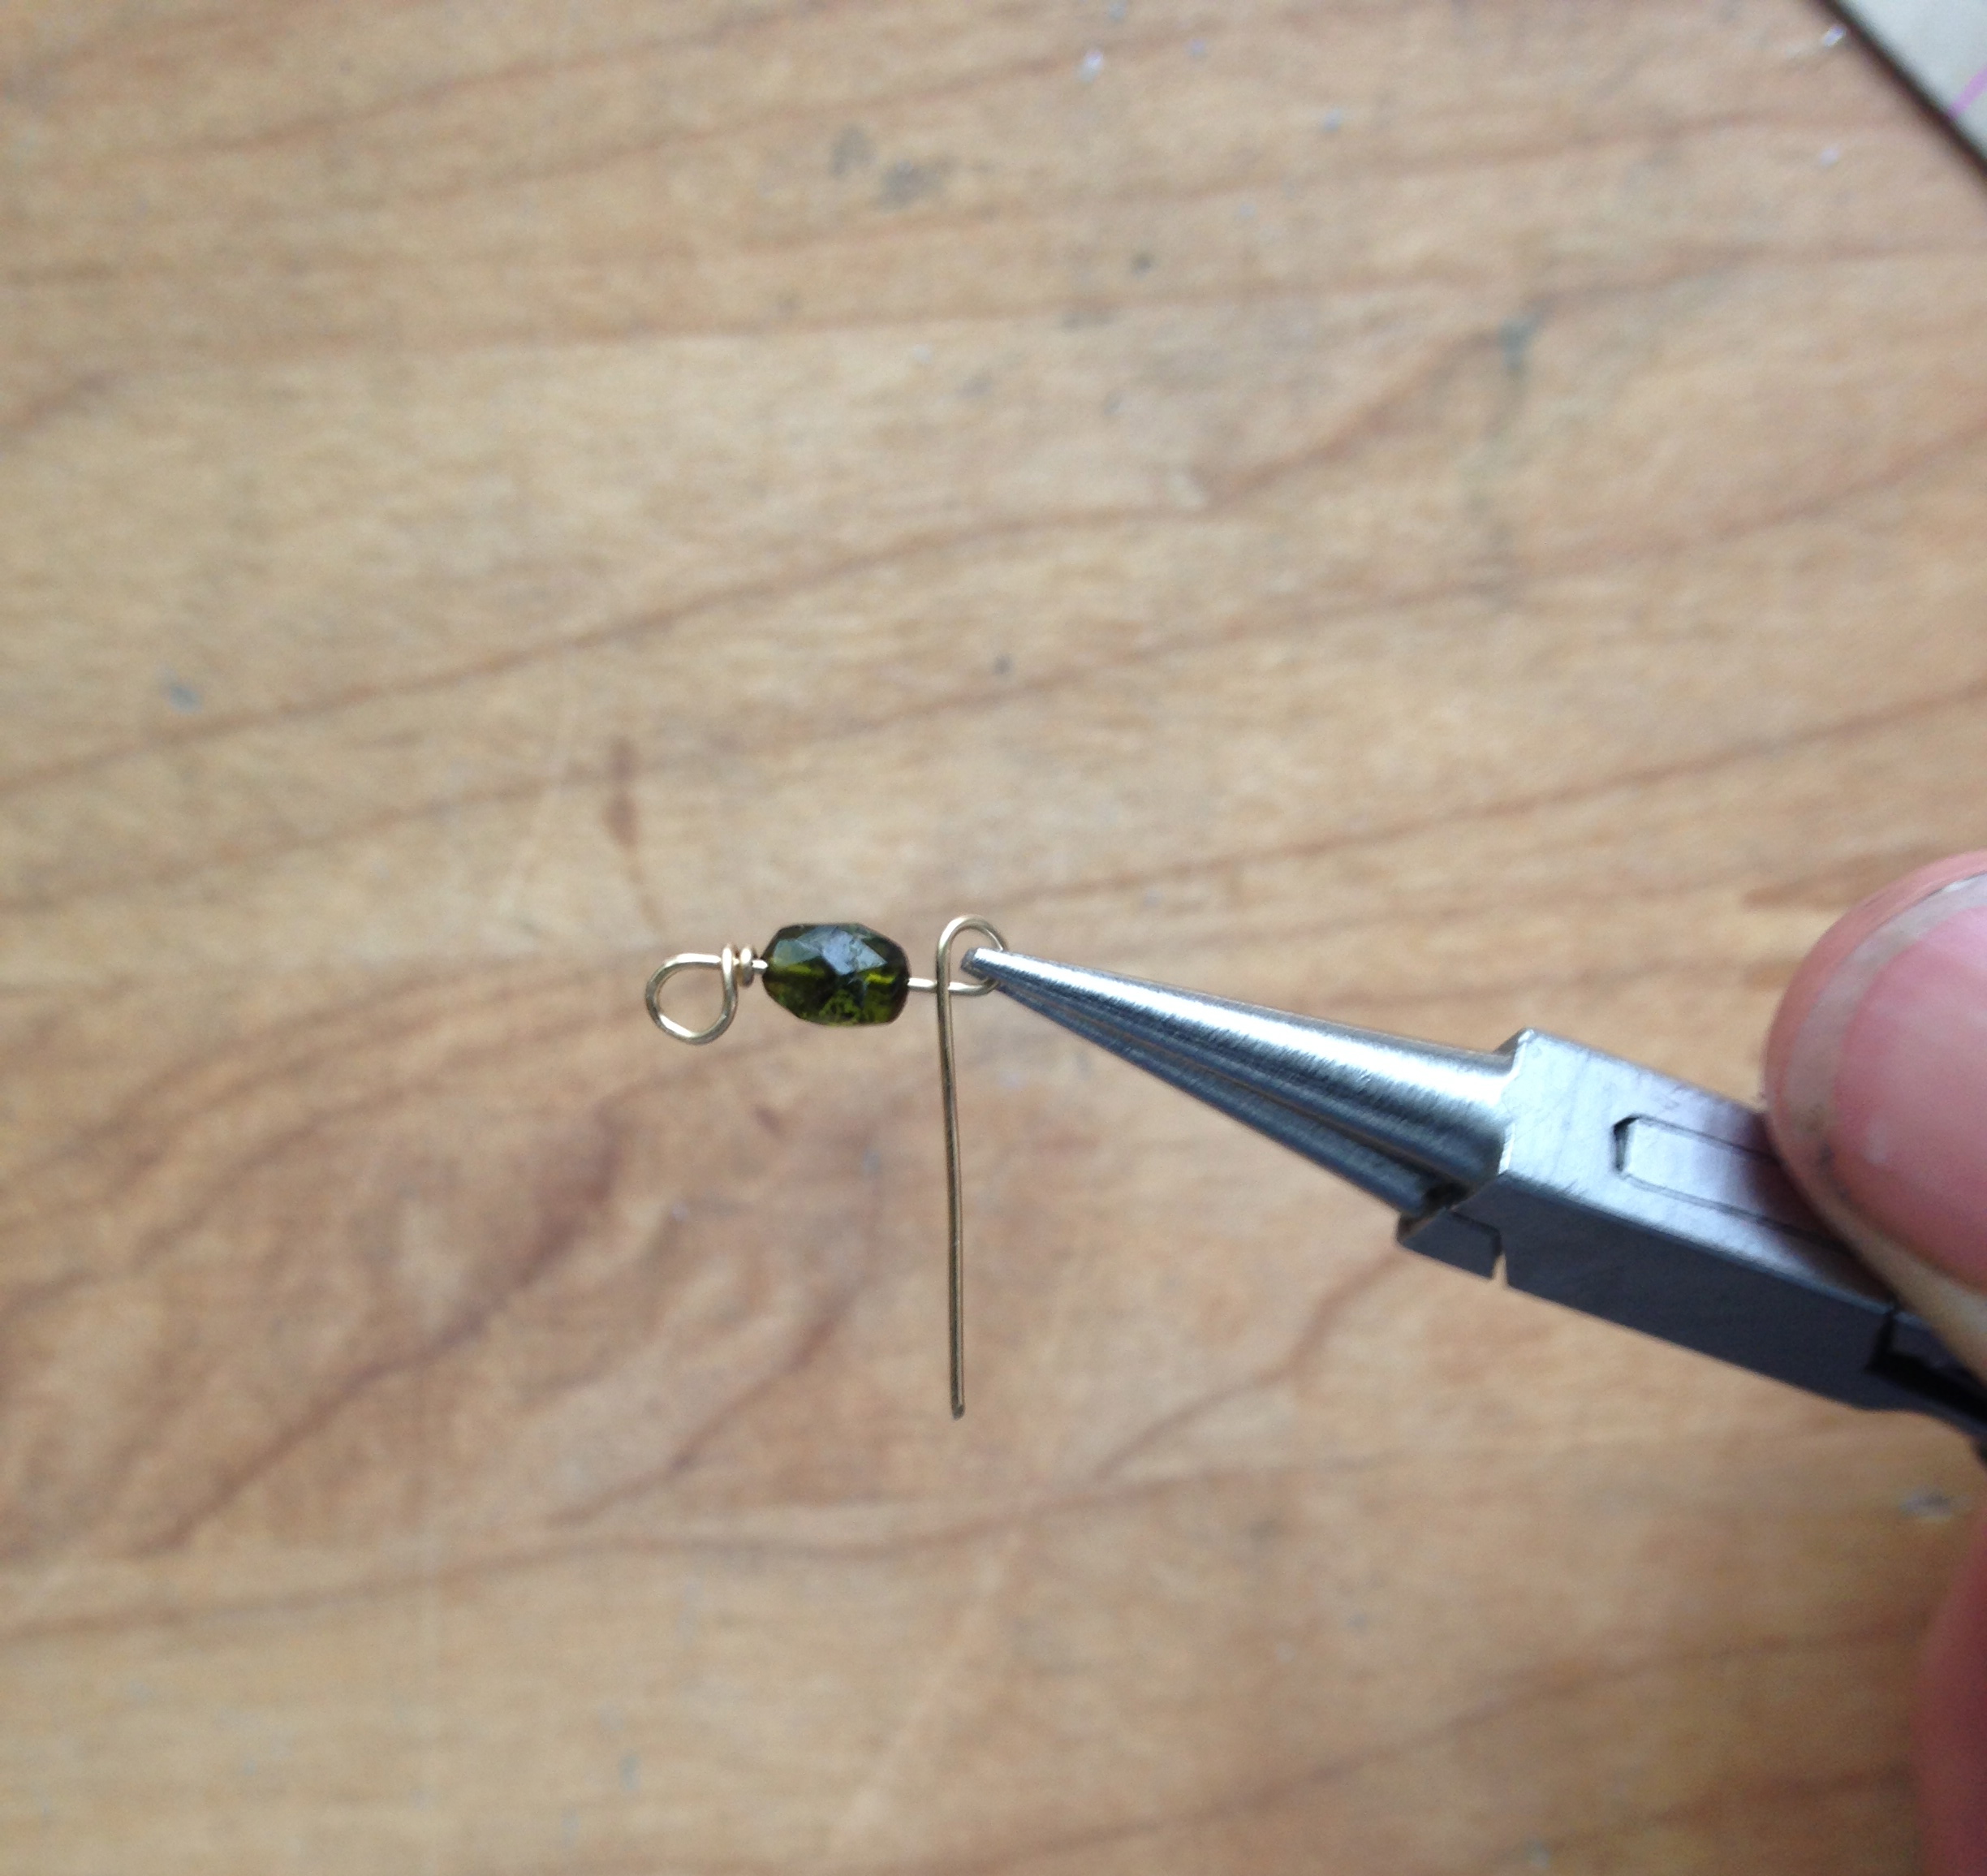
Place the loop on your round nose pliers and grab the short end with your flat nose pliers (shown above). You’ll use some wrist maneuvering here to wrap the end around the base — two times should be sufficient. If you have trouble keeping your loops circular I recommend practicing this step until you get the hang of it, then give the next option a try.
If you find the above difficult, another option is to hold the loop with your flat nose pliers and use the tip of your thumb to hold the stray end of the wire steady (shown above). Then, rotate your wrist away from you — you’ll start looping the loose end closed. After you’ve done about two wraps, trim the excess and put it next to your spare wire from Step 1.
Step 4:
Trim with your cutters and press down the end so it won’t stick out and snag you in the end.

Step 5:
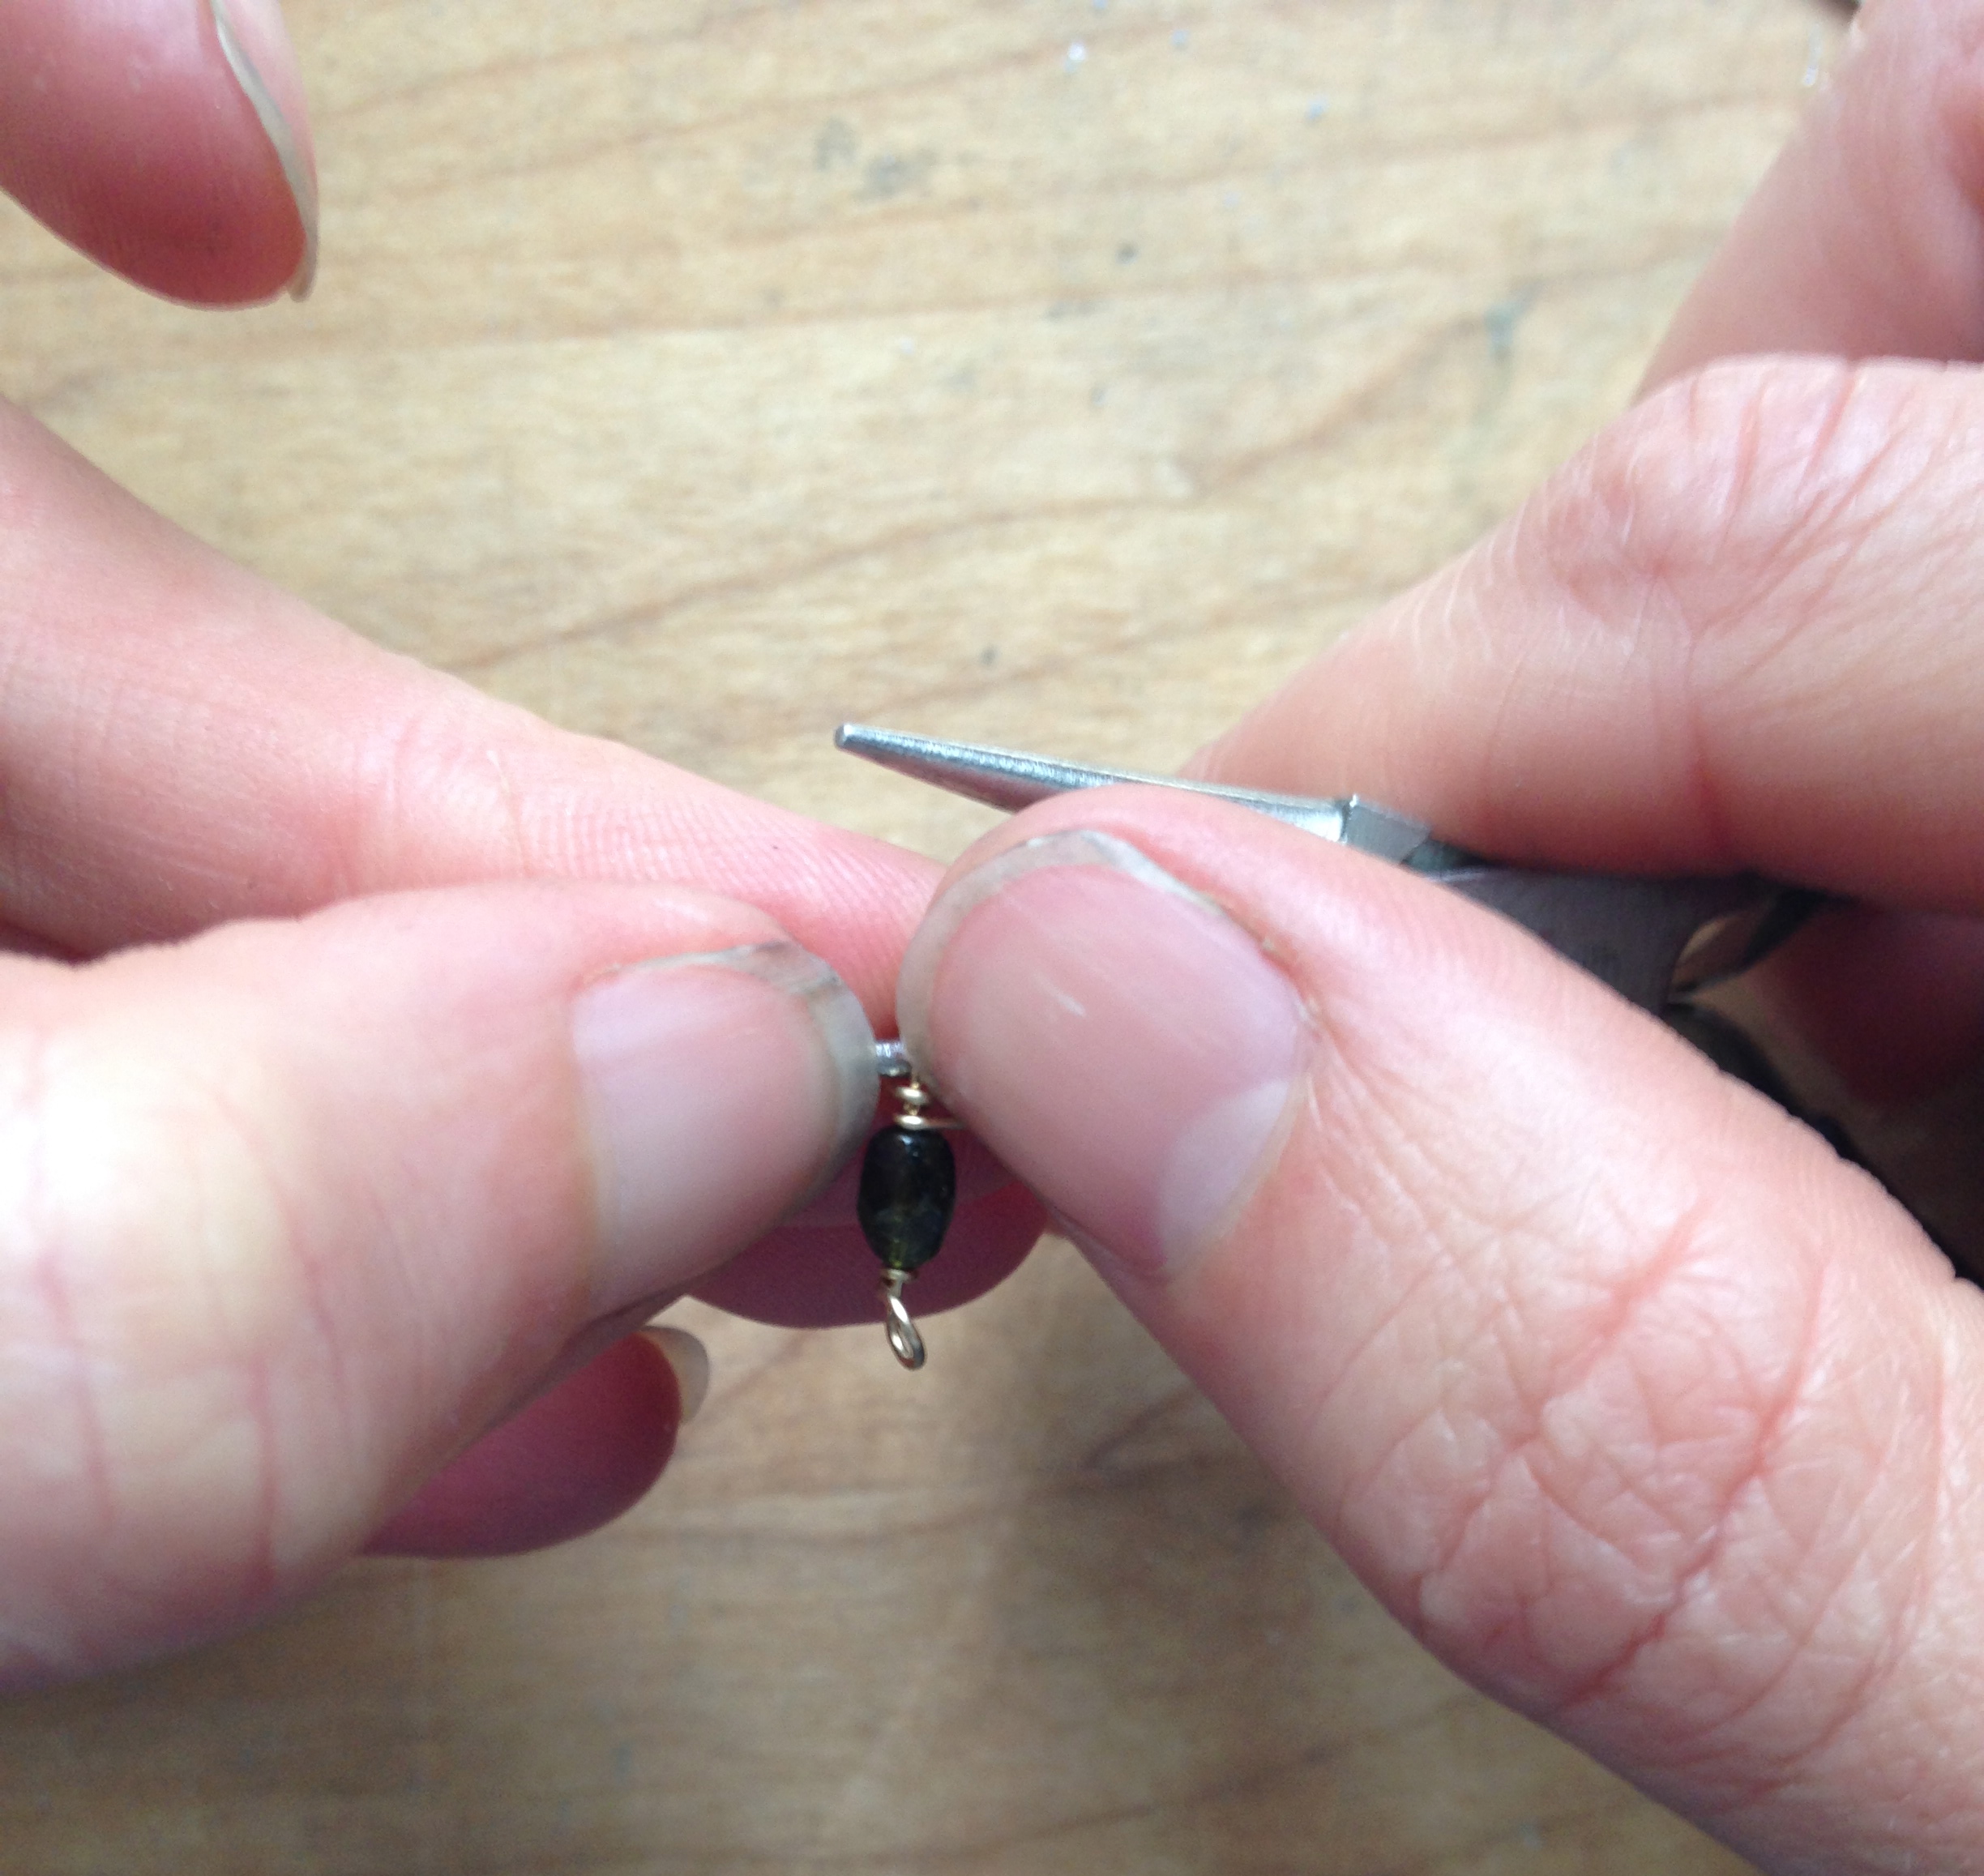
Add on your bead and make another loop with your pliers, this time going clockwise. Be sure to leave enough room between the loop and your bead for the wrapping that you’ll be doing.
Step 6:
Continue to wrap the wire until it’s close to your bead. Trim with cutters and place the waste next to your other pieces from Steps 1 and 3. Congratulations, your first wire-wrapped link!
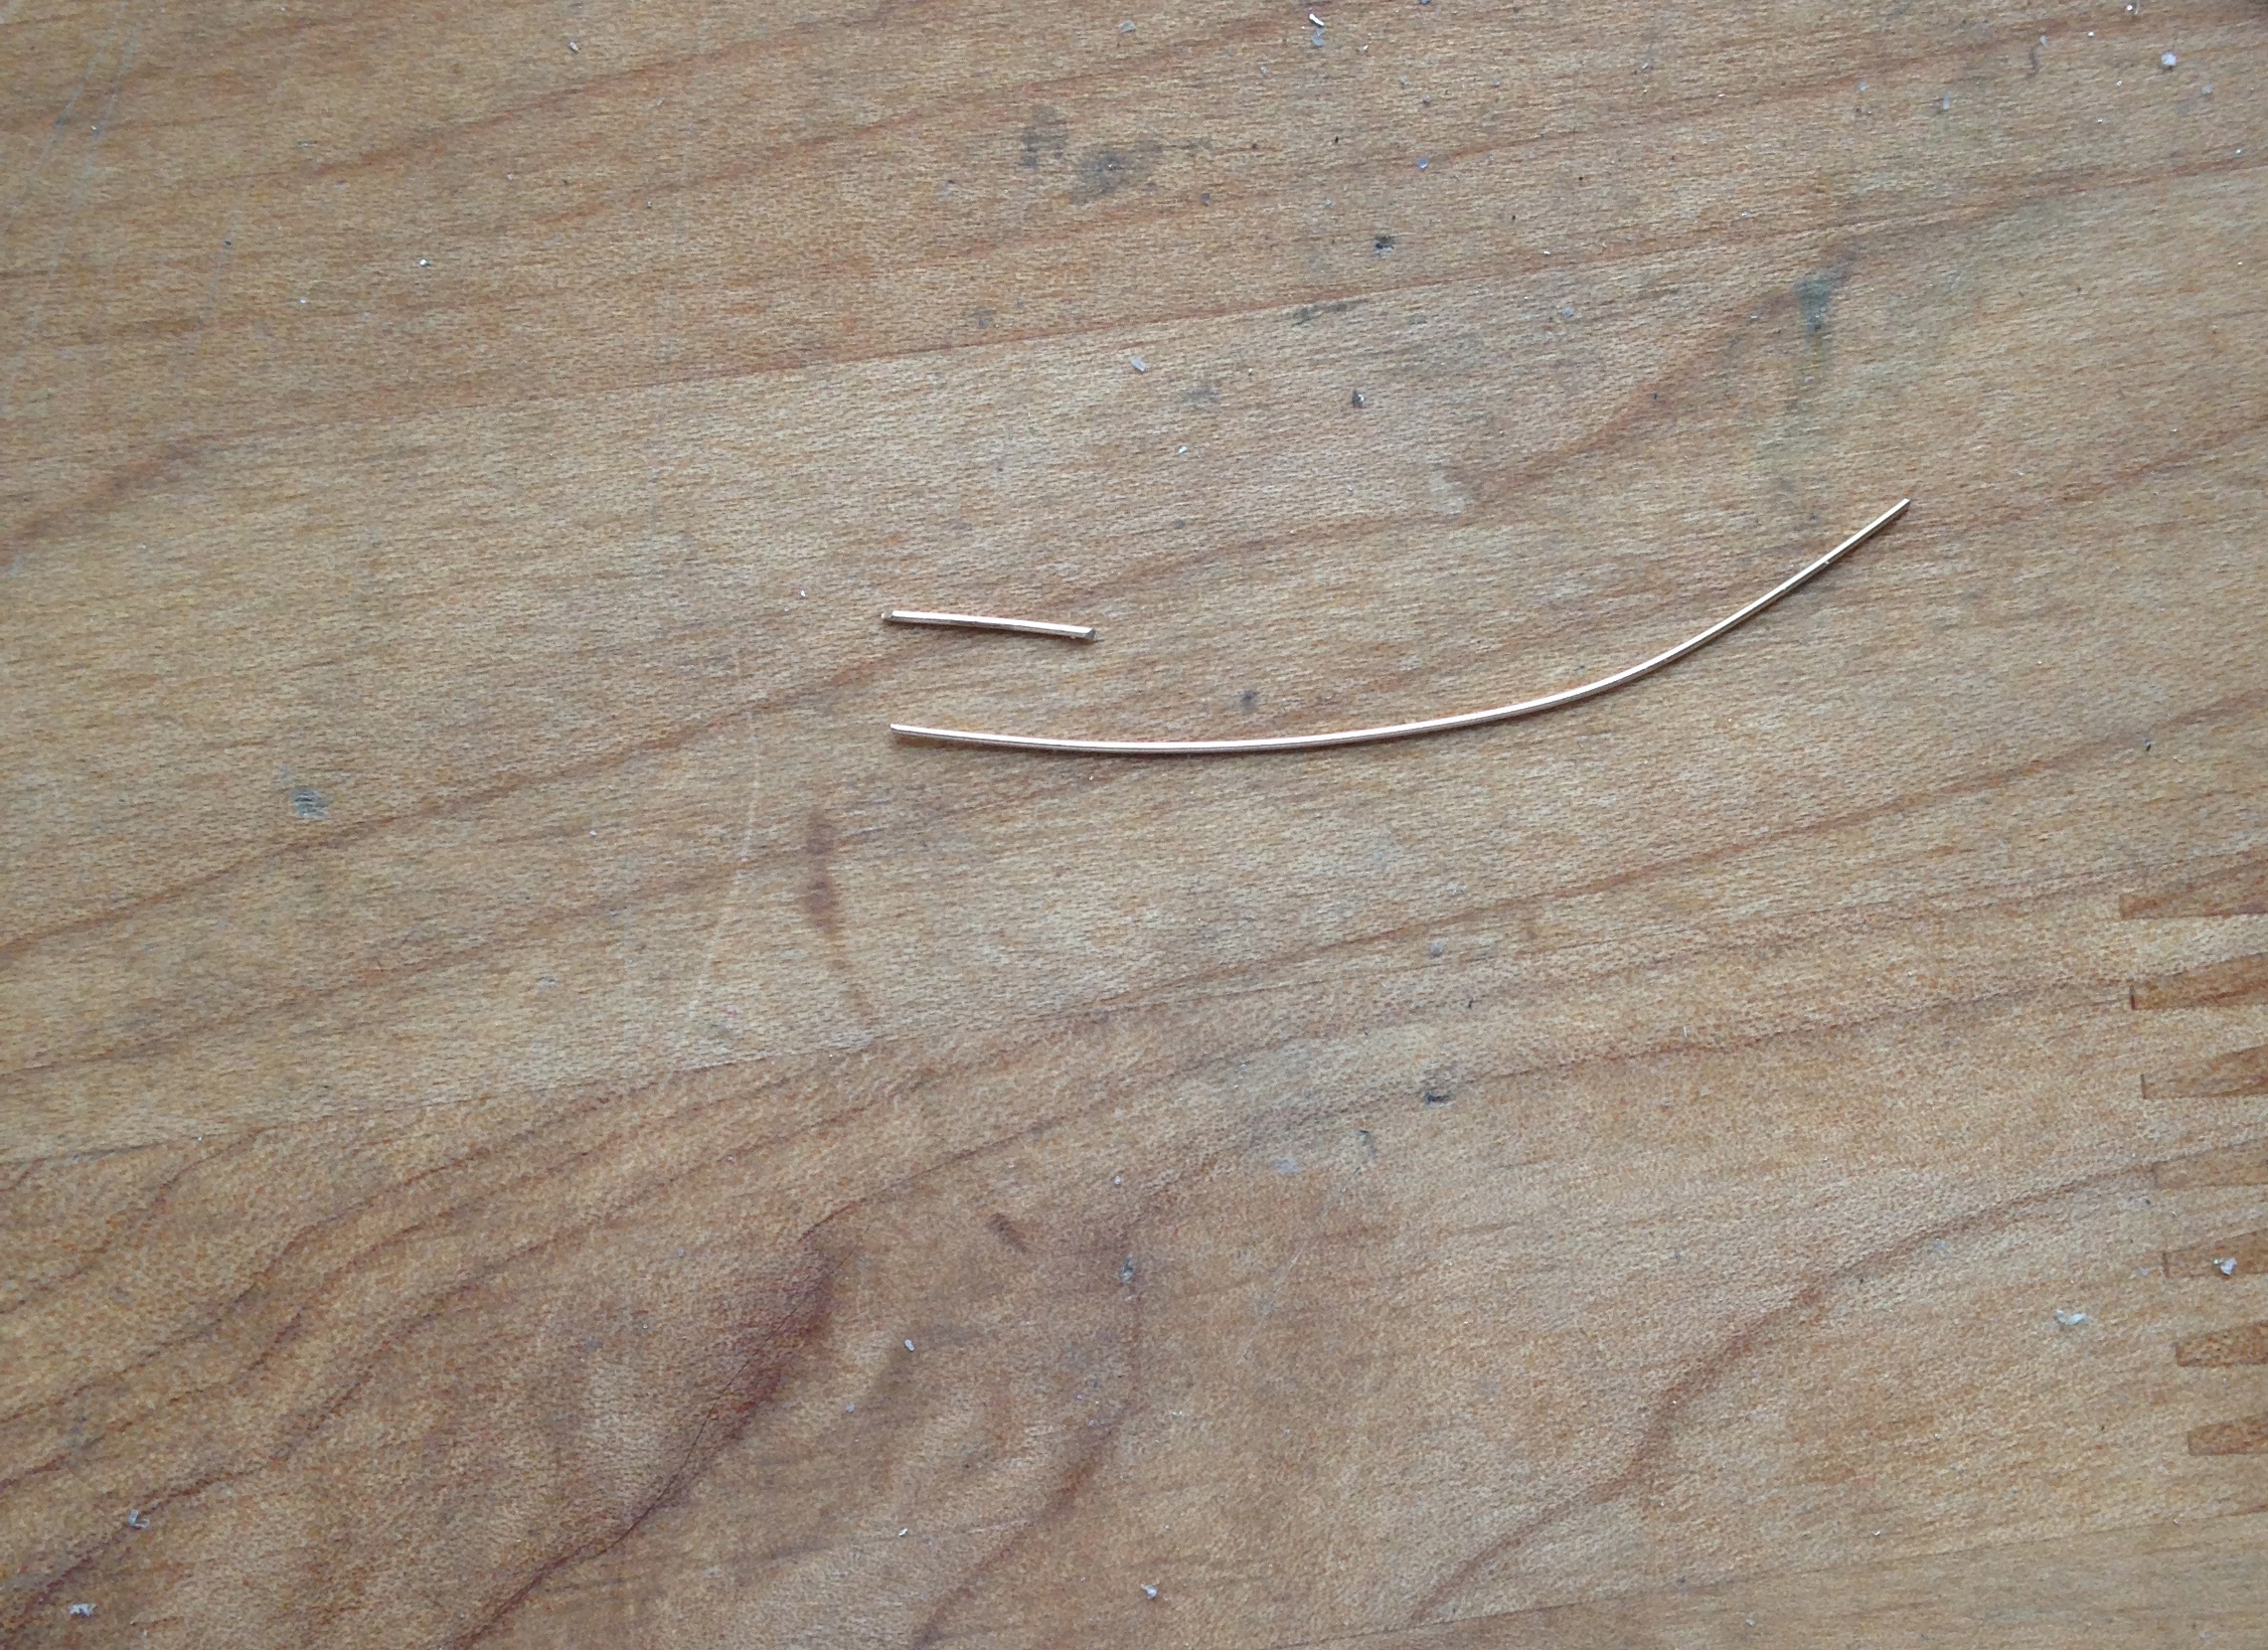
Now bring out those trimmings and take note, compare the excess to the longer piece. Did you have way more wire than you needed to make that link or were you spot on? Now you’ll have an idea in case you want to cut a lot of pieces of wire at once. I like this process because I feel like it saves me time (and scrap material) in the long run. Remember that scraps are valuable! If you’re using a precious metal, like silver, gold fill or even gold, you can keep those trimmings and get credit for them from many suppliers. Money in your pocket, not in the trash can — we like that!
Step 7:
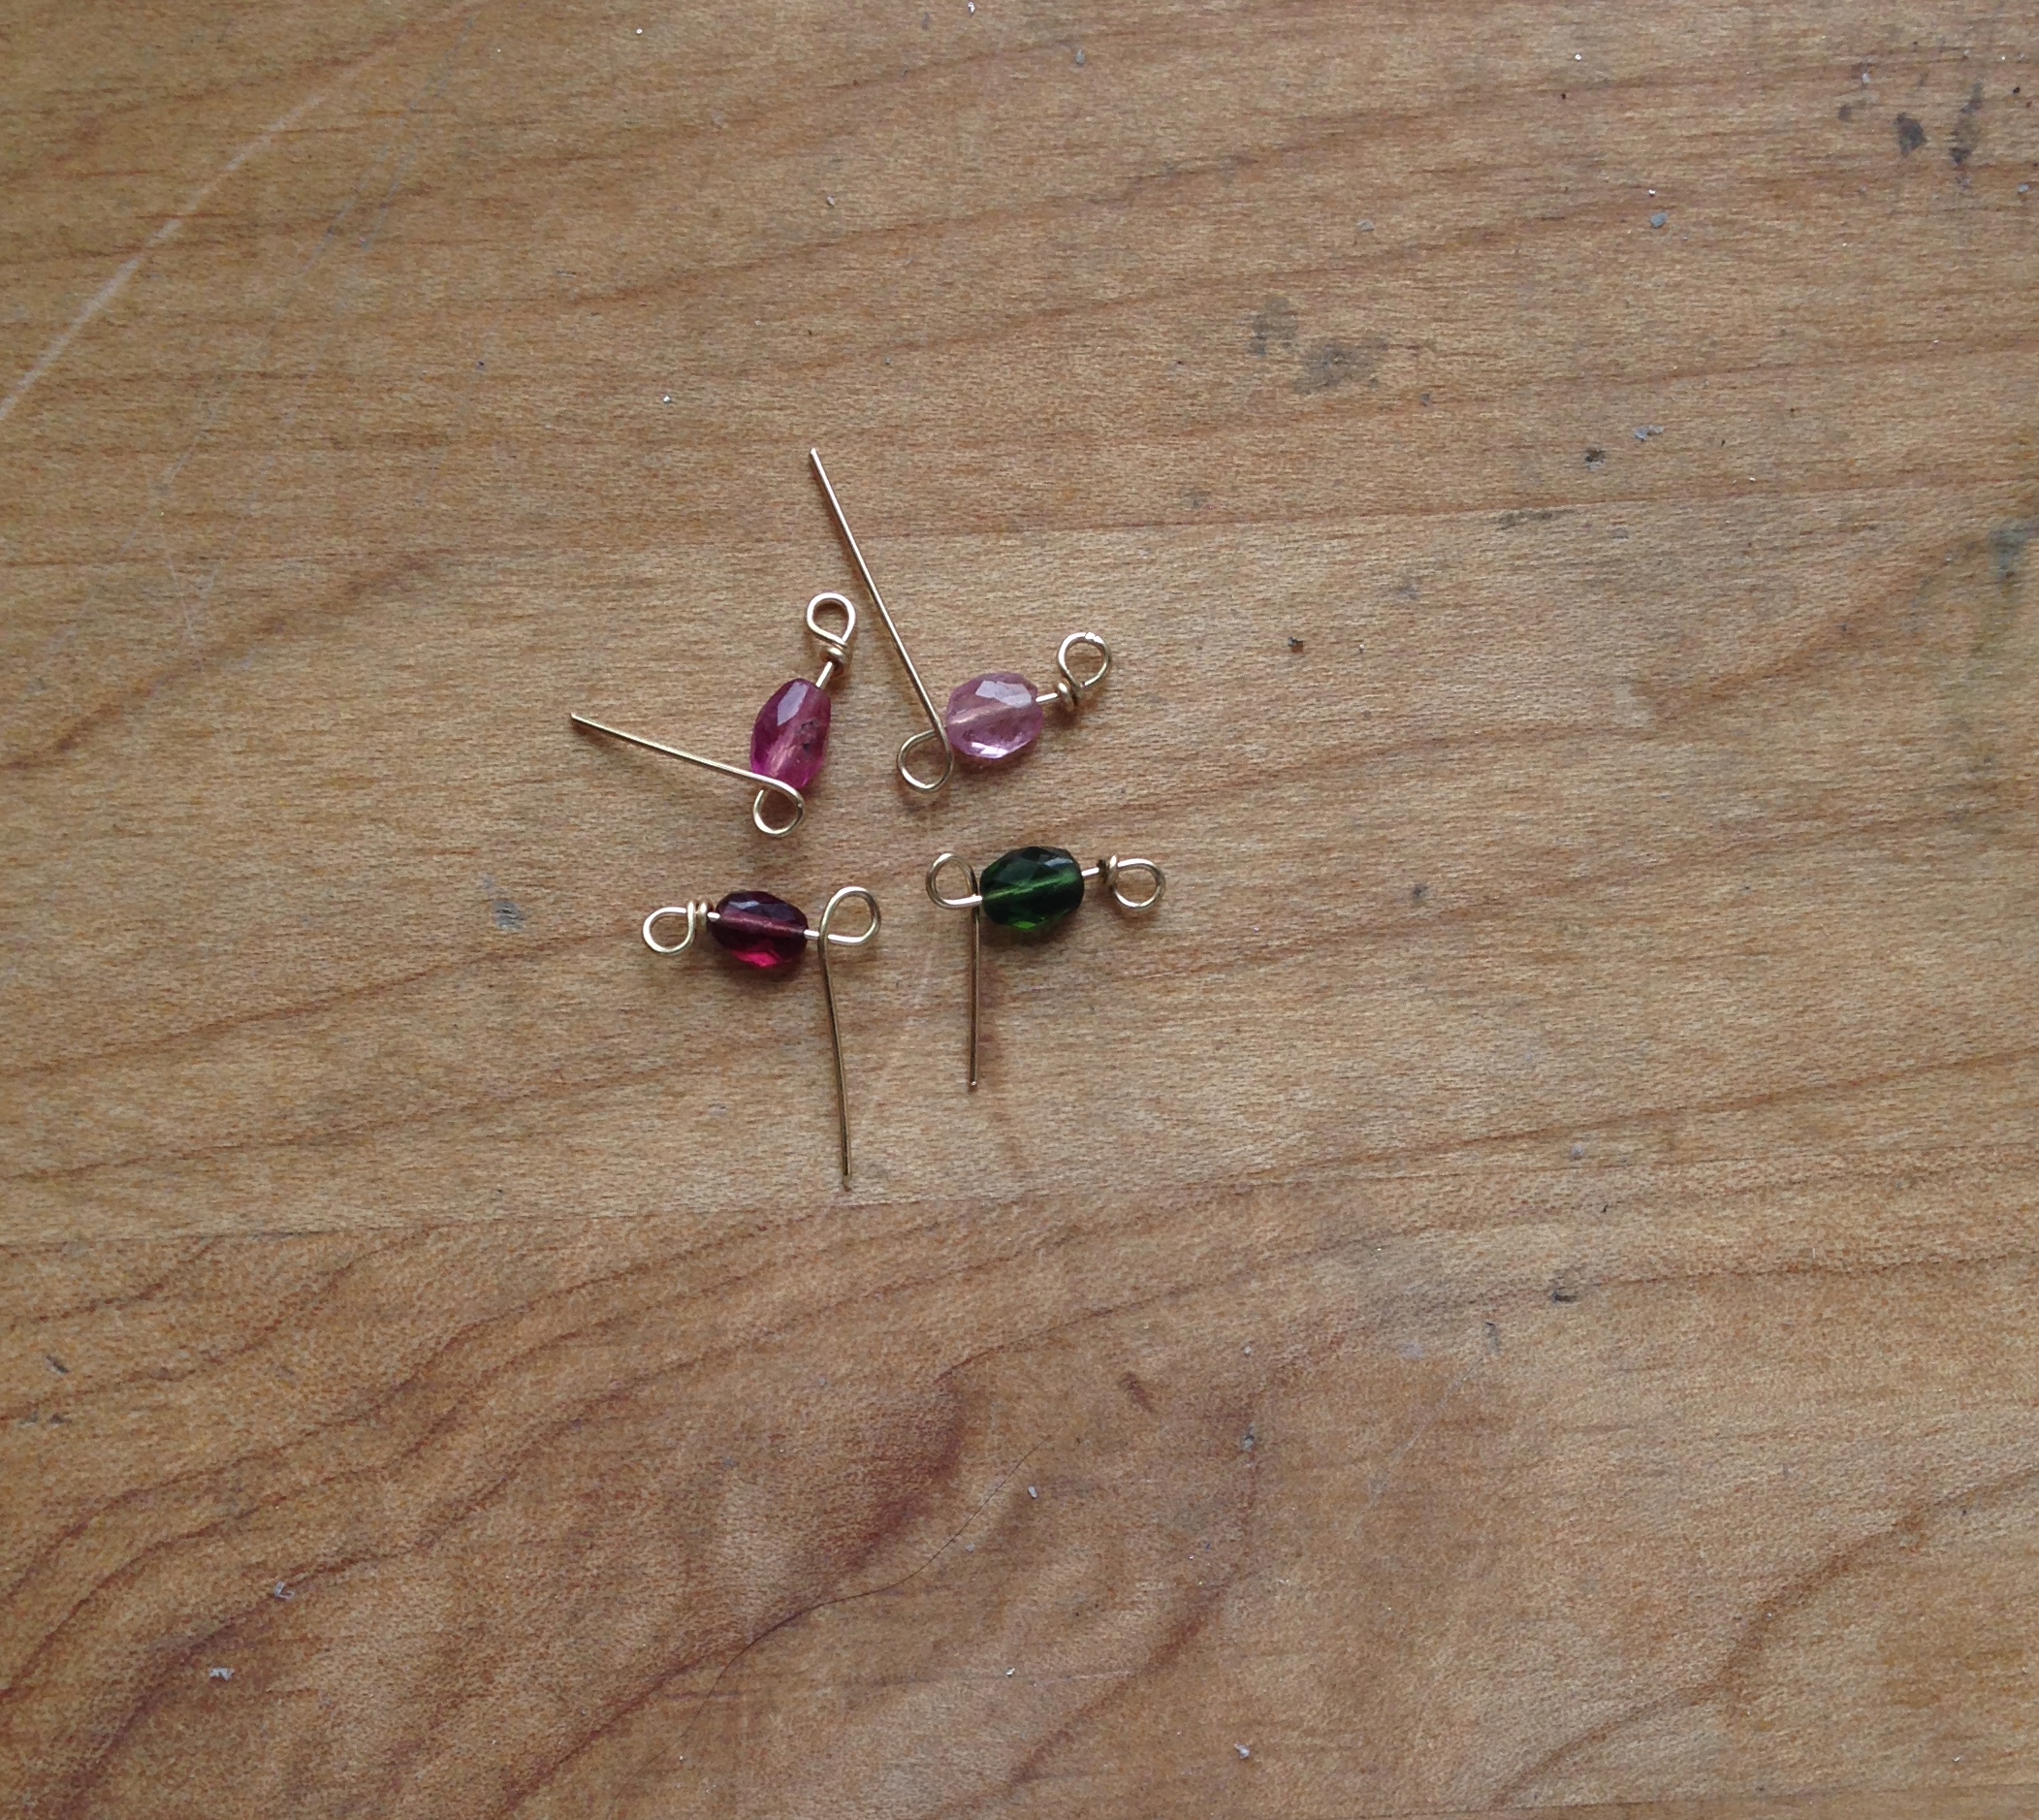
Repeat Steps 1-4 until you have a nice little pile of half finished links. Here’s another chance to save time since you won’t continually be changing tools.
Step 8:
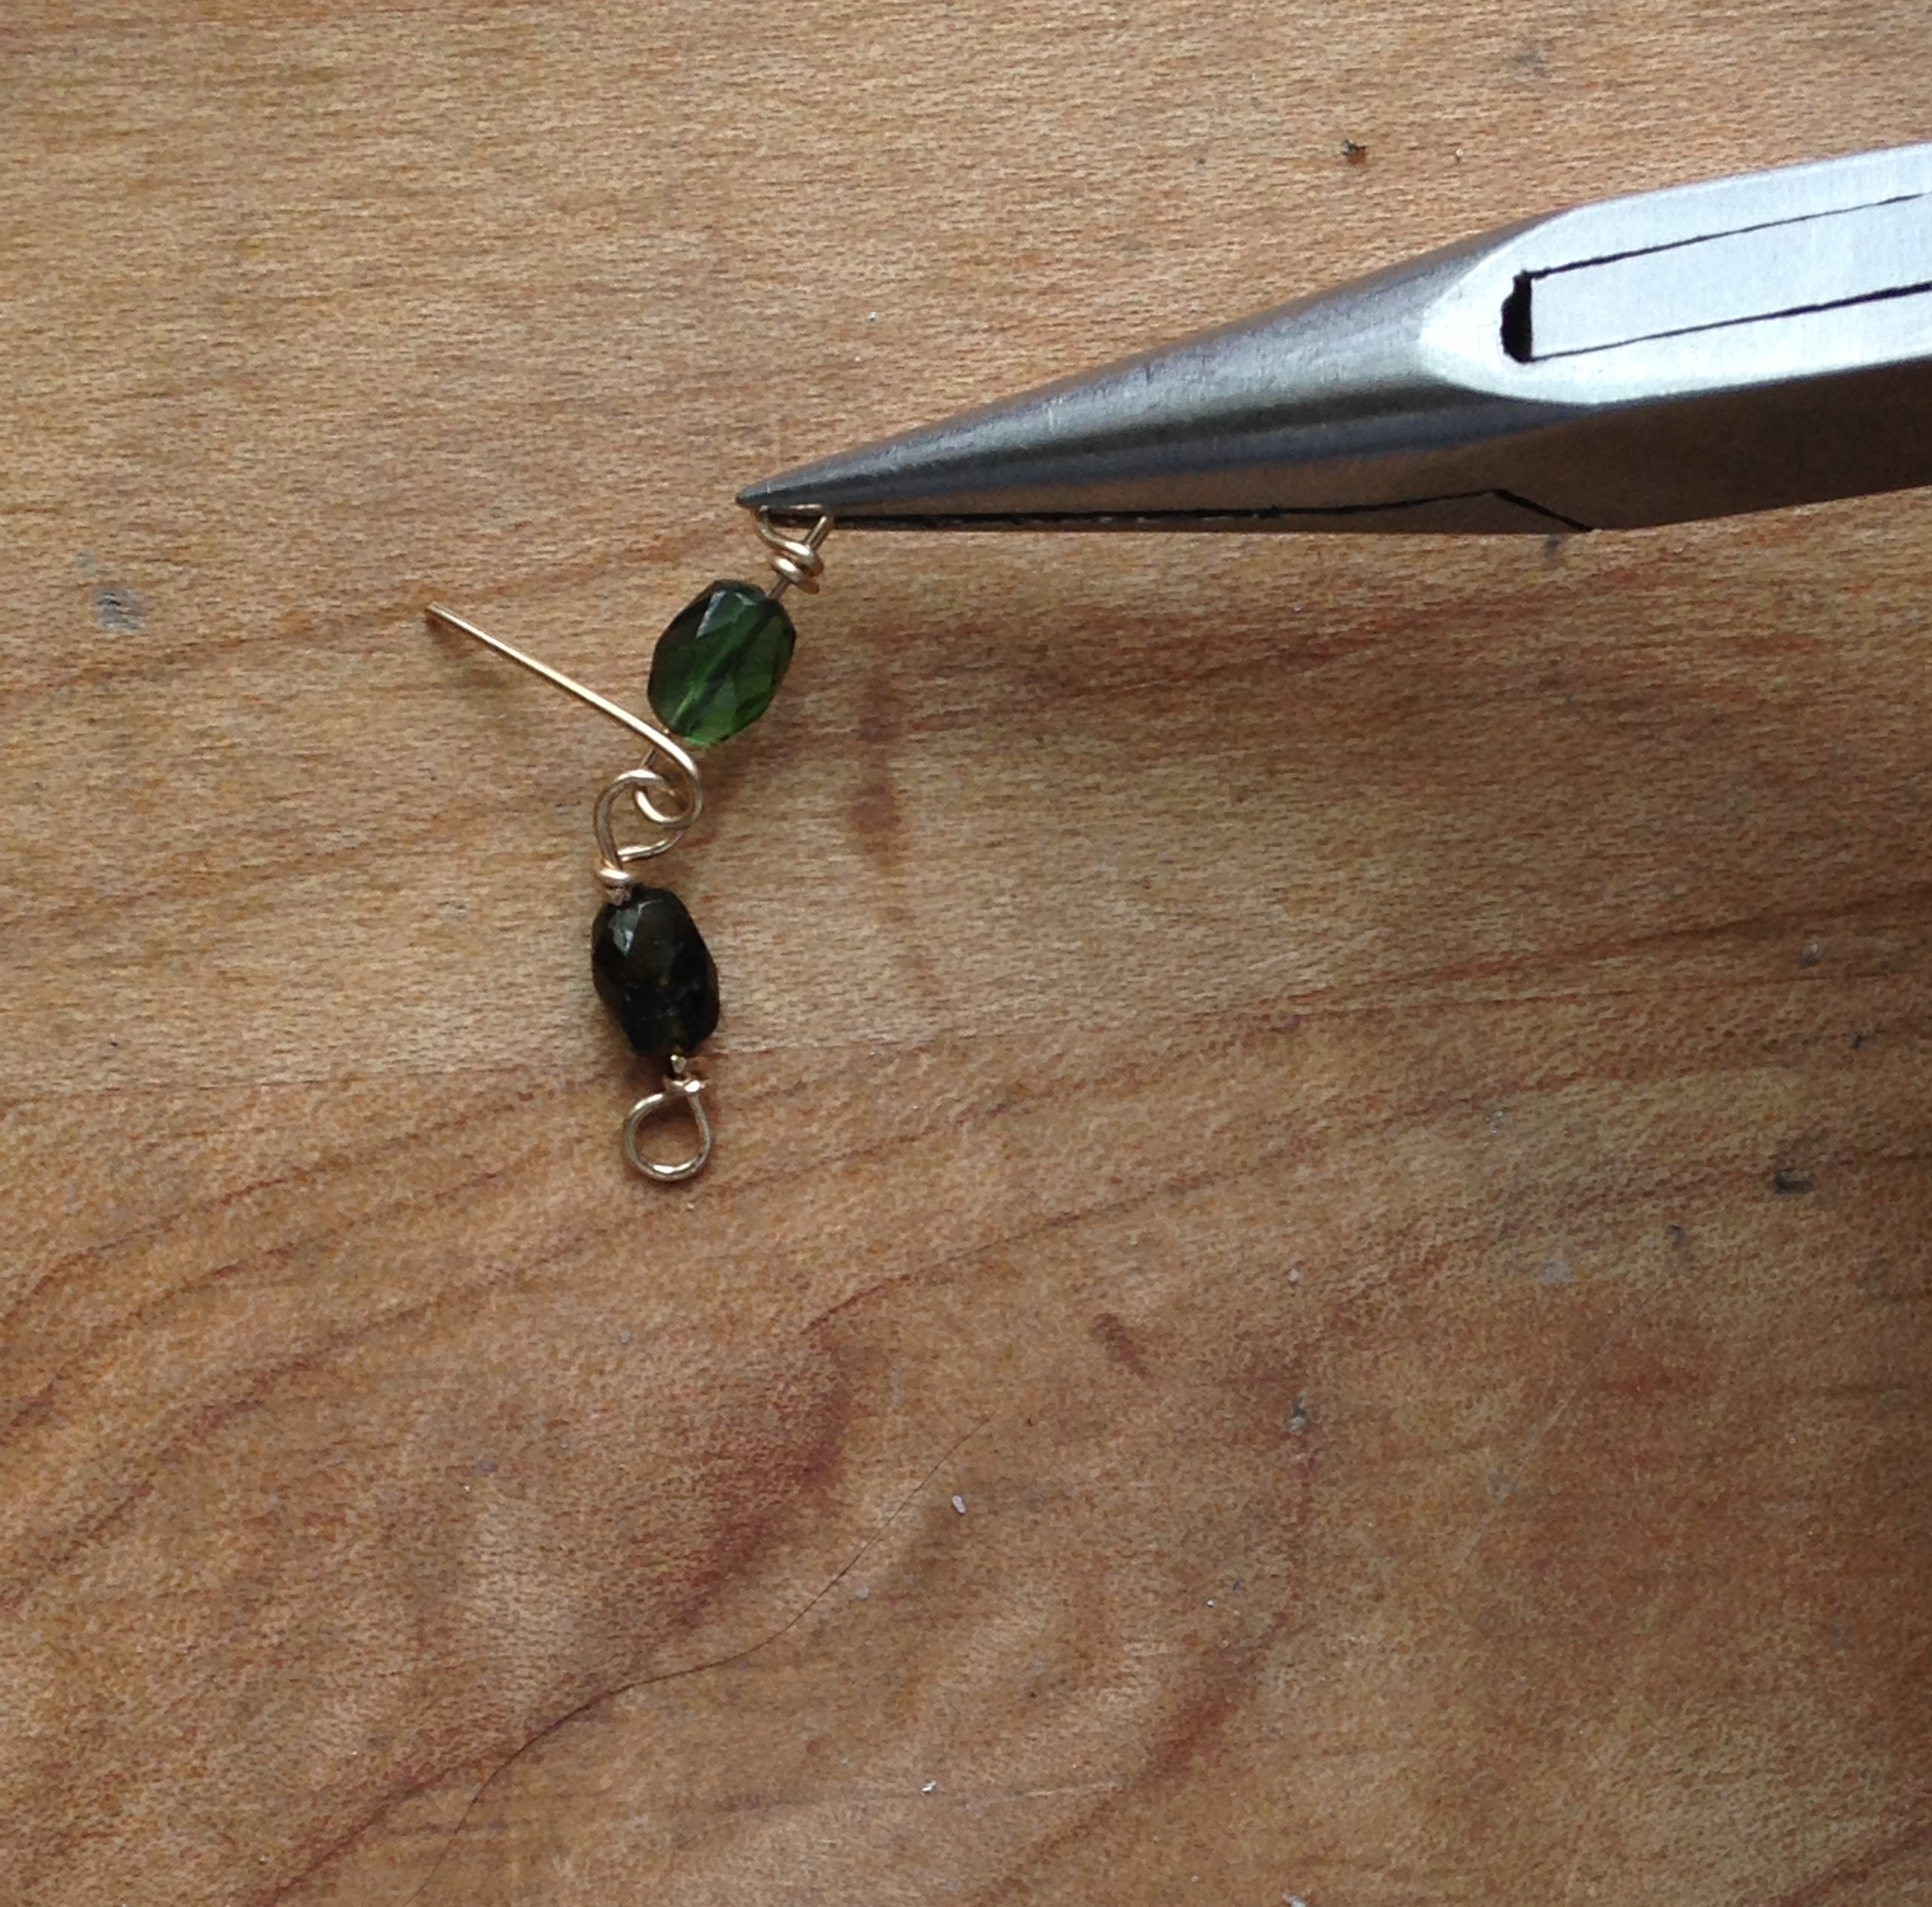
Slide a link with an open end onto your original finished link. Gripping the end with your flat nose pliers, wrap the end (using your thumb or your other set of pliers) until it meets the bead. Trim the excess.
In this case I’m inserting my piece into a dainty gold chain so the next few steps are for the same. If you’d like to keep going until you have a whole beaded chain, more power to you!
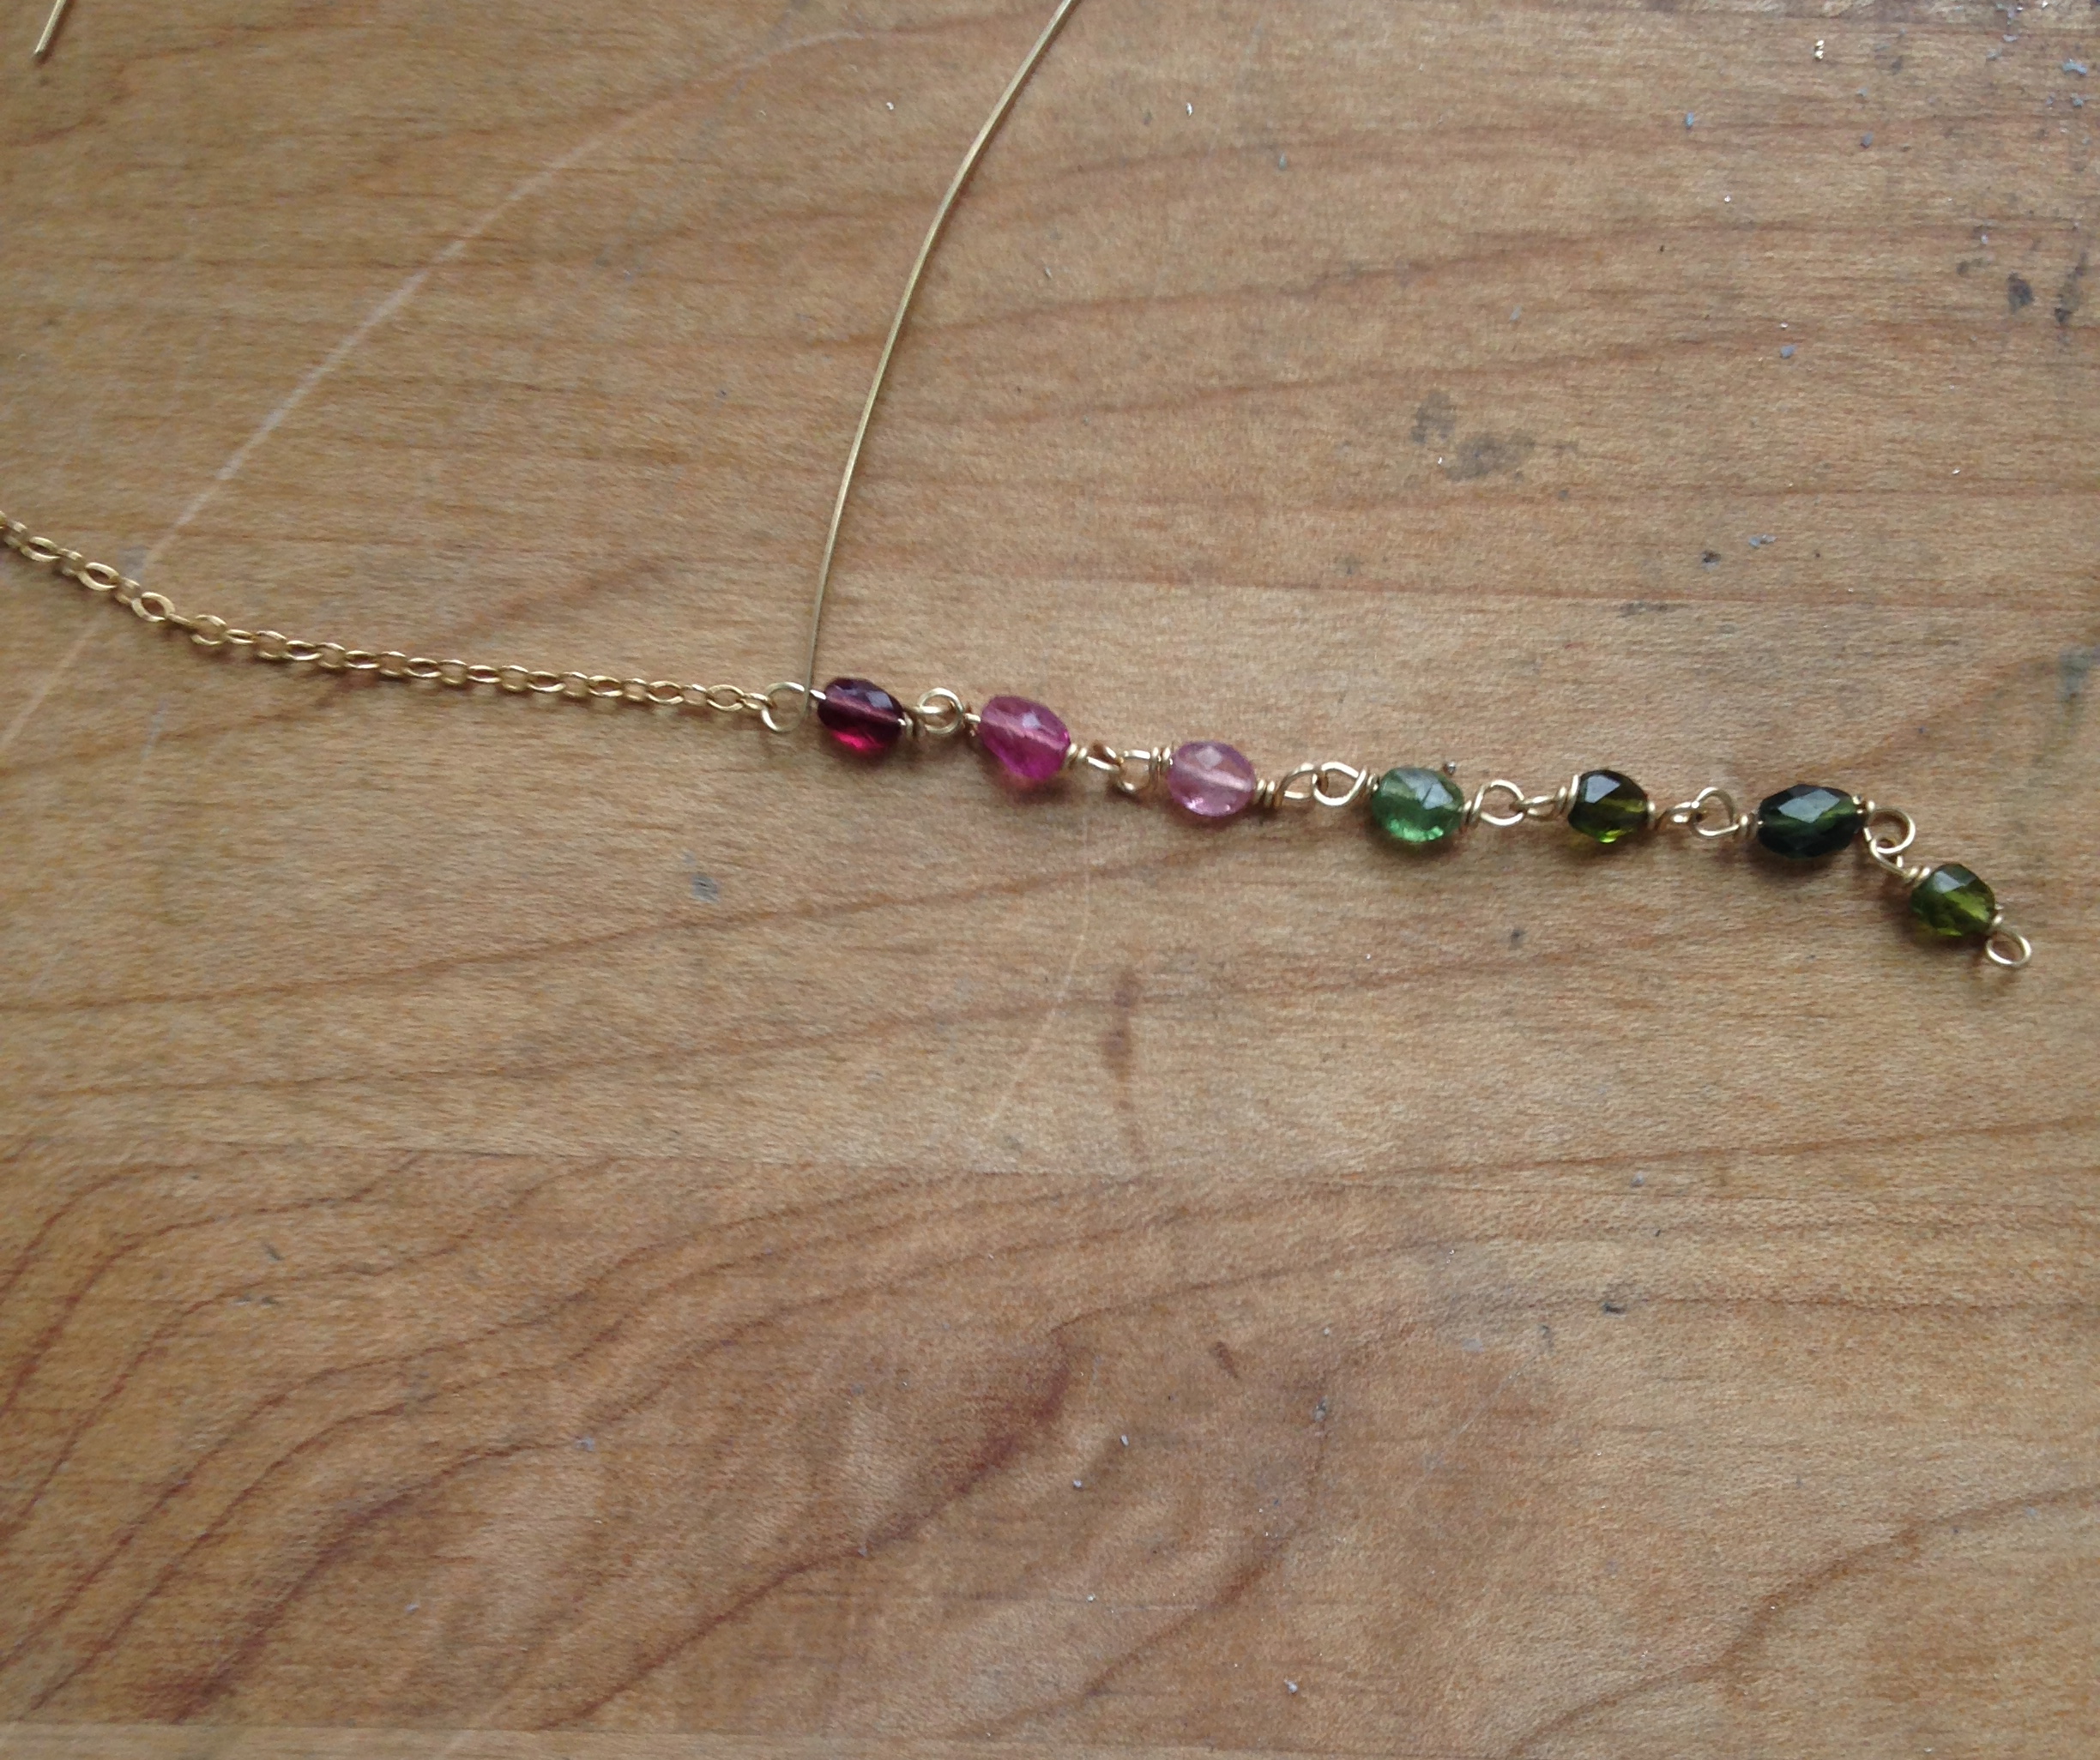
Step 9:
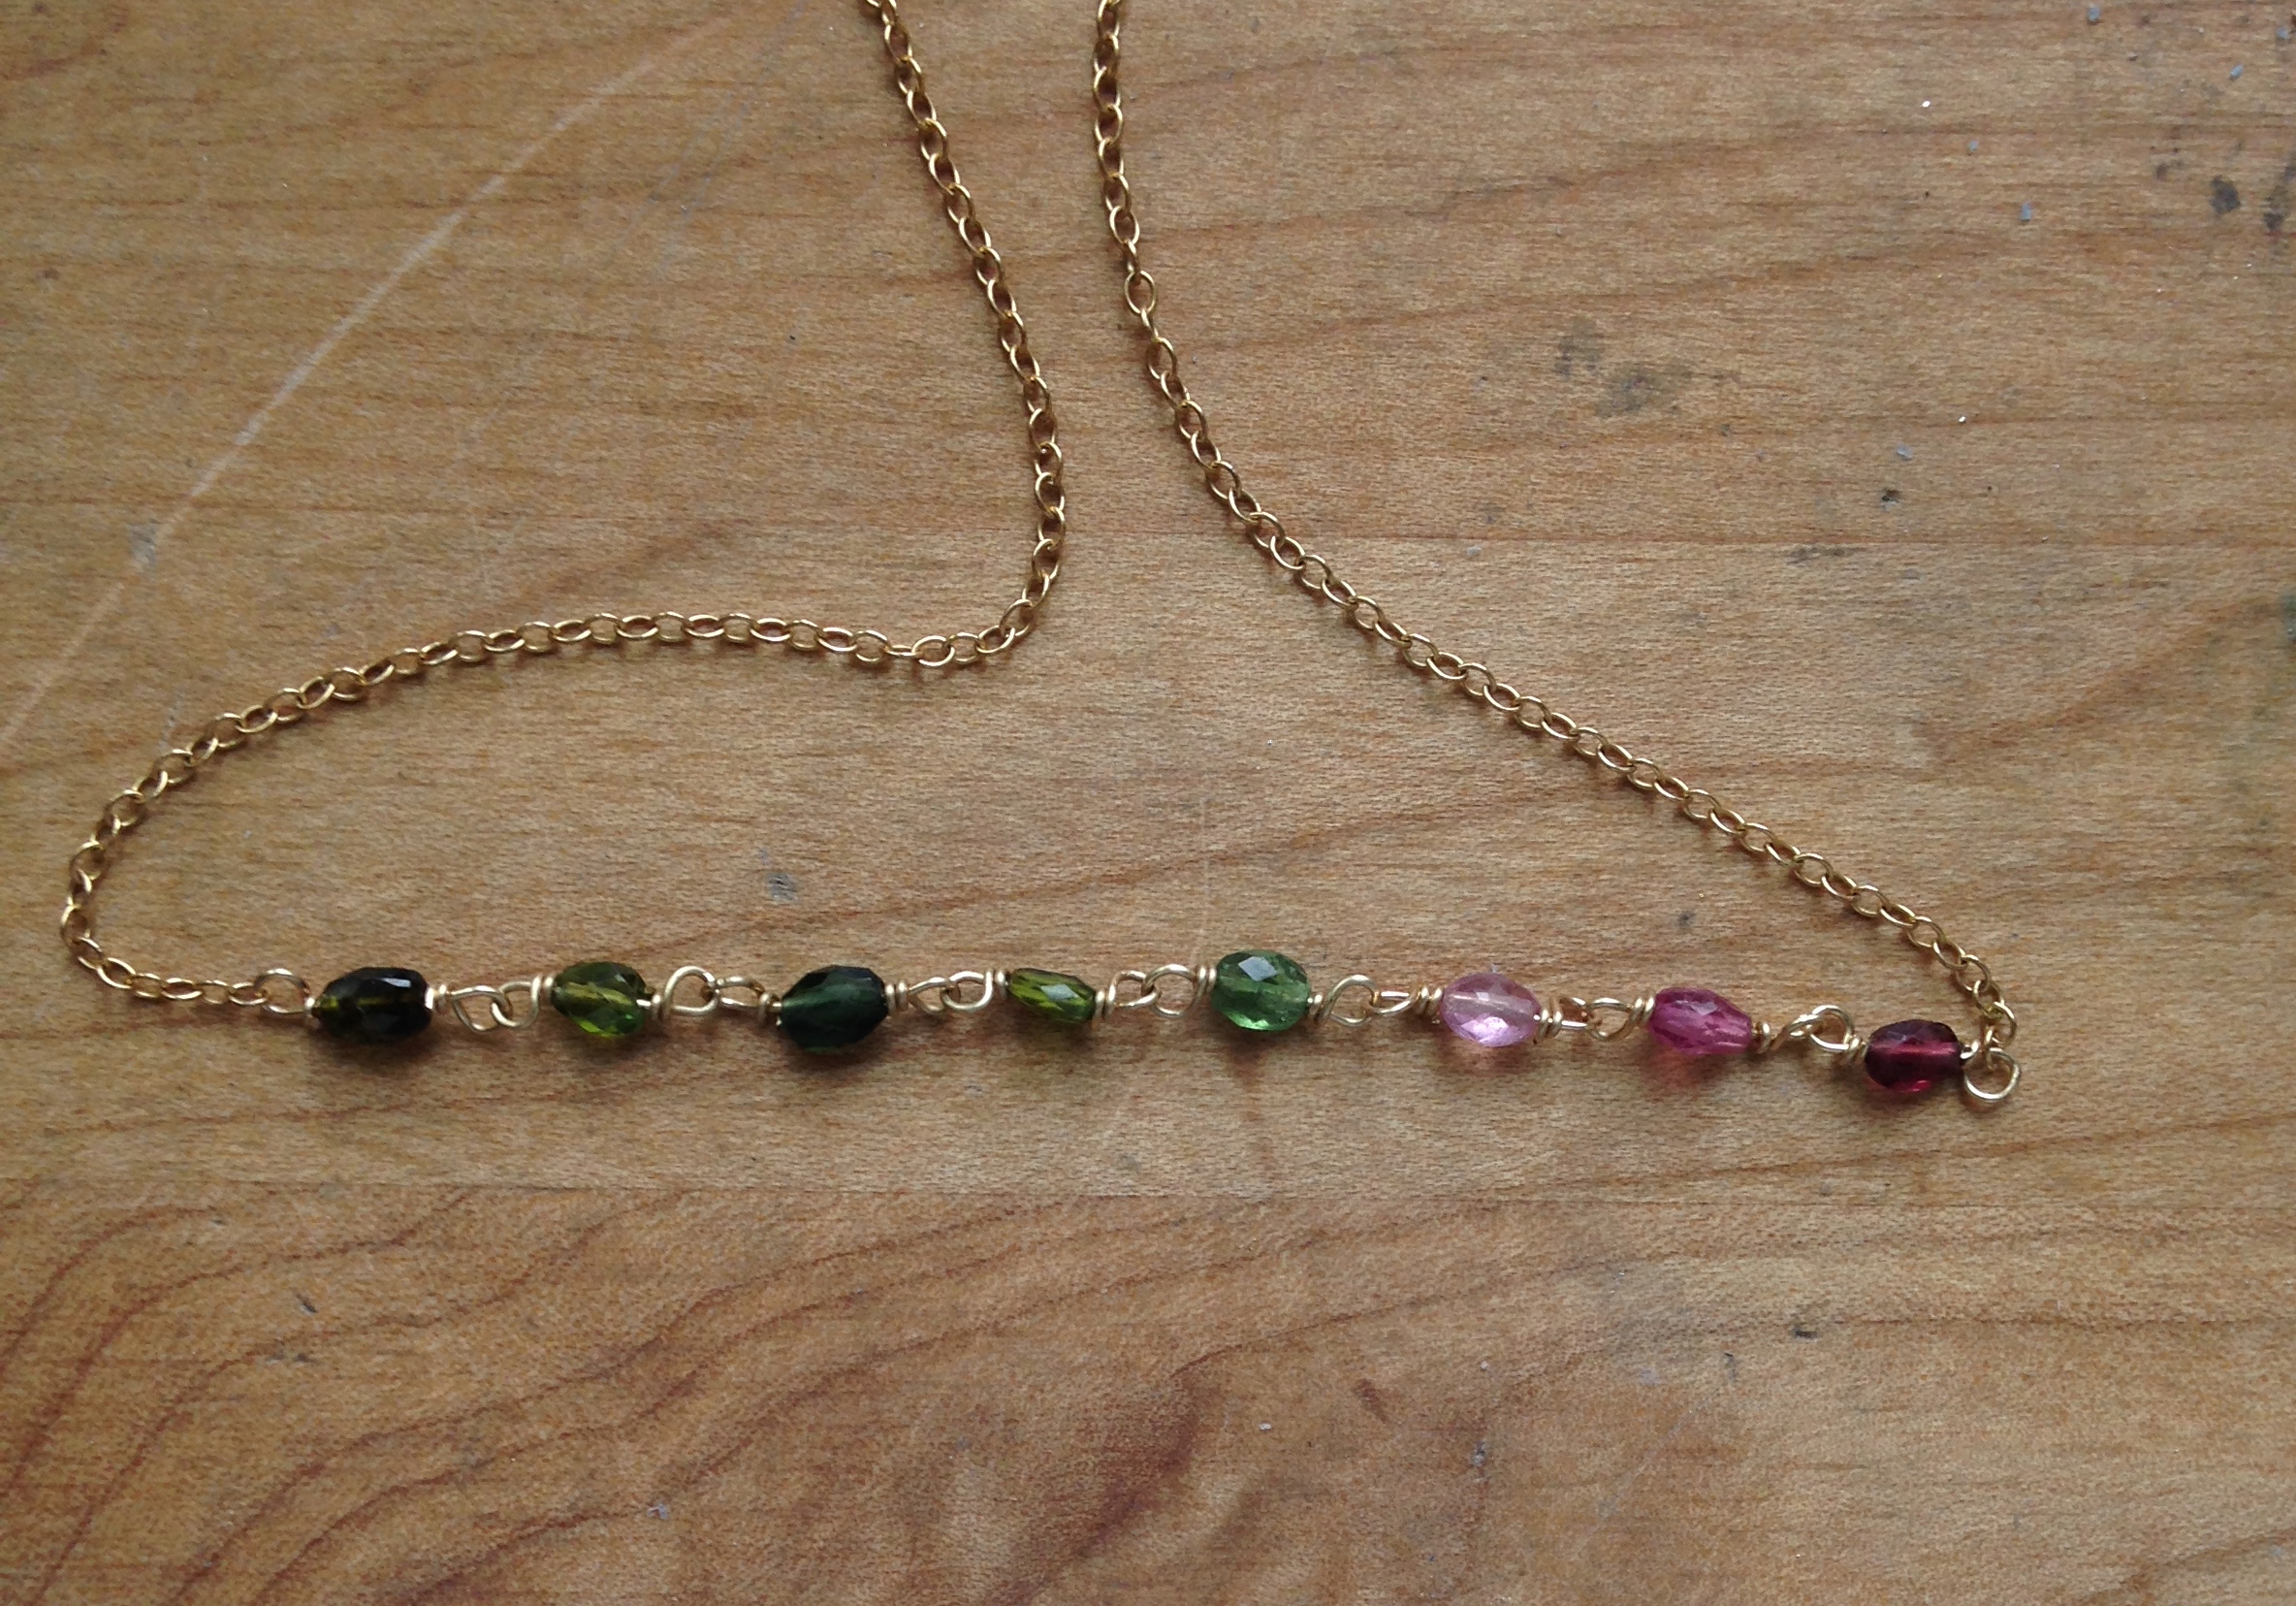
Finishing your piece. You’ll want to start from scratch on these links since one side will attach to your already made links and the other will attach to chain. No new tricks here, just add on the chain instead of a new link. There you have it, a beaded insert!
Tip: If your loops get a little wonky in the process, you can always go back and straighten them a bit by putting them on your round nose and using a fingernail, gently stretch it just until it forms a circle.
Step 10:
Think of all the ways to finish this!
- You can use this to insert a little color onto an other wise boring chain.
- You can make entire chains of beads.
- You can use this same technique to attach charms to loops.
- You can put different chains together for more texture and uniqueness.
Share tips, start a discussion or ask one of our experts or other students a question.
No Responses to “Wire-Wrapping With Beads: How to Make a Wire-Wrapped Chain Link”