
Once you’ve finished weaving a piece, it’s time to deal with the loose ends. If you do nothing, the weft could slip out, unraveling all that work you’ve put in. Fortunately, there are many methods for securing the weft and finishing your weaving fringe. They can be simple and quick, like a row of knots, or complex, artistic and downright beautiful.
Different techniques will look better with different weave structures, so you will have to play around to see what looks best. To get you started, here are six methods for finishing your weaving fringe, from the utilitarian to the decorative.
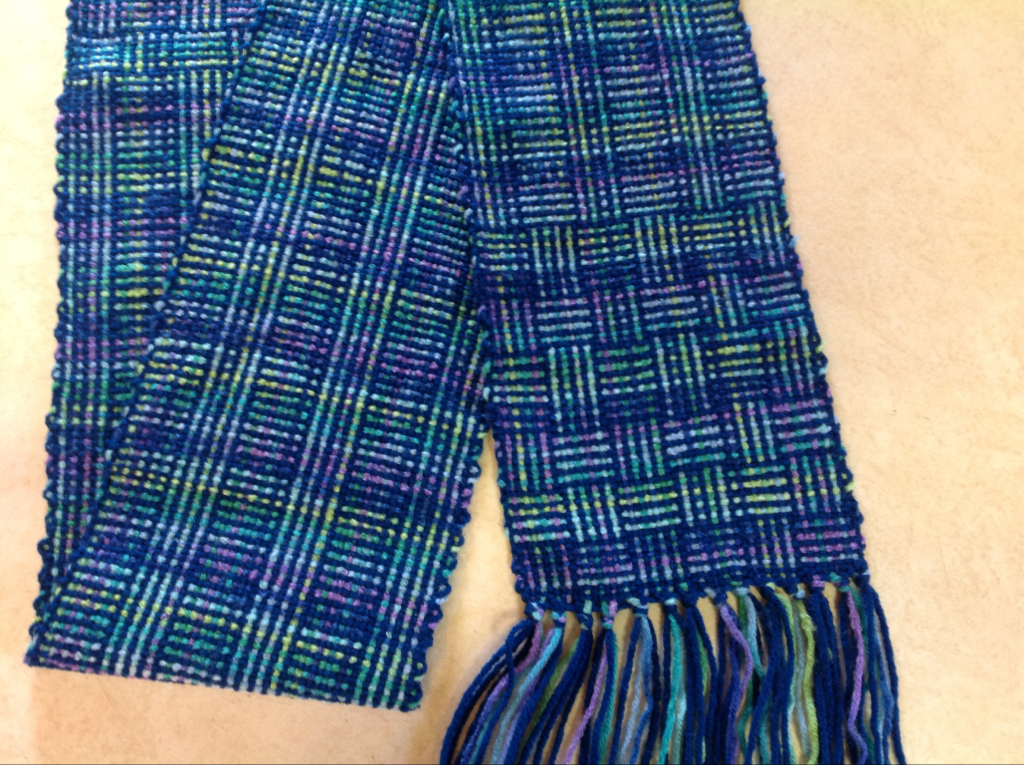
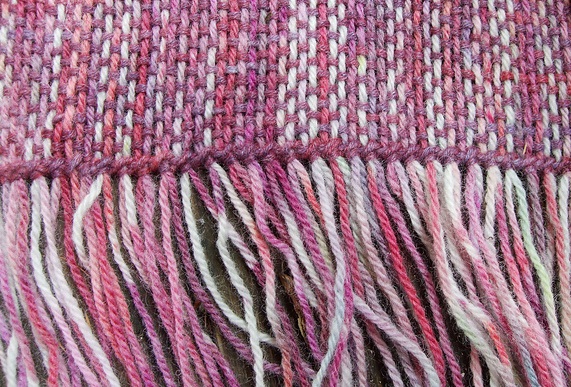
Photo via Craftsy member Ptarmigantoes
1. Overhand knots
With good reason, most weavers begin with a simple row of overhand knots. It is probably the easiest fringe technique can can form a base for several other types of fringe. Simply gather a group of threads, cross the ends over the top, and pull them through. A row of knots will keep the weft in place and prevent your piece from unraveling. The gorgeous example above was created by Craftsy member Ptarmigantoes as a class project for Riddle Heddle Weaving: Beyond the Basics.
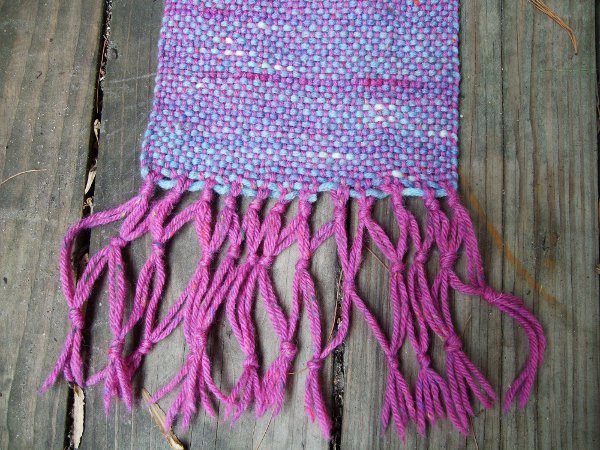
2. Fancy knots
By varying the number of threads and location of overhand knots, you can create fancy patterns in your fringe. Stagger the threads in each knot, like in the photo above, to create fringe that can be so much more than trimmed warp ends.
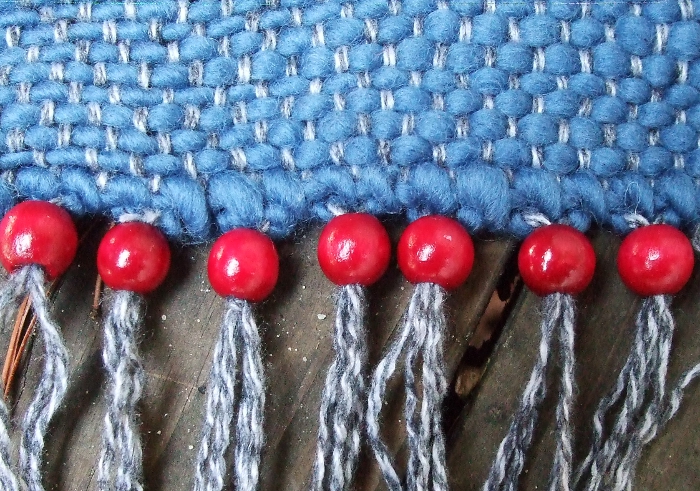
3. Beaded fringe
Slide a bead onto a group of fringe threads and secure them with an overhand knot. Different beads will give different effects. The chunky red beads above look right at home on a scarf with a chunky weft, but a lighter scarf or shawl might look better with smaller beads. Experiment with different combinations! This technique can be combined with the one above to create some truly stunning fringe.
You might also enjoy our tips for using beads in knitting.
<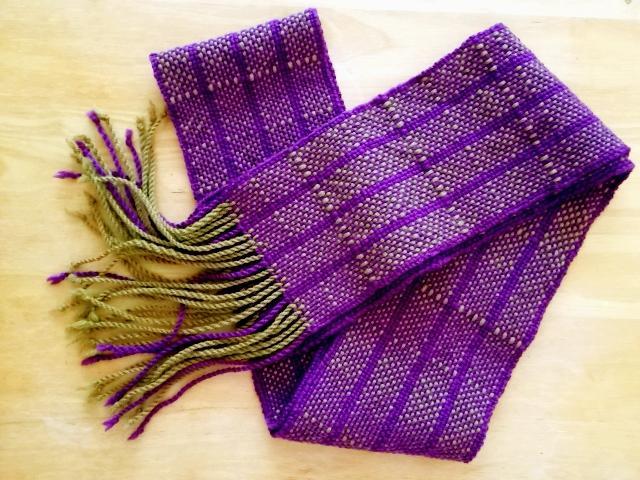
Photo via Craftsy member Redtail Hawk
4. Twisted fringe
Twisted fringe is another very common technique. Take two groups of fringe threads and twist them in the same direction. Then allow them to twist upon themselves in the opposite direction, winding around each other. Secure the twist by tying an overhand knot at the bottom. Voila! Fringe that won’t fray (and that looks pretty nifty to boot!)
5. Hem stitch
There are various types of hem stitching, but you can learn the basic stitch in Angela Tong’s Rigid Heddle Weaving class. Hem stitching holds the weft in place firmly, enabling you to cut the fringe as short as you’d like. Hem stitching is easiest to do while the piece is still on the loom, so make sure to plan ahead if you’re going to use this method.
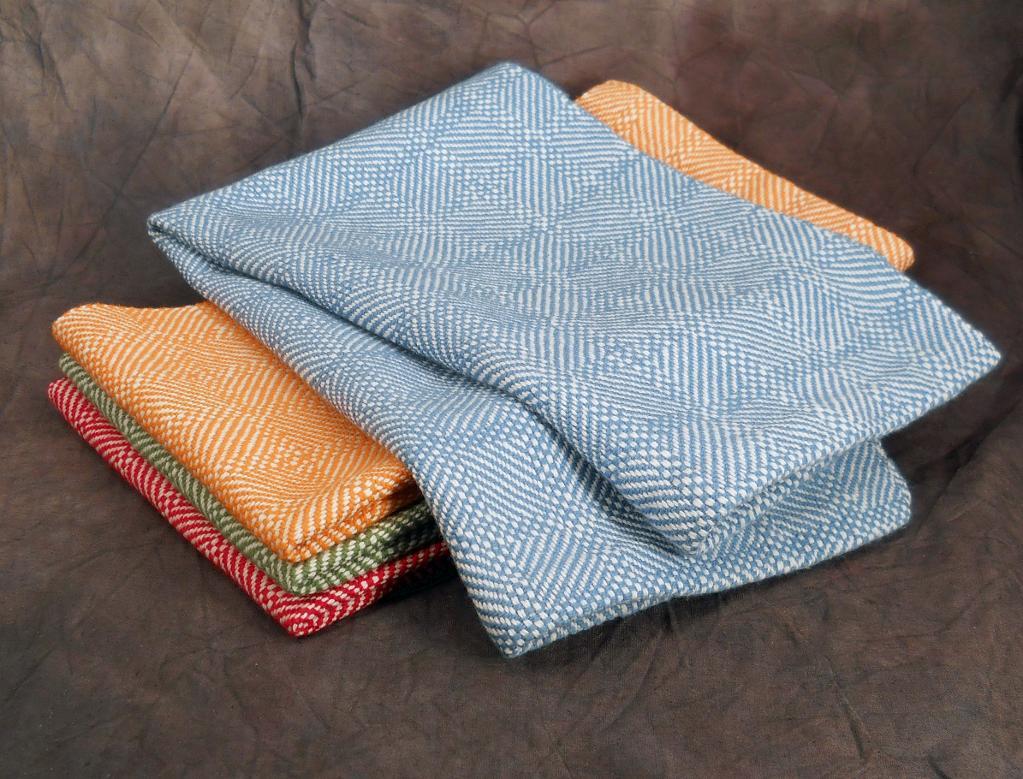
Photo via Craftsy member SherieM
6. Hem
There are some cases when you won’t want a fringe at all. You can always sew a hem, either with a machine or by hand. You can sew a line of stitching across the end of the piece to secure the weft, cut off the excess fringe, and fold and hem as usual.
With these methods for finishing your fringe, your weaving can keep its weft in place and look good doing it!
I use a combination of hem stitch and twisted fringe using the Conair Hair Braider, a very handy tool.