
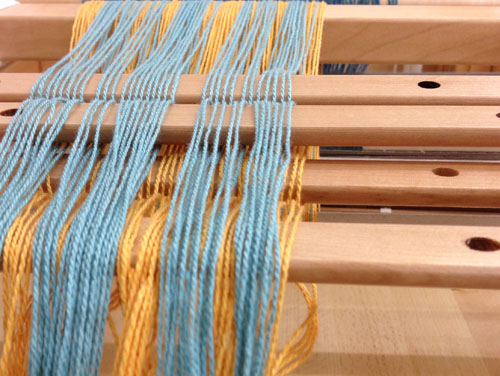
If you are about to weave double cloth, then the first thing you will need to do is create your double warp.
Winding two layers of warp and getting them onto the loom together can seem intimidating at first, but once you have been through the process you will soon find that two are as easy as one. Here are some tips to get you started!
Together or separate?
If you can, it makes sense to wind both warp layers at the same time. This is easiest if each layer is a solid color, so that’s a good plan for your first double weave project.
If the two colors are quite distinct, such that you will have no difficulty telling them apart when you are threading, then you can simply wind the two yarns together. This will give you a cross which has two ends in place of the usual one: As you thread, you just need to take care that you maintain the color order you intended for your design.
Personally, I prefer to make an end-on-end cross, even if it is not strictly needed.
How-to
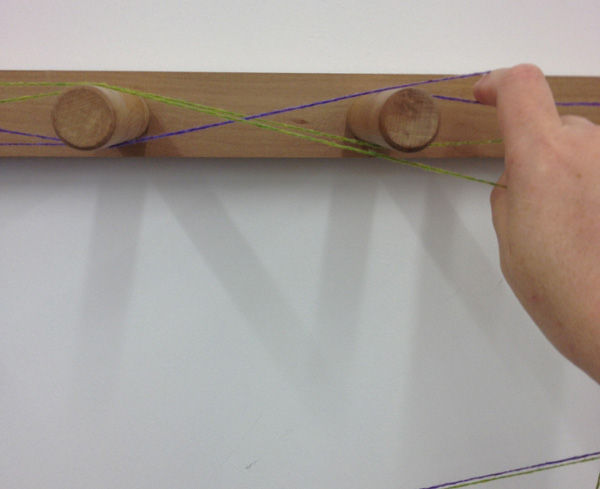
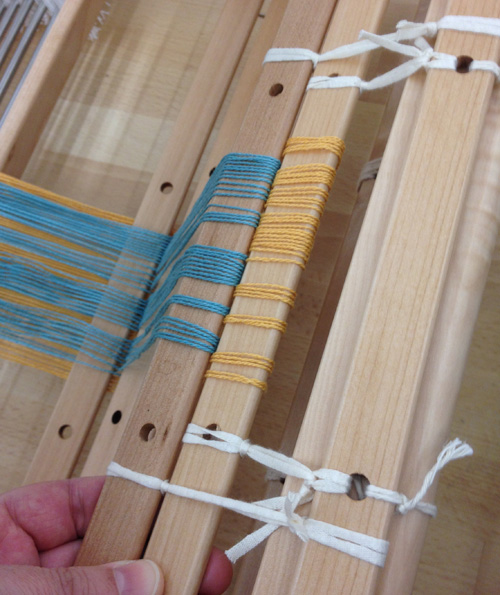
I start this weaving technique by keeping one finger between the two ends of yarn.
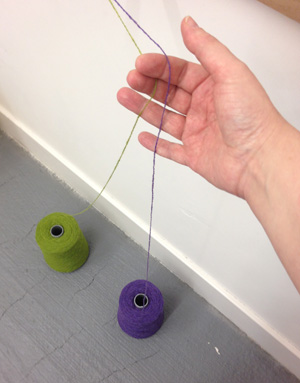
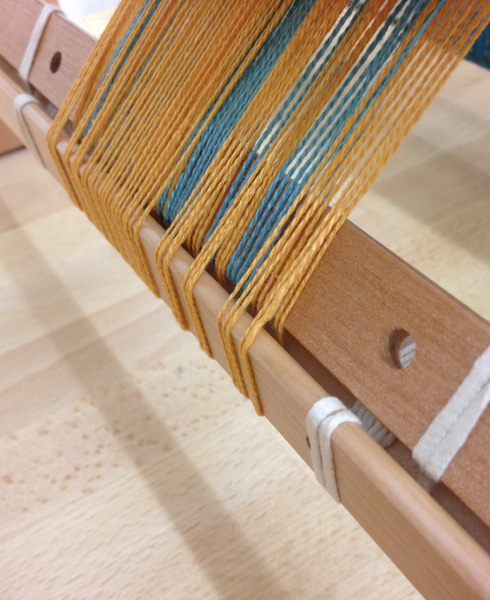
I wind both strands together until I come to the cross-maker. Then I use my finger to separate the yarns around the pegs, making sure that I keep the same colour yarn on top in both directions.
This method also works well if you have
- one solid and one striped layer
- two striped layers where the stripes change at the same point in both layers
In fact, I like it so much that I use it almost all the time, whatever my warp weaving pattern!
Two separate warp layers
However, sometimes it does make sense to wind two separate warps. It may be because the color changes are very complex, or perhaps one layer is wider or denser than the other. Or maybe you already have two warp chains and just fancy putting them together into a double cloth.
The winding in this case will be quite straightforward, but it is the beaming that takes a little bit of extra care.
Note: The suggestions which follow assume that you are warping your loom from back to front.
How-to
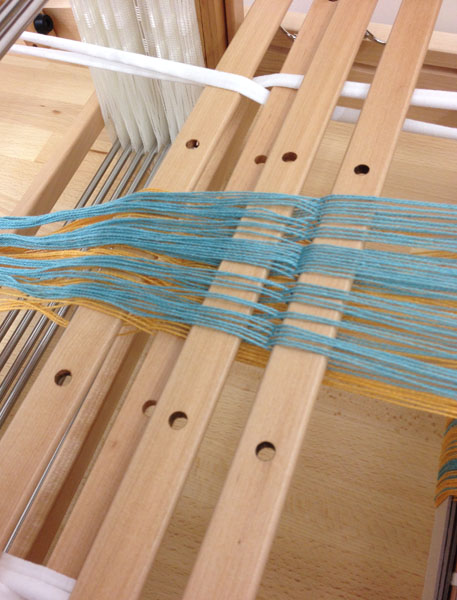
Set up your first layer in the raddle and lease sticks as you usually do.
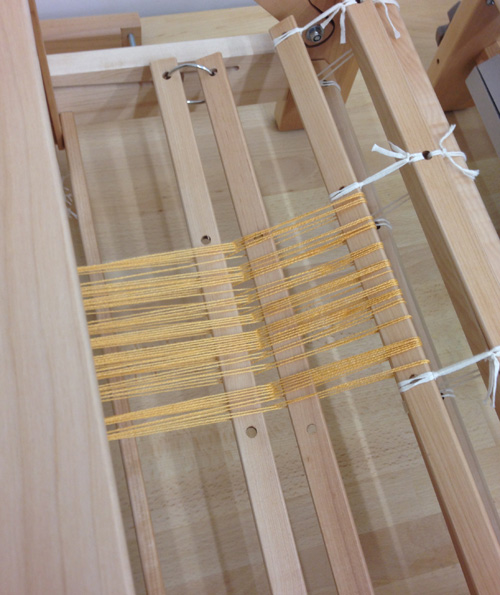
Then attach a second apron rod using slightly longer cords, so that it sits just in front of the first one. Use this apron rod and a separate pair of lease sticks for the second layer. However, there is no need for another raddle: you can place these warp ends on top of the first layer in the same dents.
When you wind this arrangement onto the warp beam, the two apron rods should sit adjacent to each other but not overlapping – this keeps the bulk to a minimum and will allow the warp to beam on smoothly.
Threading separate layers
When you have beamed your two layers you will then need to arrange your two sets of lease sticks so that you can thread comfortably from them both. I prefer to keep the lease sticks horizontal when I am threading, resting them either on sticks or on cord attached to loom.
If I am using two sets of lease sticks with my floor loom, then I will usually use a couple of blocks to raise the second set up. However, when I am threading a table loom – where space is tight and the line of vision is more restricted – then I find that it is easier to rest the second set on top of the cords just behind the first set. An alternative is to tie the second set so that they are suspended from the castle.
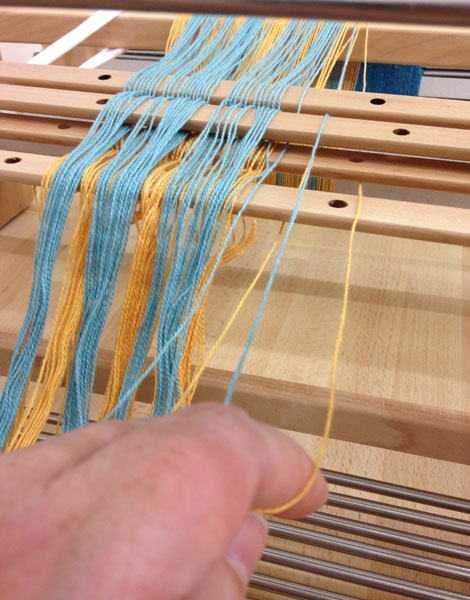
You can then proceed to thread your loom, making sure that you pick one end from each layer in turn. I find that separating out the next few ends and arranging them in order in my hand helps me to keep track.
Share tips, start a discussion or ask one of our experts or other students a question.
No Responses to “Practical Weaving Tips: Warping for Double Weave”