
Looking for a finish that is convenient, looks great, and avoids almost all of the problems commonly encountered when finishing woodworking projects? Read on to learn why gel varnish is one of our favorites, plus get helpful tips and tricks for using varnish on wood.
What exactly is gel varnish?
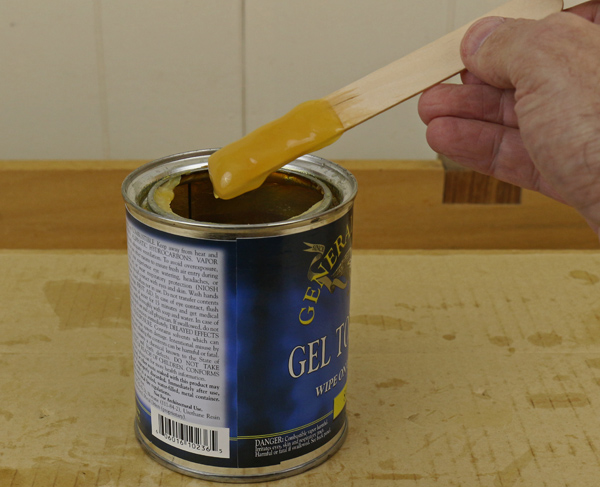
First, varnish is a film finish, as are shellac and lacquer, which means it cures hard so it can be built in layers to the desired thickness and effect on the wood surface. It is made from oil-modified resins, usually polyurethane and/or alkyd, along with chemical driers, and can be thinned as desired with mineral spirits. A gel varnish contains a thixotropic chemical agent, which makes it a gel that won’t flow until you physically disturb it, which means when using varnish on wood, it stays put until you actually spread it on the wood. How convenient!
How to use varnish on wood and its advantages
When using varnish on wood, first prepare the wood by finish planing or sanding, typically to a final grit of 220. The first big advantage of a gel varnish is easy application. Use a cotton rag to transfer a lump of the gel onto the wood surface and quickly spread it out as if you were sloppily applying a thick coat of paint.
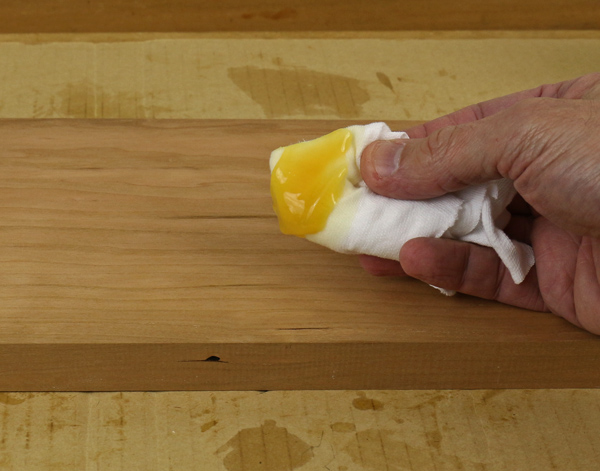
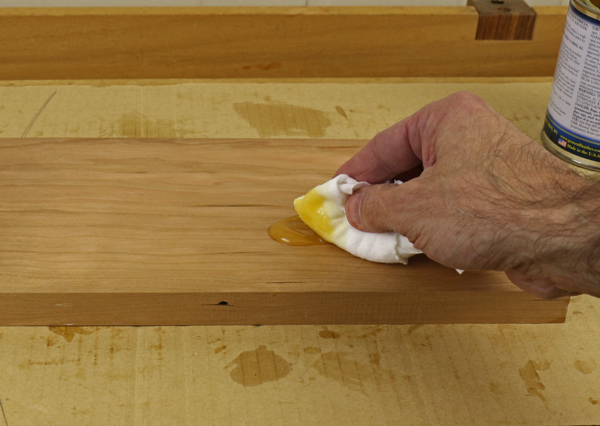
Then, while it is still wet and fluid, wipe away all of the excess on the surface with a fresh rag. Because it dries rapidly, I usually work on about 2 square feet at a time, then move on to the next area, and so forth.
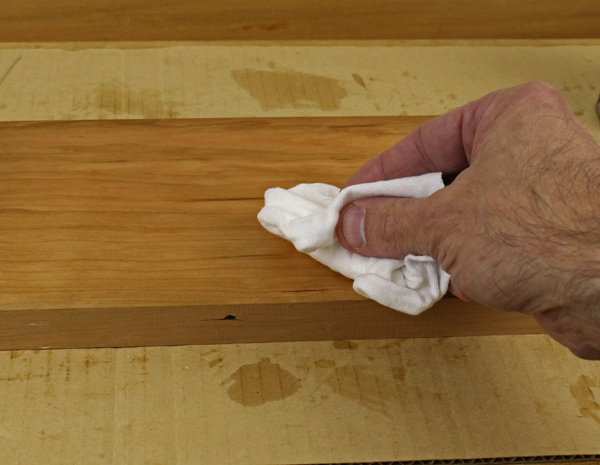
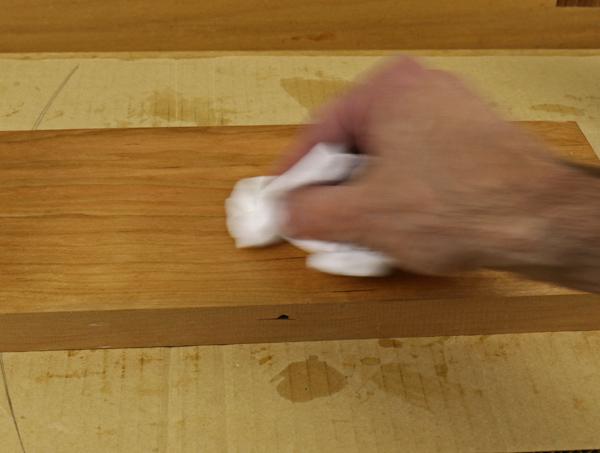
There will be no drips and no runs, even on vertical surfaces or over edges. Notice that there is no brush to buy — or to clean!
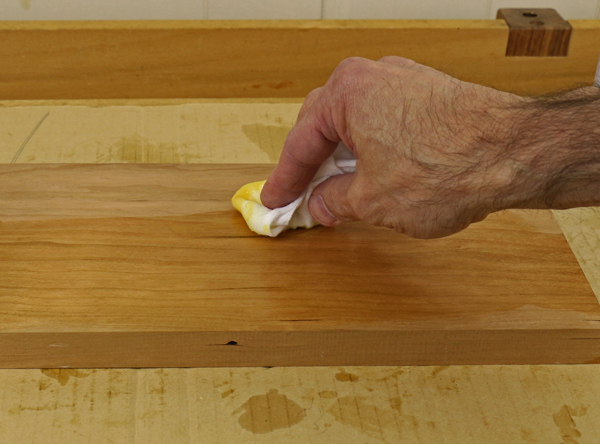
In this manner, gel varnish goes on in quite thin coats and therefore will become dry to the touch in several minutes. The gel varnish will be level and free of the brush marks that can plague the application of conventional varnish. Furthermore, it nearly eliminates dust accumulation on the new surface. The great benefit of these properties is that only minimal sanding is required between coats.
Wait several hours or overnight for the first coat to dry. Feel with your hand — a light pass with 320 paper is usually enough, and sometimes no sanding is necessary. Apply the second coat and continue the sequence. I use three coats for most work. You can build as many coats as you like, but the look I prefer is the soft sheen of a fairly thin finish, without the thick, glossy appearance that, to me, creates an aloof quality to the piece and the wood.
The final coat, which is the one that will create the lasting feel of the surface, should be applied thinly, with a rapid, vigorous wipe-off along the grain. Finally, after waiting at least overnight for it to fully dry, rub out the surface with brown bag paper. The subtle abrasive effect of this will produce a soft, satin sheen appearance for the eye, along with an exquisite surface feel for the hand.
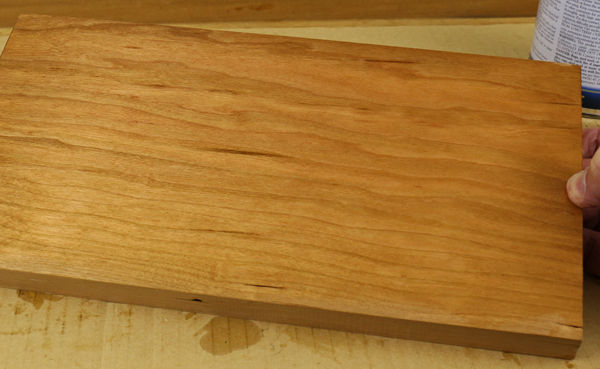
Gel varnish transmits a warm amber tone that enhances most woods, including maple, walnut and oak. It is particularly advantageous for cherry because it minimizes the generally undesirable blotching to which this species is prone. Yet, in most cases, it penetrates sufficiently to beautifully “pop the figure” of curly maple and similar figured woods.
My favorite brand now is General Finishes Gel Topcoat (Satin). I find that its drying speed is just right and it has a nice, mild amber tone.
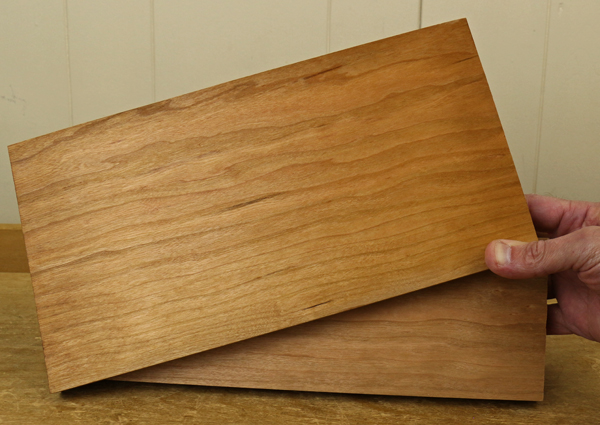
Even with only one coat, the effect is evident compared to the unfinished board beneath it.
Disadvantages and some tricks of using varnish on wood
Of course, no finish is perfect. The disadvantages of gel varnish are directly related to its advantages.
Its no-run property can make it somewhat tedious to apply to molded or carved surfaces. The trick for using this varnish on wood is to spread it into the crevices with a cheap brush, rag away the bulk of it, and then eliminate any remaining tiny accumulations in the crevices with a nearly dry brush.
Gel finishes tend not to penetrate as much as others so, in a few cases, may not sufficiently pop the figure of some woods. My solution is to simply apply an initial coat of oil-varnish mix, which penetrates more, let it dry for at least several days, then do my usual gel varnish sequence.
For a more rugged finish, such as might be required on a table top, gel varnish alone is not really practical because it goes on in thin coats. For many years, I have successfully employed a simple method for those situations. I start with regular liquid polyurethane varnish. I thin the first coat for ease of application and sanding, then apply full strength coats, sanding between each. Then, to take advantage of its ease in producing a smooth, problem-free surface, I use gel varnish for a final coat or two.
One more thing about finishing woodworking projects
In any woodworking project, the finish should be a part of the plan right from the start, not an afterthought when the assembly is all done. Your choice of finish will influence the wood selection, the assembly sequence and surface preparation. All aspects of the building processes, including finishing, are integrated and thus will influence the total impact of the piece.
Free Online Woodworking Class

Transform your next woodworking project with flawless finishing techniques.Enroll FREE Now »
I have been member of Craftsy for several years. I am interested in knowing how to do transferring onto furniture to include all the best paints & varnishes to use w/ transferring. Unable to locate directions for this newest "crafting" on Craftsy. If not yet on Craftsy, please consider. Thanks