
Underwater photography looks awesome. It gives us a view into a world that most of us do not get to see every day. Using a camera underwater is really difficult, with many more challenges than we have photographing on dry land. How many of us have tried it with a GoPro or an iPhone housing only to come back with lackluster images?
There are different techniques needed for underwater photography and this post will only scratch the surface, but will hopefully point you in the right direction for getting started photographing in the deep blue.
Read on for simple underwater photography tips.
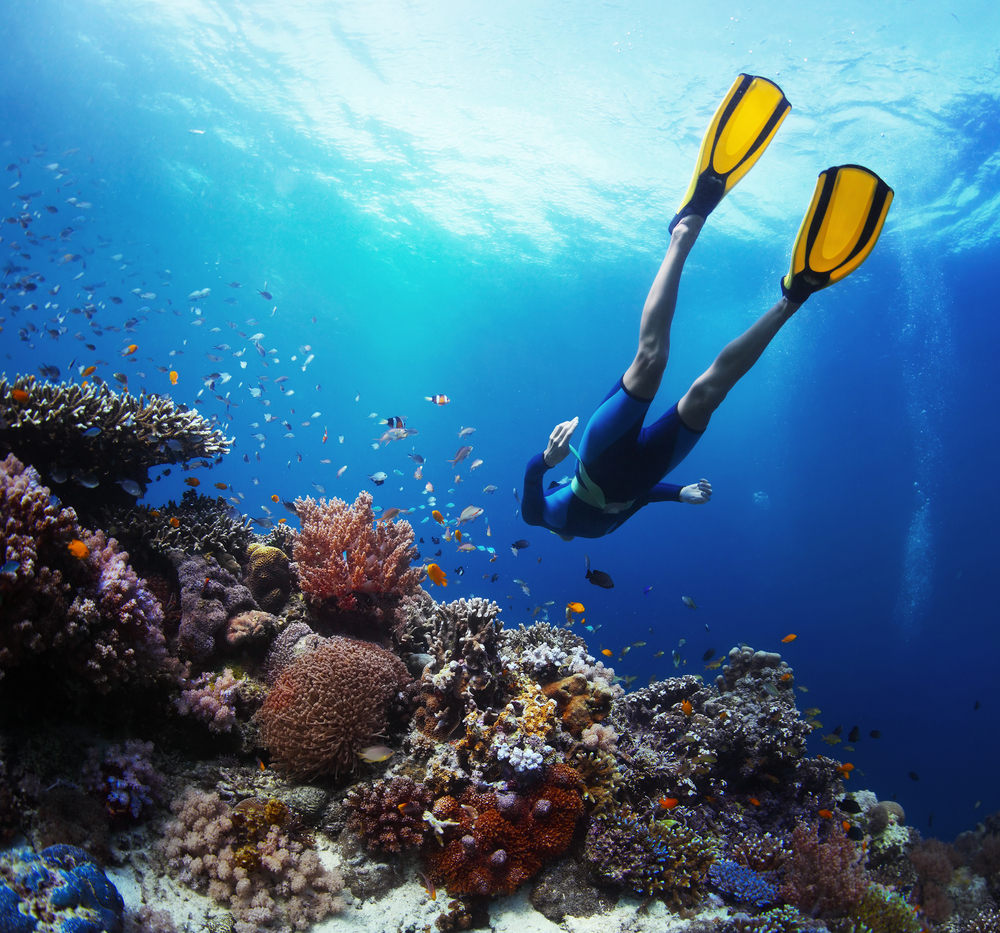
Photo via Shutterstock/Dudarev Mikhail
1. Be comfortable in the water
First things first: Make sure you are a good swimmer and comfortable in the water. Safety must come first. If you don’t feel good about swimming without a camera, you are putting yourself in danger when you add a camera to the mix. You don’t want to be thinking about keeping your equipment safe or your camera settings when you should be focused on safety. If you are going into deep water, make sure you have experience with snorkel or scuba gear and that operating this equipment is second-nature for you.
If you are going into a natural water environment, like the ocean, you should know what the potential dangers are and how to best avoid them. Know what to do if you are swept into a rip current or attacked by wildlife. Know how to avoid these things in the first place. Talking with locals, experienced swimmers, and studying the environment will help with your safety and with your photography.
2. Cameras
The best quality underwater photography is still pretty prohibitively expensive. However, you can still get some decent images on a budget. On the low end, a GoPro can do a pretty good job as an entry into underwater photography. However, it is limited by the fact that there are no manual controls — so the automatic shutter speed can sometimes be too slow for capturing moving animals or for hands that aren’t very still while floating. Some “waterproof” cameras can do a little better job, certainly the ones that have manual control. The best option is to use a DSLR with a waterproof housing. DSLRs will have more control over ISO, which you will need to increase to shoot in the relatively dark environments underwater. Light is quickly lost the deeper you go, so you will want to bump up that ISO.
3. Waterproof housings
Housings are generally expensive. You should expect to spend about double (or more) what you spent on your camera for a well-built housing. Most people can get away with a plastic housing, but if you plan to use it in deep waters or frequently, an aluminum (even more expensive) housing will be your best choice. Companies like Aquatech and Nauticam make reputable and durable housings.
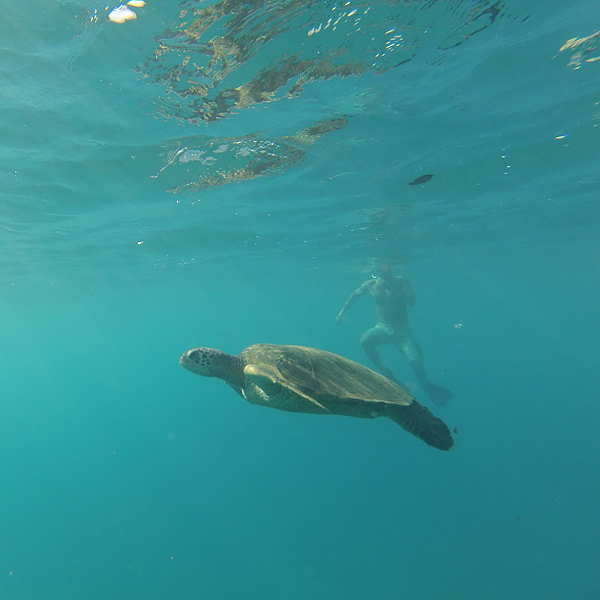
With this GoPro shot, you can see how the swimmer behind the turtle starts to get really hazy and everything looks blue.
4. Get close to your subject
All those little particles in the water between you and your subject cause images to look less clear and more hazy. The closer you are to the subject the less problems you will have with clarity and contrast. This means that most of the time you will be using a wide angle lens underwater. Telephoto lenses will not work very well shooting through a large volume of water.
5. Shoot in RAW
The flexibility of RAW files will allow you to bring back some of the contrast and color to your photos. Also, there will be a blue cast to most of your images since many of the warmer red wavelengths don’t make it into deeper water. You can use RAW adjustments to help balance out the color spectrum.
6. Lighting or filters
Even if you shoot in RAW you won’t be able to get the red colors to be fully saturated in post. To get a full spectrum of colors, you need to use some sort of lighting, whether it’s a continuous light or an underwater flash. This adds to the cost of an already expensive endeavor, so if you are on a budget you can cheat a little by putting a warm filter over your lens.
Share tips, start a discussion or ask one of our experts or other students a question.
No Responses to “6 Underwater Photography Tips for Beginners”