
Setting triangles for an on-point quilt can be somewhat intimidating for quilters at any level. But with a little know-how, you can create perfect on-point quilts!
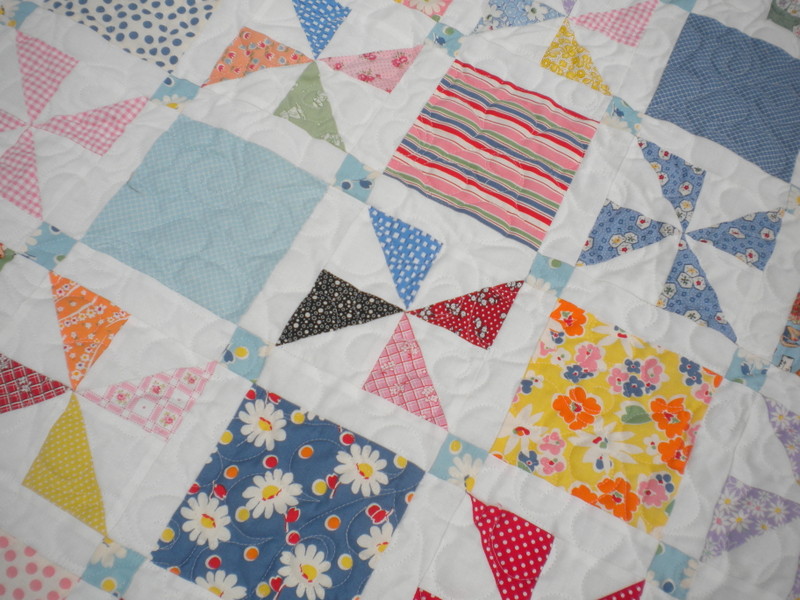
Photo via A Quilting Life
Here are some tips for setting triangles to create an on-point quilt.
The fundamentals of on-point quilting with triangles:
Quilt blocks can be set together in straight settings of horizontal or vertical rows, or they may be set in an “on-point” setting. In an “on-point” setting, the blocks are placed so the straight of grain in each block runs diagonally in the quilt. These on-point settings often change the look of a quilt block and also require the use of setting triangles and corner triangles to complete the quilt design.
The most important thing to remember when working with on-point settings is that the corner triangles and side setting triangles have bias edges which can easily stretch out of shape. Use care when handling these pieces. Using pins when adding setting triangles and corner triangles to row ends can help: Pinned fabric pieces are less likely to be stretched while sewing.
Corner triangles:
Corner triangles are made by cutting a square piece of fabric on the diagonal once. Two fabric squares are needed to create the corner triangles for an on-point quilt. There is a mathematical formula to calculate the size to cut the squares used to create the corner triangles:
- Divide the finished block size by 1.414
- Then add 0.875 (7/8″) for seam allowances.
Since this math involves a lot of decimals, it’s best to use a calculator, rounding up to the nearest 1/8″. Some quilters prefer to round up to the nearest 1/4 or 1/2″ to make the triangles extra big. It’s always easier to trim down than to end up with triangles that are too small.
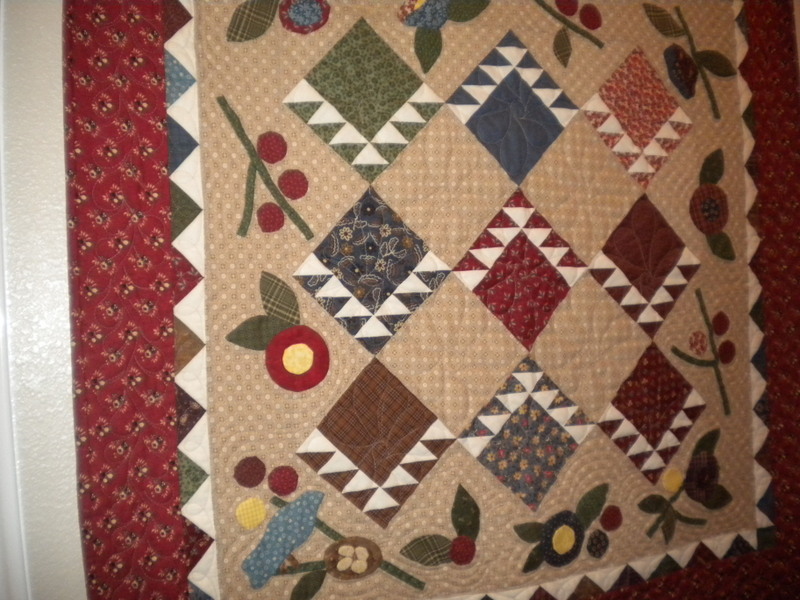
This on-point quilt features appliqué embellishment in the side and setting triangle sections.
Side triangles:
Side triangles are cut from squares cut diagonally in two directions, and each square will yield four side triangles. There is a separate mathematical formula used to calculate measurements for side triangles:
- Multiply the finished block size by 1.414
- Then add 1.25″ for seam allowances.
Again round this up to the nearest 1/8″. As with the corner triangles, many quilters prefer to round this number up to 1/4 or 1/2″ in order to ensure the triangles are big enough. Reference tools available for quilters can eliminate much of the math. The All-in One Quilter’s Reference Tool contains a reference chart with measurements to cut squares for side and setting triangles for finished block sizes from 1 1/2″ to 24″.
Basket blocks look perfect set on point in this Canasta Quilt.
On-point quilts with sashing:
When figuring dimensions for side and corner triangles in a quilt setting that uses sashing, you will need to figure in the measurements of the sashing in order to determine the correct size to cut the squares for your triangles. To determine the measurements to cut squares for side triangles, follow this formula:
- The finished sashing width should be added to the finished block size before multiplying by 1.414
- Then add the 1.25″.
When figuring measurements for squares to cut corner triangles:
- Add two finished sashing widths to the finished block size
- Then, divide by 1.414 and add 0.875″.
Again, The All-in One Quilter’s Reference Tool also provides a reference chart for figuring square size for corner and setting triangles for block sizes from 6″ to 12″ with sashing size options from 1/2″ to 4″.
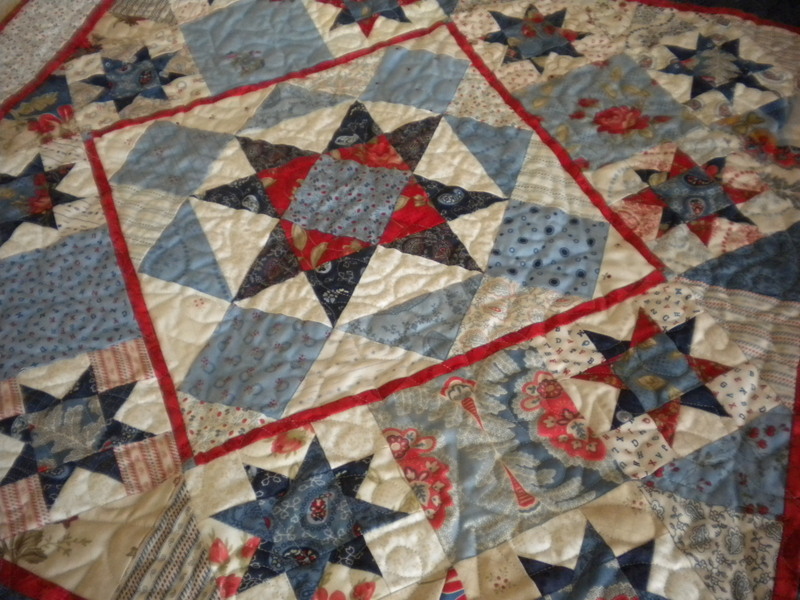
The on-point Good Fortune Quilt features pieced setting triangles.
Trimming:
When working with on-point settings, side triangles and corner triangles will need to be trimmed so that all four edges are straight. It’s important to leave 1/4″ past the edges of blocks, so that block corners and points aren’t “cut off” when the quilt binding is added. The best way to trim is to use a 24″ long acrylic ruler. By using a long ruler, you can trim the quilt sides in sections, making sure the quilt sides are straight. Continue all the way around the quilt in sections, trimming carefully.

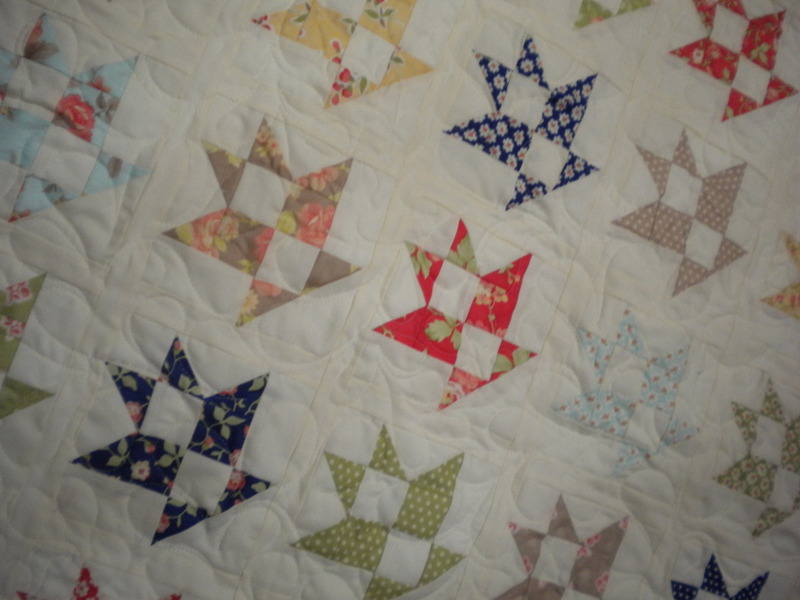
This on-point Blossoms Quilt uses a setting triangle construction.
On-point quilt settings don’t have to be difficult. By using care when handling fabrics, using pins and trimming carefully, your diagonally set quilt can be a success.
Lining up side triangles so that they lie square to attach square when attaching the next row to quilt.