
Here are helpful tips for achieving professional topstitching results.
1. Use the proper needle and thread.
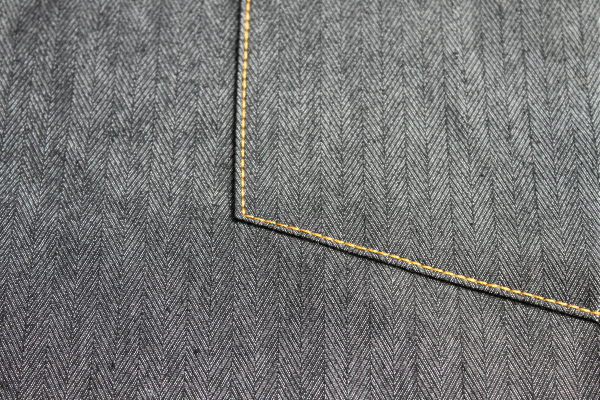
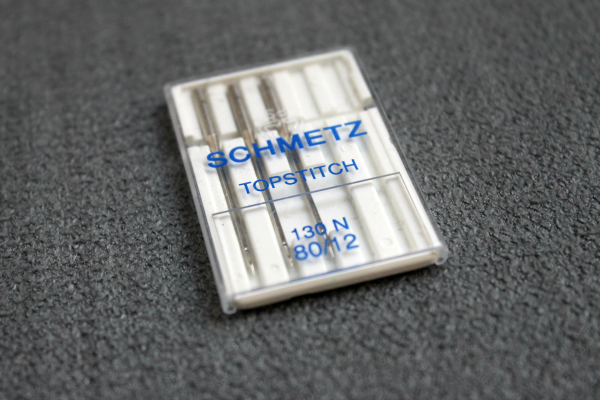
If topstitching is a design element in your garment, you will want to use a machine needle and thread specifically labeled for topstitching purposes. On jeans, for example, thick gold thread is often used to topstitch along seams. Thick thread stands out and creates definition and texture on the garment. In this photo, you can see the difference in thickness of the topstitching thread (on the left) and regular all-purpose thread.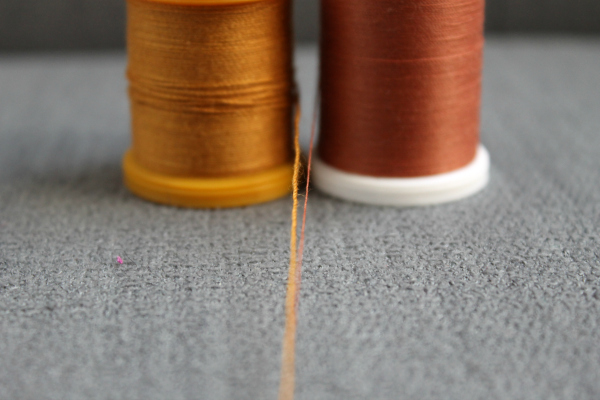 A topstitch needle has a larger eye so it is easier to weave the thick thread through.
2. Use a longer stitch length.
With decorative thread, each stitch is more defined so it looks better with a longer stitch length. Compare the result of my machine’s default 2.5 mm stitch length (length) versus a 3.5 mm stitch length: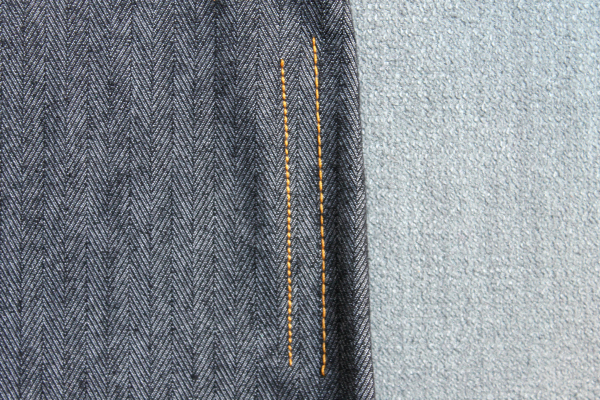
3. Use an edgestitch foot for straighter stitches.
Edgestitching, which is topstitching at 1/16″ to 1/8″ from the edge, is typically sewn along collar stands, yokes, plackets, pockets and waistbands. An edgestitch foot, also called a stitch-in-the-ditch foot, has a centered guide that you can align with the edge in order to sew straighter stitches. This only works if your machine is able to move the needle position left or right of center.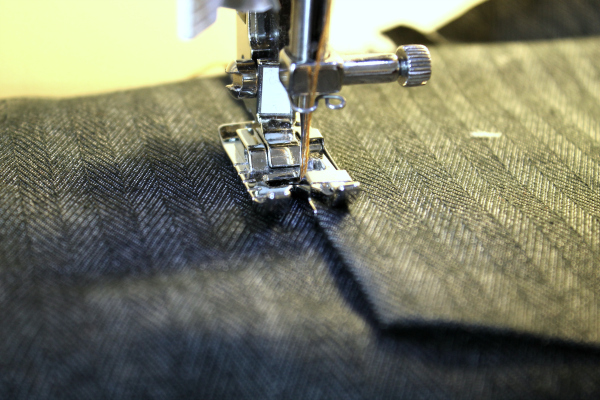
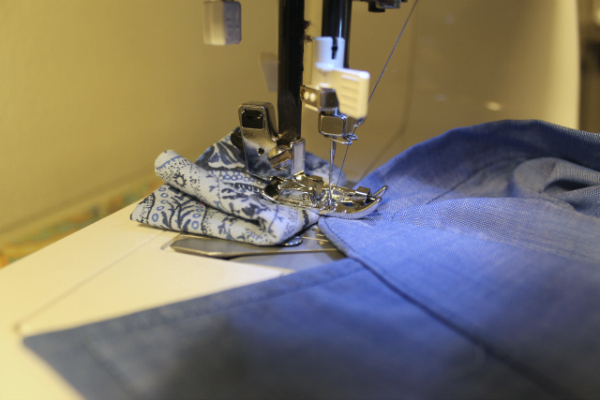
4. Level out your presser foot.
One way to get even stitches when topstitching is to ensure your presser foot remains level. Have you ever tried to sew over a bulky seam or continue stitching after a pivot point, but the presser foot just won’t move and the thread tangles up? It’s likely because the foot is stuck trying to move uphill: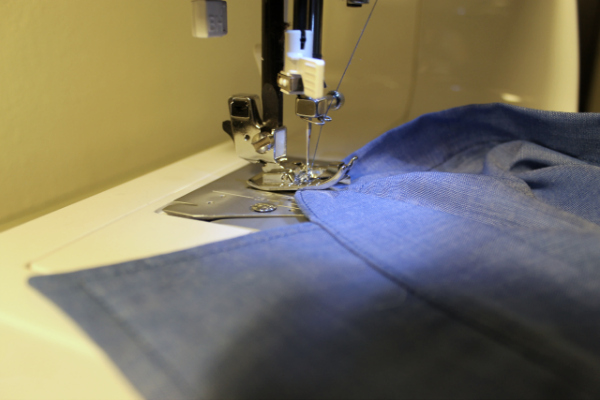 If you place some scrap fabric under the foot behind the piece you’re sewing, the presser foot will no longer be tilted up at an angle and it will sew forward much more smoothly. This helps avoid uneven stitch length.
5. Avoid backstitching.
If the beginning and end of your line of topstitching will not be enclosed in another seam, you will need to secure your stitches, which is usually done with backstitching. However, in contrast thread especially, backstitching can look obvious and unsightly. Instead, try to shorten your stitch length as much as possible and tack the stitches in place at the beginning and end of the seam. See the difference: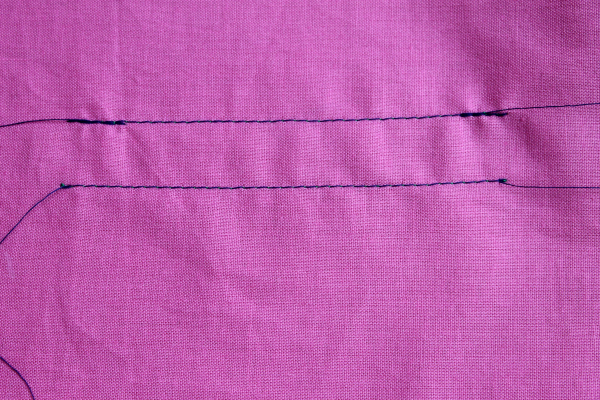
6. Pull thread tails to the wrong side.
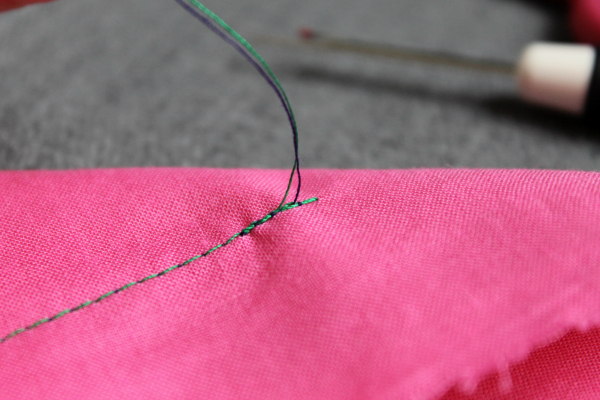
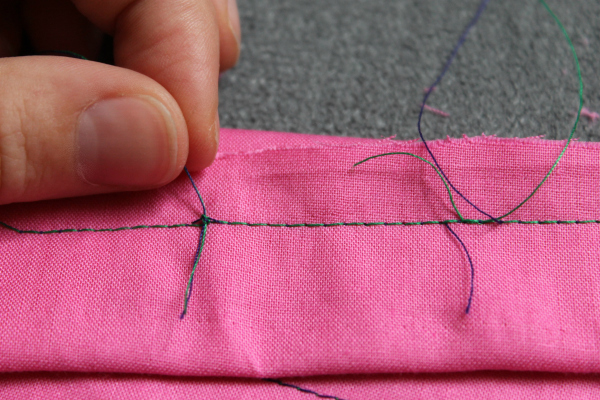
Whether at the beginning/end of the line of topstitching or in the middle of a seam where an error was fixed, the stitches will be best blended if you pull the thread tails to the wrong side of the garment. If you snip them on the right side, it can be difficult to cut them perfectly level with the surface of the fabric and there still may be evidence of “hairy” stitches. To pull the threads to the wrong side, tug on the bobbin thread tail until a loop from the top thread pulls through. Use a seam ripper or pin to pull the rest of the length of the thread through. In the photo below, the wrong side of the garment is up. The green thread is the bobbin thread and the dark purple is the top thread that shows on the right side of the garment: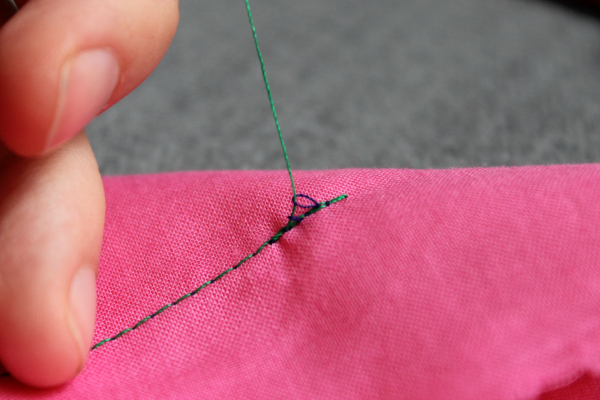
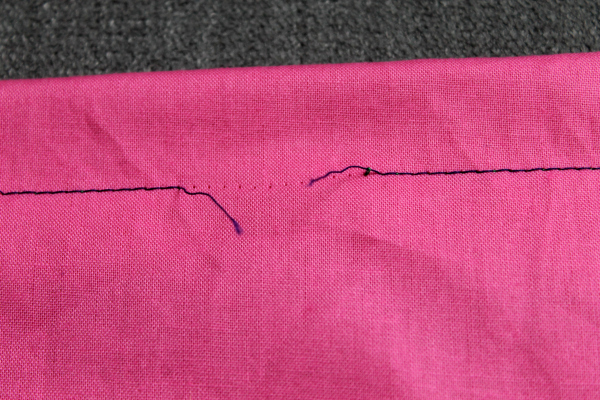
 When fixing topstitching errors, unpick the area and pull the tails to the wrong side. Blend the new stitches by overlapping just one or two stitches before and beyond the unpicked area when you sew.
 Then pull those new thread tails to the wrong side and tie them in a knot with the old thread tails. Snip off the excess.
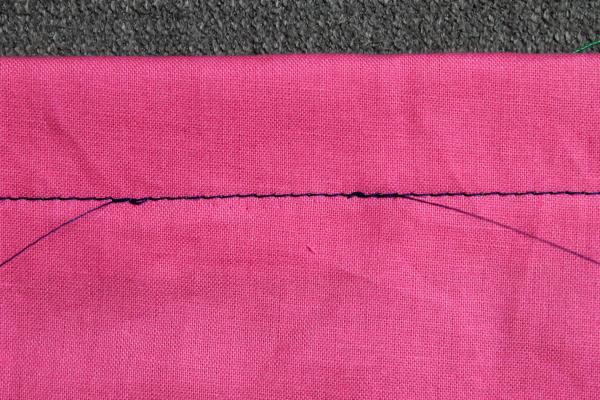
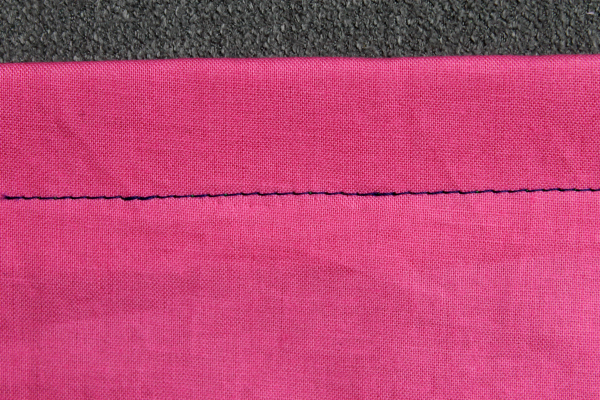
 The new topstitching shouldn’t be that noticeable on the right side:
Share tips, start a discussion or ask one of our experts or other students a question.
No Responses to “Tip-Top Tips: Topstitching Techniques for Pro-Finished Garments”