
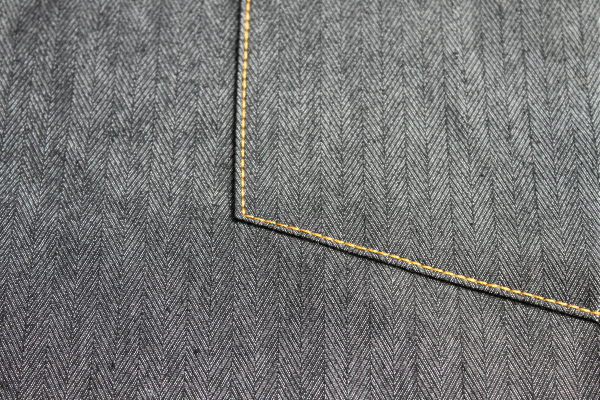
The best way to sew a professional-looking project is to be neat and tidy: pressing every seam and topstitching them perfectly straight. You might be surprised to know you can use a blind hemming foot or a zipper foot to topstitch your project! Here are a few hacks to ensure you get the most professional look quickly and easily.
Learn 4 sewing machine hacks for straight top stitching
Before beginning, make sure your seams are straight with these simple ways to sew in a straight line.
FREE Guide: How to Sew Professional-Quality Seams

Whether you’re working with lightweight or heavy-duty fabric, discover simple steps for sewing seams that look polished and professional.
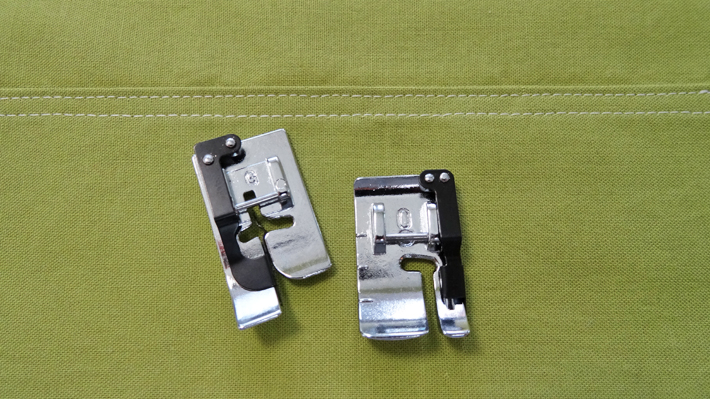
Straight stitches hack #1: Use a blind hemming foot
A blind hemming foot has a small metal divider designed to keep your hem in place as it is being sewn. This little divider is the key to a perfect topstitch!
Position your fabric under the foot, to the left of the divider. Move your needle to the left, so it is in position to sew about 1/8″ to the left of the metal divider. Stitch your topstitch, keeping the fabric edge up against the divider.
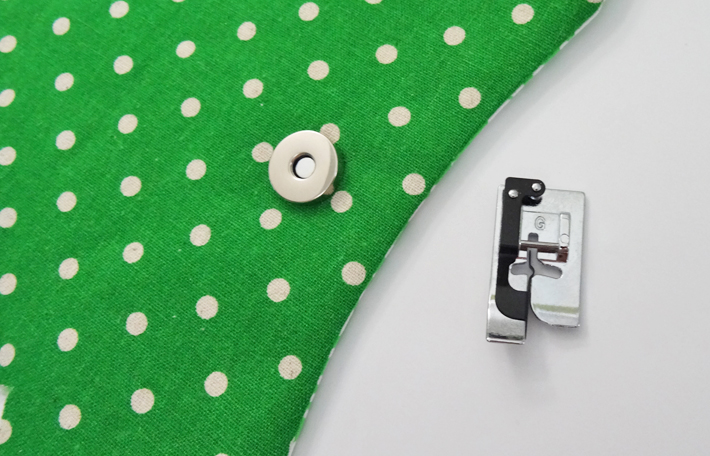
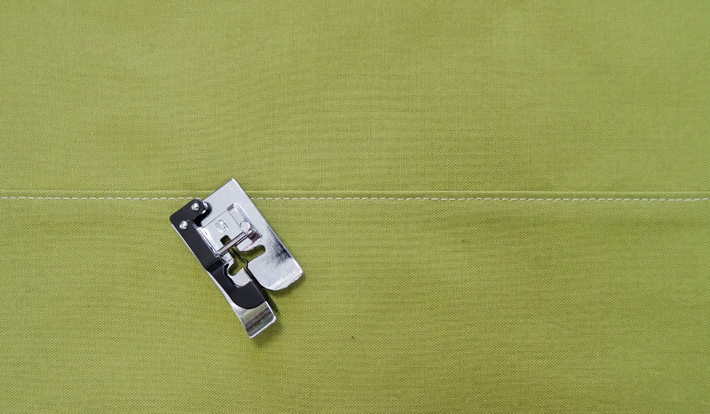
Straight stitching hack #2: Use a zipper foot
This hack will work with many of your common or uncommon machine feet. I have chosen to illustrate it by using a zipper foot.
Choose a foot with two characteristics: The right edge of the foot needs to line up with the edge of the fabric, and it needs a needle placement option that fits your desired topstitch width. This zipper foot allows the needle to stitch close to the edge of the fabric. Its right side also lines up with the edge of the fabric so your eye has something to follow as you stitch your seam.
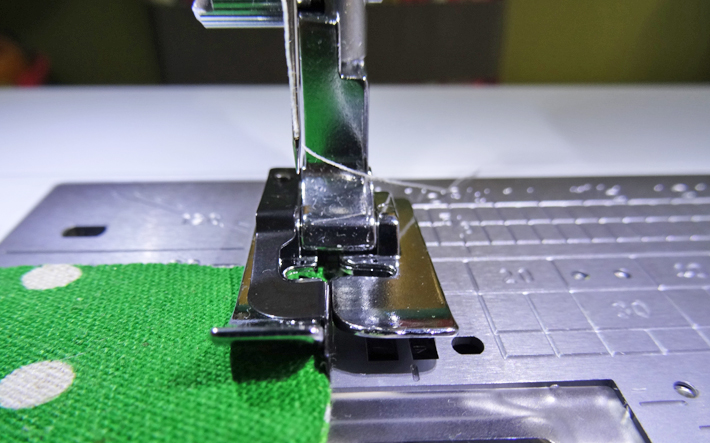
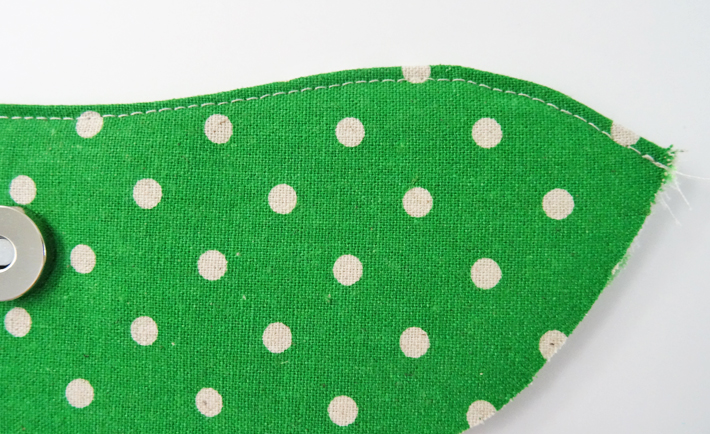
Place your fabric under the foot so the right edge of your chosen machine foot is even with the right edge of the fabric. Position the needle to the right at your desired topstitch width. Sew your seam, keeping your eye on the right side of the foot so it stays even with the edge of the fabric.
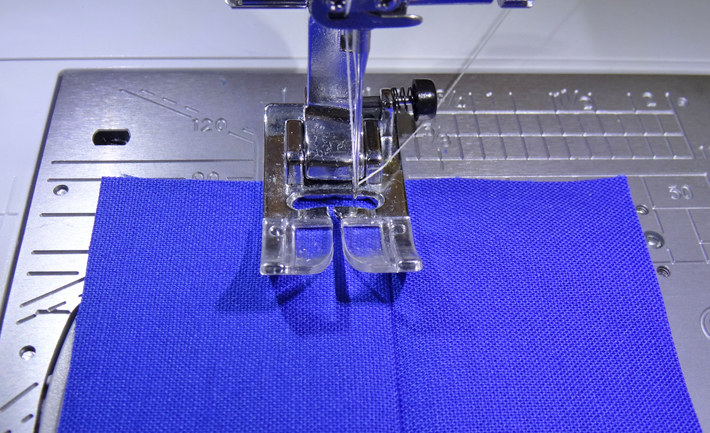
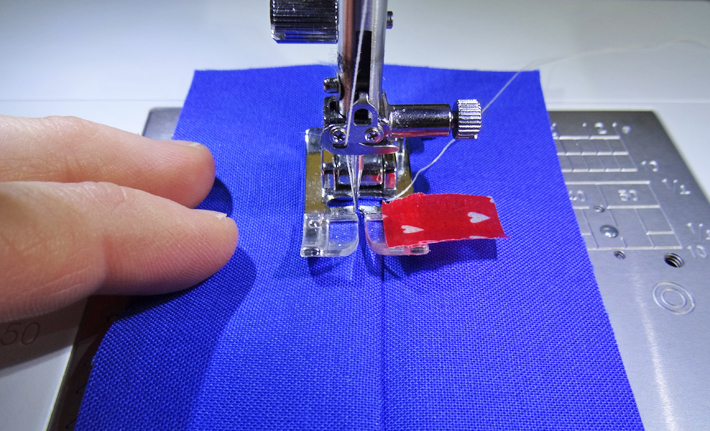
Straight stitching hack #3: Use a marked zigzag foot
There are two ways to use your regular zigzag machine foot, and both of these are perfect for machines without a movable needle position.
Some zigzag feet have markings or lines that you can use as a guide when topstitching. My Janome zigzag foot has a clear area in the center, and I often use the right side of this area to line up a topstitch. If this is not the case for your foot, you can easily hack your machine foot to provide the same result.
Position your fabric under the zigzag foot so the area to be topstitched is under the left side of the foot. Mark the seam you are topstitching with a small piece of washi tape or painter’s tape. Stitch your seam, keeping your eye on the left edge of the tape and using it to keep the topstitch straight.
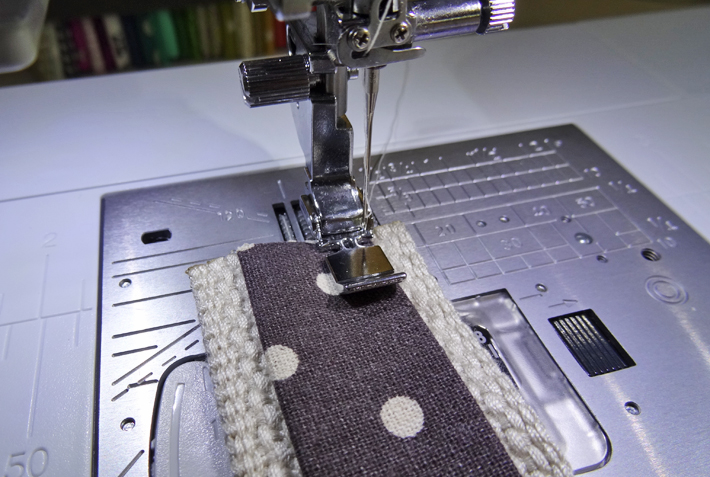
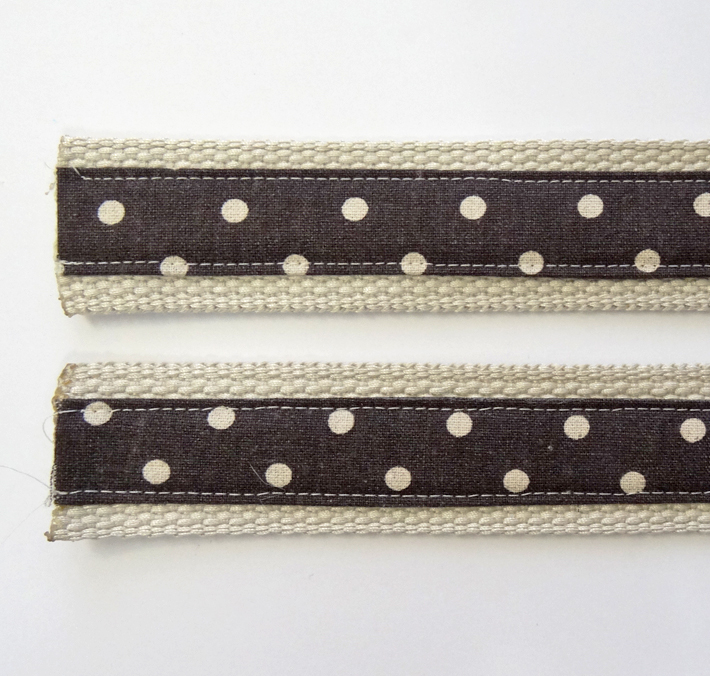
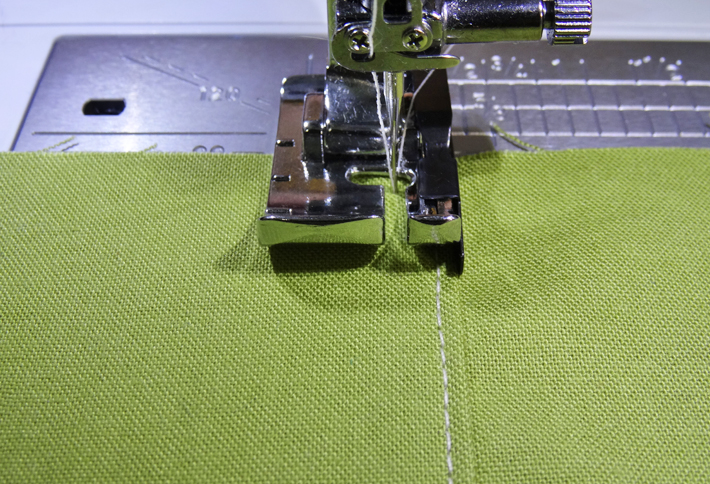
Straight stitching hack #4: Use a blind hem and 1/4″ seam foot
Using a blind hem foot and a 1/4″ seam foot together produces an amazingly straight double topstitch. You can use the 1/4″ seam foot on its own if you need a wide topstitch. However, though one topstitched seam is professional, two seams add more detail and value to the finished project.
Stitch a topstitch close to the edge with a blind hem foot as shown below. Place the 1/4″ seam foot with the topstitching under the left side of the divider. Move your needle to the right, so it is in position to sew your desired topstitch width. Stitch your topstitch, keeping the fabric edge up against the divider.
FREE Guide: How to Sew Professional-Quality Seams
Whether you’re working with lightweight or heavy-duty fabric, discover simple steps for sewing seams that look polished and professional.
Share tips, start a discussion or ask one of our experts or other students a question.
No Responses to “4 Tricks Make Your Topstitching Perfectly Straight — Every Time!”