Sketching flowers remains a quintessential part of drawing a still life. Van Gogh did it, Monet did it, even Warhol did it. Sketching flowers is easy if you follow these simple tips. Plus, a beautiful sketch will last a lot longer than whatever’s in your bud vase right now.
Let’s start by finding some flowers. If you don’t have any real live flowers in the house, a photo will work. These pink roses I photographed in Portland, Oregon a few years ago will do just fine.
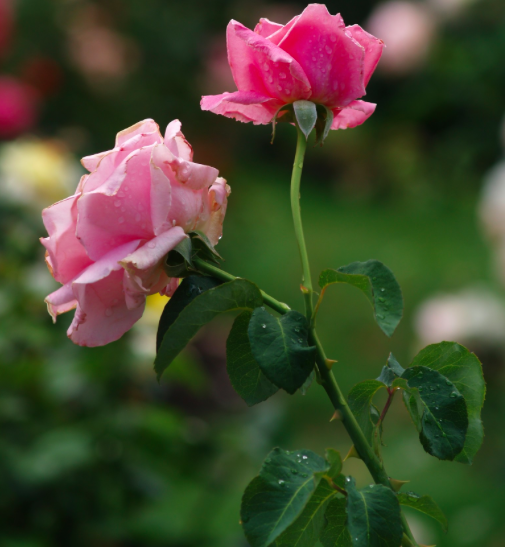
Rather than simply use line, we are going to sketch by thinking about value— the lights and darks– first and foremost.
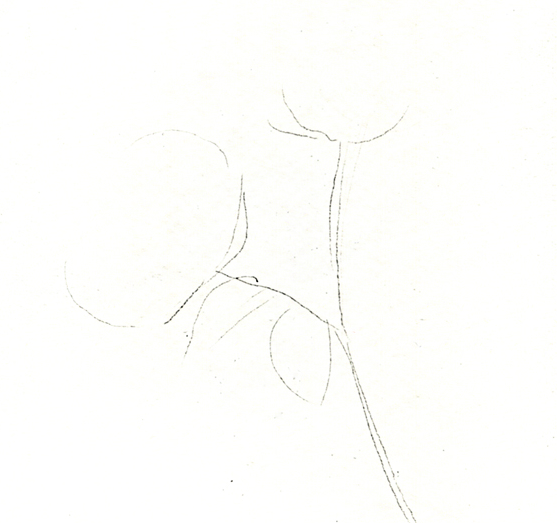
Step 1: Determine how much of the flowers and stem you’d like to include in your sketch, and roughly and lightly establish the location of the flowers on your paper. Use a hard pencil like a 4H or 5H that makes a light line and is easy to erase. Remember, not much detail is required here– just a very general idea of the flowers and stems.
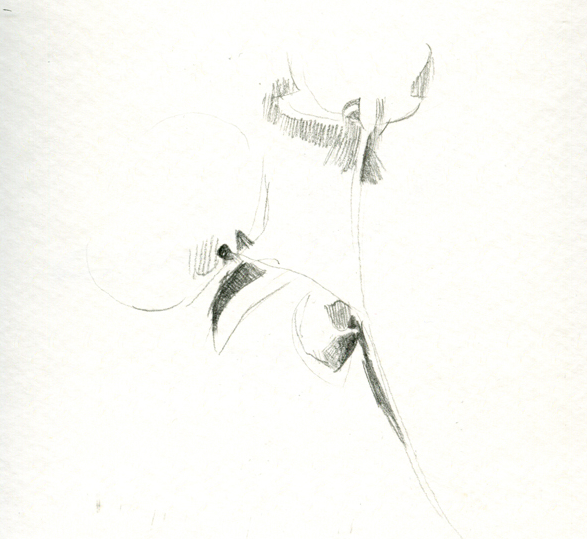
Step 2: Using a pencil with an intermediate hardness, such as an HB, start to establish where you see the darkest values. If this is a bit tricky, squint. This will help isolate the lights and darks for you. As you can see, the darkest areas are just beneath the flowers, in two of the leaves, along the side of the stem, and in the background. Start blocking these in carefully.
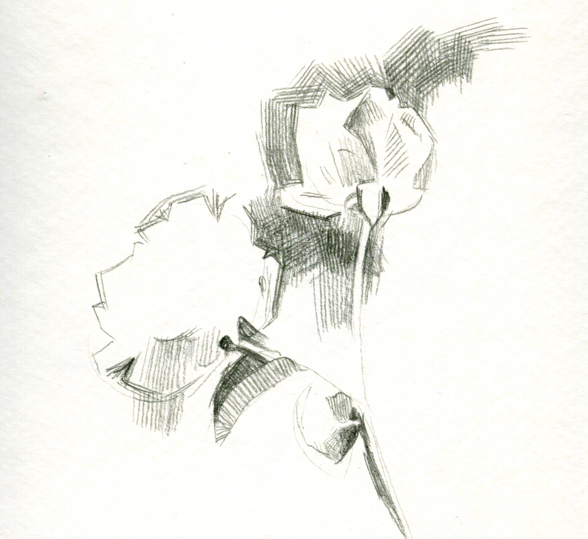
Step 3: Work your way around the outside of the flowers, establishing more of the dark values from the background. Because the flowers themselves are quite light, you are using negative space to establish the shape of the flowers. I find hatching marks are good for addressing the location of these dark values early on, but you can create a softer, more blended look for your values by using the side of the pencil lead if you prefer.
Step 4: Using a dark, soft pencil, such as an 8B, start asserting your darks! Don’t be shy about obliterating any nice hatch marks you had before. The dark values will really make the flowers pop for the viewer. As you go, work your way into the values within each flower, using a bit more of a conservative approach, as these values are light and subtle. Your HB pencil is good for this.
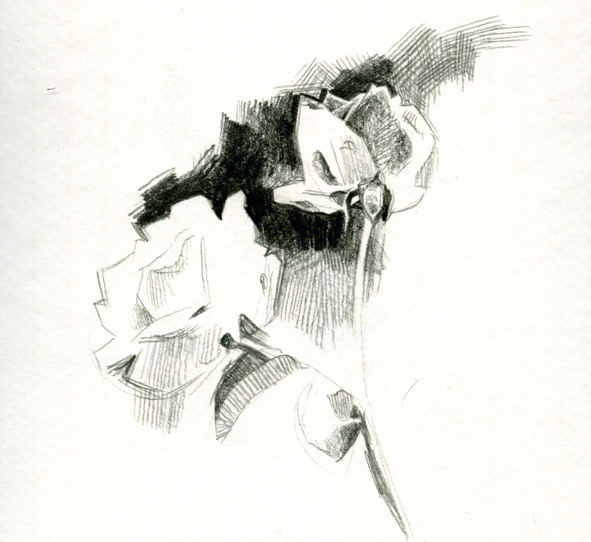
Step 5: Continue to work your way around the flowers, leaves and stem. Be very careful to leave light values light, such as the stem, especially when working with your 8B pencil. It is a lot easier to leave these areas light than to try and erase any errant marks later. The trickiest part of thinking about value is to remember to draw the values you see, not the object your brain is telling you is there. Where a dark value from the background matches a dark value within a flower, our brain has a tendency to reject some of that information, and wants to differentiate the flower from the background no matter what. This is because we’re naming the object, and we feel as though we need to clearly establish where the flower begins and ends in space. But it’s important to only draw what you see, and to trust the viewer to fill in the gaps when the image doesn’t clearly provide all the information.
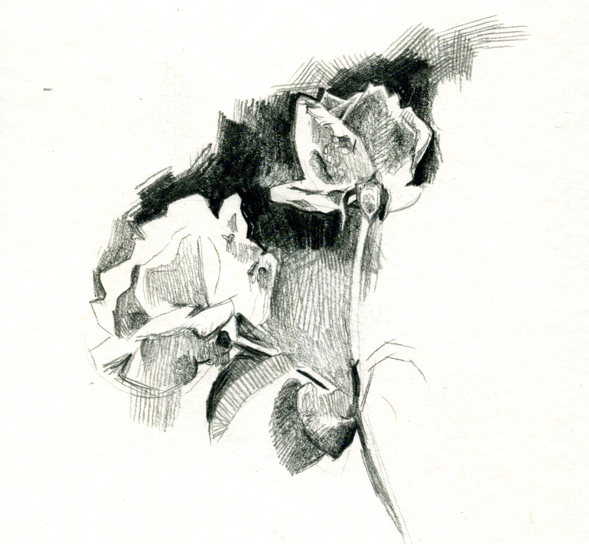
Step 6: As you finish laying in the background values, the flowers and stem will start to emerge from the paper. Use a nice gestural hatching or sketchy scribble to transition from those dark values back to the white of the page. It’s perfectly okay to keep some parts of the flower sketchier and less defined than others. This maintains some variety in your linework and prevents the sketch from looking too uniform or overworked.
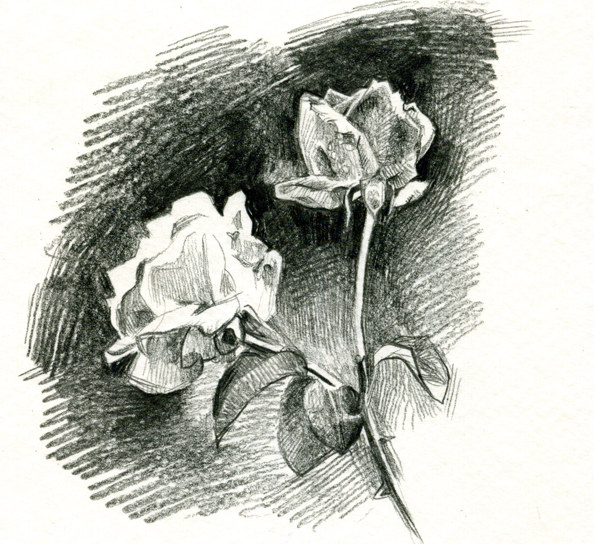 © Paul Heaston 2013
Have you ever sketched a floral still life? If not, it’s time to go visit the garden and sketch.

Share tips, start a discussion or ask one of our experts or other students a question.
No Responses to “Flower Power: Sketching Flowers”