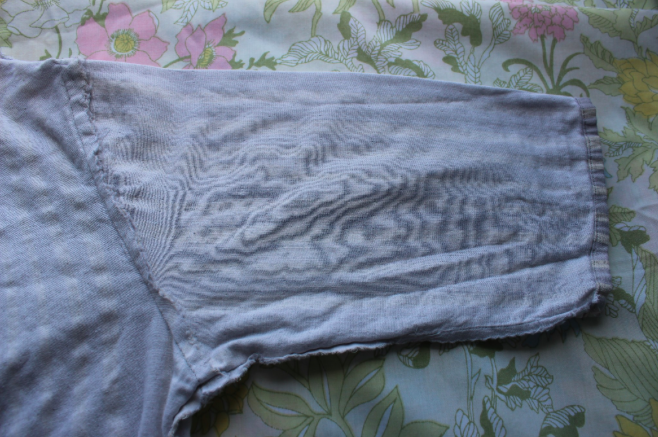
If you’ve never sewn sleeves before (and even if you have), they can be intimidating. A poorly sewn sleeve can throw off an otherwise great garment. But sewing sleeves doesn’t have to be a headache. With a little patience and some practice, you can sew perfect sleeves.
Here’s what you need to know about sewing sleeves:
There are two methods for sewing sleeves. One method is to sew the sleeves in flat, while the other is sewing set-in sleeves. If you are sewing a garment, such as a blouse, from a pattern, the instructions will most likely direct you in sewing a set-in sleeve.
When sewing set-in sleeves, the bodice and shoulder seams will have already been sewn, creating an armhole. The seam down the length of the sleeve will already be sewn, as well. The tricky part is sewing the sleeve around the armhole to avoid any puckering or bunchiness on the shoulder when the garment is worn.
If you are sewing from a pattern, there will likely be some notches on the sleeve and bodice to match up as you pin the sleeve to the armhole. My preferred sleeve pinning method is to match these notches first (as well as the side seam of the bodice to the seam of the sleeve), and pin in place. From there, I pin around the rest of the armhole. Sometimes the requires pinning and unpinning to get the sleeve eased into the armhole just right. Persistence and patience are key; if things are lining up correctly when pinned, they won’t be any better when sewn!
Once you are ready to sew, lengthen your stitch length. This will give you a little bit more ease than if you sew with a shorter stitch length. If you are concerned about stability, you can add a second row of stitching inside your first seam.
The second option for sleeve sewing is to sew them in flat. This construction method is more likely to be used on items like robes, with a lower, flatter sleeve cap, but you can also try it on garments calling for set-in sleeves. Like the name suggests, the sleeves will be sewn in prior to sewing the bodice side seams or the sleeve seams, when both pieces can be laid flat.
Just like with the set-in method, you’ll want to make sure you are matching any notches. Pin in place and sew. If done correctly, this should result in a smooth seam with no puckering. The next step is to sew the bodice side seam and the sleeve seam. This is done at the same time, so you’ll have one smooth seam from the bottom of the bodice to the end of the sleeve.
Do you have any tips or tricks for sewing sleeves? What’s your prefered method– sewing set-in sleeves or sewing flat?
Ready to get some practice sewing sleeves? Check out Bluprint’s The Care-Free Fly Front Coat with Kenneth King.

Share tips, start a discussion or ask one of our experts or other students a question.
No Responses to “Sewing Sleeves with Ease”