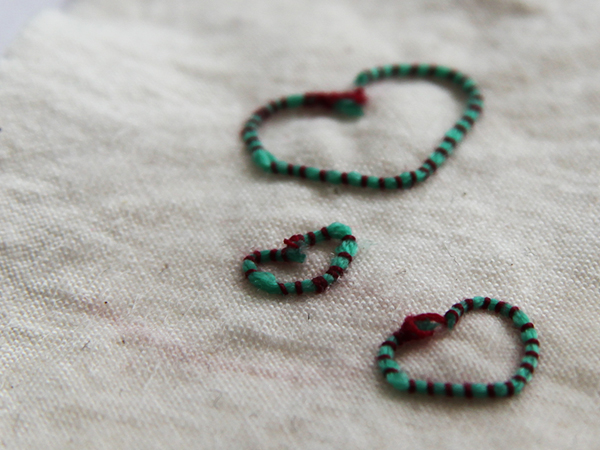
Your sewing machine just sews, right? Wrong! It does so much more! There are some interesting and unusual Couching involves attaching a laid yarn or thread onto fabric with small stitches in a similar or contrasting thread and adds texture to a piece of work. It is a technique traditionally done by hand, but did you know you can also couch with your sewing machine? It’s easy! 1. Wind a thicker thread or thin yarn onto the bobbin and place a standard thread on the spool. 2. Change the tension of your bobbin case by adjusting the small screw so it is loose to allow the thicker thread to pass through the machine without getting caught. Remember to tighten the screw again once you have finished your couching. 3. Couching with your machine means your design will be stitched upside down. Remember to draw your design on
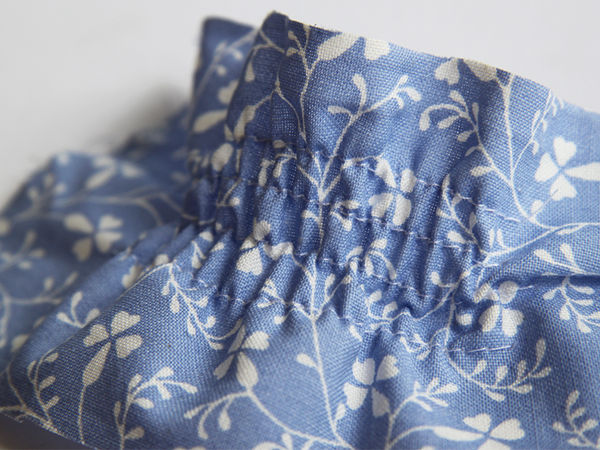
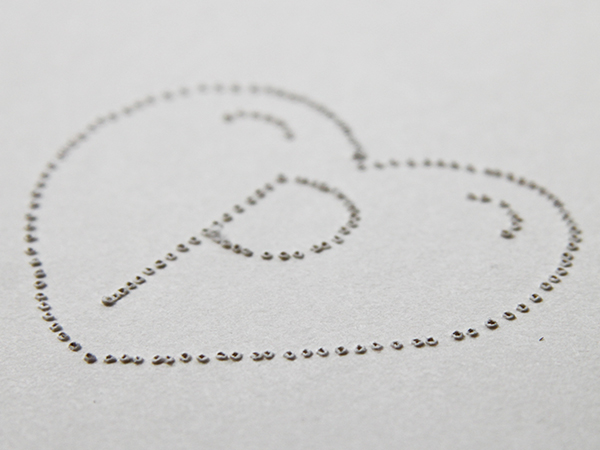
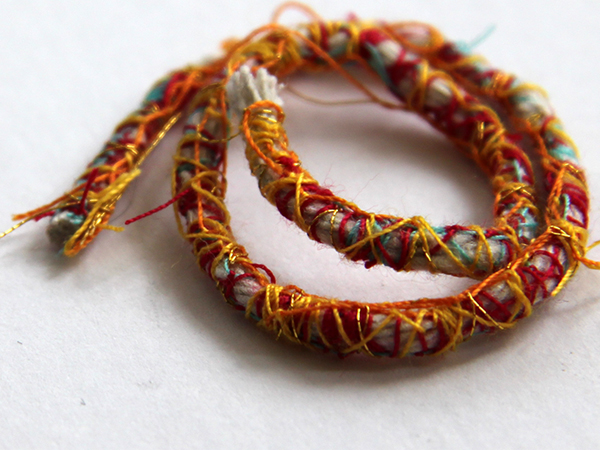
the back of your fabric as your couched threads will come up from underneath. 4. Stitch in a slow and controlled manner. You can either use a free motion technique with your darning foot, or stitch in lines with your standard foot. 5. Once complete, turn your fabric over to reveal your couching. Smocking (or shirring) gathers your fabric in order to give it stretch. Historically created with thread, it is most commonly used in clothing such as dresses and blouses. However, when using your machine you use elastic for a fast and easy result. This technique is set up in a very similar way to couching. Lighter fabrics work best for smocking and adding some steam with your iron at the end will encourage the elastic to pull in tighter. 1. By hand, wind your elastic thread around the bobbin ensuring it is not too tight or too loose and place a standard thread on the spool. 2. Change the tension of your bobbin case by adjusting the small screw so it is loose to allow the elastic thread to pass through the machine without getting caught. Remember to tighten the screw again once you have finished your smocking. 3. Similar to couching, your elastic will be on the underneath of the fabric. However, the front of your fabric will remain as normal, on the top. 4. Choose your stitch length preference. The longer the stitch, the greater the stretch. With the standard foot on and the feed dogs in action, stitch a straight line, keeping the fabric taut. 5. Repeat Step 4, ensuring your fabric remains flat and taut, to create as many rows as you like. Probably the easiest technique of the list, perforation is great for paper crafts, such a scrapbooking or card making! For best results, work in reverse on thick paper or a thin card. This is also a great way to get kids stitching! By creating premade holes in different designs, they can learn to sew and embroiderer. 1. Set up the machine and remove all threads. 2. Place paper or a thin card under your machine needle and free-motion “stitch” your design. 3. Use a slow and controlled speed for even perforation. Design your own yarn and thread with this easy machine method. Use your new funky threads for couching by hand or zigzag onto fabric with your sewing machine! 1. Set up machine as stated below. Placing a contrasting thread in the bobbin will give your brighter and more varied results. 2. Place a length of string, twine or yarn under the machine foot. I find having my machine with the feed dogs down and the darning foot on easiest. However, you can also work with the feed dogs in action with the standard
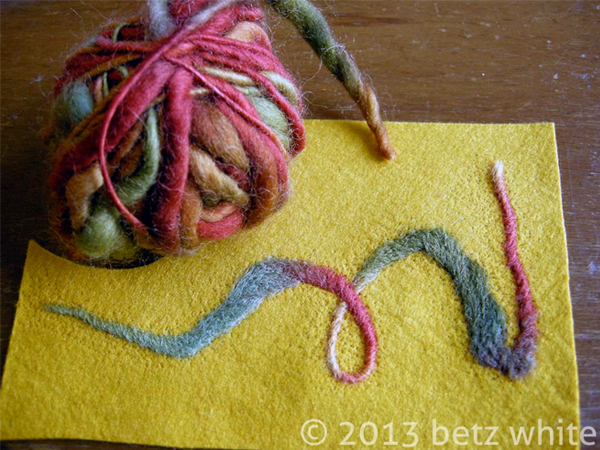
foot. 3. With the largest stitch width on, sew as normal, pulling your string through the machine. The needle should land on either side of the string, wrapping as you go. 4. Build up layers of different colors until satisfied. Adding metallic threads can also create interesting effects. Photo via Betz White Needle felting takes two dry fibers and mattes them together to create one fabric. If you have an old sewing machine lying around, then this is a great new craft to take up. You can buy kits online to permanently change your old sewing machine into a needle felting machine. These machines use multiple needles at once to felt together your fabrics. Although I have never tried it myself, it all looks very exciting!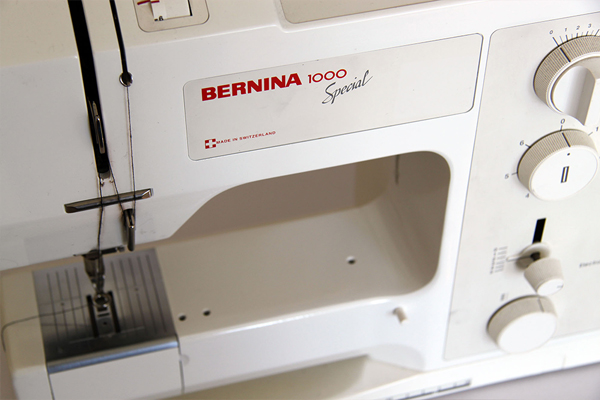 Photos via leighlalovesyou
Here are 5 unusual sewing machine techniques you should try:
1. Couching
How to:
Machine settings
2. Smocking
How to:
Machine settings
3. Perforating
How to:
Machine settings
4. Thread decorating
How to:
Machine settings
5. Needle felting
Which new technique are you going to try out first?
Premium Membership
Unlock exclusive member content from our industry experts.
- 24/7 Access to Over 2,000 Premium Classes and Hundreds of Instructional Videos Across 20+ Categories
- Extensive Library of Downloadable Patterns and Recipes
- Stream and Download Classes Anywhere with the Craftsy App
- Share Your Membership with up to 3 Friends or Family Members
- Access to Ask the Expert Program
- Admission to Exclusive LIVE Streaming Virtual Events
Unlock exclusive member content from our industry experts.
- 24/7 Access to Over 2,000 Premium Classes and Hundreds of Instructional Videos Across 20+ Categories
- Extensive Library of Downloadable Patterns and Recipes
- Stream and Download Classes Anywhere with the Craftsy App
- Share Your Membership with up to 3 Friends or Family Members
- 2 Full-Length Classes to Keep in Your Account for Life
- Access to Ask the Expert Program
- Admission to Exclusive LIVE Streaming Virtual Events
Gold Membership
$449 Value
Get everything included in Premium plus exclusive Gold Membership benefits.
- 24/7 Access to Over 2,000 Premium Classes and Hundreds of Instructional Videos Across 20+ Categories
- Extensive Library of Downloadable Patterns and Recipes
- Stream and Download Classes Anywhere with the Craftsy App
- Share your Membership with up to 3 friends or family members
- 8 Full-Length Classes of Your Choice to Keep in Your Account for Life
- 10 Patterns, Guides, or Recipes of Your choice to Download to Your Devices
- 20% off Purchase-to-Own Classes in the Craftsy Shop (Select Classes Only)
- Access to Ask the Expert Program
- Exclusive GOLD LIVE Virtual Events

Share tips, start a discussion or ask one of our experts or other students a question.
No Responses to “5 Things You Never Knew Your Sewing Machine Could Do”