
I know the phrase “Sleeves are knit separately and set in” can scare a lot of knitters away from a pattern. While setting in sleeves in knitting can be intimidating at first, the process in not really all that hard. Your first set-in sleeve is like many new knitting techniques: once you understand the knitting magic behind it, it makes perfect sense.
In this tutorial, I’m going to walk you through setting in a sleeve.
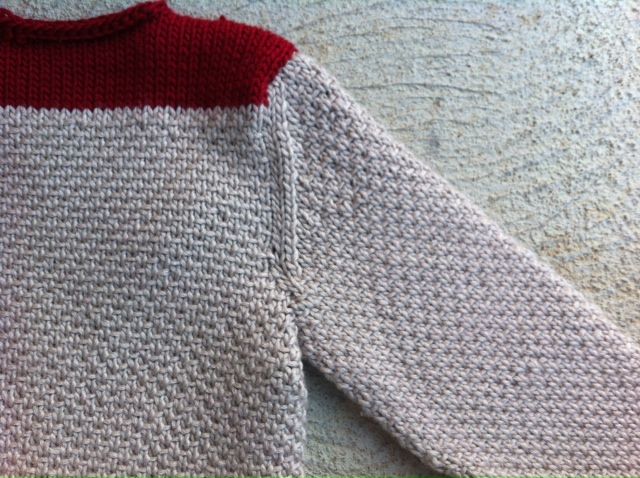
Set-in sleeves can be knit a few ways: cuff to shoulder or shoulder to cuff, the arm can be knit flat or in the round. For this sweater, we have a sleeve that was knit flat and will set it into an armhole that was created by knitting the body in the round and seaming the shoulder.
Before beginning, I always recommend blocking all your sweater pieces. This just helps everything lay nicer and makes it easier to see your stitches.
Step 1:
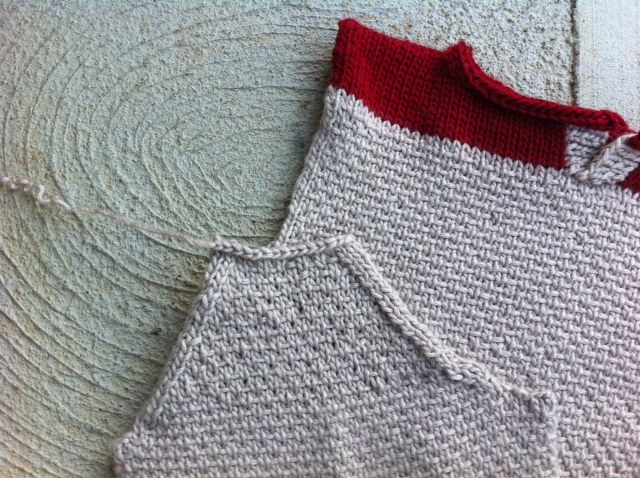
Line up the center of the sleeve shoulder with the center of the sweater shoulder. I use a locking stitch marker to join these two spots so I can keep track it.
Step 2:
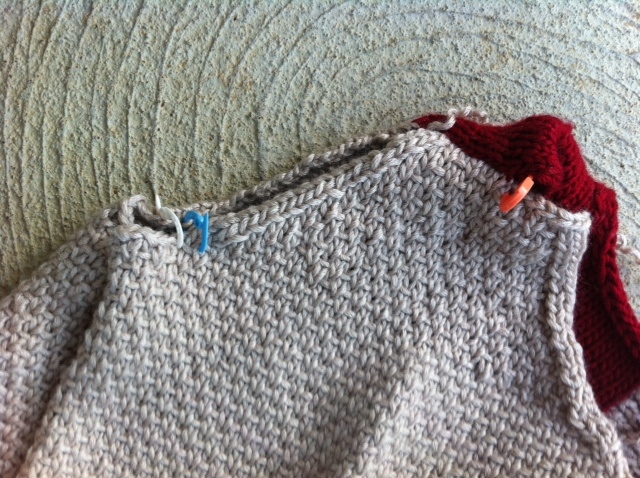
Align your sleeve cap with the armhole from shoulder to the center of the underarm. Again, locking stitch markers can keep everything lined up.
Step 3:
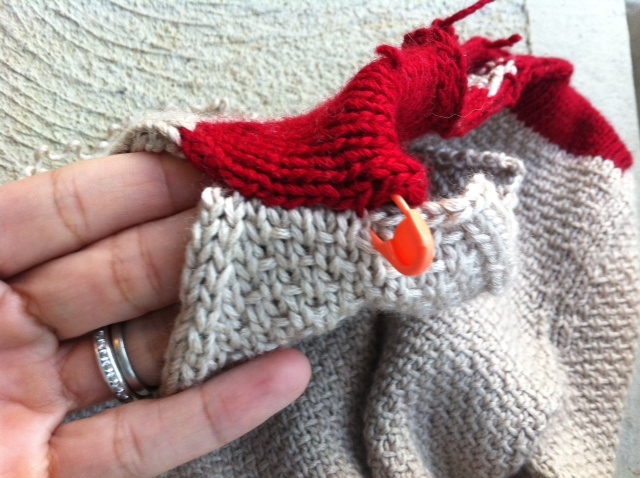
Measure a piece of yarn approximately three times the circumference of the armhole. Begin at the center of the shoulder and thread half the yarn through. Begin seaming here from the shoulder to the underarm.
Step 4:
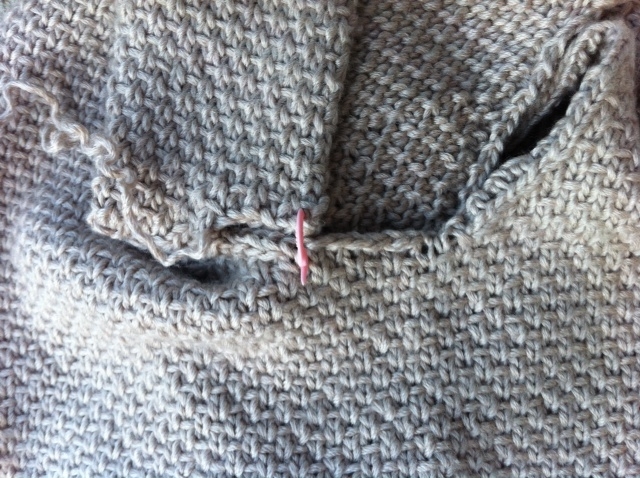
Work all the way to the center of the underarm.
Step 5:
Repeat for the other side.

It’s really that easy!
Here are a few more tips for setting in your sleeves:
- Generally, when working the stitches seam one for one when they are the same direction.
- Sleeve caps are not always designed to fit perfectly into the armhole. Rather than matching up the cap to the armhole stitch for stitch, pin it into place so that the fabric sets in evenly without puckering.
- When seaming vertical and horizontal stitches work approximately 2 stitch for every 3 row stitches.
- If you notice too many extra stitches on one side, skip one or two when seaming.
- Block your pieces before setting in and after setting in.
I love finishing because it’s what really makes your handknit look tailored and sharp.
A great Craftsy class to check out is Seaming Handknits with Chris Bylsma. This will really help you refine your finishing techniques and you may even be introduced to a few new techniques you haven’t tried before.
Share tips, start a discussion or ask one of our experts or other students a question.
No Responses to “Setting in Sleeves in Knitting: 5 Simple Steps”