
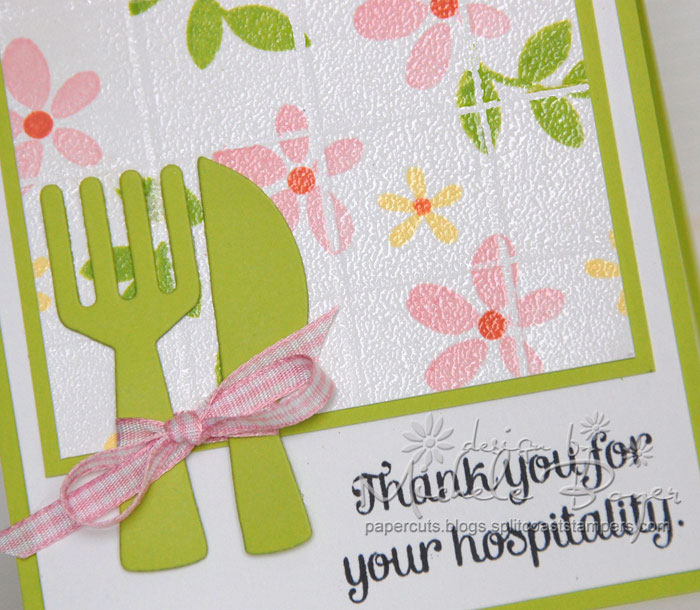
A faux tile look can easily be created by using just a few everyday card making supplies. Basically, “grout” lines are created by scoring the paper, leaving behind a bit of a “resist” area.
Fancy Folds: 4 Fun Tutorials for Folding Cards

Create smile-spreading cards with just a few simple folds with expert tips and insider tricks to make your loved ones feel extra special.
Many different looks can be achieved with the faux tile technique. Lines can be scored to create tiles horizontally across the paper or on a diagonal. Solid image stamps can be used as well as colored line art. Another idea is to sponge a corner of each tile to create the appearance of added dimension. I’ve kept my card simple for this tutorial but I’ve included tips for added detail at the bottom of this post.
Scoring cards tutorial
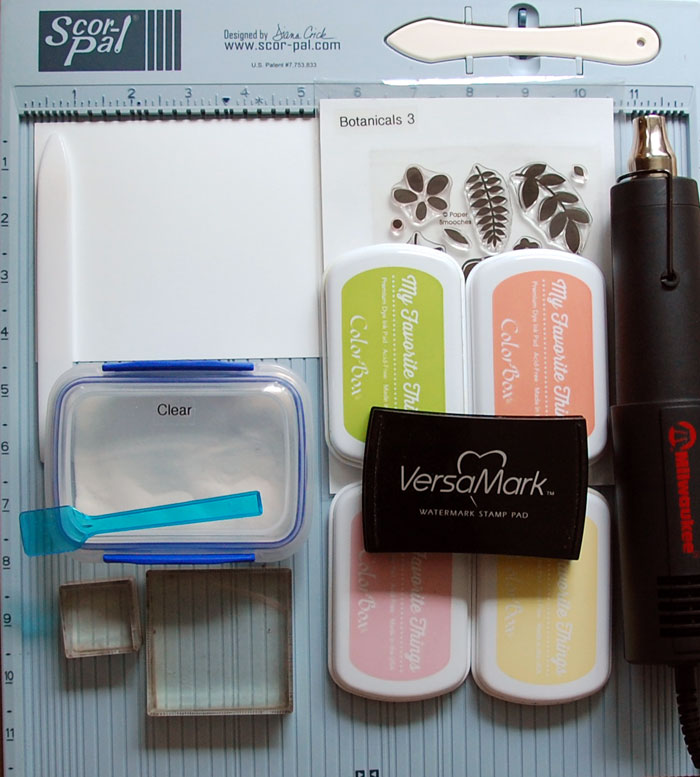
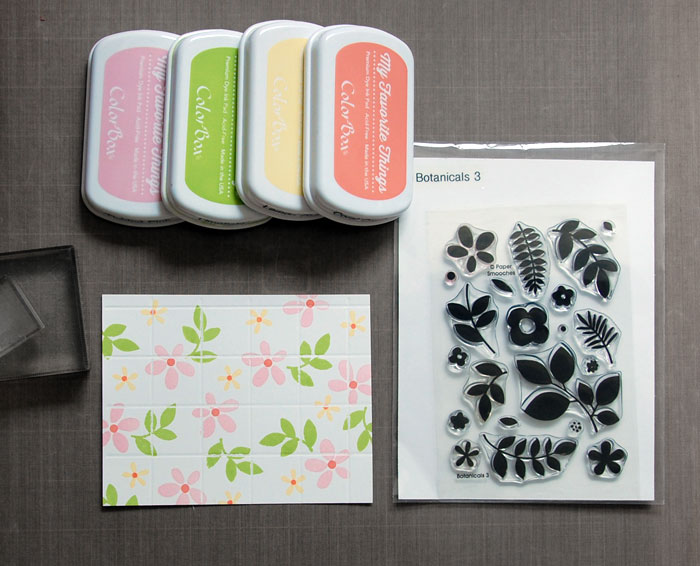
Supplies you’ll need:
- Stamps (I used Botanicals 3 and Recipe for Success by Paper Smooches)
- Acrylic blocks
- Dye inks
- VersaMark ink
- Smooth cardstock
- Scor-Pal or other scoring board
- Bone folder
- Clear embossing powder
- Heat tool
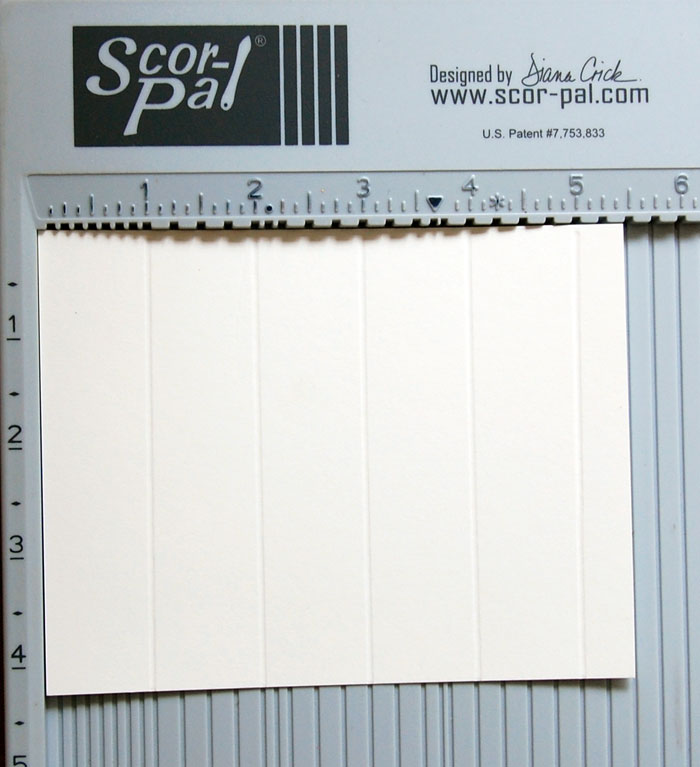
Step 1:
Cut cardstock to 4 1/4″ x 5 1/2″. Place on score board and score at 1-inch increments. Apply a bit more pressure than used for an average score, but not so hard as to damage the paper. Deep scores will help prevent ink from transferring down into the score (or “grout”) lines.
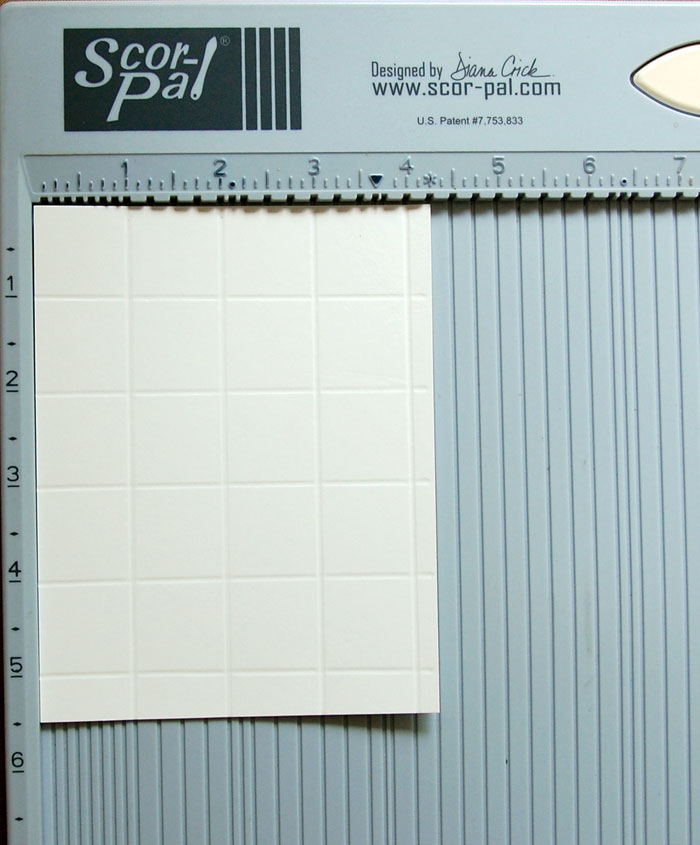
Step 2:
Turn paper 180 degrees and score again at 1- inch increments.
Step 3:
Stamp images as desired. When stamping over score lines, apply a bit less pressure.
Note: It may be helpful to use a stamp positioning tool so that if impressions are not solidly stamped the first time, the impressions can be easily repeated with perfect alignment (i.e. Stamp-a-ma-jig or MISTI). If you don’t have a stamp positioning tool, touch up areas using a small foam tip applicator or brush.
If you’d like to add sponging to a corner of each tile (i.e. lightly sponge the lower left corner of each square), you would do this now. This can easily be achieved by masking with low tack tape such as Post-it tape or you can create a mask using copy paper. Score a 4 1/4″ x 5 1/2″ piece of copy paper as noted in Steps 1 and 2. Then cut along the score lines from the top left corner to the lower right, forming two zigzag shapes. The zigzag edges will serve as masks. Using this method, multiple squares can be sponged at one time.
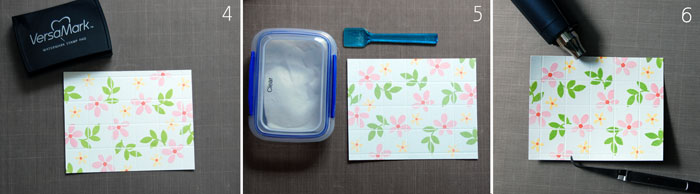
Step 4:
Once stamping is complete, cover the entire surface of the paper with VersaMark ink. Press ink pad directly over stamped images. Repeat until you are absolutely certain entire surface has been covered. Any missed areas will show once the paper is embossed.
Step 5:
Liberally apply clear embossing powder. Again, be sure to cover the entire paper. If desired, the embossing powder can be removed from the score lines for a more accurate “tiled” look. My hand is not that steady so I left the embossing powder to cover the whole sheet.
Step 6:
Emboss using the heat tool. I find it helpful to use self-closing tweezers to hold the paper while applying the heat.
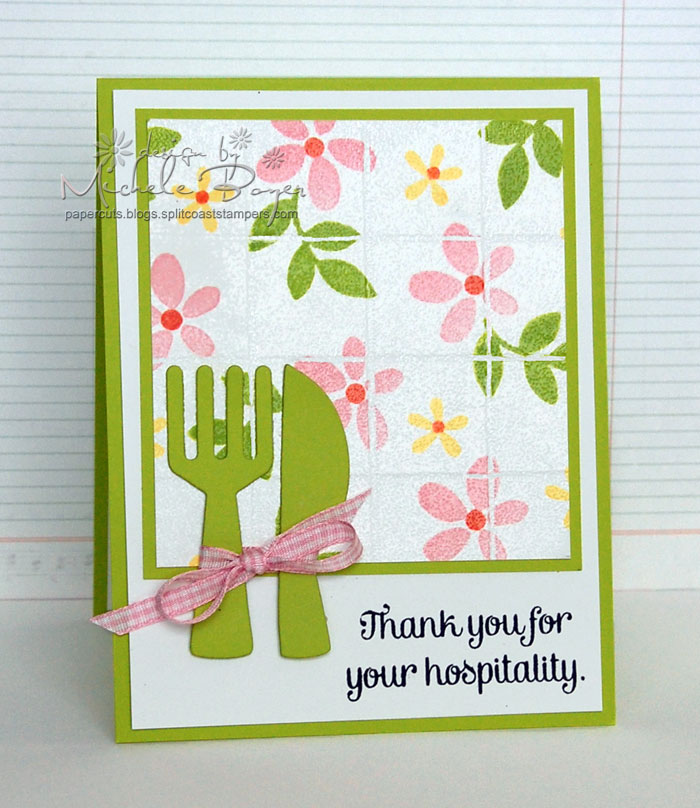
Step 7:
Trim and finish card as desired. I added die-cut Flatware (by Paper Smooches) and tied with a bit of pink gingham ribbon.

Tip: Use leftover strips of the tiled design to decorate the inside of your card or envelope.
Fancy Folds: 4 Fun Tutorials for Folding Cards
Create smile-spreading cards with just a few simple folds with expert tips and insider tricks to make your loved ones feel extra special.
Share tips, start a discussion or ask one of our experts or other students a question.
No Responses to “Create Faux Tiles With This Clever Technique for Scoring Cards”